Painting exterior window sills: 4 easy steps to success
Painting exterior window sills can help transform the outside of your home, adding style and kerb appeal. We reveal 4 steps to a smooth, long-lasting finish
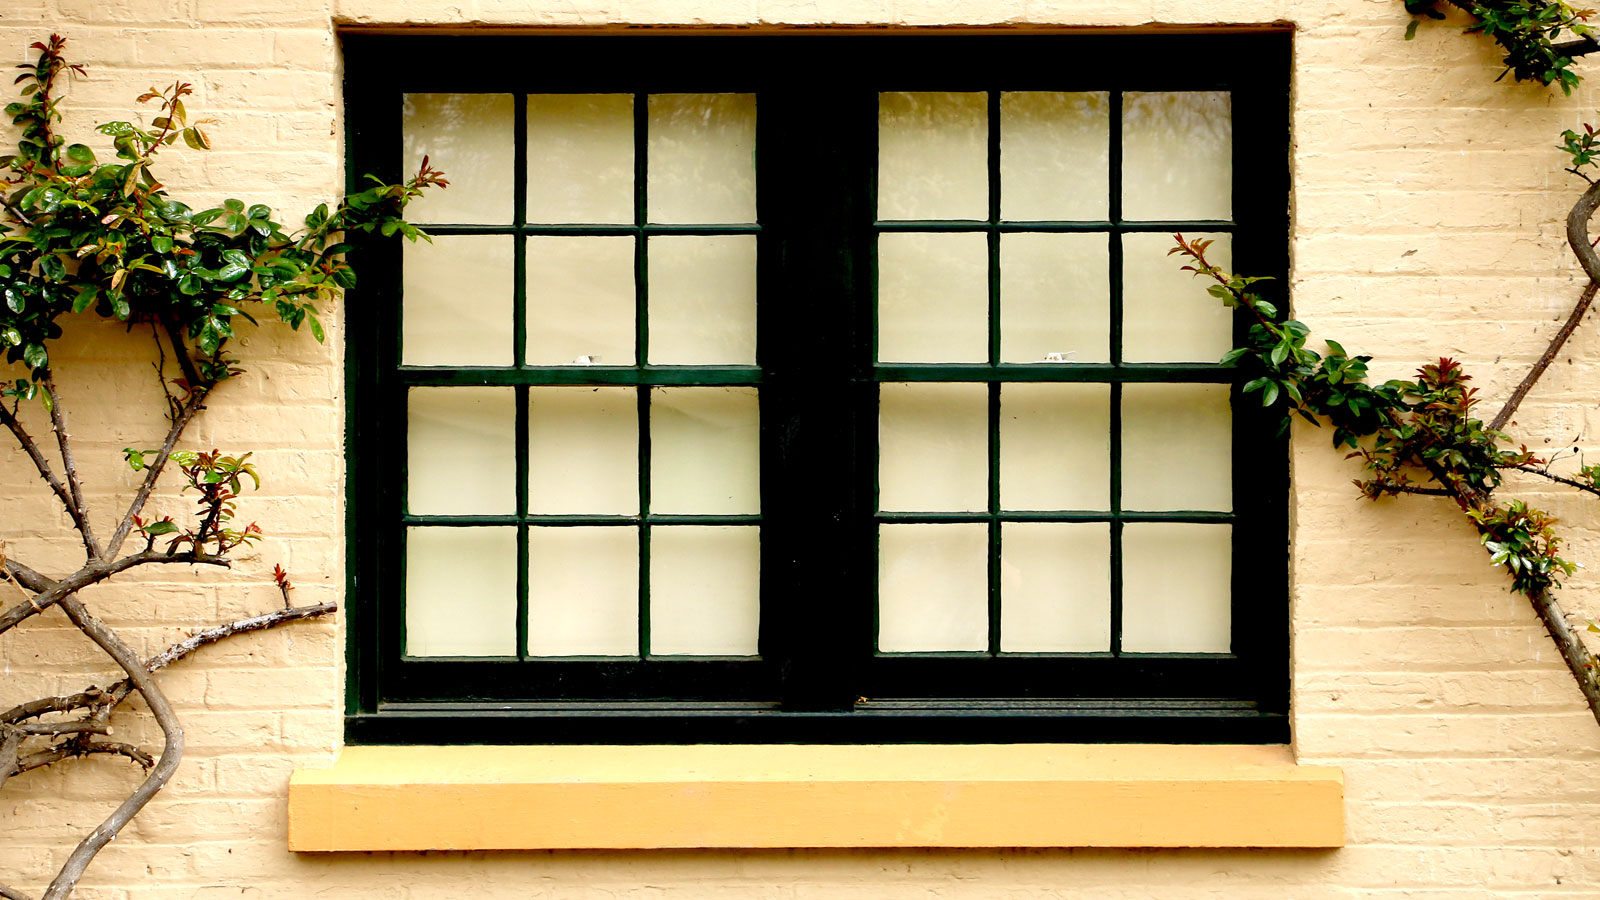
Painting exterior window sills well can transform the outside of your house and help ensure your home makes the best first impression. The good news is it’s a quick and relatively easy painting project that any keen DIYer can tackle over a weekend.
In this easy to follow 4 step guide we tell how to get your prep right, choose the right paint and apply it to your window sill.
And if you're keen to say goodbye to flaking paint, unflattering colours and introduce a new contemporary hue that you can match up with your front door, why not think about painting windows at the same time to create a smart, harmonious colour scheme that will add kerb appeal.
Painting exterior window sills - what you'll need
As with any DIY job, having the right tools to hand is part of the trick to getting the job done well. Here's what you'll need:
- Stiff brush
- Bowl of water and washing up liquid solution
- Kitchen scourer
- Fungicidal wash (if required)
- Dry, clean towel
- Paint stripper
- Sander/sandpaper
- Filler
- Filling knife
- Painter's caulk
- Paintbrushes
- Primer (depending on choice of paint)
- Masonry paint
Try these items for painting exterior window sills
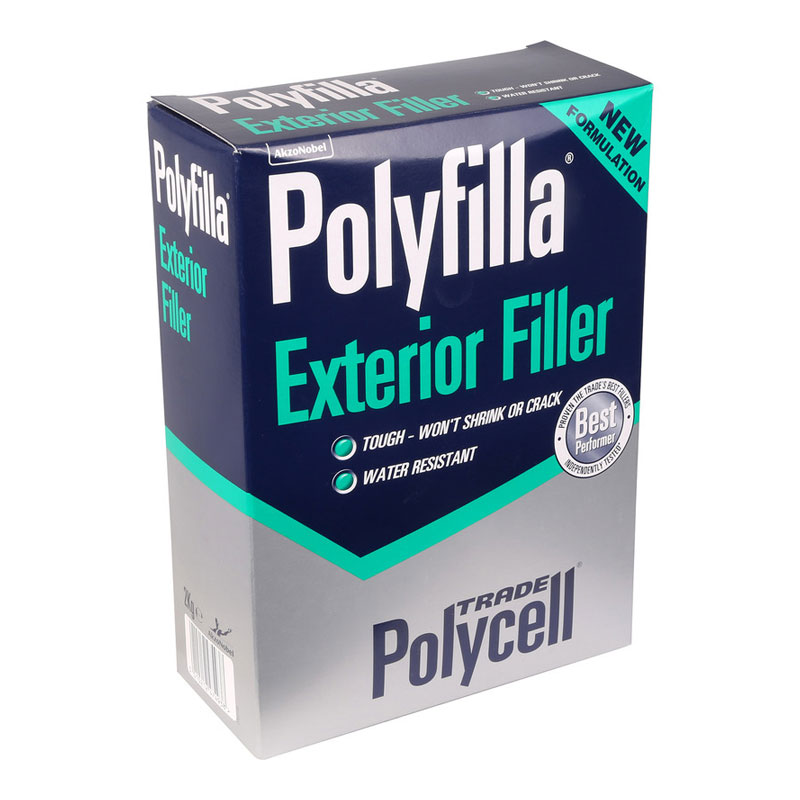
A tough powder filler that offers impact resistance for exterior repairs
Step one: Sweep and clean sills
Exterior windows sills collect dirt and debris so the first thing you need to do is give them a good brush down. Get a stiff hand brush and get rid of as much dirt and debris as possible. Now get a bucket of warm water, add a squirt of washing up liquid and wash down the sill with a kitchen scourer.
Clean and wash down the surrounding window frame, if needed. This will stop first and debris falling onto the fresh paint later on. Wipe dry with a clean cloth or towel.
Step two: Prep the window sill
Start by using a paint scraper to remove as much loose or flaking paint as possible. Use a wire brush to help get rid of old paint if needed. Sills will typically have caulking or a sealant between the window frame and the sill.
It should be easy to remove old caulk with a scraper, but if proving difficult to get rid of, use a sharp Stanley knife to cut. Now brush away dirt, debris and old paint from the sill and surrounding area and clear away.
If stripping the sill back to bare concrete use a paint stripper to help remove the old paint. If there is any algae or fungi ingrained in the sill, use a suitable fungicidal wash to wipe away and leave to dry.
Step three: Fill and sand sill
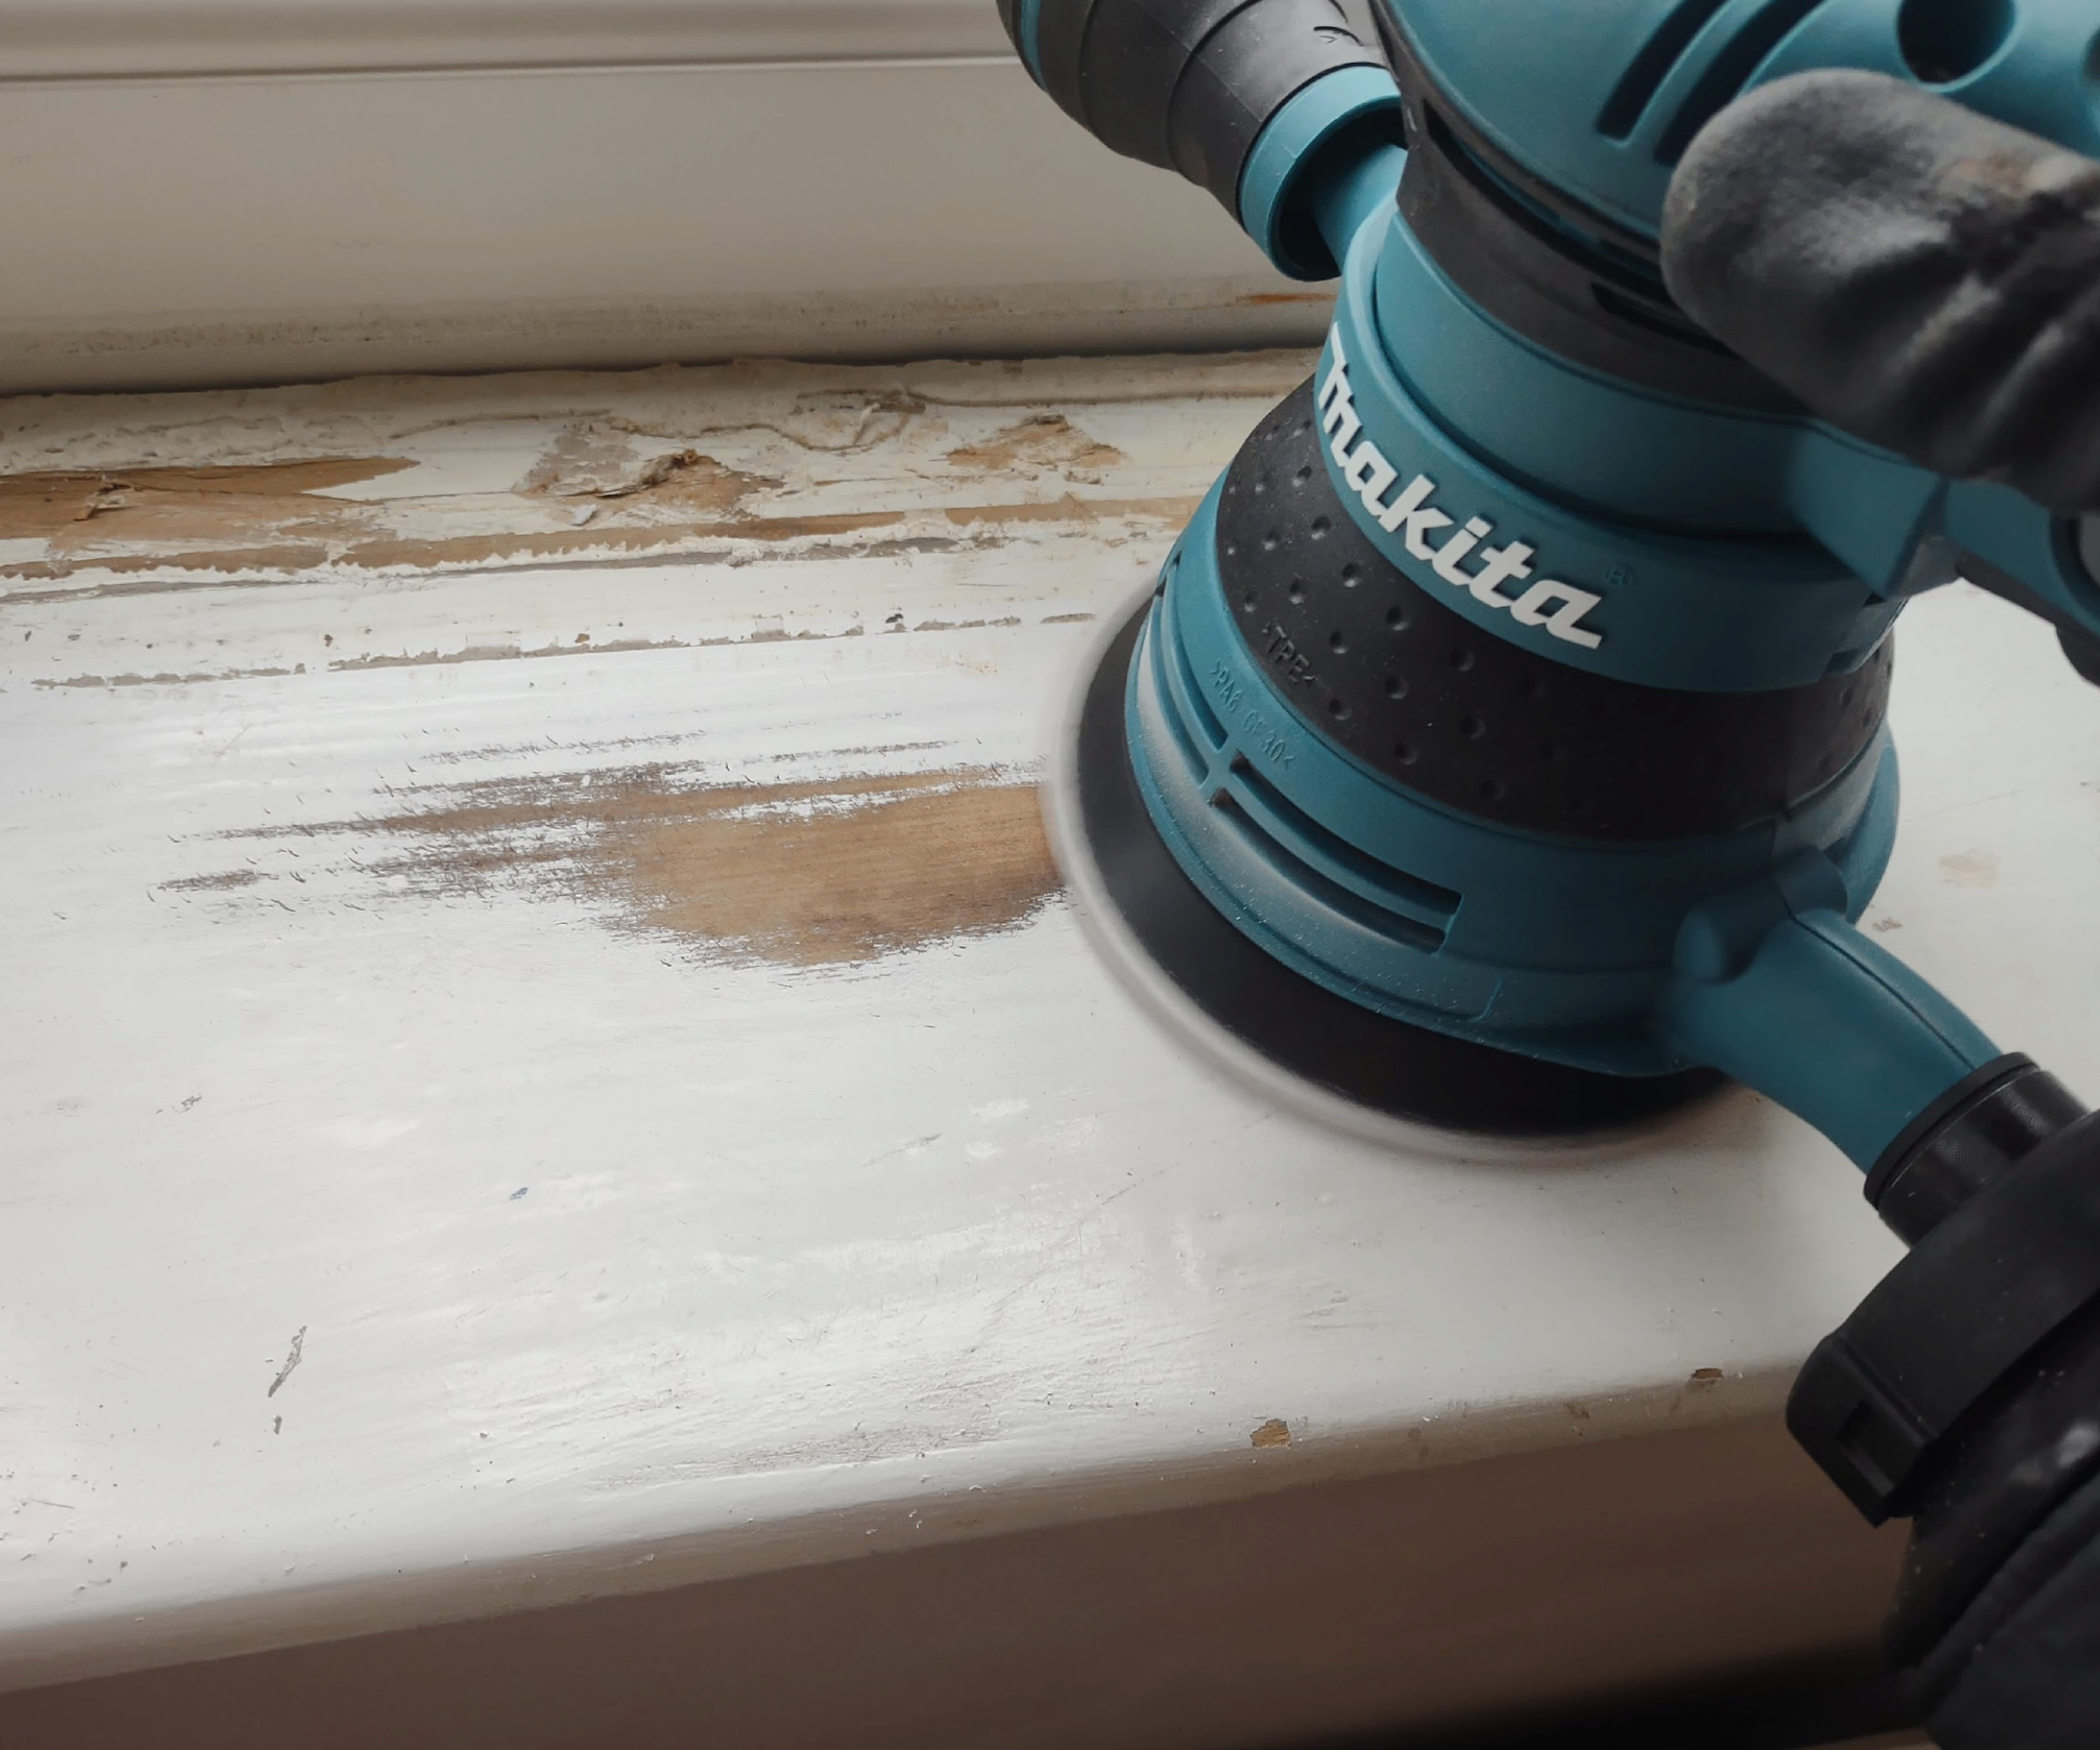
When refreshing a window sill prior to painting, it often needs filling to give it a smooth finish. Spread a suitable exterior filler with a filling knife and smooth out. Spray with water to help get a smooth finish. Leave the filler to dry and then set to with sanding the surface. A medium grade – 120 grit should do the job – and rub down until the sill is smooth.
Use a hand sander or a detail sander like this DOVAMAN Detail Sander from Amazon to speed up the process.
Step four: Prime and paint sill
Before you start painting exterior window sills, lay down dust sheets to stop drips and use painters tape on windows and brickwork if not confident in your cutting in skills. If adding new caulk, use painters caulk like this Soudal Decorator Caulk from Amazon and add before painting.
If you have stripped your window sill back to bare concrete/masonry you will need to add a primer to help seal the sill ready for the top coat. A lot of exterior/masonry paints are self-priming so you can avoid adding a primer, but typically you will have to add an extra coat or two. Find out more about the different types of paint before you start so that you are confident in purchasing the right product.
Start with a 2-3 inch brush and cut in along the edges to create a border and then fill in the rest of the unpainted areas. Apply a thin coat and leave to dry as recommended.
Once dry make sure the sill is free of any dust, dirt, debris and add a second coat. Remove the tape and admire your newly painted sill.
Do not put any flower boxes or similar on the sill until the paint is fully dry, typically around 24-48 hours.
Painting exterior window sills FAQs
What kind of paint should I use for painting exterior window sills?
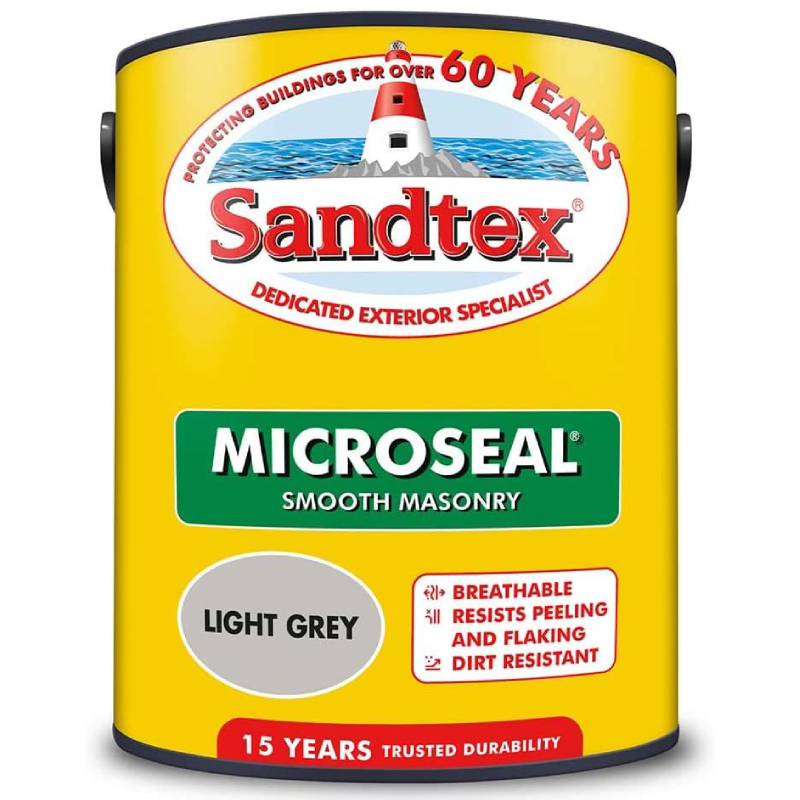
You need to use a paint formulated for the outdoors for painting exterior window sills, as they are exposed to a host of different conditions. Sandtex specialise in exterior masonry paints and offer a range of options in different finishes and different colours.
Dulux Weathershield like this Dulux Weathershield Smooth Masonry Paint from Amazon is another popular choice for house exteriors and is available in a host of colours. Another good option is Zinsser AllCoat Exterior paint (available from Amazon) which is available in Gloss and Satin and is recoatable in one hour.
Should I use gloss, satin or matt for painting exterior window sills?
Which finish you choose for painting exterior window sills is very much personal taste. Matt is a popular option for most homes, while satin and gloss finishes both offer a sharp finish, but they reflect more light meaning they show up any imperfections. However, if you have a super smooth finish on your sill a gloss finish will stand out, is easy to wipe clean and looks good.
How do I paint uPVC window sills?
The process of painting uPVC windows is very similar to painting concrete/masonry windows sill. You will need to clean and wash down the sill.
Sugar soap is a cleaner and degreaser and will do a good job of making sure that a uPVC window sill is free of any dirt, debris and grease.
Then you will need to rub down the sill with a fine sandpaper - 180 grit will be ideal for uPVC - to give better adhesion for the paint. To finish you will need a paint that works well on uPVC and is self priming such as Zinsser AllCoat Exterior paint.
When sprucing up your exterior windows sills it's a good time to think about tackling other outside paint projects. Why not think about painting a front door to add extra kerb appeal. Make sure to choose the best paint brushes and the best paint rollers to get the job done properly.
Get the Homebuilding & Renovating Newsletter
Bring your dream home to life with expert advice, how to guides and design inspiration. Sign up for our newsletter and get two free tickets to a Homebuilding & Renovating Show near you.
Steve Jenkins is a freelance content creator with over two decades of experience working in digital and print and was previously the DIY content editor for Homebuilding & Renovating.
He is a keen DIYer with over 20 years of experience in transforming and renovating the many homes he has lived in. He specialises in painting and decorating, but has a wide range of skills gleaned from working in the building trade for around 10 years and spending time at night school learning how to plaster and plumb.
He has fitted kitchens, tiled bathrooms and kitchens, laid many floors, built partition walls, plastered walls, plumbed in bathrooms, worked on loft conversions and much more. And when he's not sure how to tackle a DIY project he has a wide network of friends – including plumbers, gas engineers, tilers, carpenters, painters and decorators, electricians and builders – in the trade to call upon.
