How to paint decking in 3 simple steps
Painting decking the right way means it will look good and last for years

Painting decking gives it a new lease of life as well as creating a protective layer to help it last longer. Warm, dry, rain-free days are the perfect time to transform your old – or even new – decking with a few coats of paint.
To make sure that you get the best finish possible make sure that you do your prep properly. As with most paint projects, spend time doing the preparation right and the finished article will not only look good but will stay looking good for a lot longer, and the same applies when painting decking.
Follow our three-step guide to find out how to clean, prep and paint your decking with the best decking paint for the perfect finish.
Steps for painting decking
"Before you do any DIY on your decking ideas, you need to remove all outdoor furniture items and any plant pots or ornaments. It’s also best practice to cover any nearby plants or grass with dust sheets to help protect them," says Jimmy Englezos, paint expert at Ronseal.
What you will need:
- Stiff broom
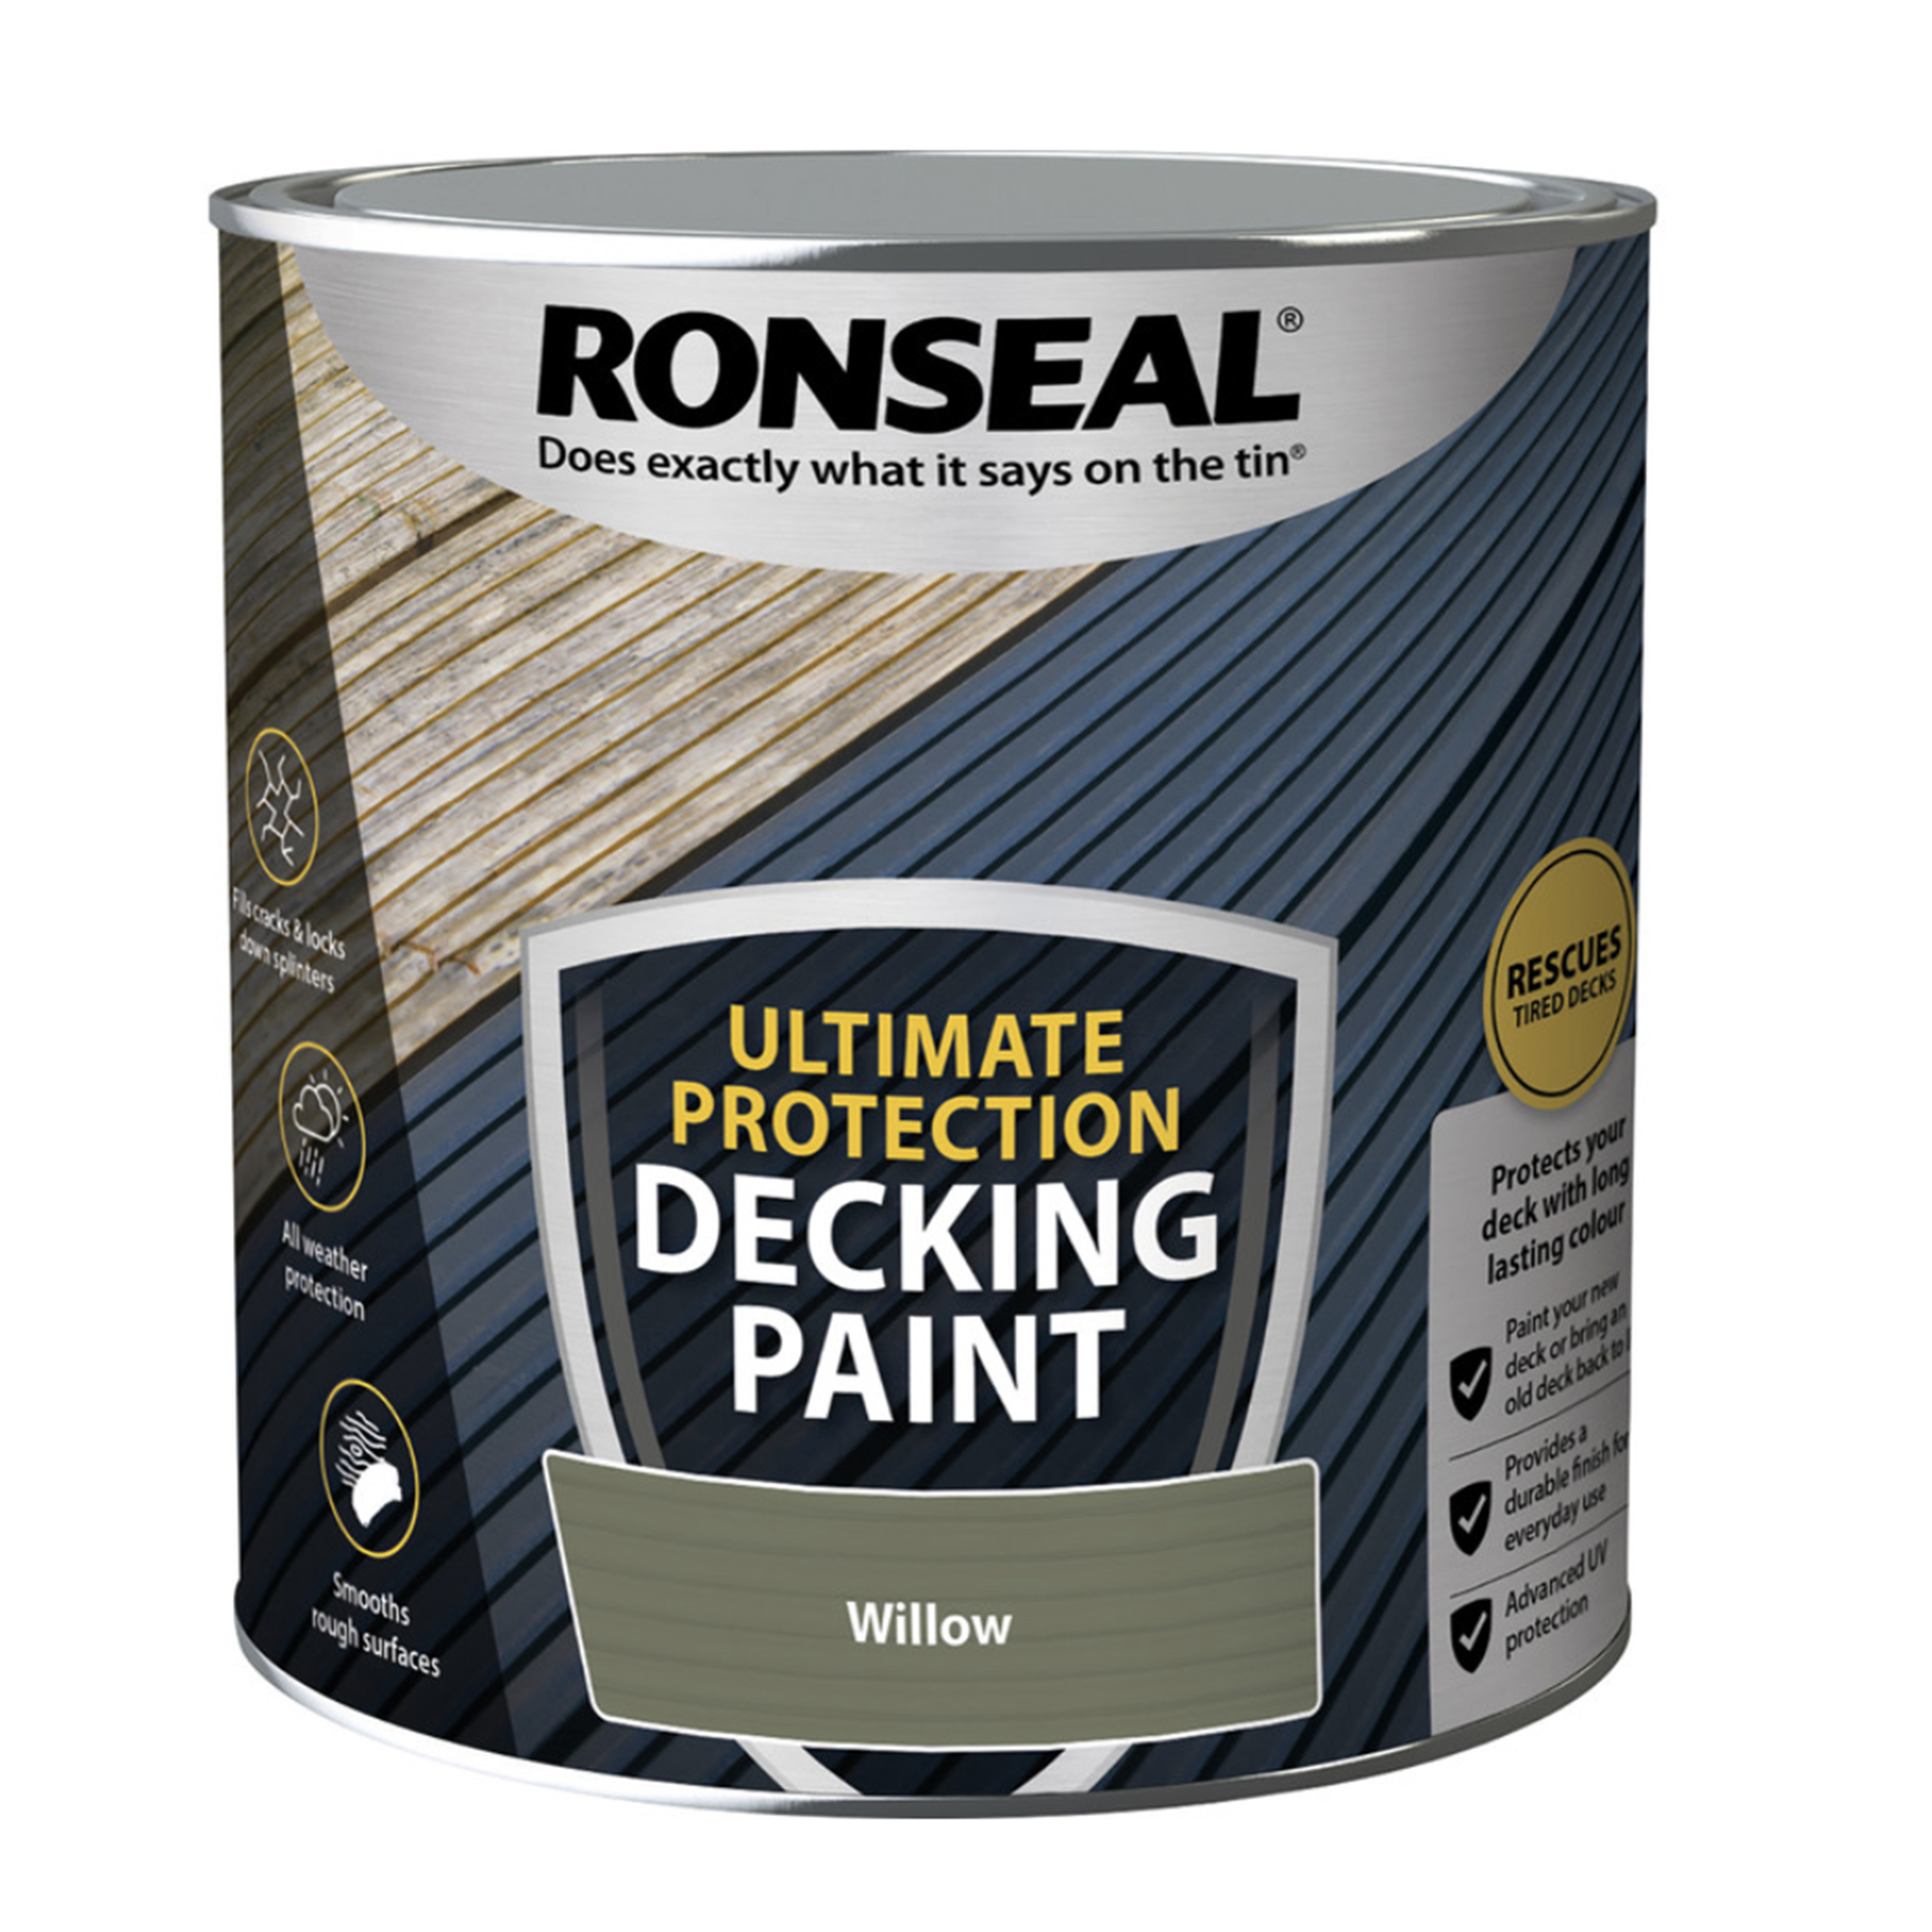
- Decking cleaner solution (try Ronseal DC Decking Cleaner 5 Litre at Amazon)
- Pressure washer or hose
- Exterior wood primer
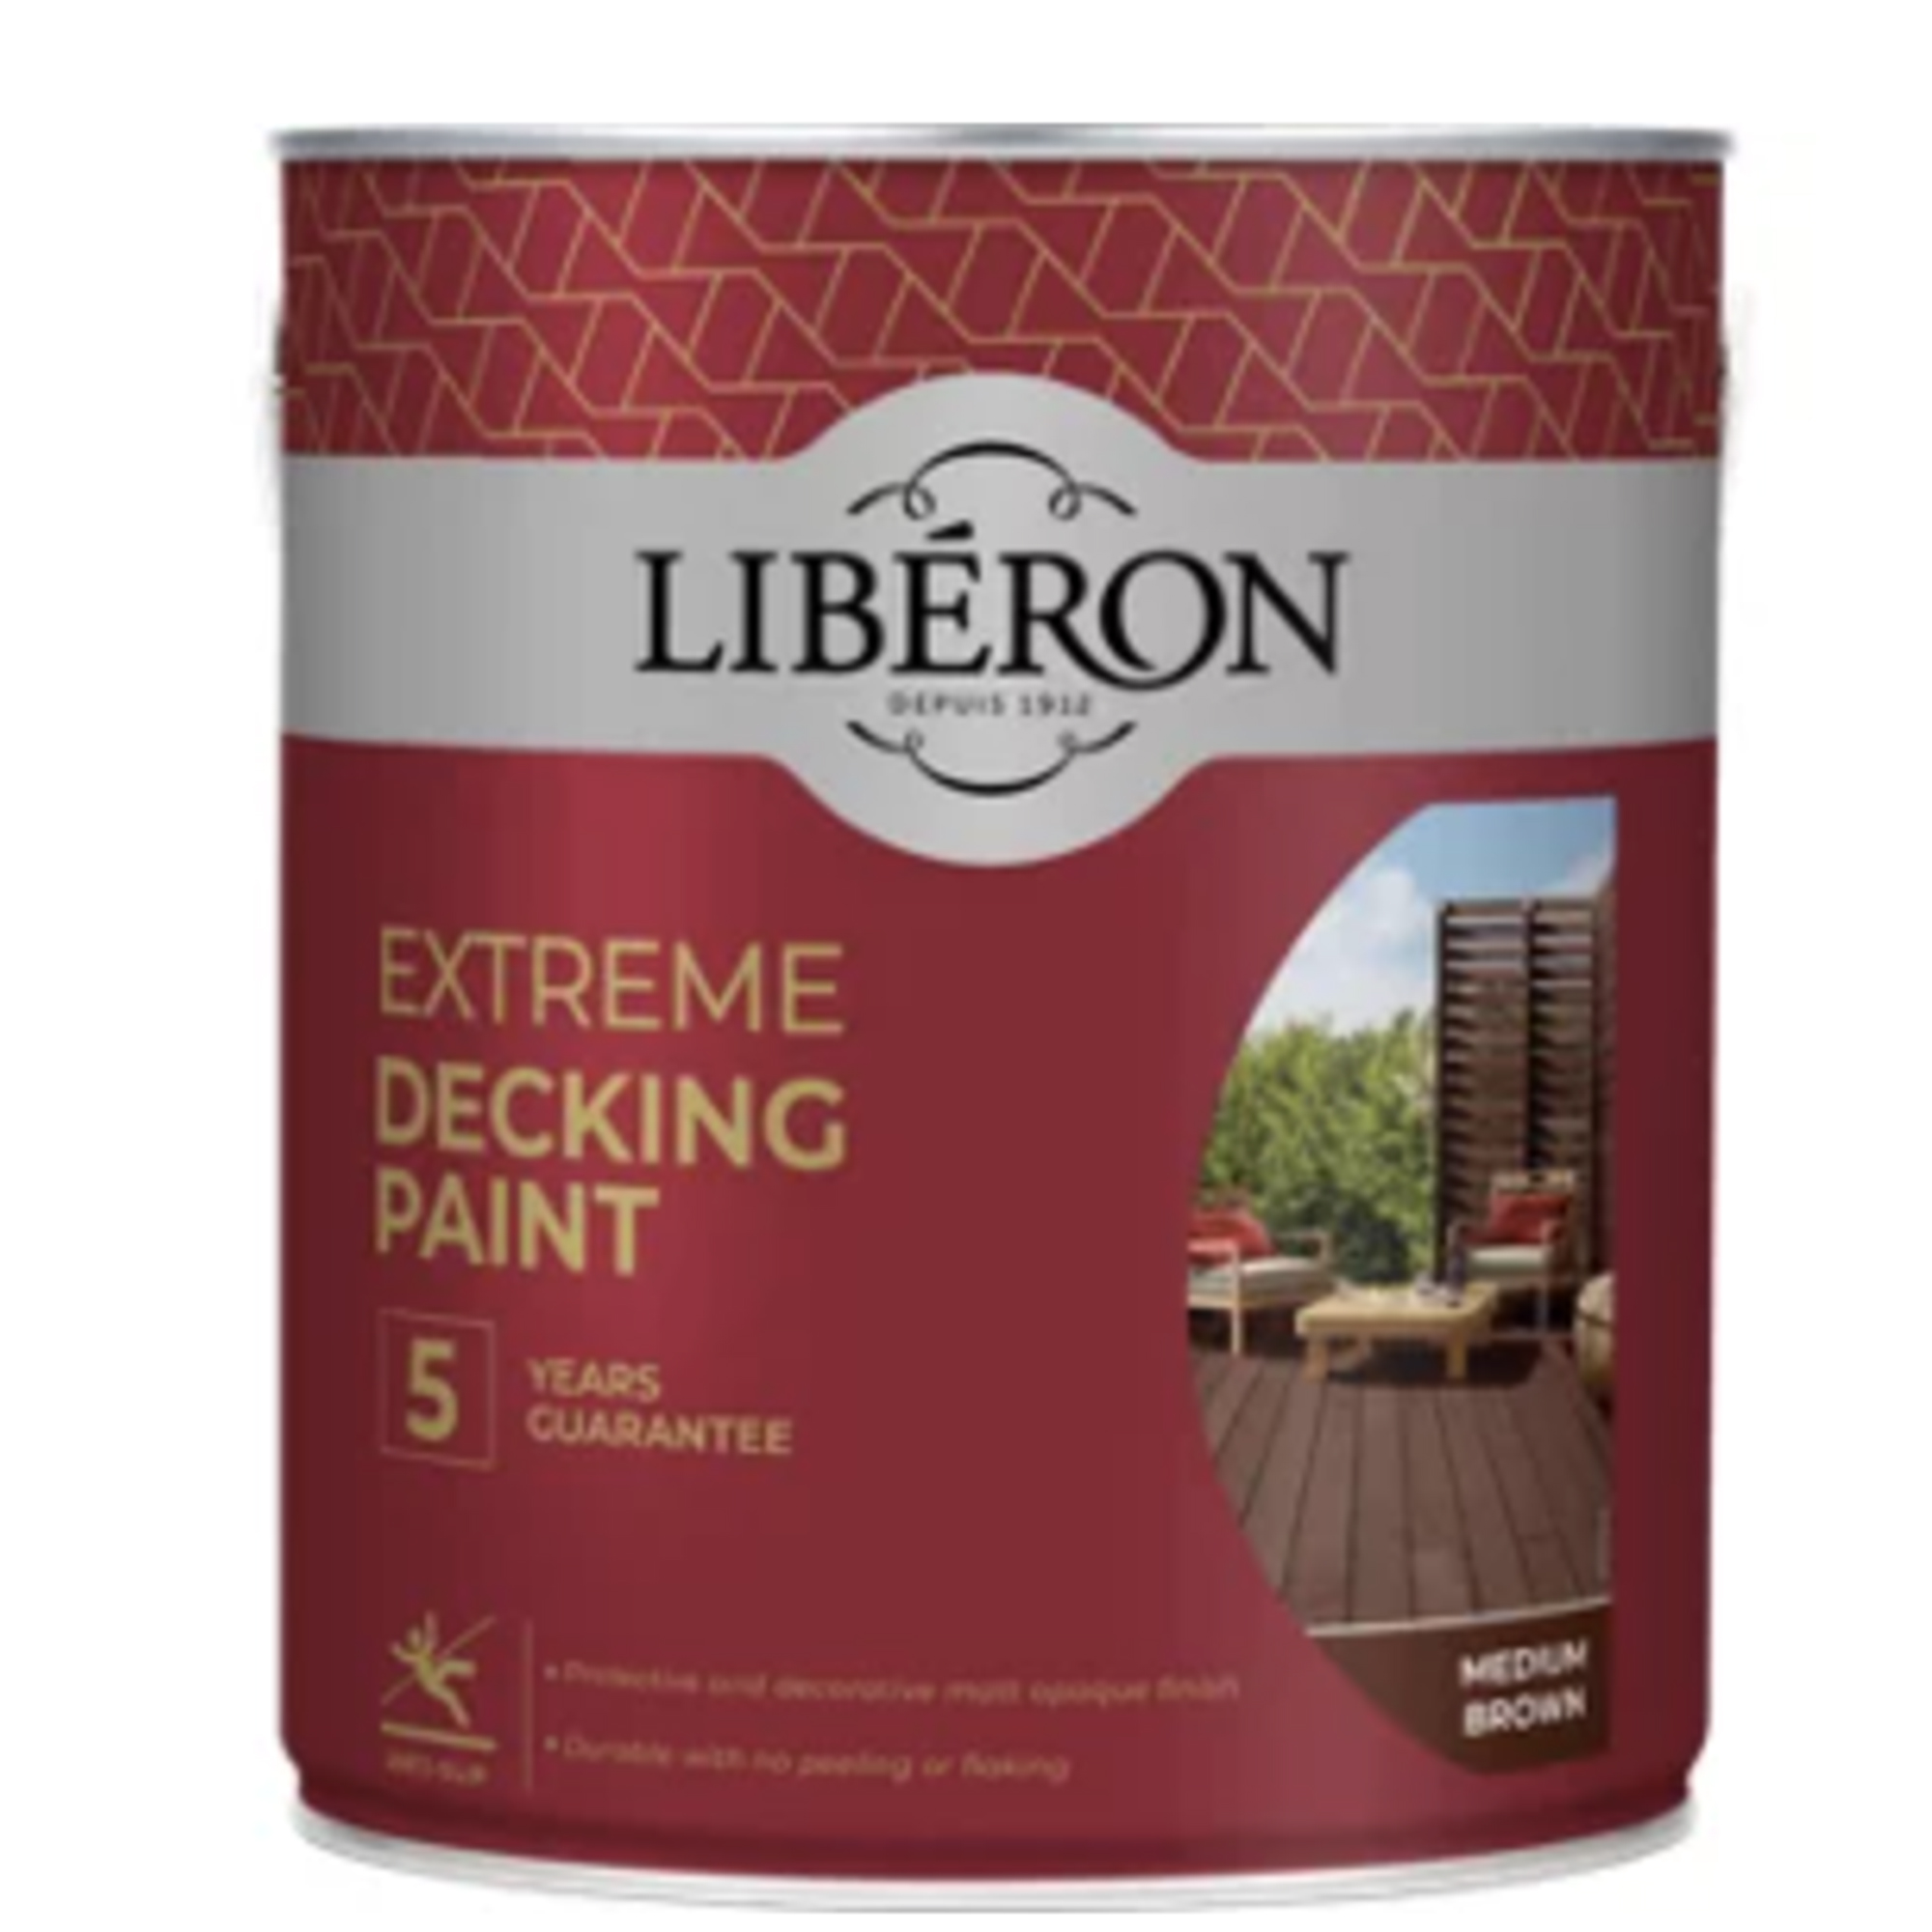
- Decking paint
- Brush, roller or paint pad
- Paint tray for roller and pad
- Protective goggles and gloves


Jimmy is the Senior Brand Manager at Ronseal, the UK's number one woodcare brand. Jimmy regularly provides insights and guidance on how to properly prepare wood for treatment, as well as handy tips and hints for decorating and general woodcare projects. He was also a judge on Irish TV's 'The Big DIY Challenge' in 2021.
1. Sweep and clear up debris
Start by removing any furniture, plant pots and any other obstacles, so you have a clear area to work in. The first step in how to clean decking is to get a stiff long handled broom and brush off as much dirt and debris as possible.
"Before painting over an existing finish, you need to assess its condition," says John Davis. If it's been painted previously you need to decide whether you need to remove it before painting it.
"If the old paint is in good condition with no signs of flaking or peeling, you can paint over it directly after cleaning and sanding the surface. However, if the existing finish is failing, I recommend stripping it all away and starting anew," advises John.
If you don't need to remove any paint simply sweep the deck to remove all dirt and debris. "Check for any loose boards or screws and secure them if necessary,'" says Thomas Goodman, construction expert at MyJobQuote.co.uk.
Shop decking paint
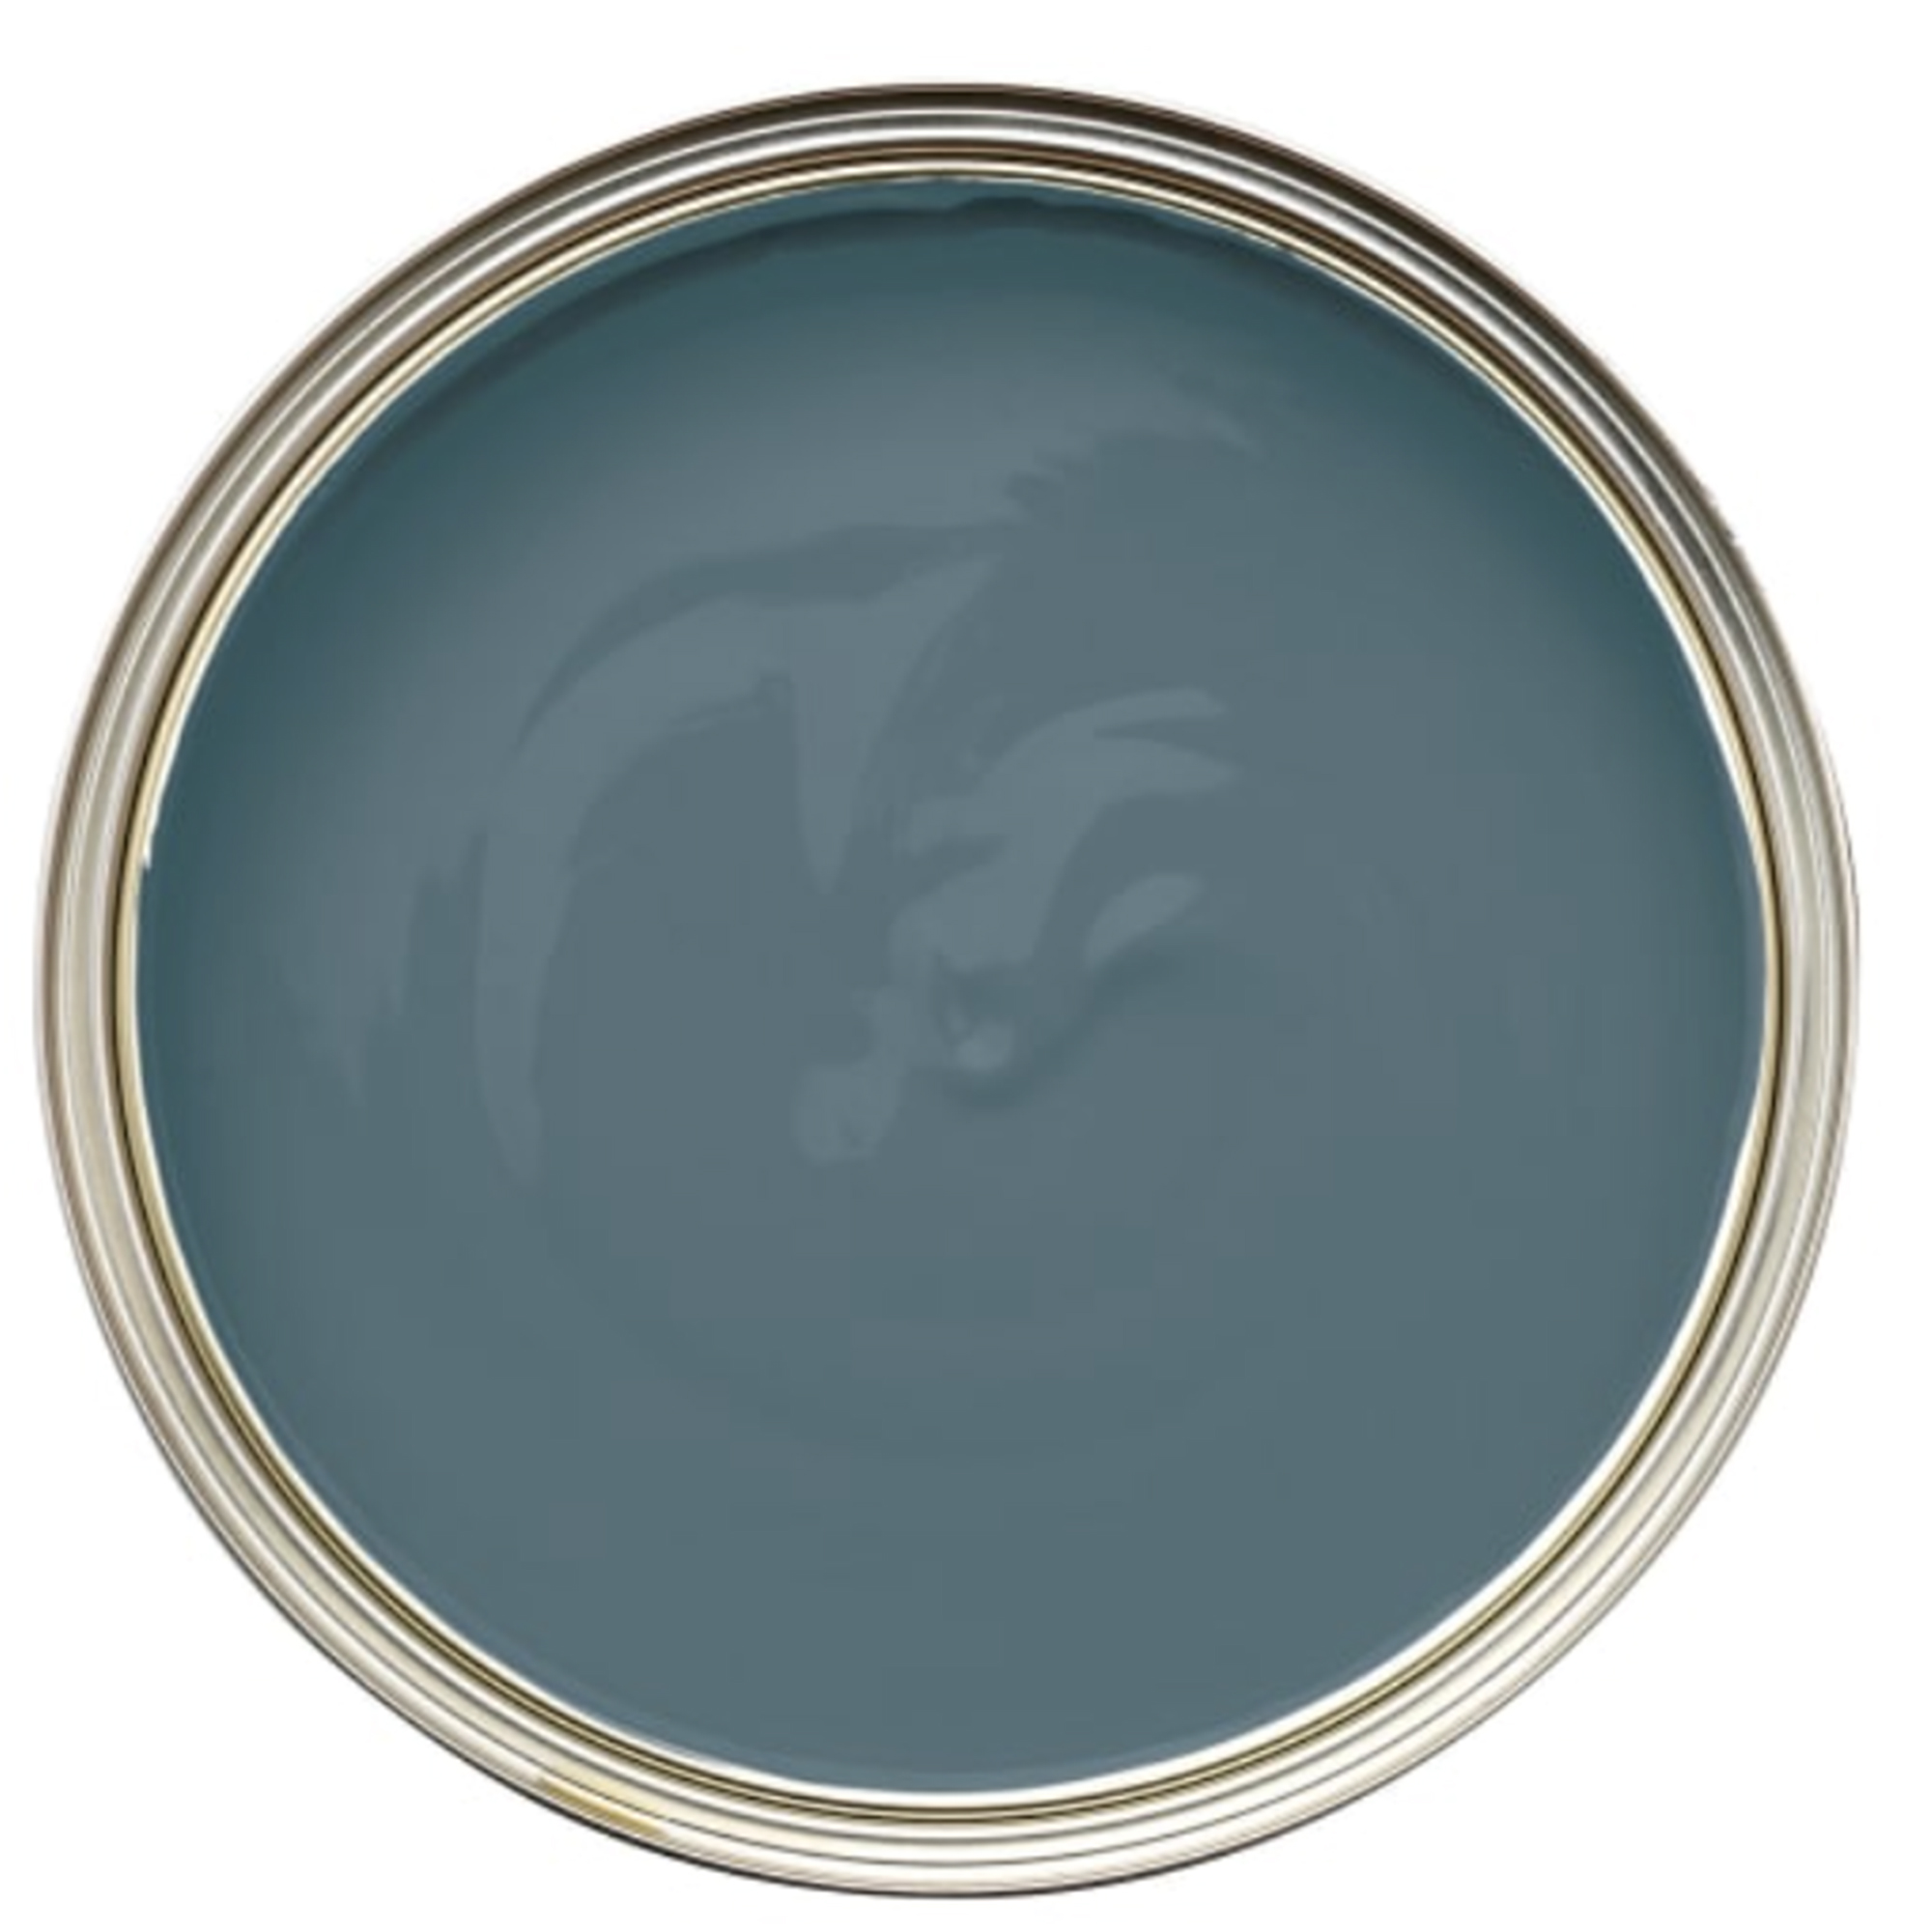
Anti-slip paint is key for obvious reasons. This shade of slate will give a contemporary dark look to your decking without being too intensely black.
2. Sand your decking and clean the surface
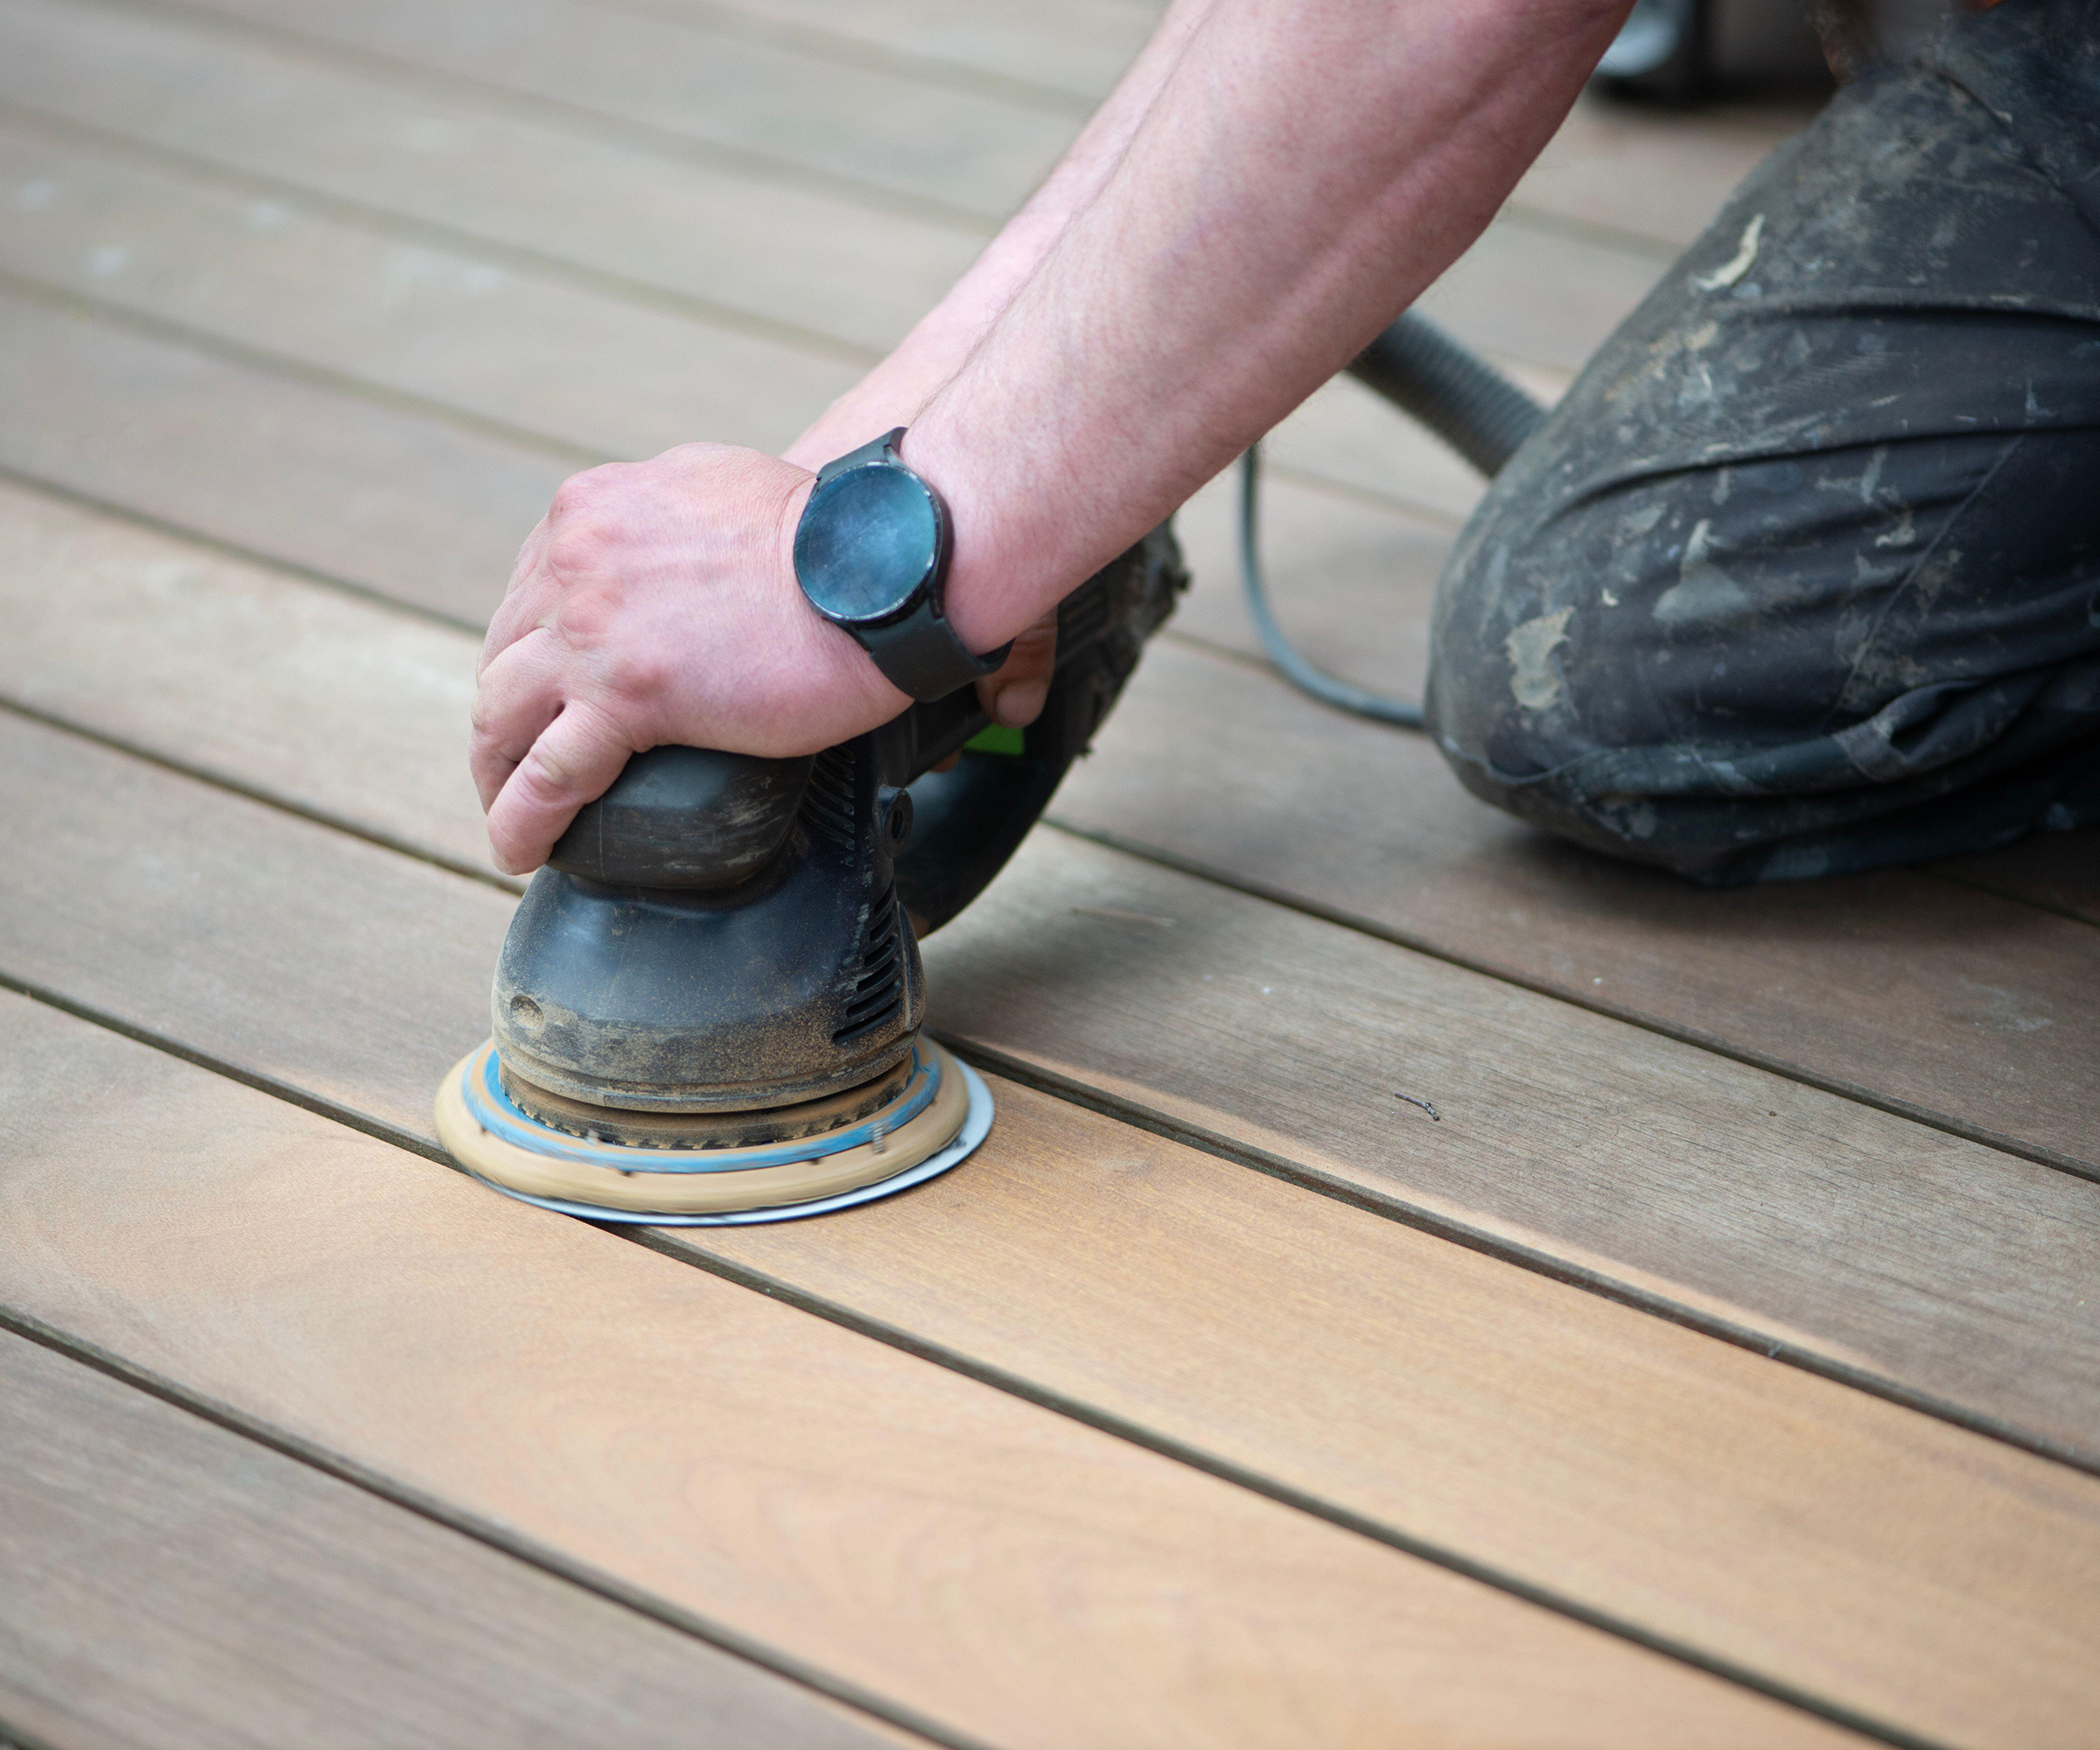
Use a 120 grit sandpaper on the end of a sanding pole and start at one end and go along the length of the decking and then start again on the next section. Alternatively you can use a manual or electric hand sander, but this does involve getting down on your knees, so think about knee pads.
"Apply a decking cleaner by pouring it onto the boards. Using a stiff brush, scrub the boards to work the cleaning solution in. Leave it to work for approximately 15-20 minutes," says Thomas Goodman
Using a pressure washer on the lowest setting or a hose, wash off the decking cleaner, working systematically from one end of the deck to the other so you don’t miss any part. Leave the boards to dry for 2-3 days," says Thomas.
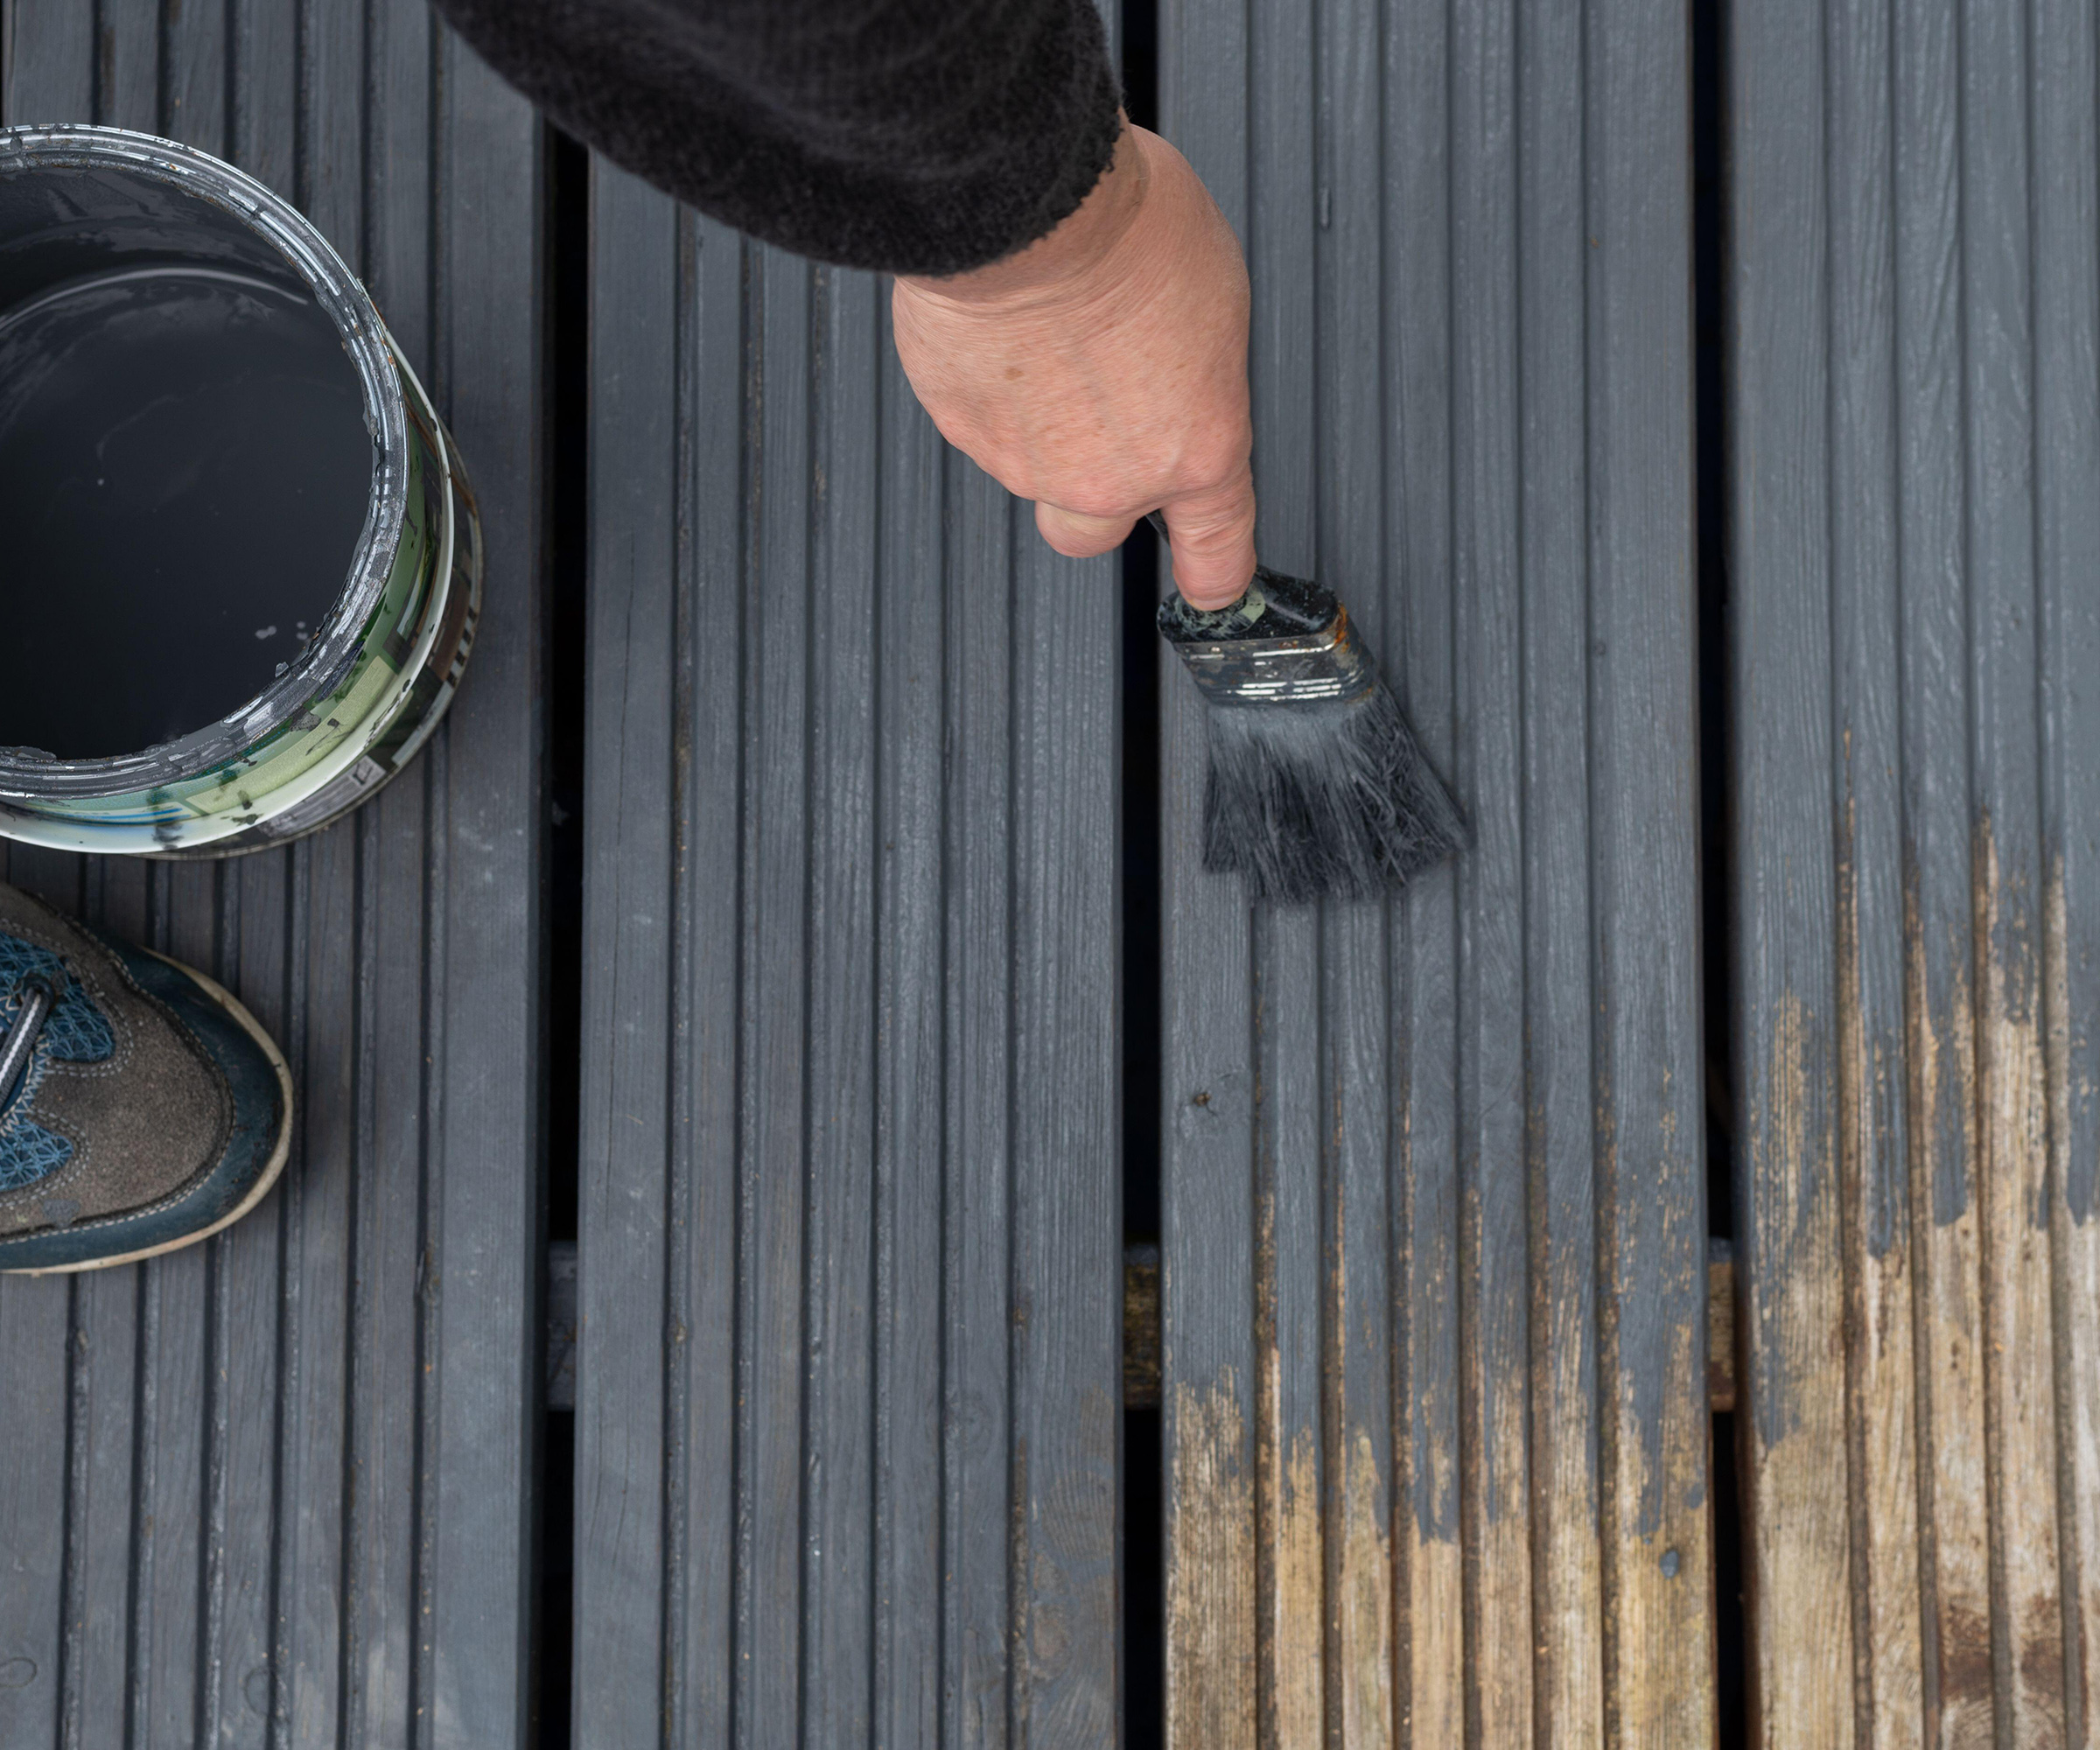
3. Apply the paint
"Once the deck is completely dry you can begin painting. Stir the paint to make sure it is well mixed," says Thomas Goodman. If there are any areas you don't want to get paint on, get some masking tape for the edges and sheets for the larger areas.
Start by using a 4-inch decking brush to do the edges. Start in the corner farthest away and create a four inch wide border of paint around the decking. If you have ridged decking get a block decking brush such as the ProDec Block Decking Brush — you will need a pole or broom handle to attach it to.
"If you are using a brush dip it into the paint and go with the grain or grooves of the decking. Paint 3 or 4 boards at a time to avoid overlap marks," says Thomas.
Alternatively, if you have flat decking you can use a roller to finish the decking. Use a 9 or 12-inch roller on a pole for a quick finish. Use a masonry roller as they typically have a deep pile.
"Leave the first coat to dry for 4-5 hours and then apply the second coat. The decking will be good to use after 48 hours," says Thomas.
FAQs
Can I just paint over my deck?
"This depends on the previous paint's condition. If it is peeling or flaking, even in small amounts, it’s best to strip this completely for a new layer of paint," says Jimmy Englezos, paint expert at Ronseal.
"If you paint over existing peeling paint, the new paint will likely also start to peel, and you’ll have to start over," says Jimmy.
How long does a painted deck last?
"Providing the decking is looked after and maintained throughout the year, decking paint should last. To help prolong the paint's lifespan and colour quality, be sure to keep on top of any cleaning to remove any build-up of dirt, algae, or lichen from the surface," says Jimmy Englezos, paint expert at Ronseal.
"It’s recommended to review your deck each year to search for signs of wear. If it looks in good condition, then just give it a clean. If it's showing signs of flaking away or chipping, then it's probably time to start planning a recoat. This will ensure your deck lasts as long as possible as well as looking its best," says Jimmy.
Do I need to prime decking before painting?
Yes. Wooden decking – especially new untreated decking – will need to be primed if being painted (rather than stained). Decking is typically exposed to all types of weather all year round so can take a bit of a battering.
A coat of primer will help seal the wood against the weather and provide the platform for the best decking paint. This will help ensure a long lasting finish that is much less likely to peel and keep its appeal.
Should I power wash or sand decking before painting?
If you are painting newly laid decking you are unlikely to need to power wash it. However, it is a good idea to give even new decking a quick sanding before painting. This will help remove any rough edges and improve adhesion. Use a pole sander like this Spear & Jackson Tyzack 720H-05 Spear & Jackson Telescopic Pole Sander at Amazon. Which will be better for your back – or an electric sander to smooth out the decking.
If you are reviving older decking it will need a power wash to get rid of dirt, debris and old paint. Once you have washed any decking, leave it to dry before sanding. To get rid of any dust after sanding you can sweep or give it a quick hose down.
Is it better to paint or stain decking?
This will depend on a few factors including the age of decking, the condition of it, what type of wood your deck is made from and what type of look you want.
If you need to hide the flaws of an older deck, painting is probably your best choice. It will hide cracks, plus it is easier to clean than stain and will last longer. Plus you typically get more colour options which will help you decide on some smart decking colour ideas to enhance your outside space.
If you have new decking and want to show off the natural grain of the wood, stain is a better choice. You can choose how many coats of stain to help control the colour — the more stain the darker the finish. But, more coats offer better protection against the weather.
On the downside, staining doesn't hide imperfections as well and your decking will need restaining every three to five years.
Painting decking, rather than replacing it with a brand new one, is a much cheaper option. Check out our guide on budget garden ideas for more inspiration on how to save money on a beautiful outdoor space.
Get the Homebuilding & Renovating Newsletter
Bring your dream home to life with expert advice, how to guides and design inspiration. Sign up for our newsletter and get two free tickets to a Homebuilding & Renovating Show near you.

Teresa was part of a team that launched Easy Gardens in 2018 and worked as the Editor on this magazine. She has extensive experience writing and editing content on gardens and landscaping on brands such as Homes & Gardens, Country Homes & Interiors and Living Etc magazine. She has developed close working relationships with top landscape architects and leading industry experts, and has been exposed to an array of rich content and expertise.
In 2020 Teresa bought her first home. She and her partner worked alongside architects and builders to transform the downstairs area of her two bedroom Victorian house in north London into a usable space for her family. Along the way she learned the stresses, woes and joys of home renovation, and is now looking to her next project, landscaping the back garden.
