Painting a Wall: Tips From a Professional Decorator
Get to know the basics of painting a wall with this handy how-to guide with experts tips from a painting and decorating pro
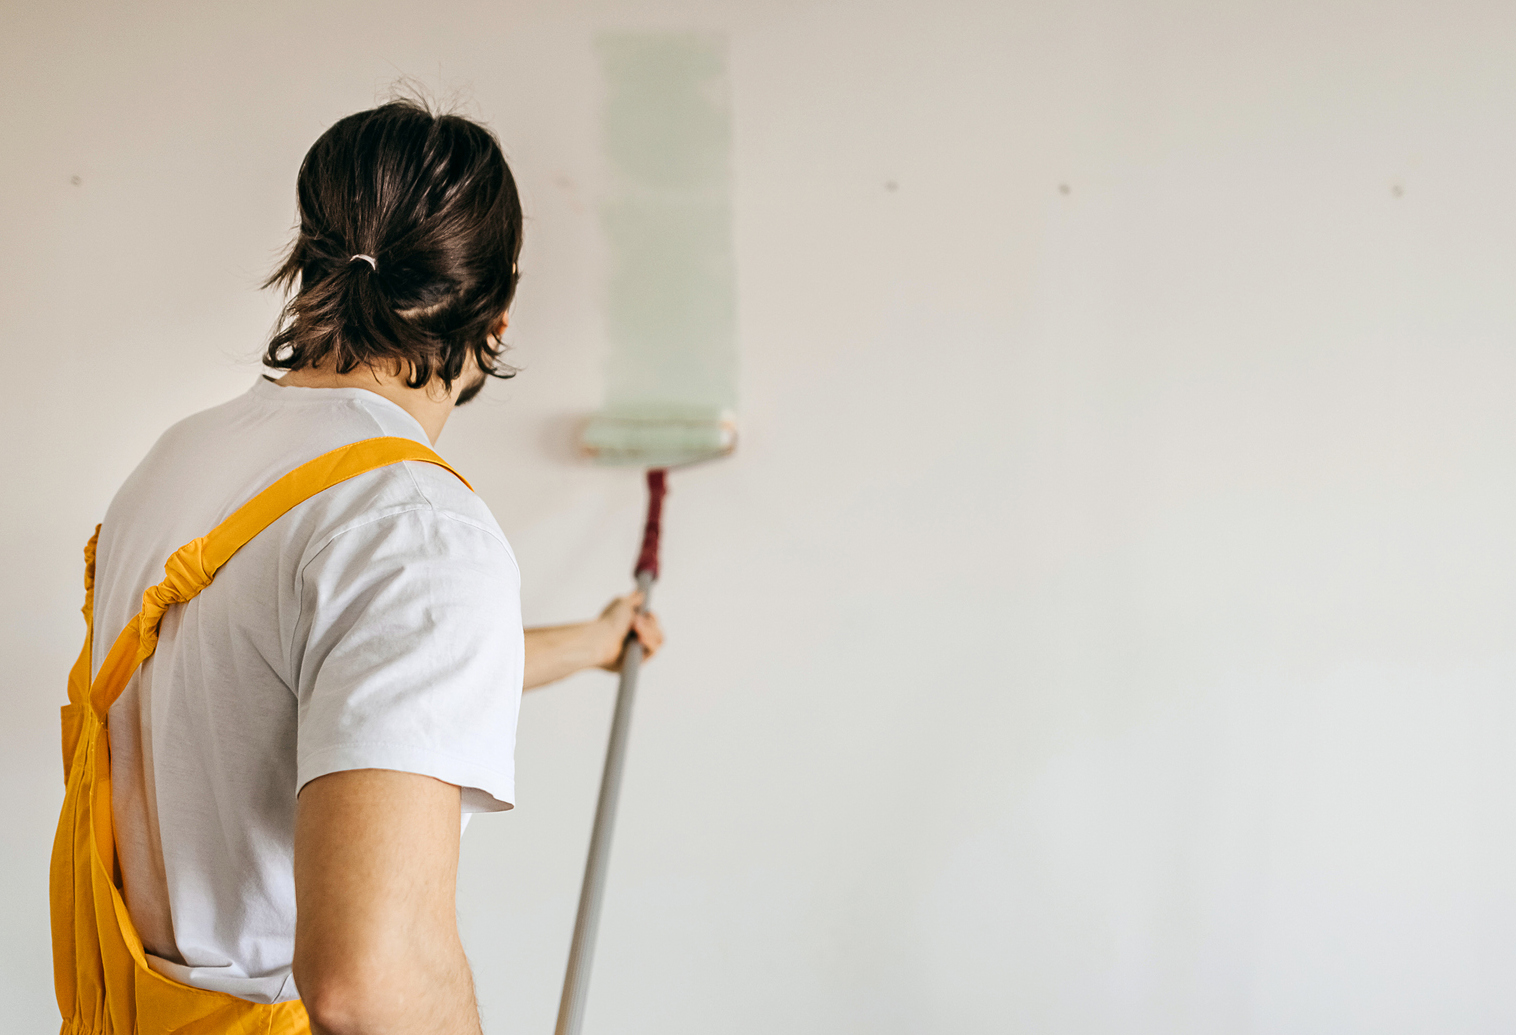
Painting a wall sounds like a simple enough task, but for those just beginning their DIY journey, there's a few things you need to know before you start. When it comes to painting and decorating of any kind, there's always best practice to achieve the very best results.
With that in mind, our decorating expert Steve Jenkins has pulled together this beginner friendly guide to painting a wall — just one part of the overall process of how to paint a room, but a good place to start.
From what the best paint brushes and best paint rollers are to use for the job to how to cut in, both freehand and with painter's tape, this guide covers all the essentials you need to know before you begin.
What Tools do I Need for Painting a Wall?
- Paint brush
- Cutting in brush
- Paint kettle
- Roller and tray
- Stepladder
- Extension pole
- Painters tape
- Dust sheets
- Sugar soap
- Stripping knife / paint scraper
- Electric hand sander
- Sandpaper
All of this equipment may not be necessary depending on the type of wall you're painting and how much preparation needs to be done to a poor quality wall. Read on for the full tutorial before picking up your supplies.
Where to Shop for Painting and Decorating Supplies
- Shop Painting and Decorating Tools from Amazon
- Shop Painting and Decorating Tools from B&Q
- Buy Paint Tools and Accessories from Homebase
- Buy Decorating Tools and Accessories from Robert Dyas
- Shop Decorating Tools and Supplies from Wickes
How do I Prep for Painting a Wall?
Use laminate backed dust sheets to stop paint seeping through onto the floor.
If the previous emulsion is in good condition you simply need to clean with warm soapy water and leave to dry. Use sugar soap for more stubborn stains.
Then give it a very quick rub down with a fine grit sandpaper (120 grit is perfect) to improve adhesion. Wipe down with a damp cloth and vacuum up any dust.
If the wall is in poor condition or has previously been painted with a gloss finish, there’s a little more work involved. First get a 2-3-inch stripping knife or paint scraper and remove as much loose paint as possible, then rub down to get a smooth finish.
Use a hand sander with a medium grit sandpaper. Spend a little extra time on any areas that have pronounced edges, such as where there's flaking paint, and blend these as best as possible. Remember to lay dust sheets before you start.
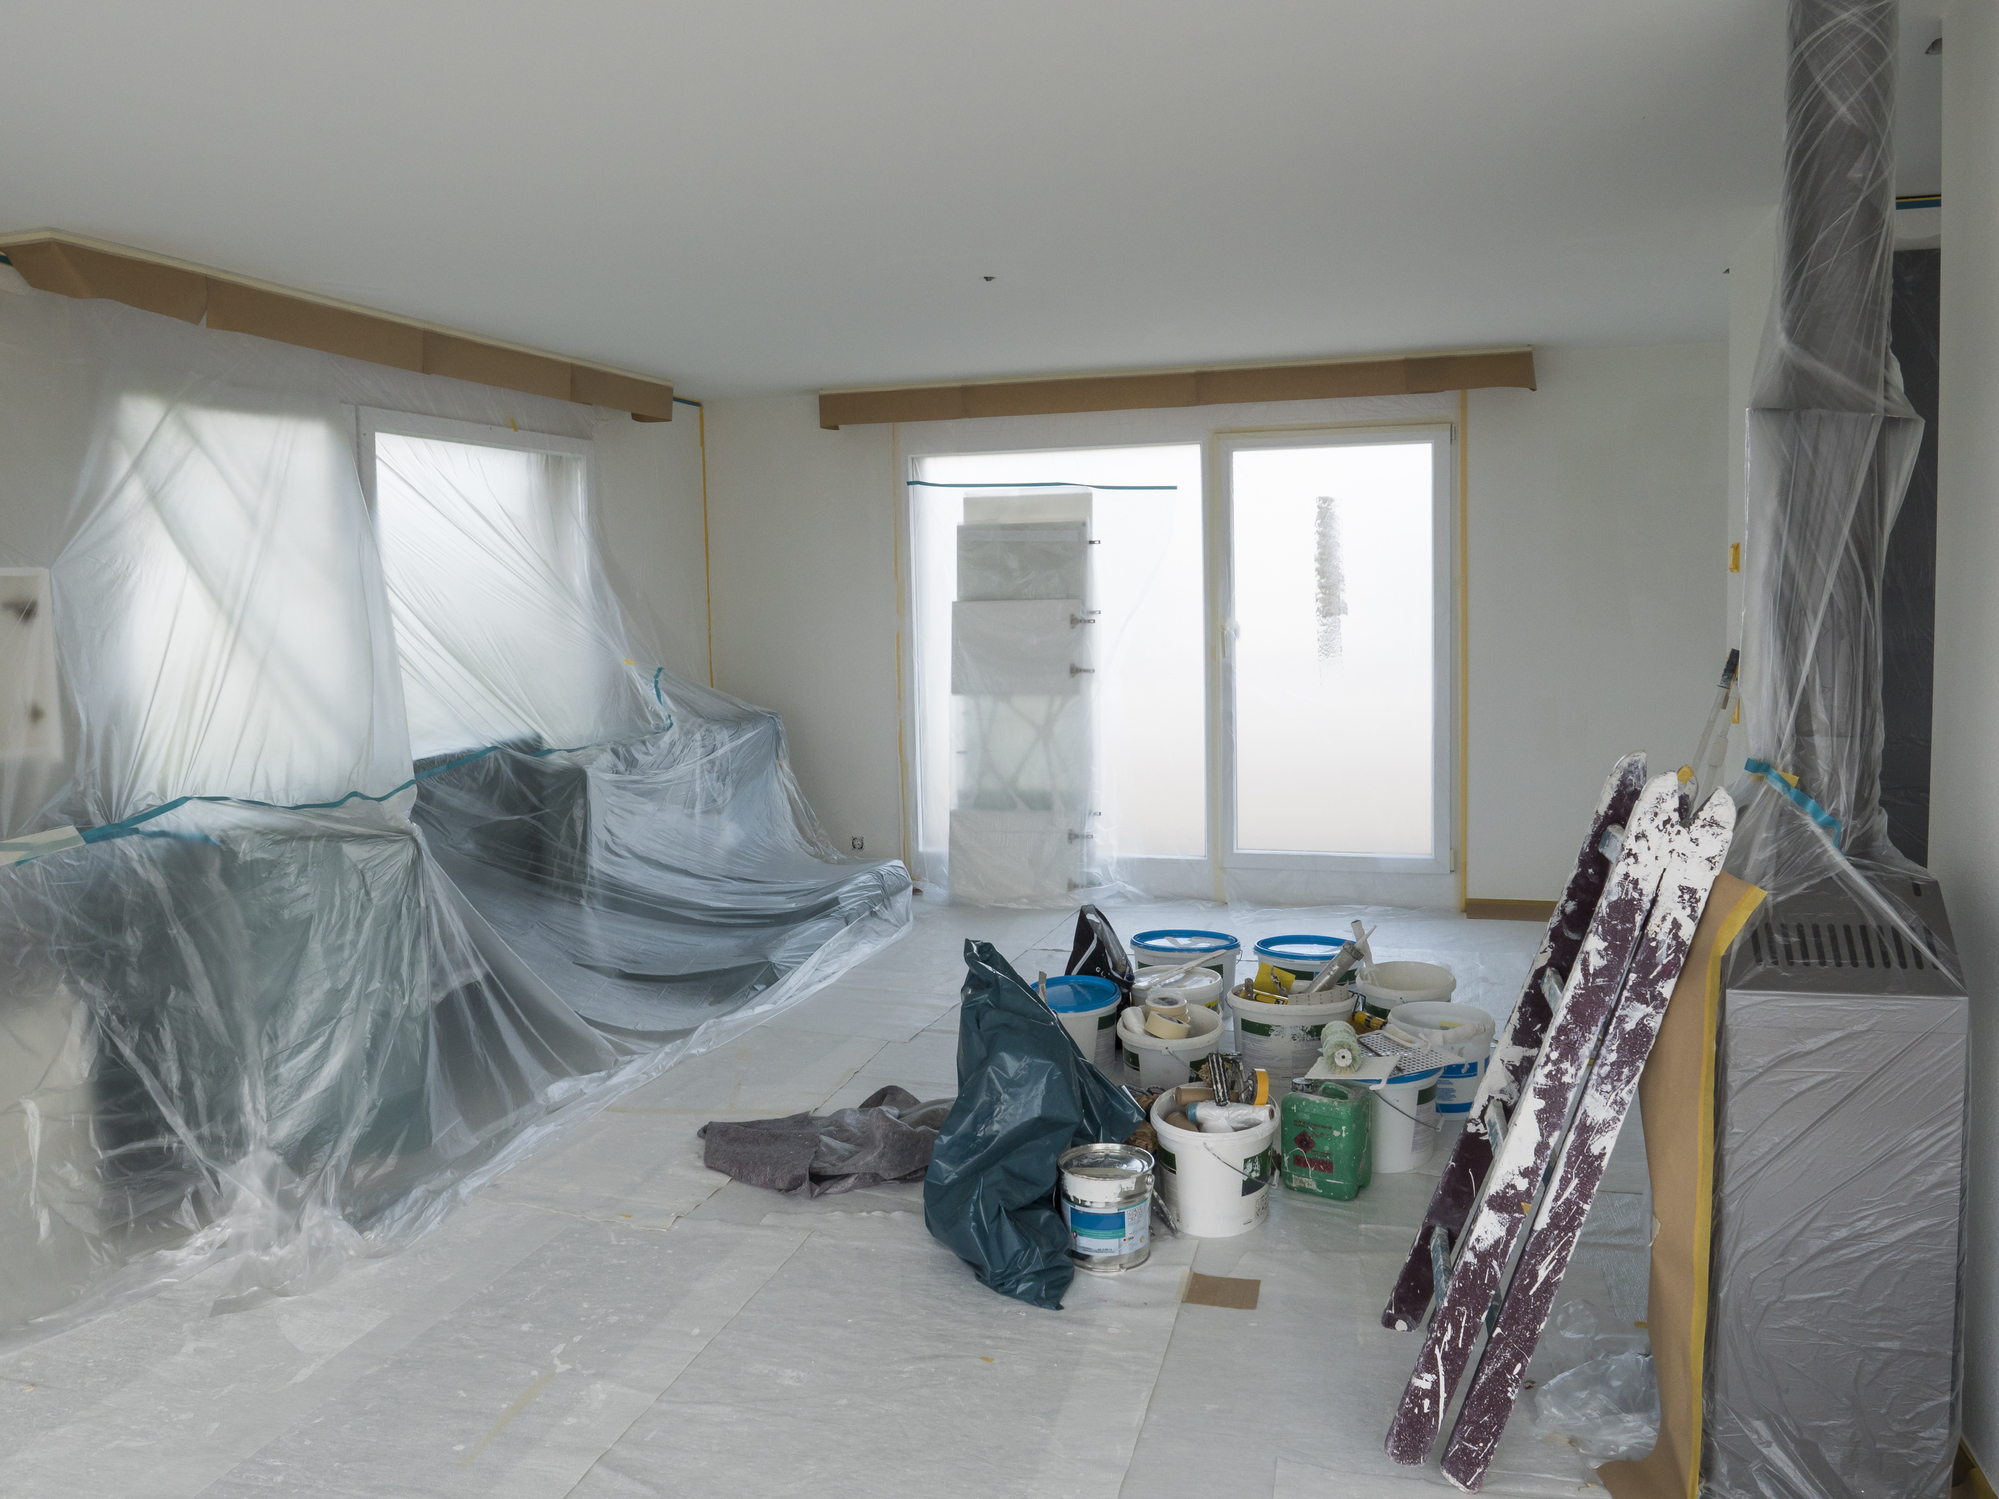
Bear in mind that the process is slightly different when painting new plaster, as you'll need to apply a mist coat beforehand.
Can I Paint Over Lining Paper?
Lining paper is great for hiding small imperfections, for instance when painting a hallway, and giving a smooth finish similar to newly plastered walls. It's also great for hiding dark colours that are hard to cover with a light colour like white.
If you have poor quality walls use lining paper as a base for heavily textured wallpaper. If they're really poor quality, get them re-plastered.
If the lining paper is coming away at the edges use a strong wallpaper paste or border adhesive to stick down. If it is ripped or damaged its best to cut out around the area and replace. This can be tricky, an alternative is to remove and replace the whole strip. When ready simply paint as you would any wall.
Painting a Wall Step by Step
1. Start at the ceiling
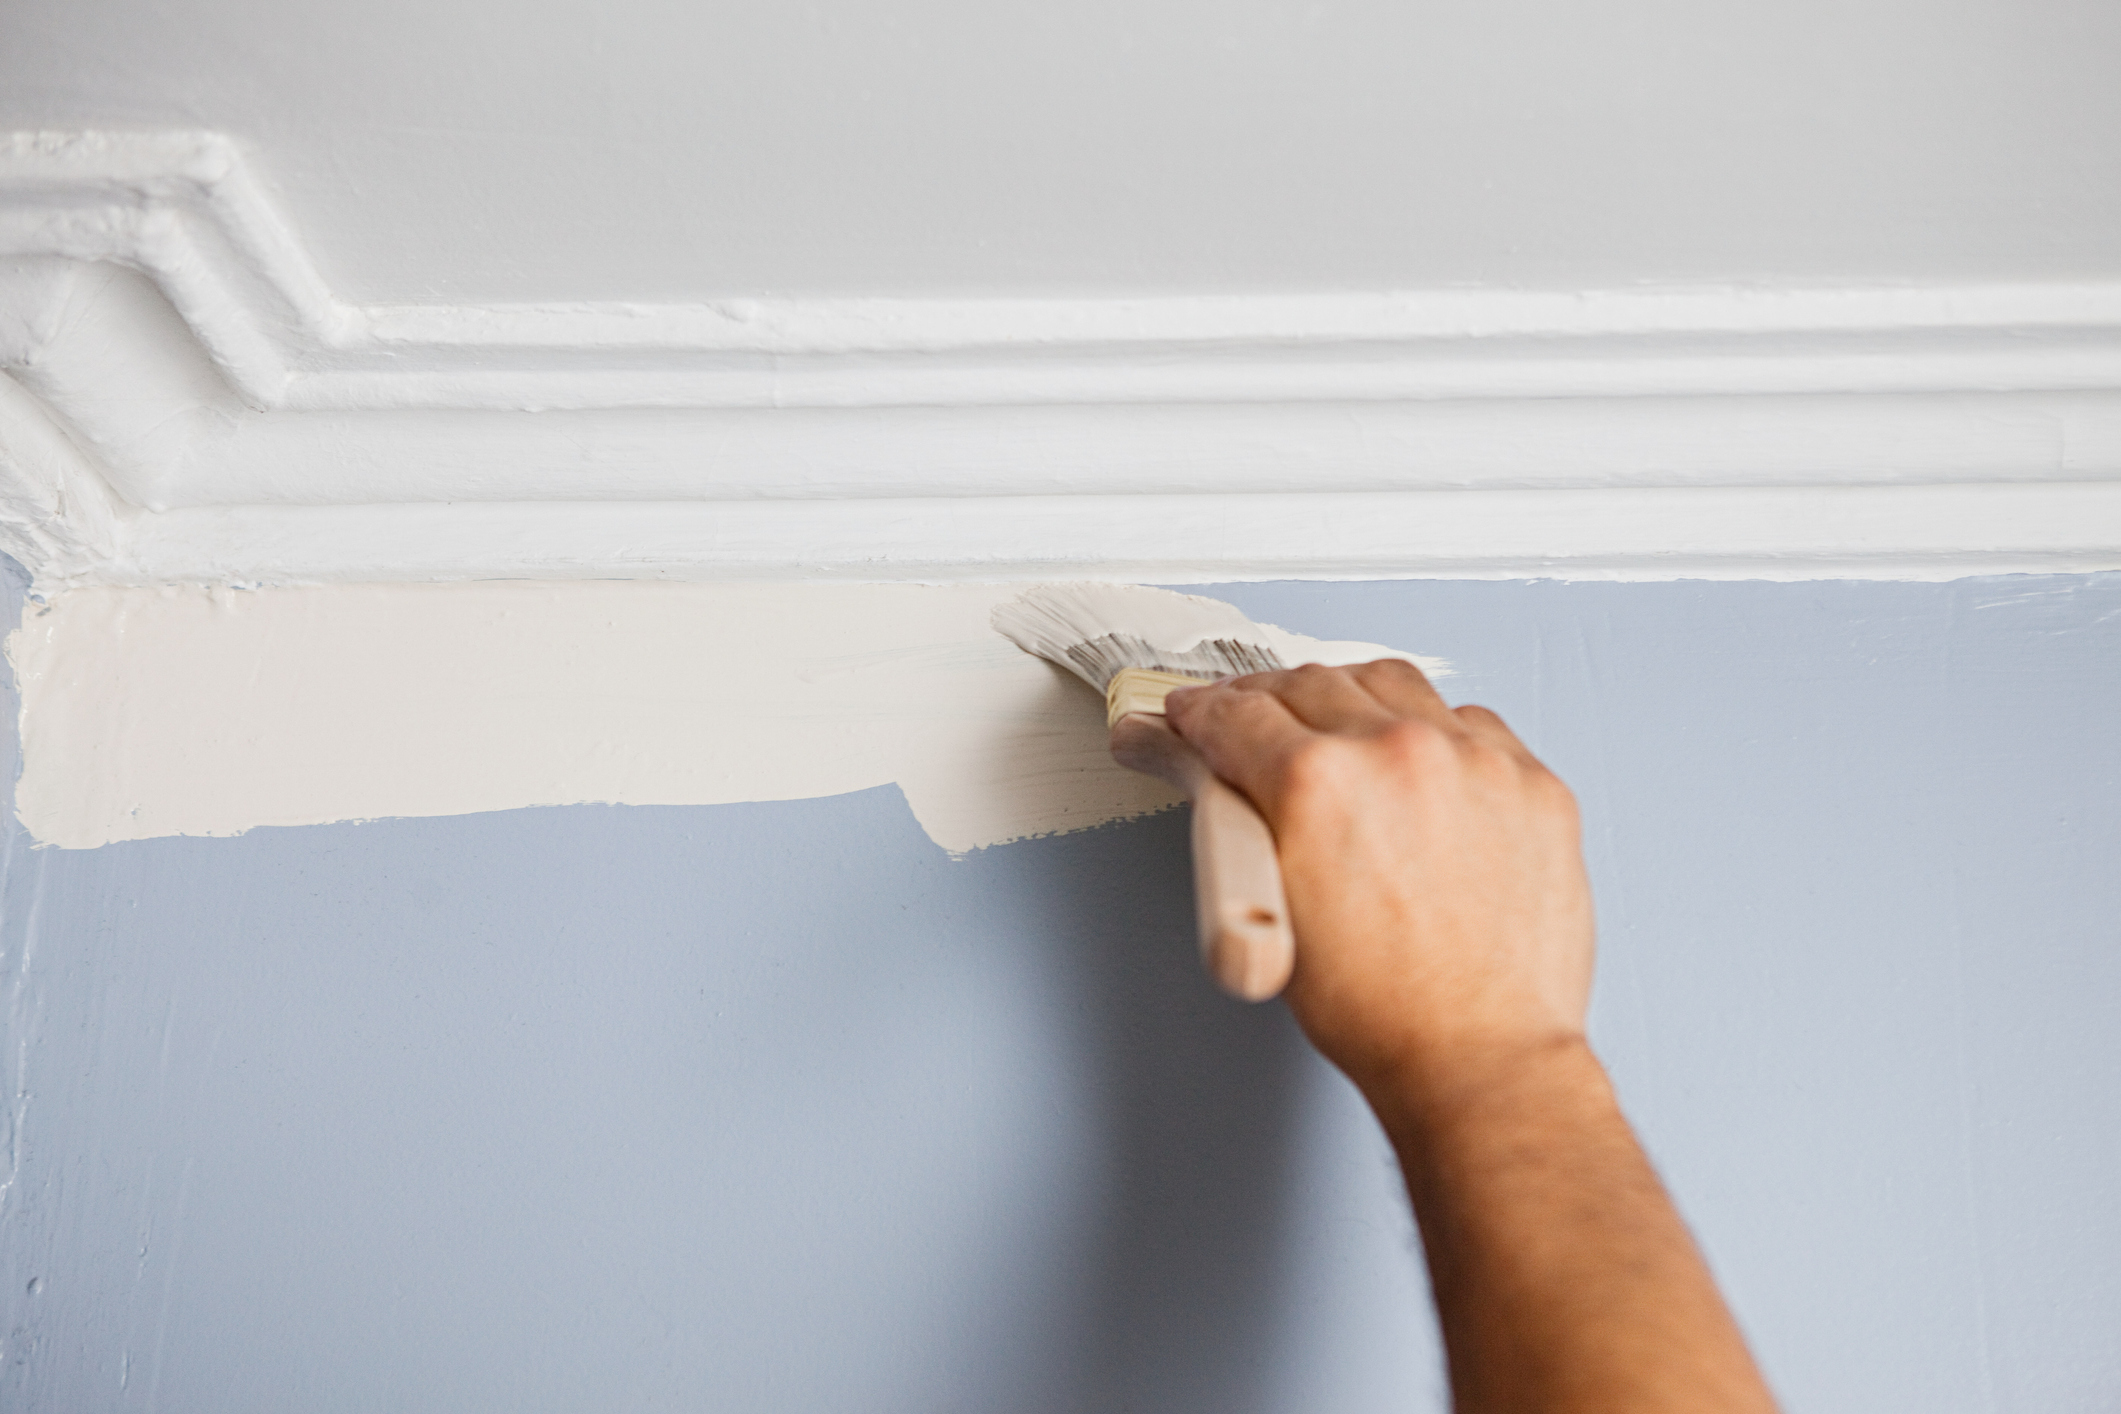
Start by cutting in at the ceiling. Start in the corner and work across to the opposite corner. To get a clean line at corners, load the brush with paint and gently wiggle into the corner and then sweep into the already added paint to blend. Use a flat brush to feather and get rid of ridges.
2. Create a border
Now paint roughly a brush width on both sides of the corner you finished at from the ceiling to the skirting board. Make sure to load your brush with plenty of paint, but make sure to paint out to a smooth even finish.
Now go back to the corner where you started and do the same. Now cut in along the skirting board to create a border for the wall. Now repeat this process on each wall to be painted. If only painting one wall, only cut in on the wall to be painted.
3. Doors, windows and fixtures
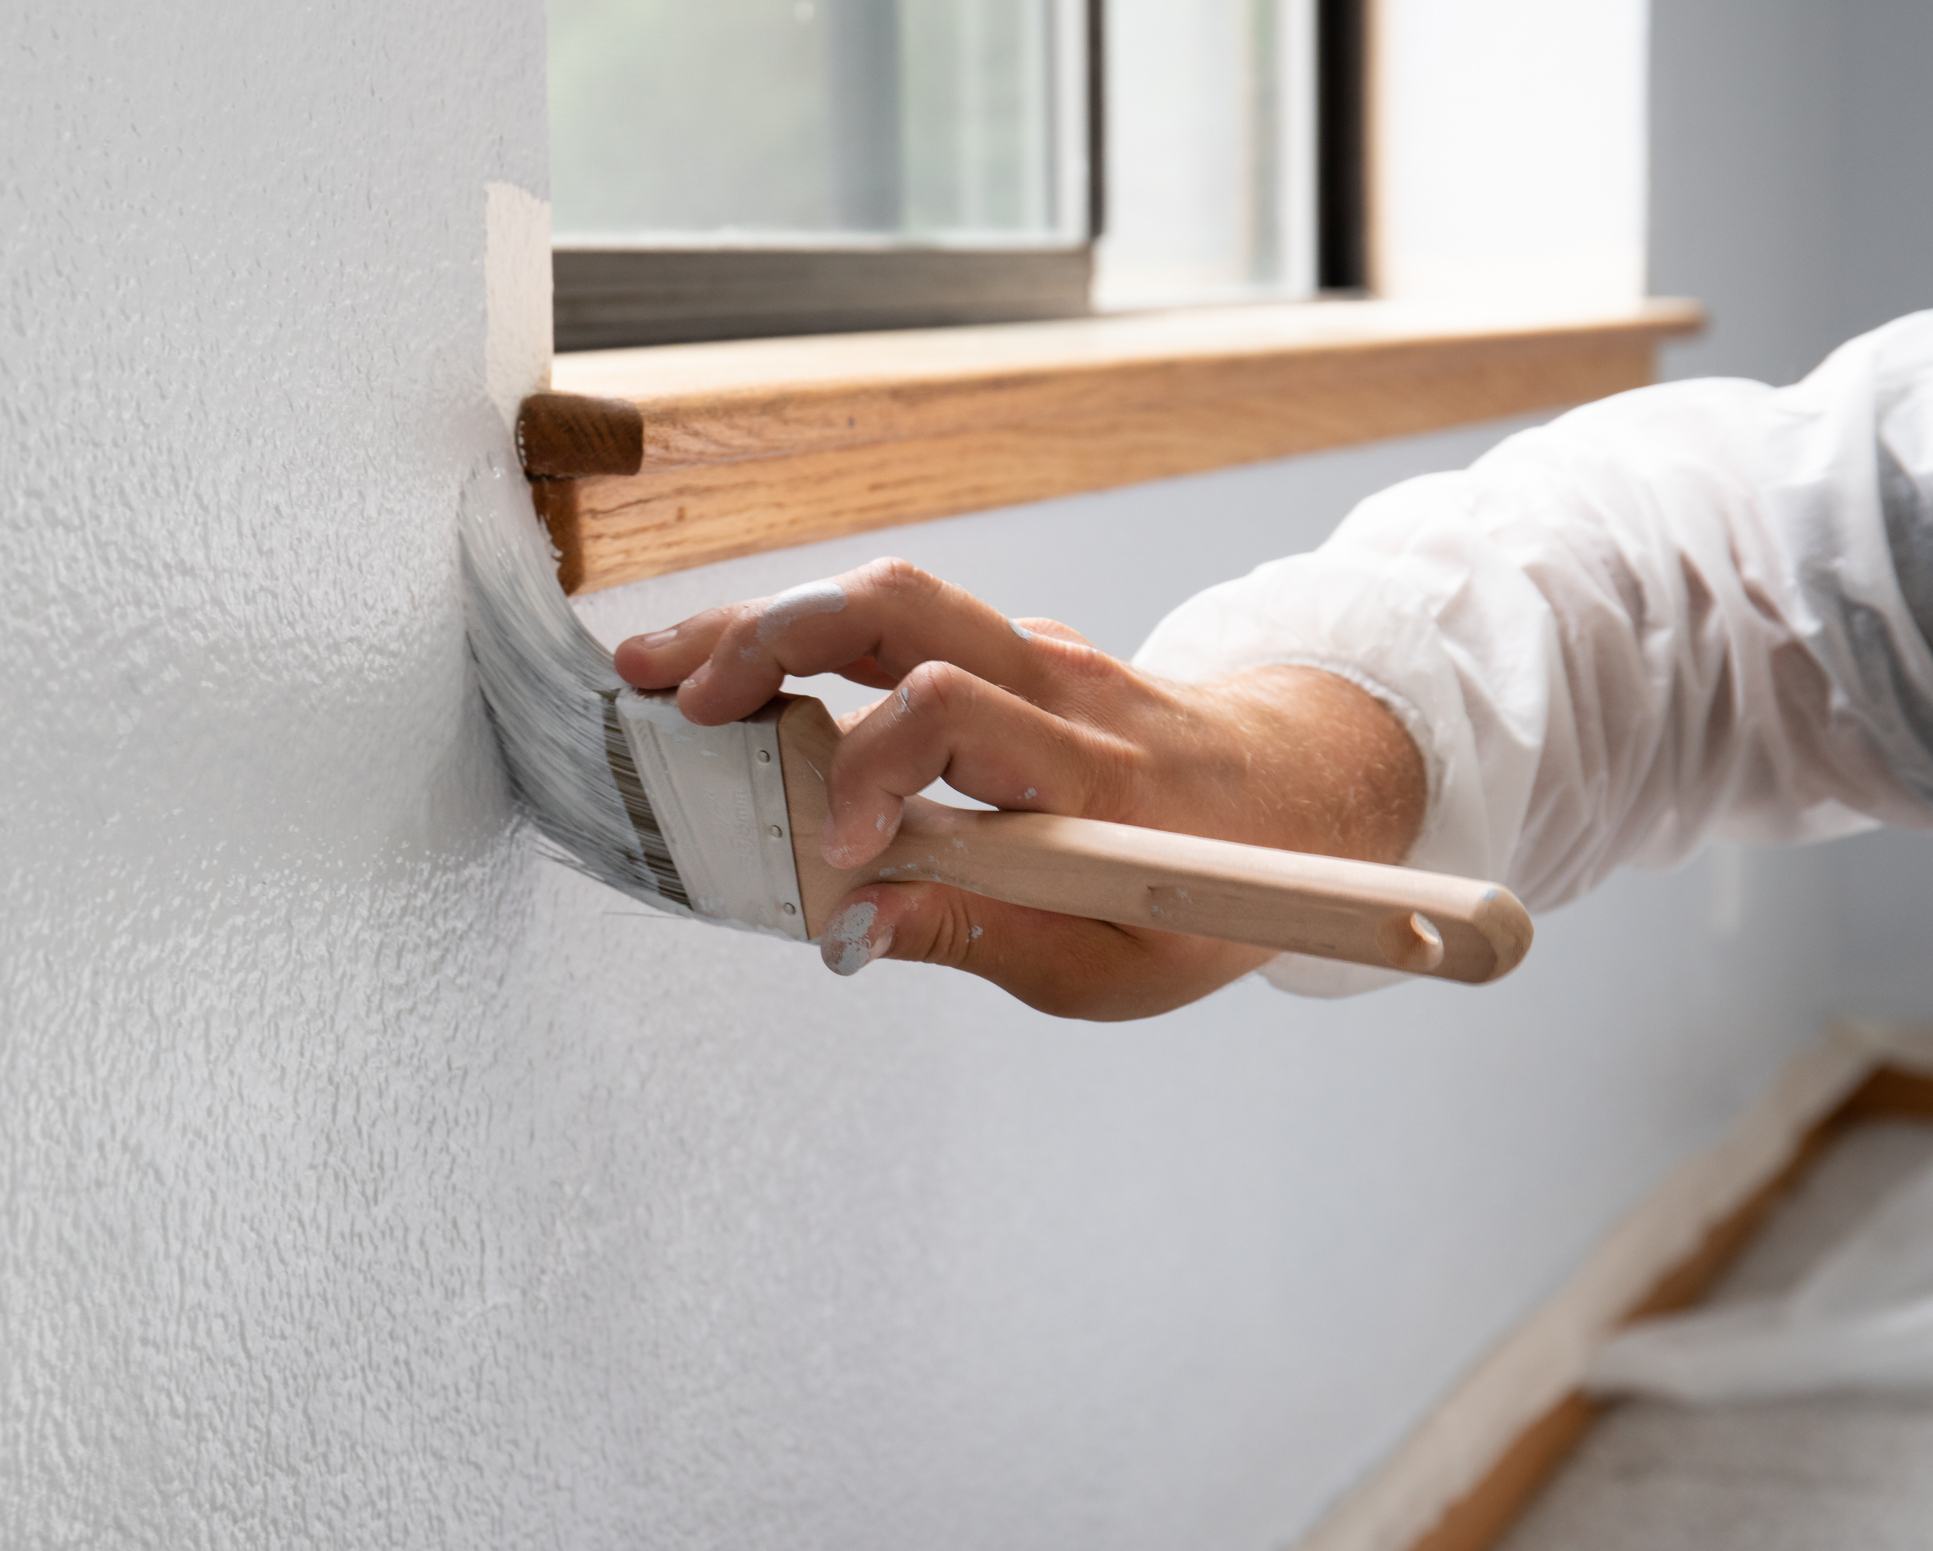
If the wall has a window or door cut in around these and create a two to three inch border. Start at the top, cut in either side and finish at the bottom (on windows). For fixtures and fittings such as plug sockets and light switches, cover with masking tape and paint a border around them.
4. Finish with a roller
To finish a wall get a 9-inch roller and a tray. Fill the tray with paint and load the roller with paint. Roller sleeves have different lengths, the common choice is a medium pile which leaves a subtle texture. For more texture use a deep pile, for a smoother finish use a short pile or foam roller. Start at the top - use an extension pole or step ladder to reach - in the corner and do a strip from ceiling to floor. Use a V or W shape to apply the paint and then fill in the gaps. Use a light touch to apply, pressing hard will create unwanted ridges.
How do you Properly cut in?
To get a crisp straight line without masking tape you need a steady hand, a 1.5 or 2-inch angled cutting in brush and a little practice and patience. If not confident try the following tips without any paint on the brush to get a feel for the job.
Start by loading the brush with a decent amount of paint and brush off one side on the edge of the tin or paint kettle. Start 2 or 3 inches away from the line and use a sweeping motion to get close to the line, leaving a small gap, and move along horizontally to get more paint on the wall. Now make a second pass over the same spot. Get as close to the line as possible.
Next go over the paint with a flat brush to smooth out any edges or ridges — this is known as feathering. Be careful not to get paint anywhere else, including the ceiling. Repeat this process for the second coat but paint right up to the line to get a perfect finish.
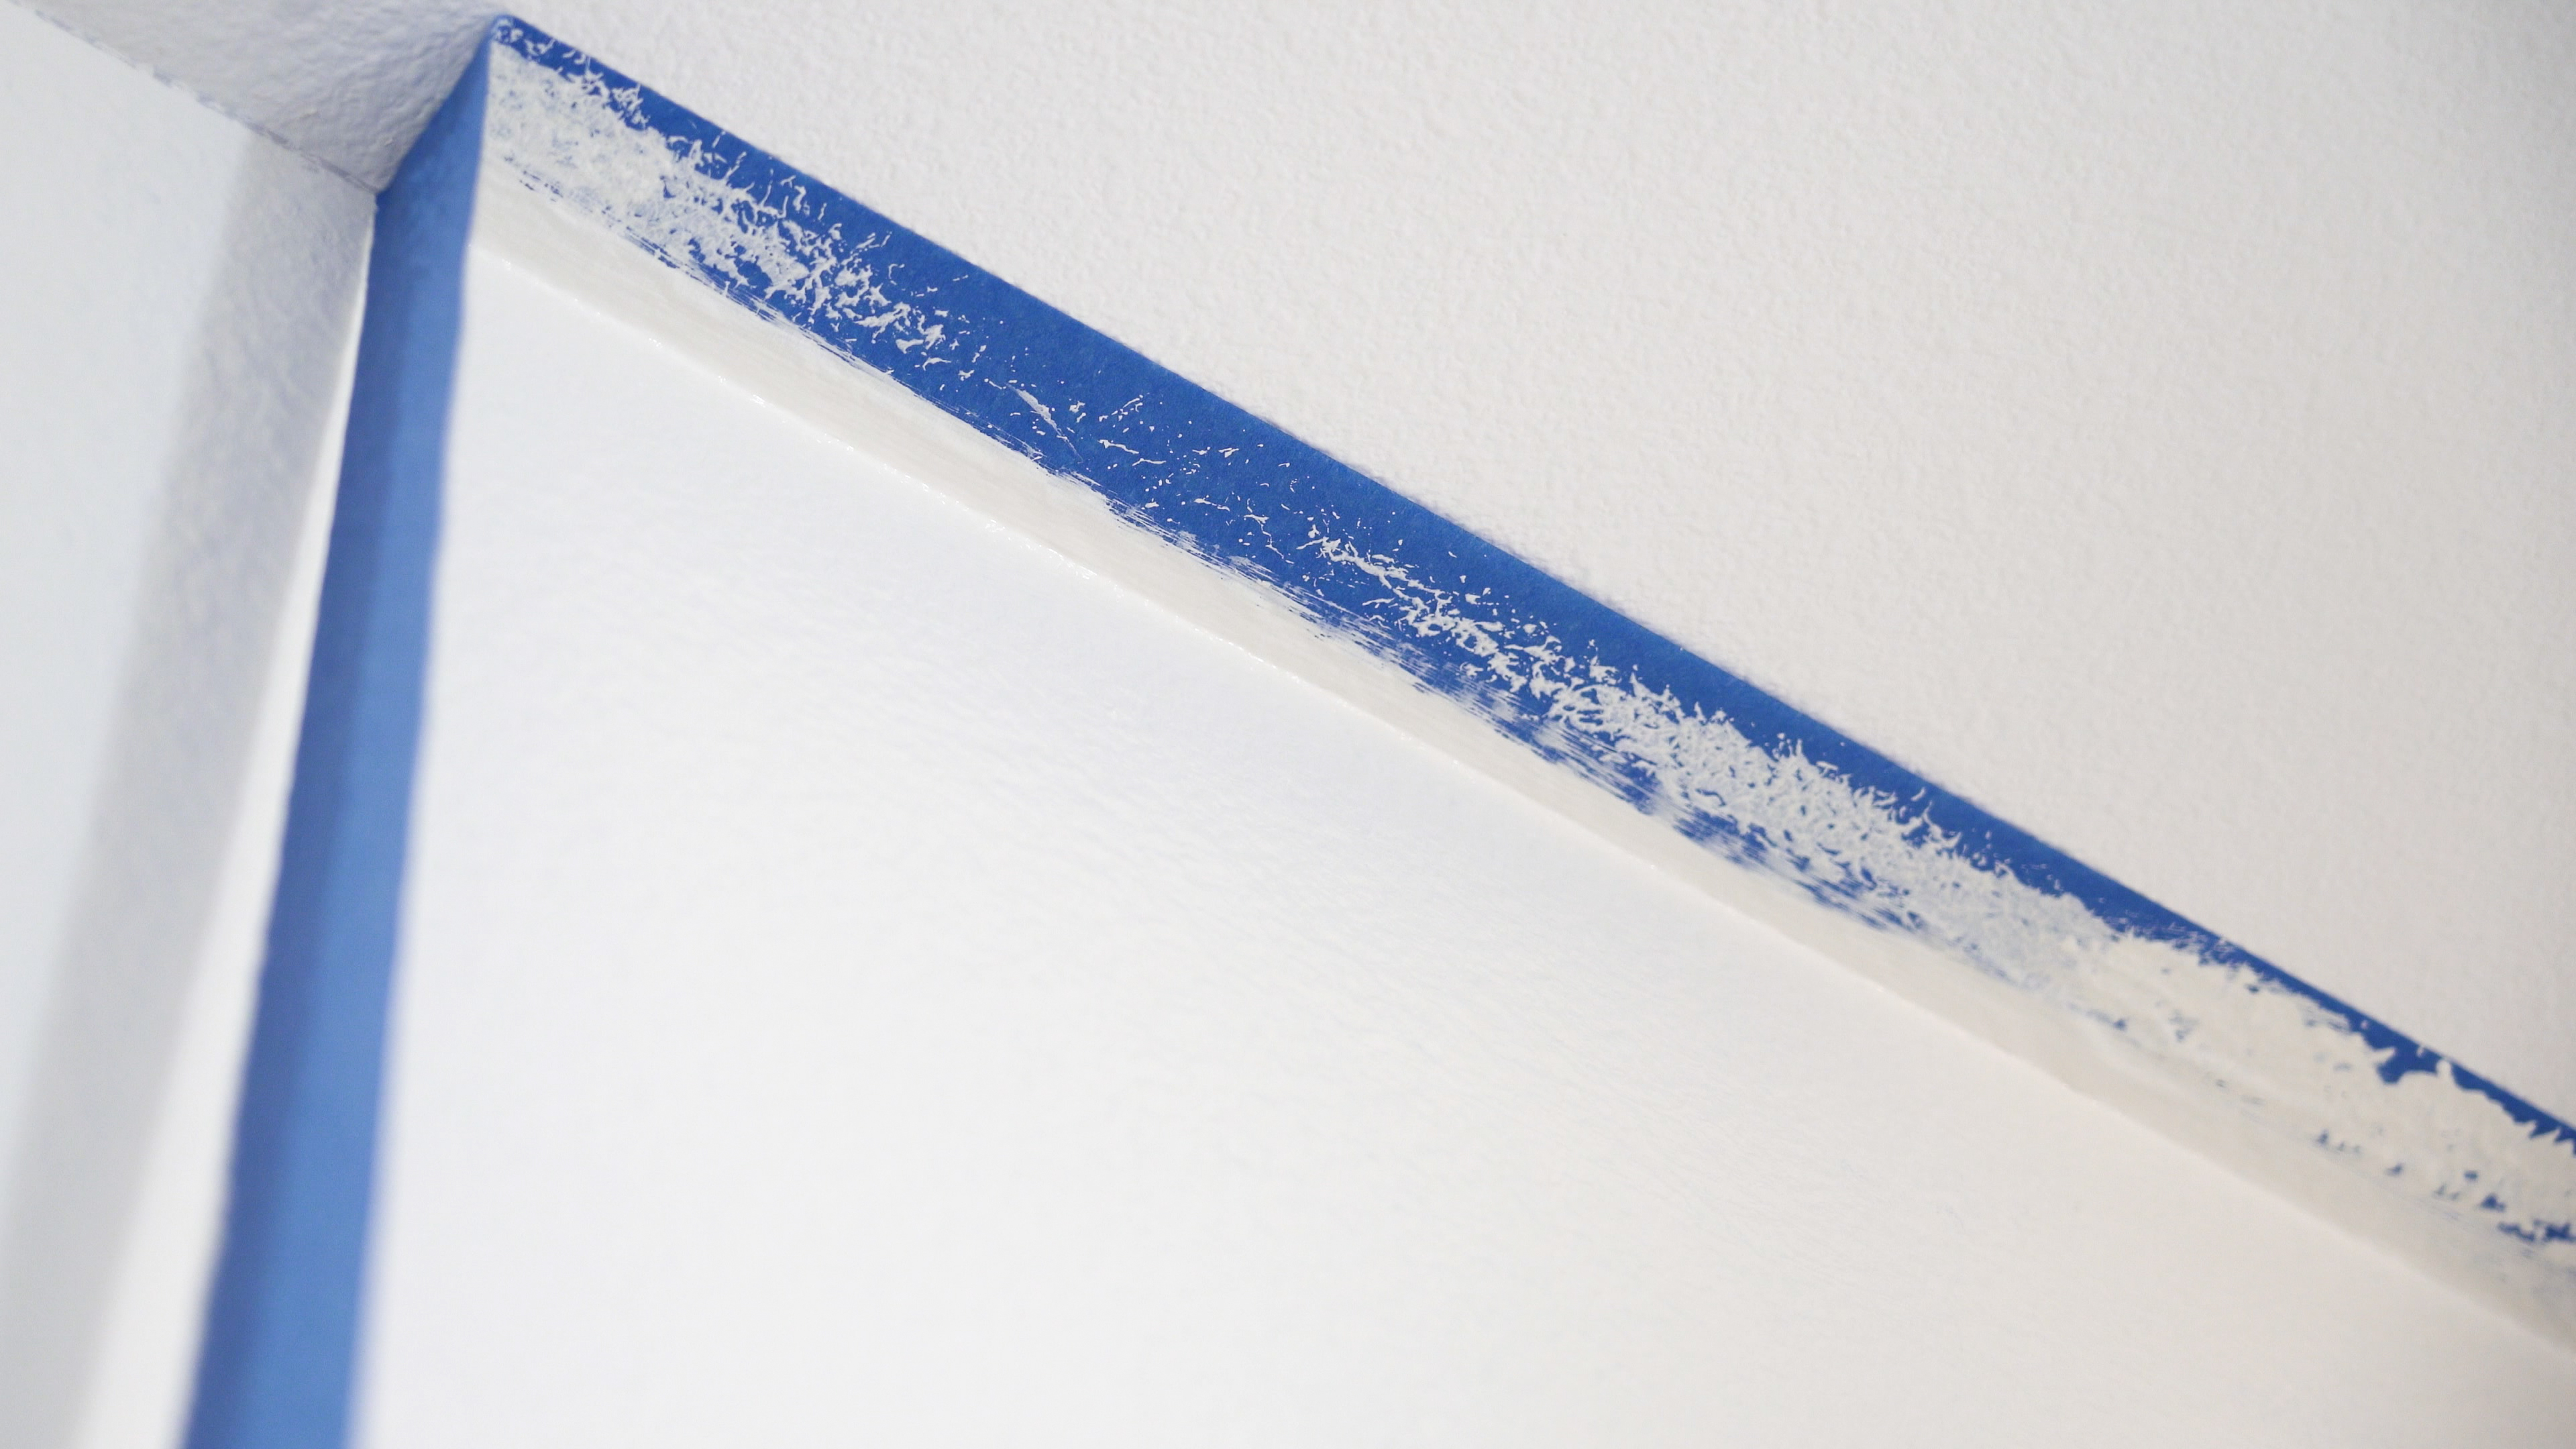
If you are not confident going freehand you can use masking tape. The pro painter’s choice is painter's tape, such as Frog Tape, available from Amazon. Make sure the area to tape is dust-free and dry. Use a vacuum to remove any dust and wipe down with a damp cloth if needed.
Start in a corner, apply the tape to the surface and unroll - keeping the roll next to the edge of the surface e.g. skirting board. Cut at around five feet intervals. Make sure there are no gaps, if there are, patch with more tape. Finally go over the edge with a paint scraper to press down the edge to stop leakage.
After you have finished painting, let the paint dry a little. For example if it’s touch dry in one hour leave for around 20 minutes. Then pull the tape off slowly at a 45° angle.
Get the Homebuilding & Renovating Newsletter
Bring your dream home to life with expert advice, how to guides and design inspiration. Sign up for our newsletter and get two free tickets to a Homebuilding & Renovating Show near you.
Steve Jenkins is a freelance content creator with over two decades of experience working in digital and print and was previously the DIY content editor for Homebuilding & Renovating.
He is a keen DIYer with over 20 years of experience in transforming and renovating the many homes he has lived in. He specialises in painting and decorating, but has a wide range of skills gleaned from working in the building trade for around 10 years and spending time at night school learning how to plaster and plumb.
He has fitted kitchens, tiled bathrooms and kitchens, laid many floors, built partition walls, plastered walls, plumbed in bathrooms, worked on loft conversions and much more. And when he's not sure how to tackle a DIY project he has a wide network of friends – including plumbers, gas engineers, tilers, carpenters, painters and decorators, electricians and builders – in the trade to call upon.

