Painting a uPVC Door: Tips for the Perfect Finish
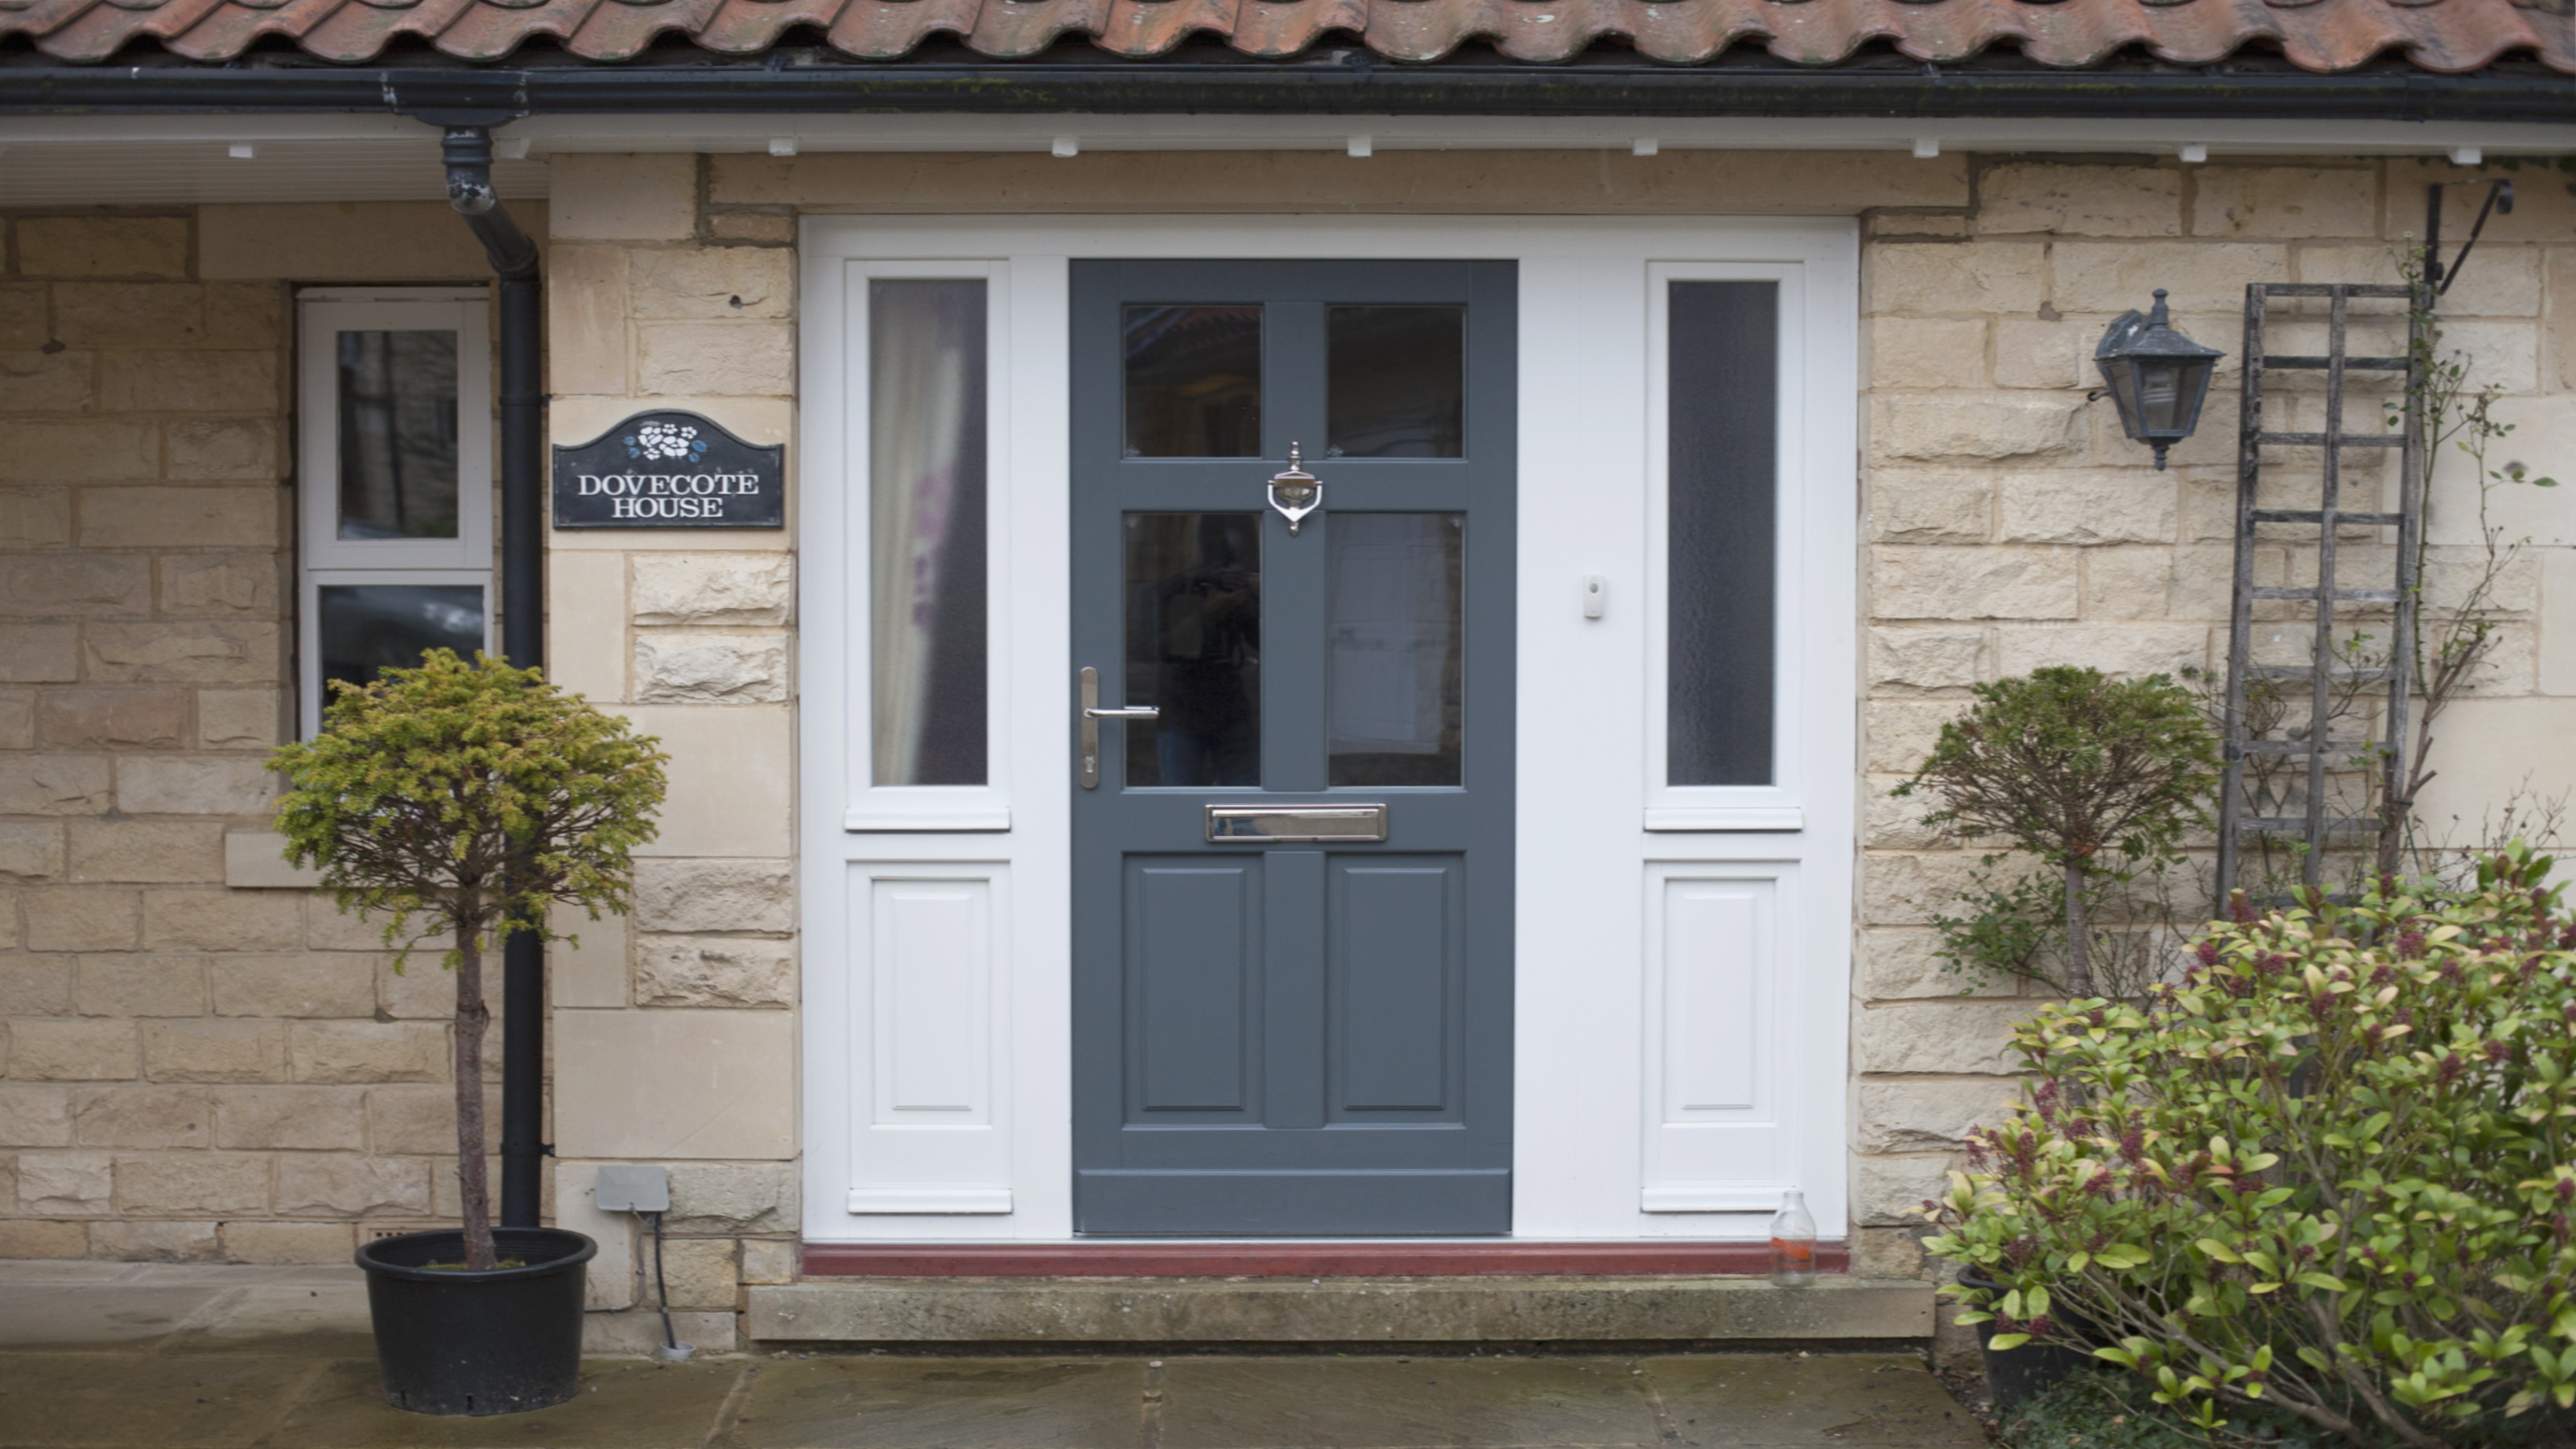
Painting a uPVC door could be the first step to freshening up your home. Discover how to transform exterior uPVC doors with our pro painting tips

Bring your dream home to life with expert advice, how to guides and design inspiration. Sign up for our newsletter and get two free tickets to a Homebuilding & Renovating Show near you.
You are now subscribed
Your newsletter sign-up was successful
Painting a uPVC door can greatly help revitalise your home's entrances. Do you have uPVC doors that show serious signs of discoloration? Perhaps you're moving house soon and want to give them a fresh new look to impress buyers, or simply fed up with the current colour and want to spruce things up with a brand new shade.
While painting a front door can lend kerb appeal, a poor finish can ruin that all-important first impression of your house. As such, it's vital that you understand how to achieve a good finish for the job, particularly when painting materials such as uPVC.
Our expert guide will show you exactly how to go about painting a uPVC door, from cleaning and prepping the surface to knowing which paints will work best. What's more, if you're thinking about painting a uPVC door, spring is the perfect to undertake this task.
Can You Paint a uPVC Door?
The truth is, uPVC doors can be painted; they just weren’t designed to be painted.
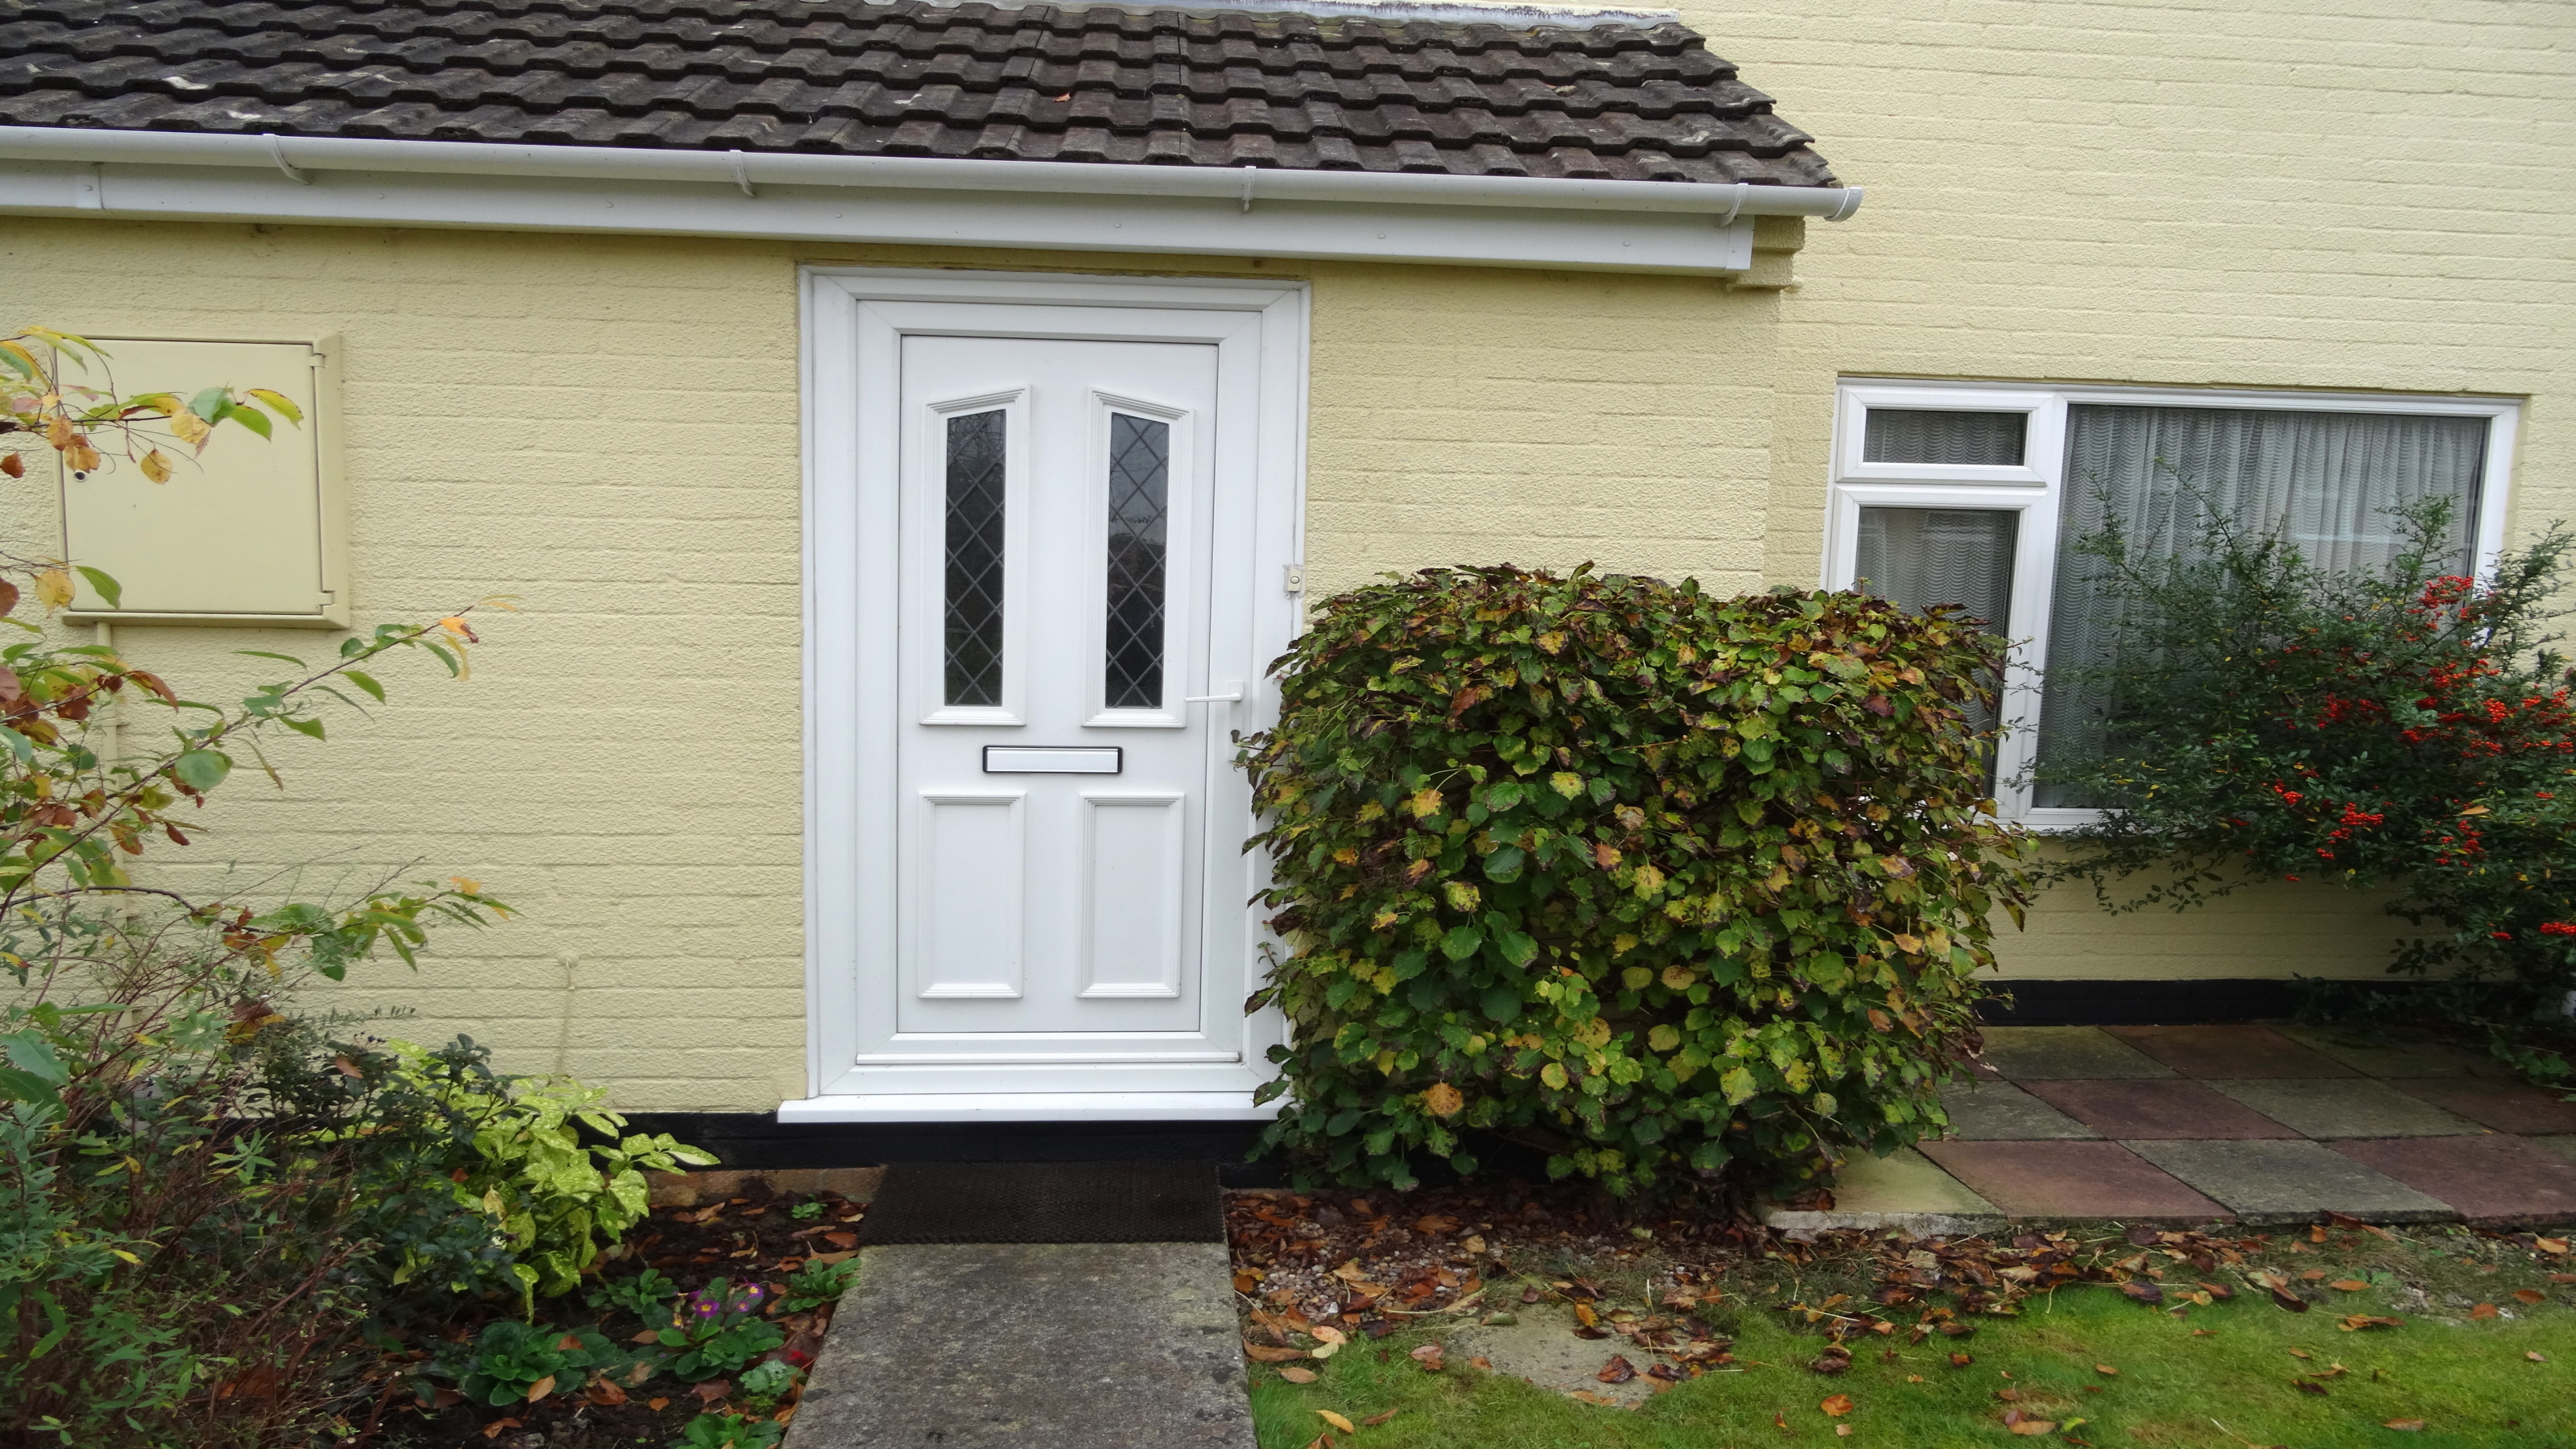
Most uPVC doors are manufactured to be hard-wearing, low-maintenance and naturally resistant to all types of weather, as well as paint. However, as they age, uPVC doors can become discoloured – especially if exposed to direct sunlight for long enough – and display the effects of general wear and tear.
A fresh coat of paint will give any uPVC door a like-new look. Still, it needs to be prepared properly beforehand to ensure that your chosen paint adheres to the door for a long-lasting finish.

A Step-By-Step Guide to Painting a uPVC Door
Painting a uPVC door means allowing enough time for methodical work. Similar to painting uPVC windows, you must take care with any uPVC paint job, as being too rushed or heavy-handed could result in unsightly streaks and blotches that will require even more effort to put right.
Bring your dream home to life with expert advice, how to guides and design inspiration. Sign up for our newsletter and get two free tickets to a Homebuilding & Renovating Show near you.
For first-rate results when painting a uPVC door, follow these steps:
1. Remove Any Door Furniture and Give Everything a Thorough Clean
When painting a door, there is usually the option to remove the door completely if you prefer (and are able), but when only painting the front of the door, it's not necessary.
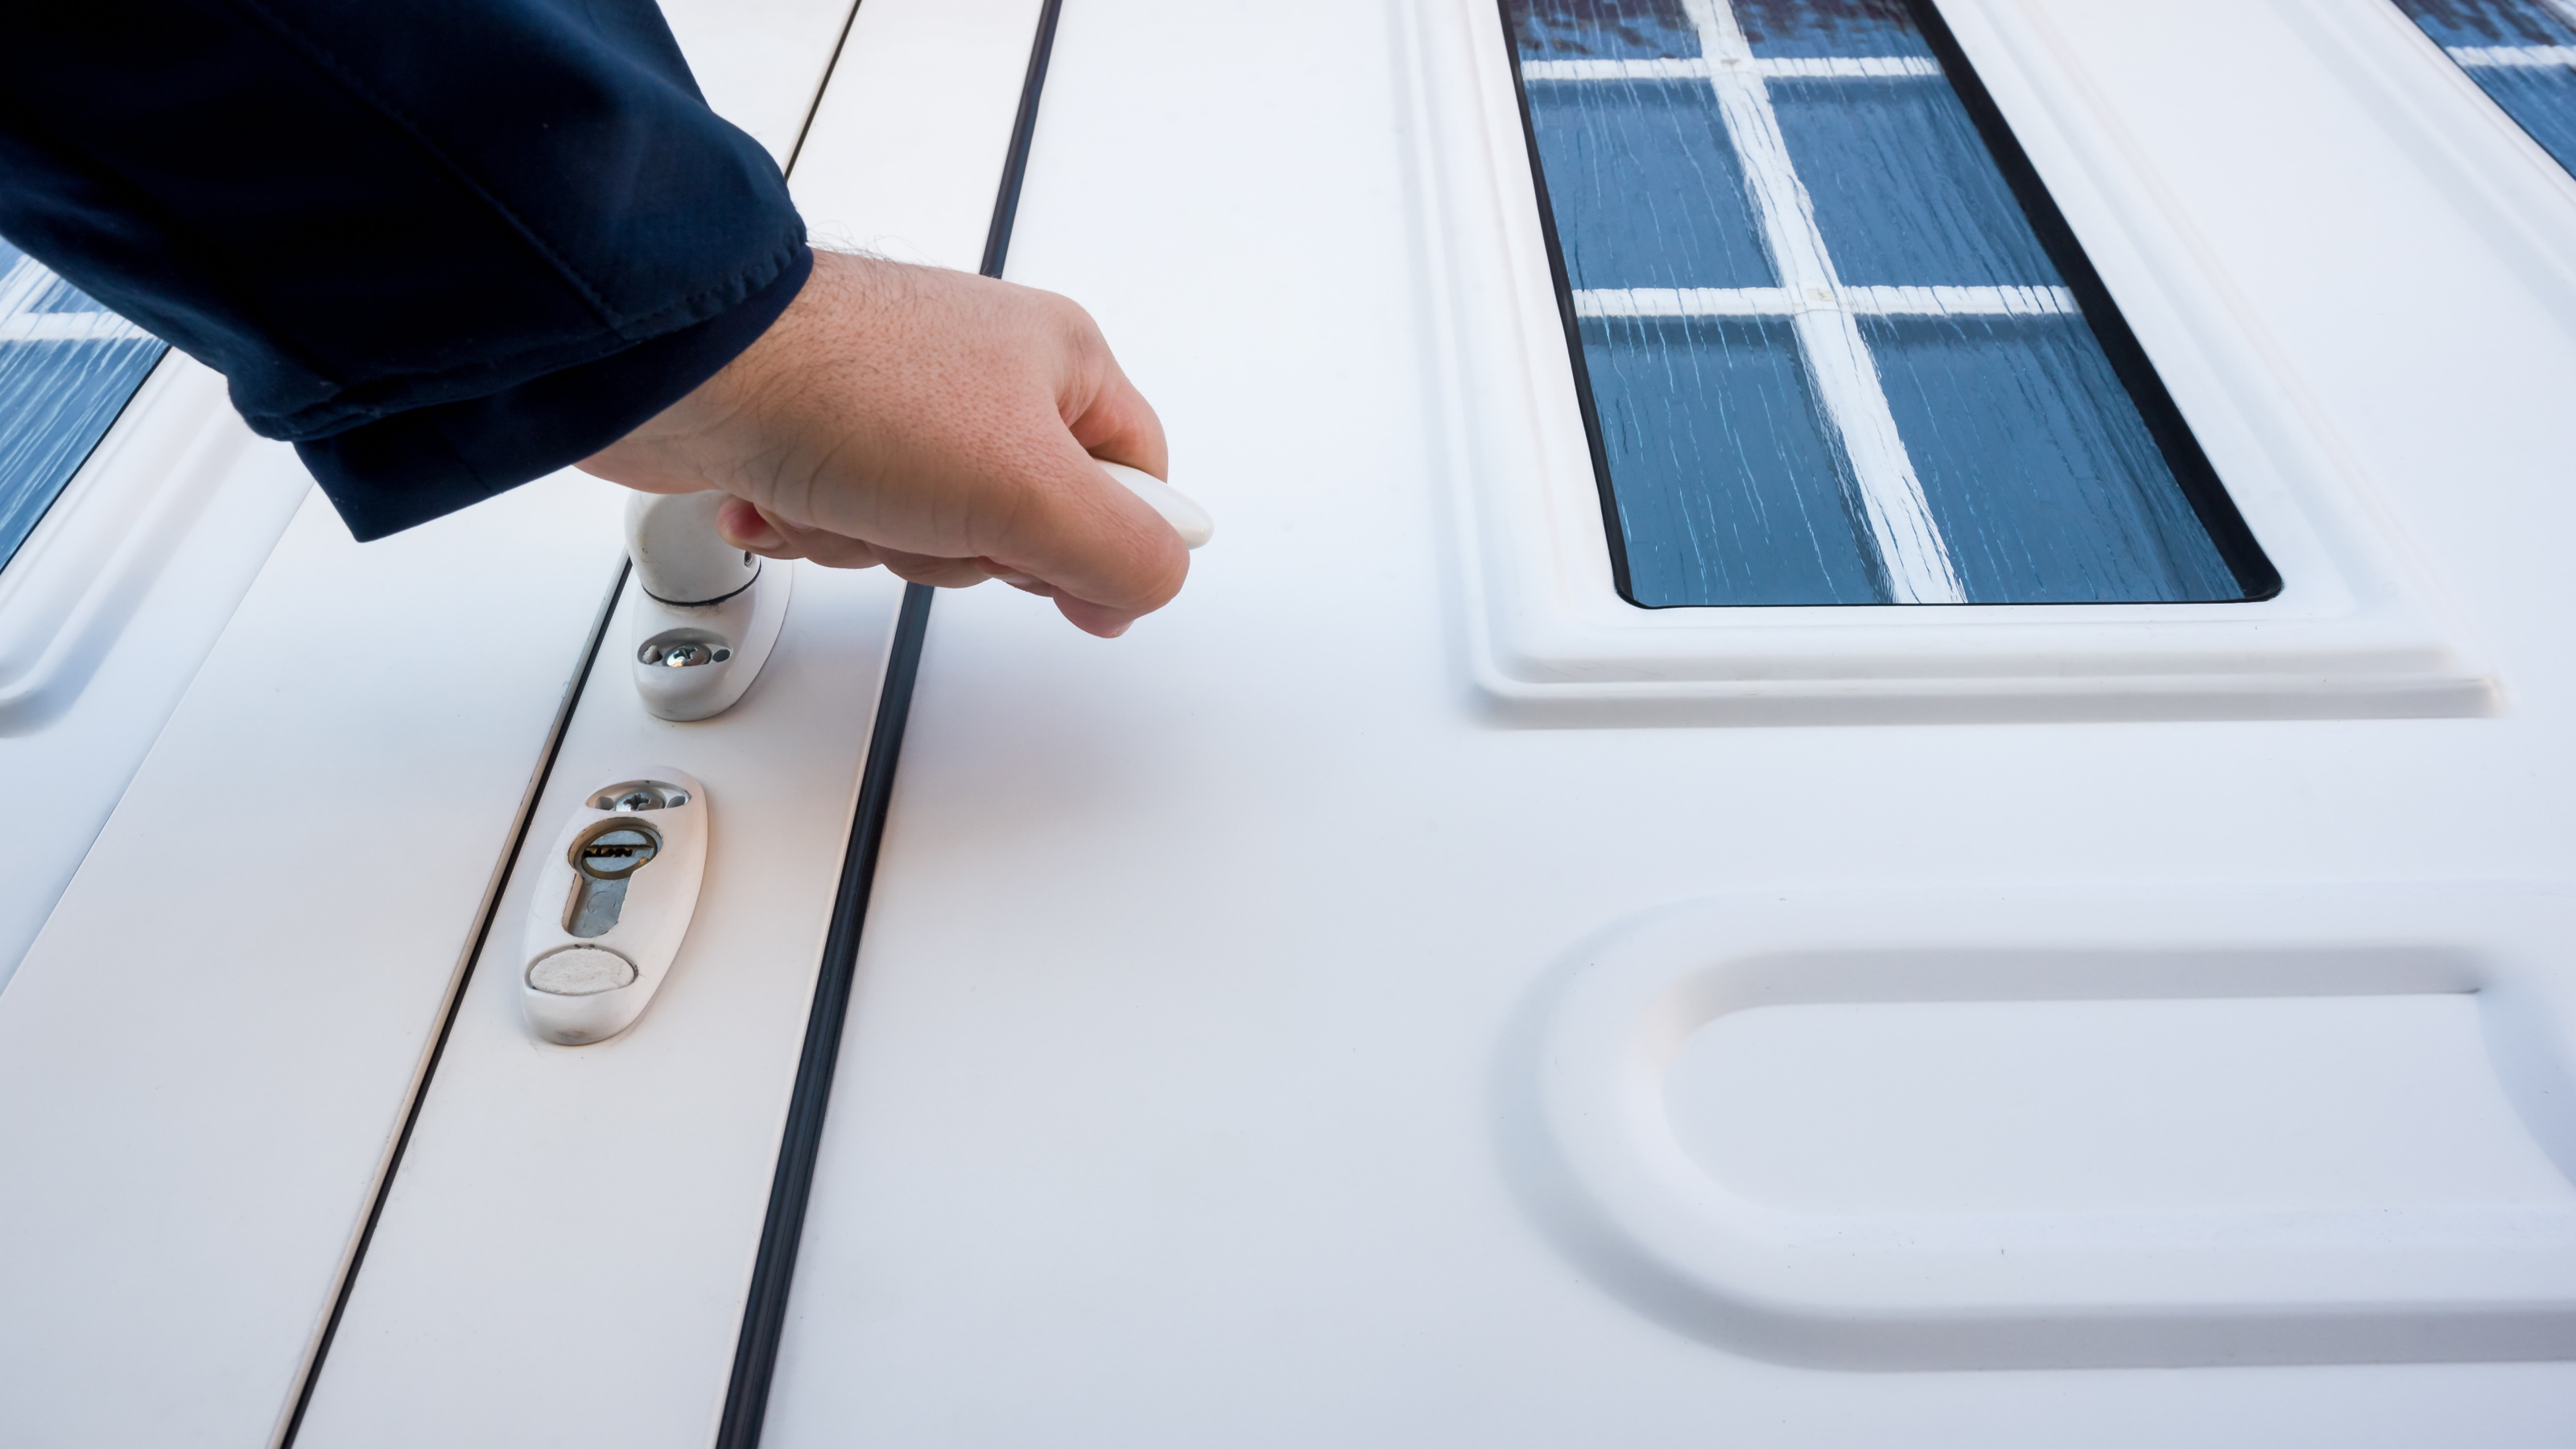
However, to simplify the painting process and get a more professional finish, you will need to remove door furniture such as handles, knockers and letterboxes. If you want to paint these, do them separately and reattach once the uPVC door is finished.
Finally, give the door a good clean. Get a bucket of hot soapy water and wash down the door with a kitchen scourer. If you have really stubborn dirt, grease or stains, using sugar soap will help break them up. Just make sure to wash the door with clean warm water afterwards to remove any soap residue.
2. Prepare and Prime the uPVC Door Surface
To improve paint adhesion and achieve a long-lasting finish, you will need to sand all the uPVC door areas to be painted. Use a fine sandpaper for this part — 180-220 grit is an ideal choice.
Make sure to sand all areas that are to be painted, otherwise this will likely result in a patchy, uneven finish. After sanding, brush down the door and then wipe with a damp cloth to get rid of any dust.
Also, make sure to use painters tape or masking tape along with paper to cover any glass panels and prevent the paint from spattering.
A lot of paints state that you don’t need a primer when painting a uPVC door, but for a durable, long-lasting finish a primer is essential. You can apply your primer with a brush or roller.
If you decide to use a brush, choose a 2-4 inch product, depending on how intricate your door design is. Choosing one of the best paint brushes on the market will help to minimise stray paint bristles ruining your finish.
For larger sections, use a foam or short pile roller, before leaving to dry as instructed.
3. Start Painting Your uPVC Door
Begin at the top of the door in one corner and work across and down. Work in sections, i.e., top and bottom, to prevent any uneven patterns appearing.
Use a brush to work around any edges and details first, then complete the top section. Now complete the bottom section.
Once the paint is dry and ready to recoat – allow two to four hours for this – give it a final rub down and add a second coat before leaving to dry again.
You can add a clear coat for an extra layer of protection, but most exterior paints do a perfectly good job without this.

What is the Best Paint to Use When Painting a uPVC Door?
The best paint for painting a uPVC door is one specially formulated for exteriors. This should be long-lasting, durable and weatherproof, so always be sure to check that it meets these criteria before you buy.
For your primer, Zinsser Bulls Eye 1-2-3 is a strong choice. Likewise, for the top coat, Zinsser Allcoat Exterior makes a good companion paint. It comes in a host of contemporary colours, too, and is available in matt, satin or gloss finishes.
Each of these finishes can last a long time – especially if you do your prep properly –but satin and gloss are easier to clean and require less maintenance in the long run, which should be one of your key considerations when it comes to painting a uPVC door.
Steve Jenkins is a freelance content creator with over two decades of experience working in digital and print and was previously the DIY content editor for Homebuilding & Renovating.
He is a keen DIYer with over 20 years of experience in transforming and renovating the many homes he has lived in. He specialises in painting and decorating, but has a wide range of skills gleaned from working in the building trade for around 10 years and spending time at night school learning how to plaster and plumb.
He has fitted kitchens, tiled bathrooms and kitchens, laid many floors, built partition walls, plastered walls, plumbed in bathrooms, worked on loft conversions and much more. And when he's not sure how to tackle a DIY project he has a wide network of friends – including plumbers, gas engineers, tilers, carpenters, painters and decorators, electricians and builders – in the trade to call upon.

