Painting a House: How to Give Your Home a Fresh Coat of Paint
Painting a house is a great way to transform a tired exterior or bring life to a newly rendered finish. Our expert explains how to do it

Painting a house that's looking tired, dated or in need of a freshen up can really boost its kerb appeal. If you are considering doing it yourself you will need to be well prepared and ready for some serious hard work.
In this guide, we focus on giving you some essential expert tips and tricks on how to get a professional looking finish on rendered exteriors. But don't be afraid to apply this tutorial to clad exteriors such as plastic, wood or brick. The principles are very much the same.
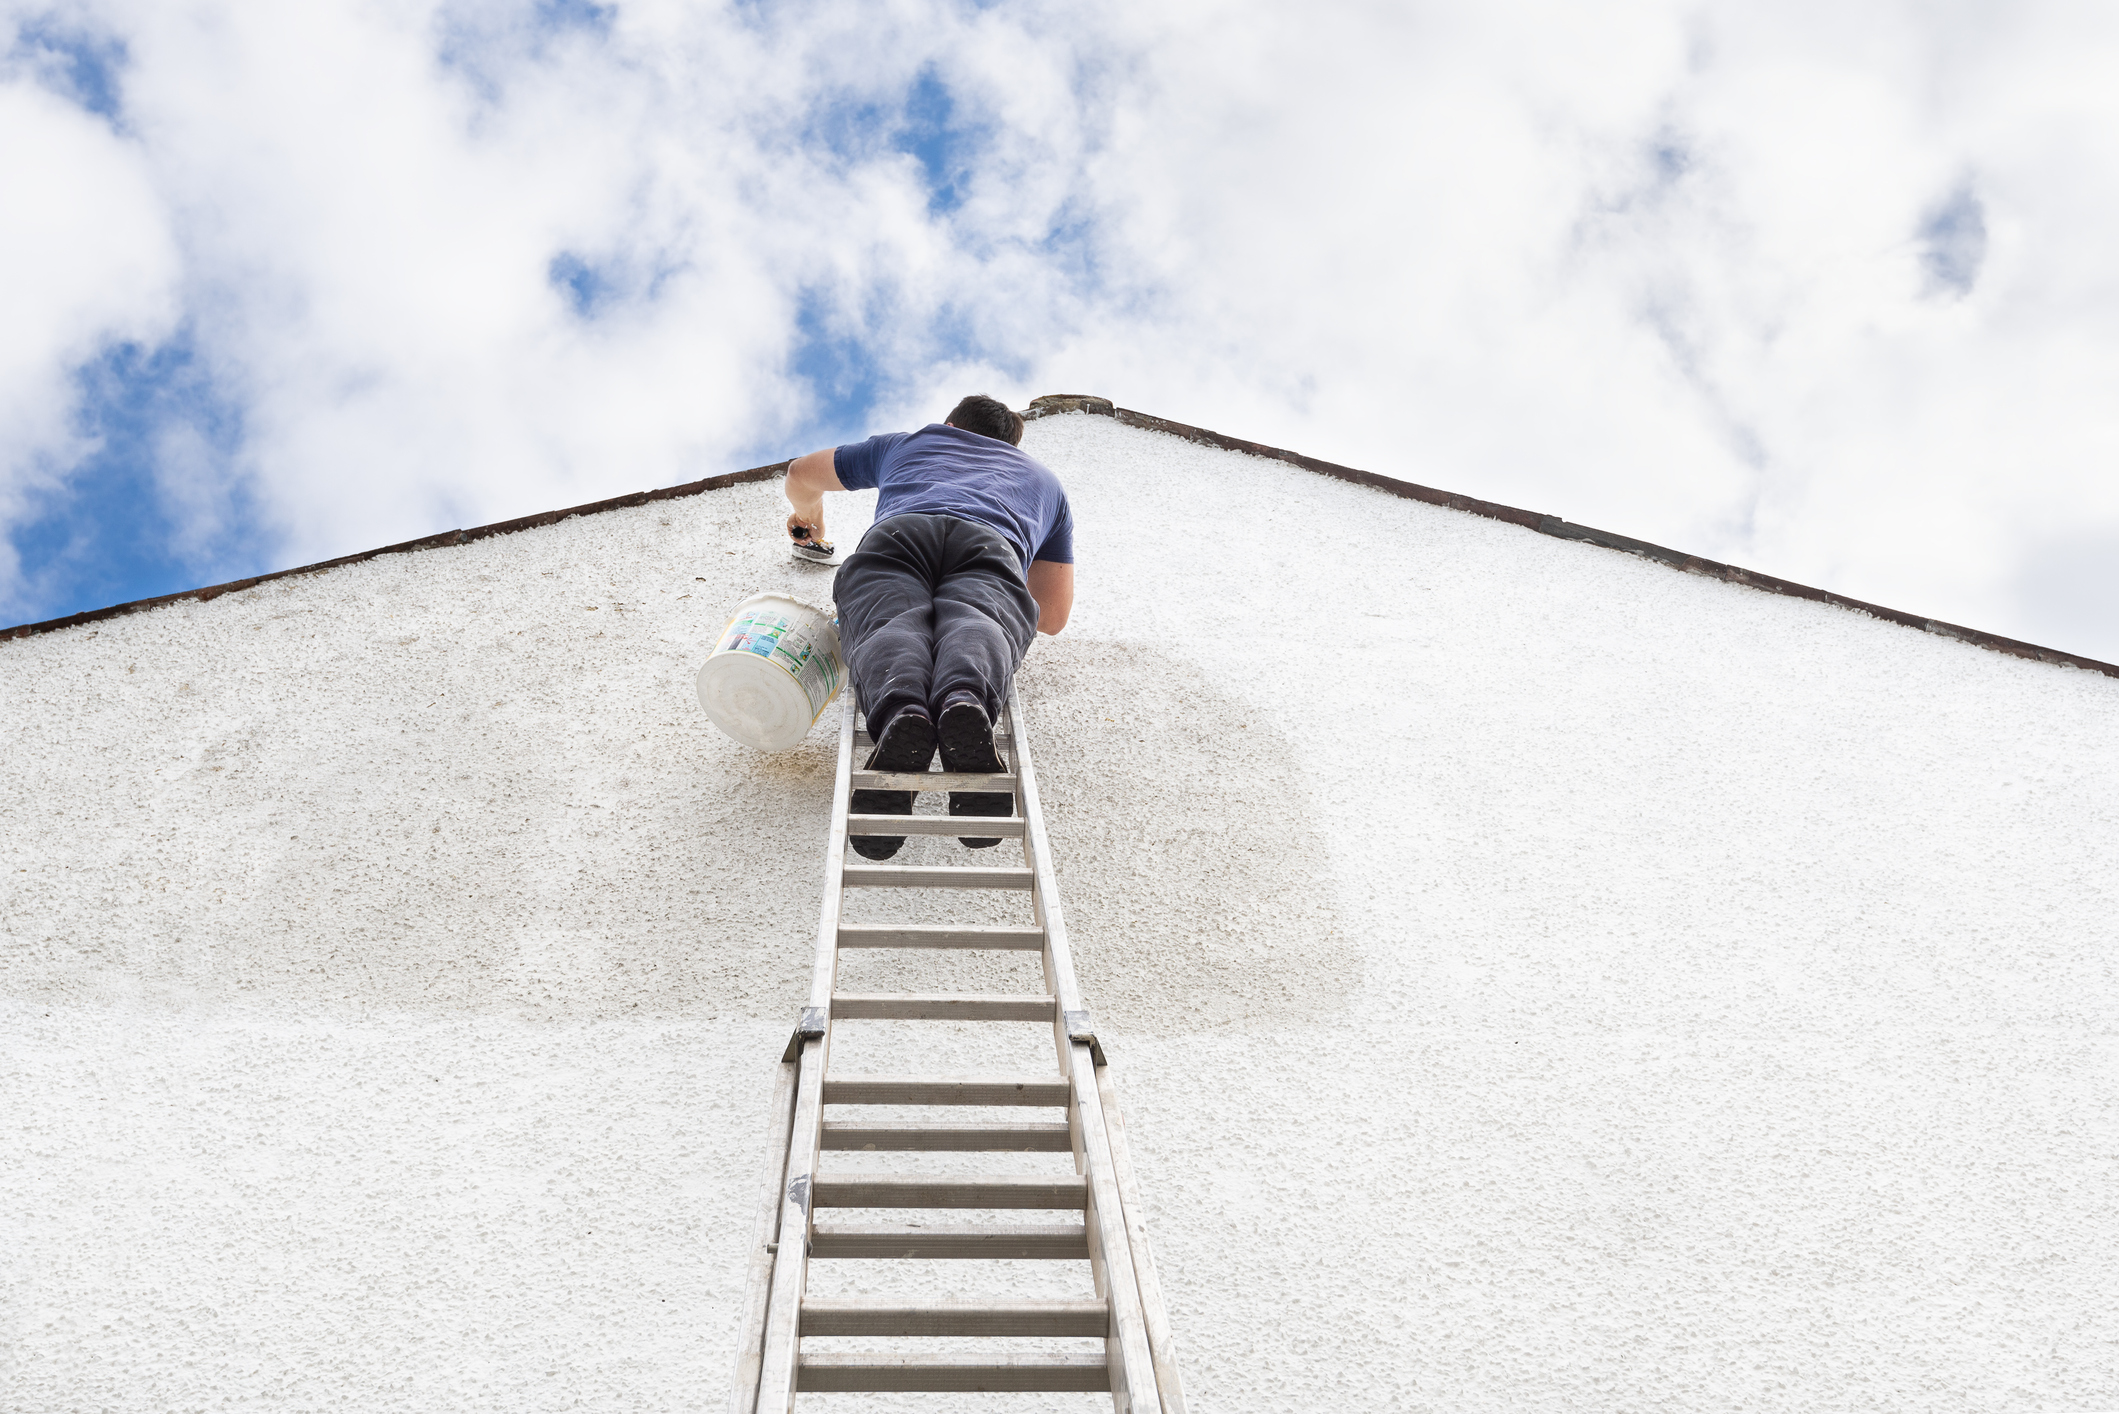
Before you get started you need to plan ahead. Is it the right time of the year to start? Summer is best. Do you have all the paint you need? Have you got the right equipment? Don't like getting up a ladder? Then think of hiring scaffold for the duration of your project — it's safer and easier than a ladder.
Got everything you need? Check. Now you are ready to transform the exterior of your home.
(MORE: How to Paint a Room)
How do I Prep a House to be Painted?
Flaking paint and dirty walls are good reasons for transforming the outside of the house, but how do you go about it? Previously painted walls will need to be cleaned.
If they have any mould wash off with a wire brush and a bleach/water solution. Brush the wall to get rid of any debris and cobwebs. Remove any flaky paint with a wire brush. Alternatively, pick up one of the best pressure washers to clean and remove any flaky paint. Then use a wire brush for any stubborn areas. Use an exterior filler to repair any cracks and if any areas of the wall have become powdery apply a stabilising solution with a brush. Now wait for it to dry completely before painting.
If you have new house rendering, it's a slightly different approach. First make sure it's completely dry and treat with a fungicide. Try applying with a garden sprayer for ease and leave to dry. For your safety wear google and disposable gloves. To finish add a stabilising solution with a large brush and leave to dry.
Finally, rub down any windows or doors and repair any cracks with a suitable filler. If you have wooden windows and doors make sure to use an exterior wood filler. Before you start painting, lay dust sheets at the bottom of the wall to catch any stray paint.
What Sort of Paint is Best for Painting a House?
To get a long lasting good looking finish on rendered walls, you will need the best masonry paint for the job.
Choosing the right paint will help weatherproof your home and give it added curb appeal. Make sure to buy enough paint to do the whole job. Different batches of paint can vary in shade, so get a large container with lid, add all paint and mix to make sure you get a uniform finish.
What Order do you Paint a House in?
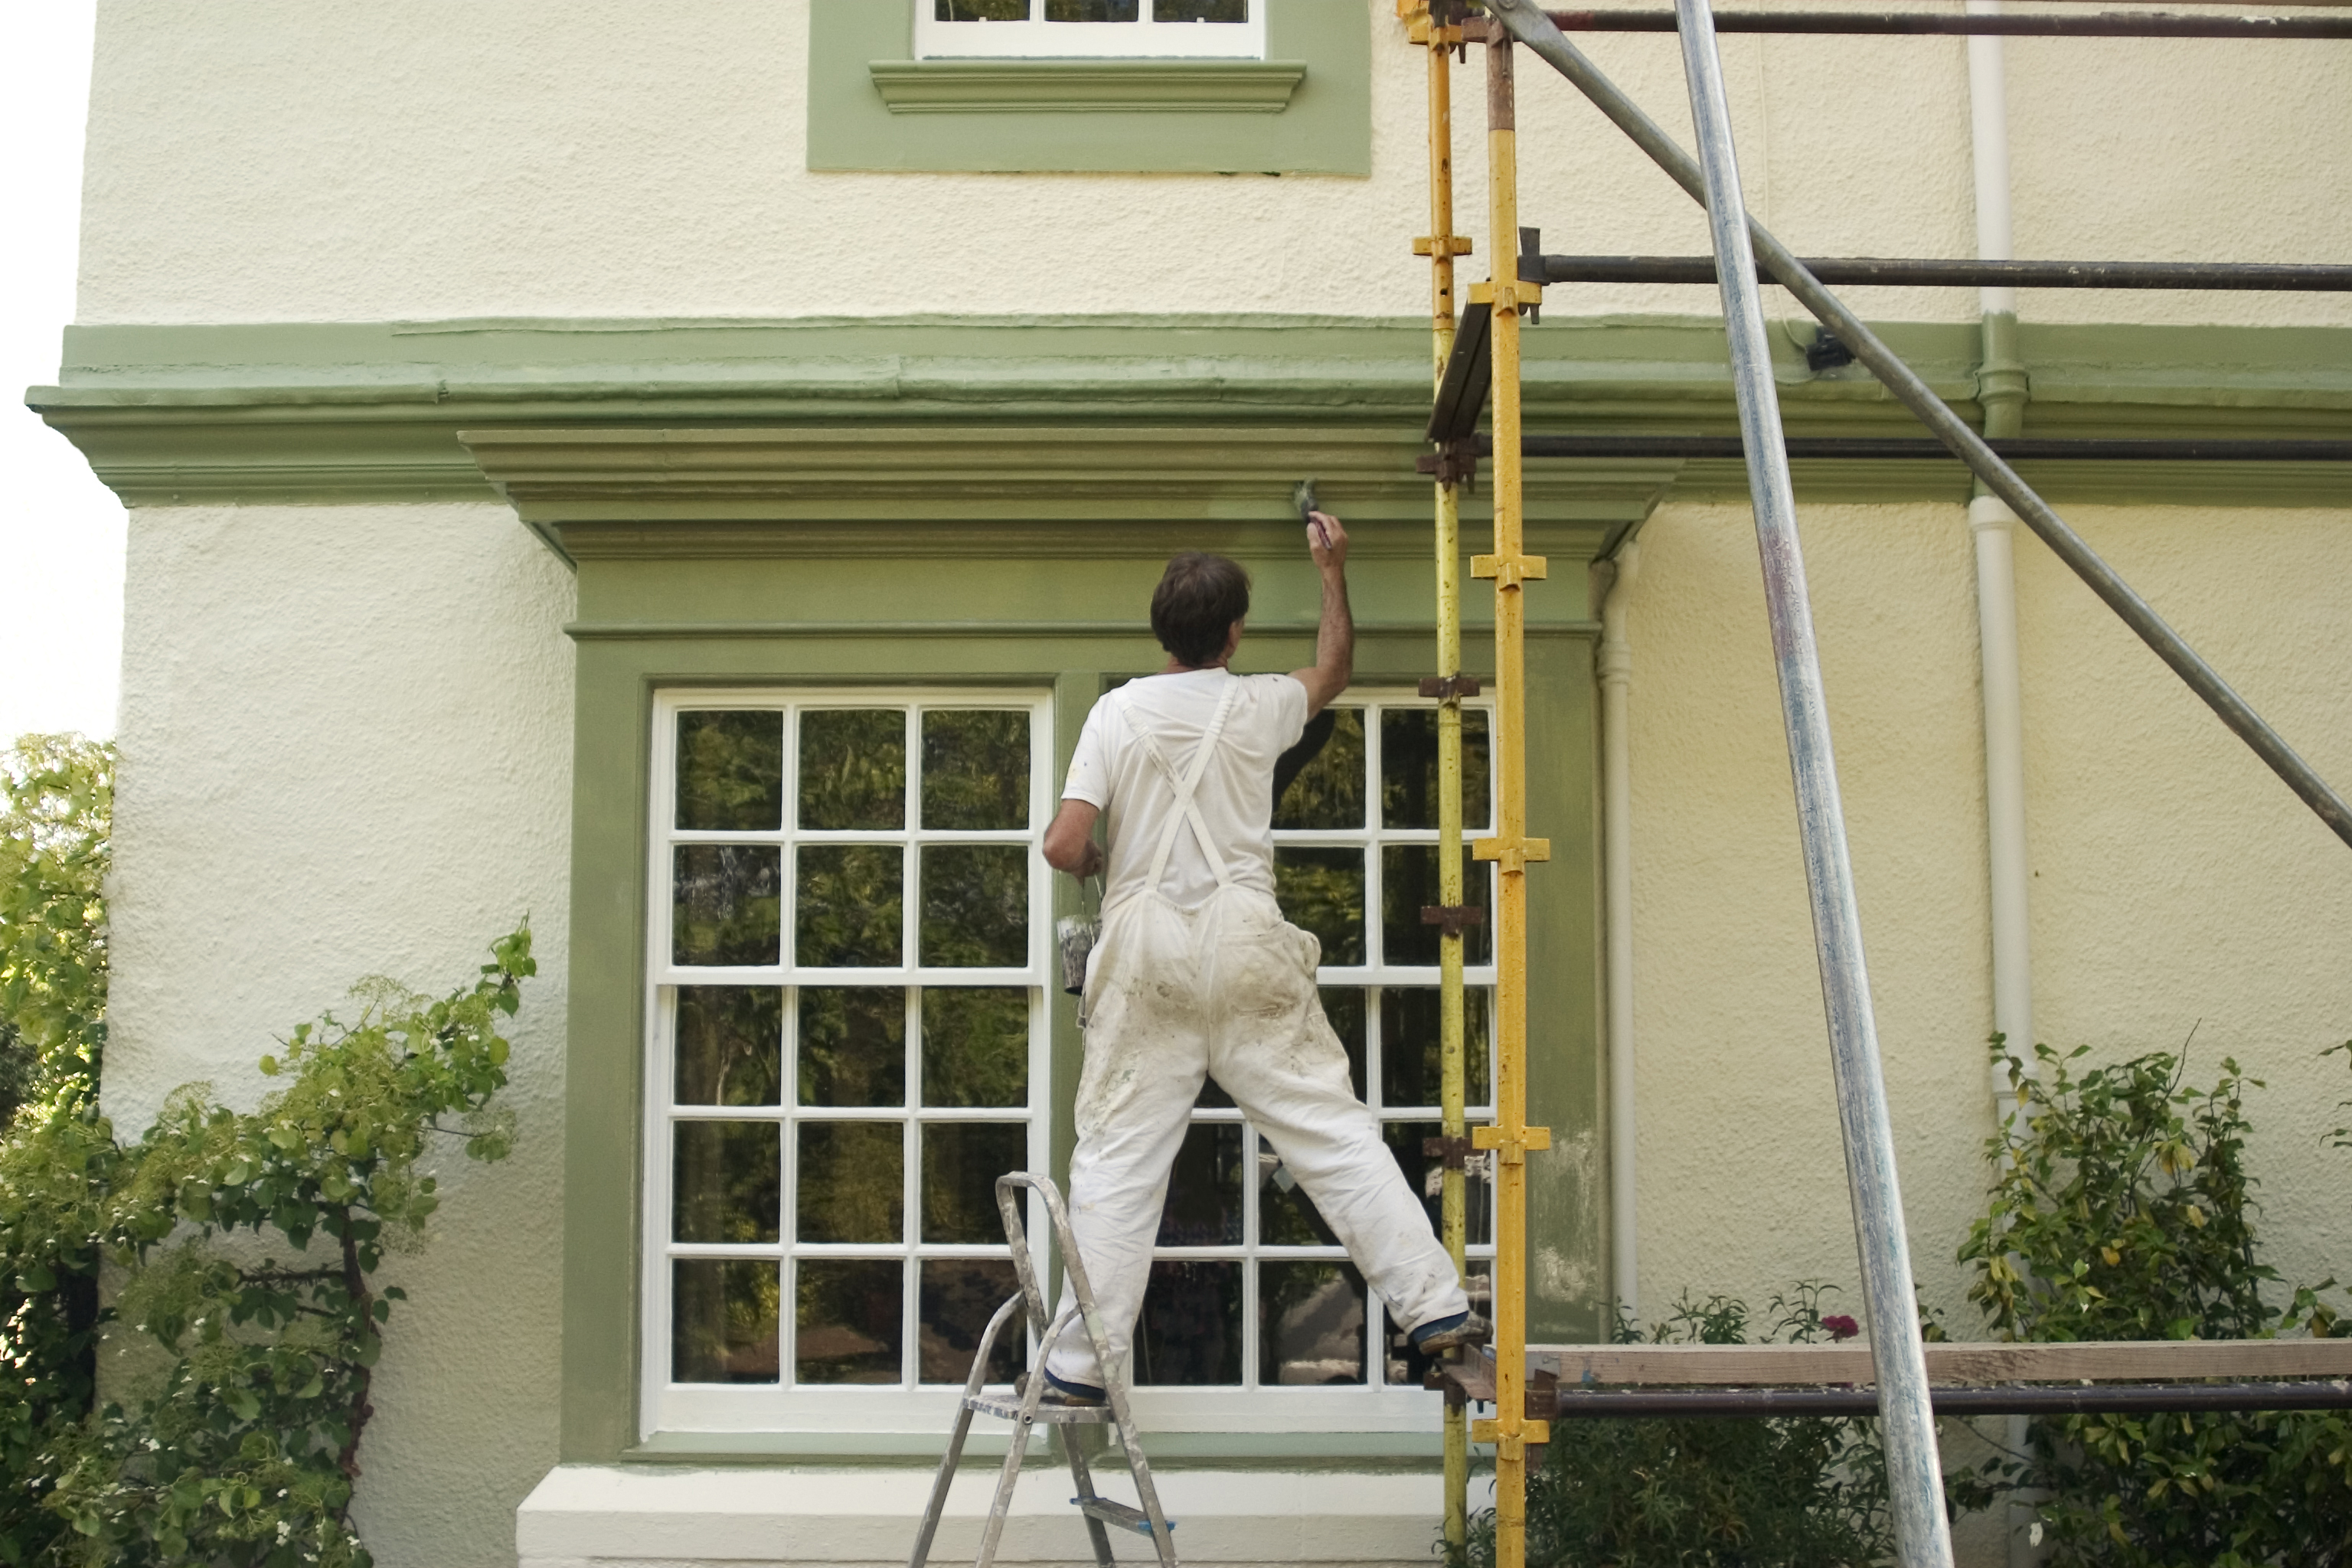
It is common practice to paint the walls (start at the top and work down) first, followed by the windows, doors and any trim such as fascias and soffits — these hold the guttering. There is nothing wrong with this method, but it makes just as much sense to do fascias and soffits first as they are the highest point and then the windows and doors and finally the walls. Either way it is a good idea to cover windows and doors with tape and paper to stop the wall paint getting on them.

What Tools Will I Need for Painting a House?
When painting the exterior of your home the common approach is to use a brush and roller. But for the more experienced there is the option of using a paint sprayer.
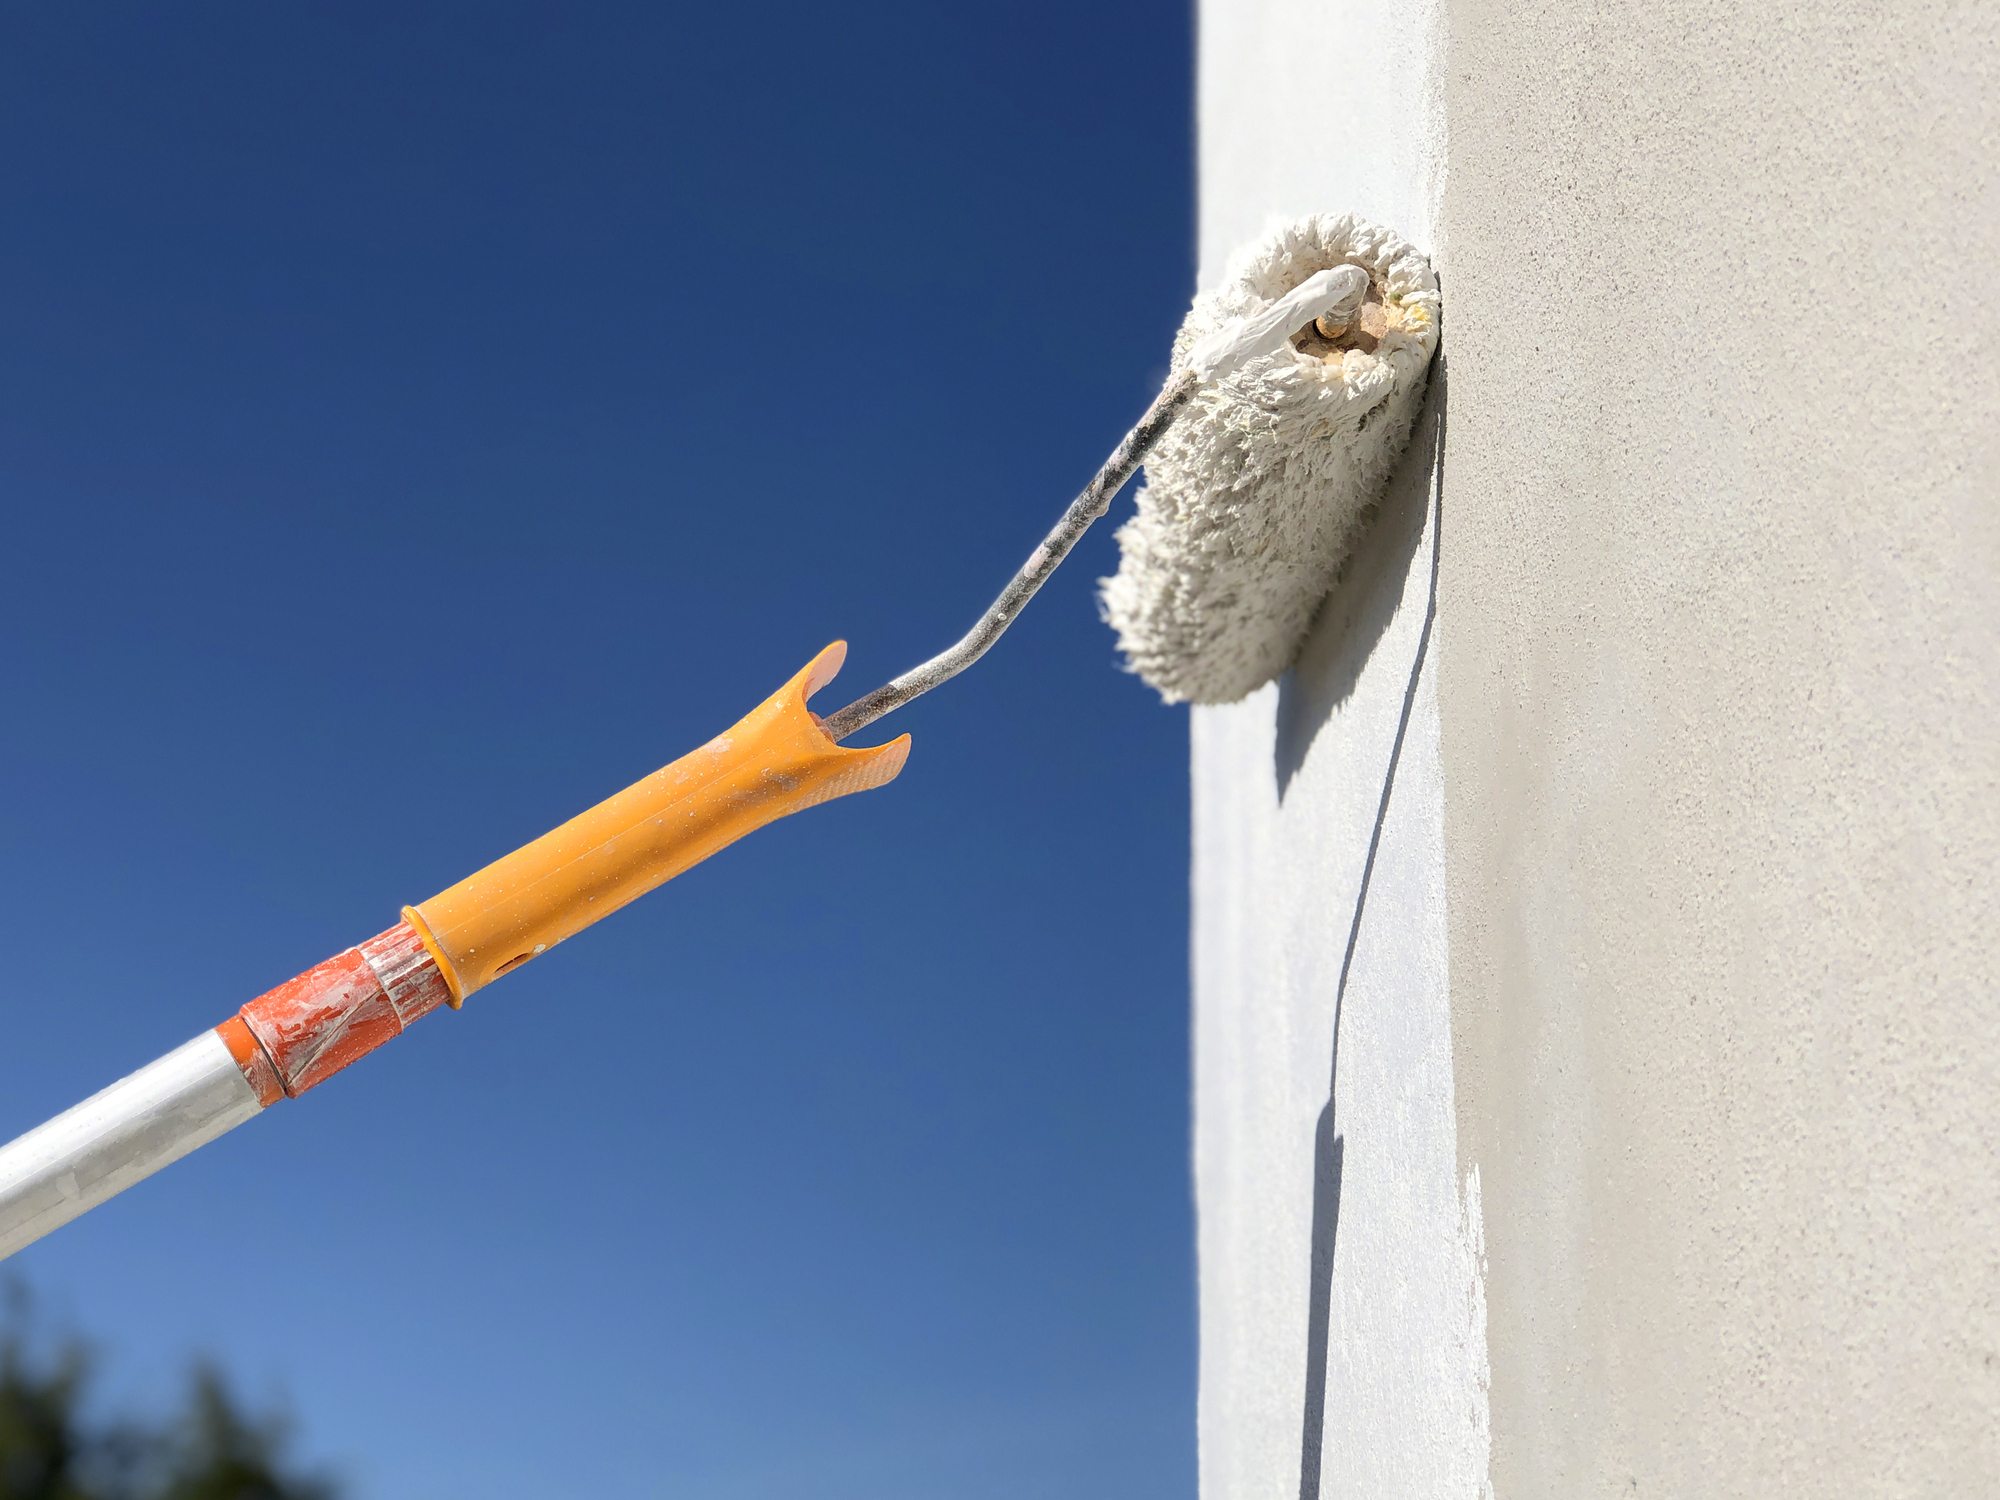
If you are using a roller you will need to make sure that you get the best paint roller for the job. Note that different finishes, i.e. smooth or textured, need a different type of roller to get the best finish.
If you have used a paint sprayer before this is a great way to get a smooth even finish. But again you need to make sure that you get the best paint sprayer for the job and prep correctly ie. cover windows, doors and trim to stop paint spray resting on these surfaces.
What's the Best Way of Painting a House?
Whatever way you decide to paint — walls first or windows, doors and trim first the same principles for painting apply.
1. If using a roller, start by cutting in with a brush. Start in one corner and cut in along the soffit. Ideally you want to keep a wet edge so do this as quickly as you can, but don't worry too much about this.
2. Next work across the wall in approximately one metre square sections. Load your roller and paint in a loose M pattern and fill in the gaps to evenly spread the paint. Get as close to the painted brush area as possible with the roller. Don’t over stretch if on a ladder. Repeat the process - trying to keep a wet edge all the time - until you get to the other side.
3. When you reach a window or door cut in to get the best edge that you can. Remember to use painters tape and newspaper to cover. This also helps create a straight edge if needed. If you encounter a drain pipe wrap newspaper round it to keep it paint free and paint behind with a brush. Start one side and then do the other side of the pipe.

4. Once you get down to around eight feet from the ground, use a roller with an extension pole to do the walls. You will be able to do this area in larger sections - approx. 2 or 3 square metres - as you will be able to do it quicker as you won't have to get up and down a ladder.
5. Now let the paint dry as instructed. When dry add a second coat and let dry. Now start on the windows and doors. As a general rule for both start in the top left corner, work across then down starting on the outside and working in. Check out our in-depth guides on how to paint windows and doors to help you get the perfect finish.
6. Alternatively, if you are painting windows, doors and trim first, finish the job completely and once dry cover the doors and windows with tape and newspaper to stop wall paint getting on them.
7. If you are using a paint sprayer, you won’t need to cut in but you will need to cover all doors, windows and trim so stop spray getting on them. Use painters tape on the edges and newspaper to cover. Again start at the top, work across and down. Use smooth, even movements and don’t stay in one spot too long as this will cause runs.
Get the Homebuilding & Renovating Newsletter
Bring your dream home to life with expert advice, how to guides and design inspiration. Sign up for our newsletter and get two free tickets to a Homebuilding & Renovating Show near you.
Steve Jenkins is a freelance content creator with over two decades of experience working in digital and print and was previously the DIY content editor for Homebuilding & Renovating.
He is a keen DIYer with over 20 years of experience in transforming and renovating the many homes he has lived in. He specialises in painting and decorating, but has a wide range of skills gleaned from working in the building trade for around 10 years and spending time at night school learning how to plaster and plumb.
He has fitted kitchens, tiled bathrooms and kitchens, laid many floors, built partition walls, plastered walls, plumbed in bathrooms, worked on loft conversions and much more. And when he's not sure how to tackle a DIY project he has a wide network of friends – including plumbers, gas engineers, tilers, carpenters, painters and decorators, electricians and builders – in the trade to call upon.

