Painting a hallway: A DIY guide to transform your entrance space
Painting a hallway isn’t the easiest paint project to tackle. Here we reveal expert help on how to choose the right colours, prepare and paint, and how to tackle hard to reach walls and ceilings

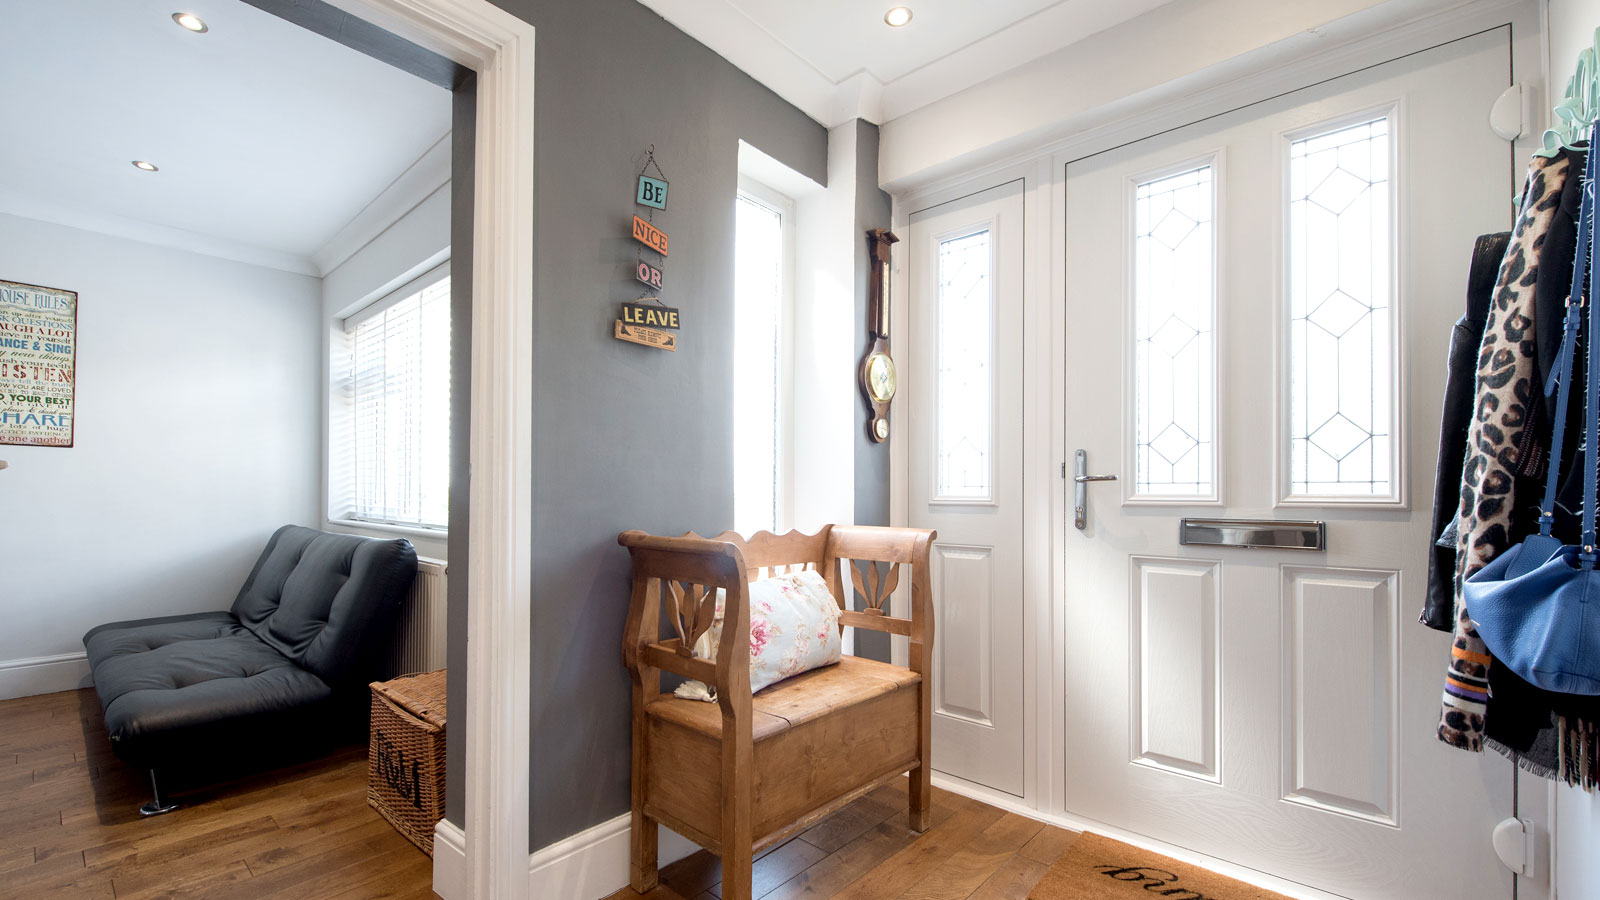
Painting a hallway not only needs to be a stylish solution, it also needs to be a practical one. As the entrance to your home it can see a lot of action. Choosing the right colours will set the tone for the rest of your home, but getting your preparation and painting right is just as important.
Knowing how to paint a room or hallway the right way will make sure you get a good pro looking finish. And just importantly it will leave you with a durable wipeable finish that will help it to stay looking good.
Painting a hallway: What order should I paint?
The general rule for paint projects is start at the top and work your way down and the same applies for a hallway. Start with the ceiling, followed by walls and then finish with doors, windows and skirting boards.
Though some painters like to paint woodwork first and then mask off the trim with painters tape and finish with the walls. This helps create neat lines where needed and if a mistake is made it's easy to wipe off the emulsion. But this order typically takes longer as satin, gloss paints etc take longer to dry than emulsion.
Ceilings and walls
Prepare ceilings and walls
To prepare walls for painting start by brushing down the ceiling and walls with a stiff brush to remove cobwebs and any debris. Wash down with sugar soap if the ceiling or walls haven't been clean for a long while. Next use a suitable all purpose filler to fill in any cracks. Leave to dry and rub down with a fine sandpaper grade - 120 -180 is good.
Now give the ceiling and walls a quick rub down – use a sander head like this GoodHome Sander head from B&Q and extension pole for a quicker and easier job. Finally, mask off any light fittings, light switches and power sockets to stop paint getting onto them. One tip is to unscrew the fitting slightly and then add tape on the edges tuck in and then tighten the fitting back up.
Paint ceilings and walls
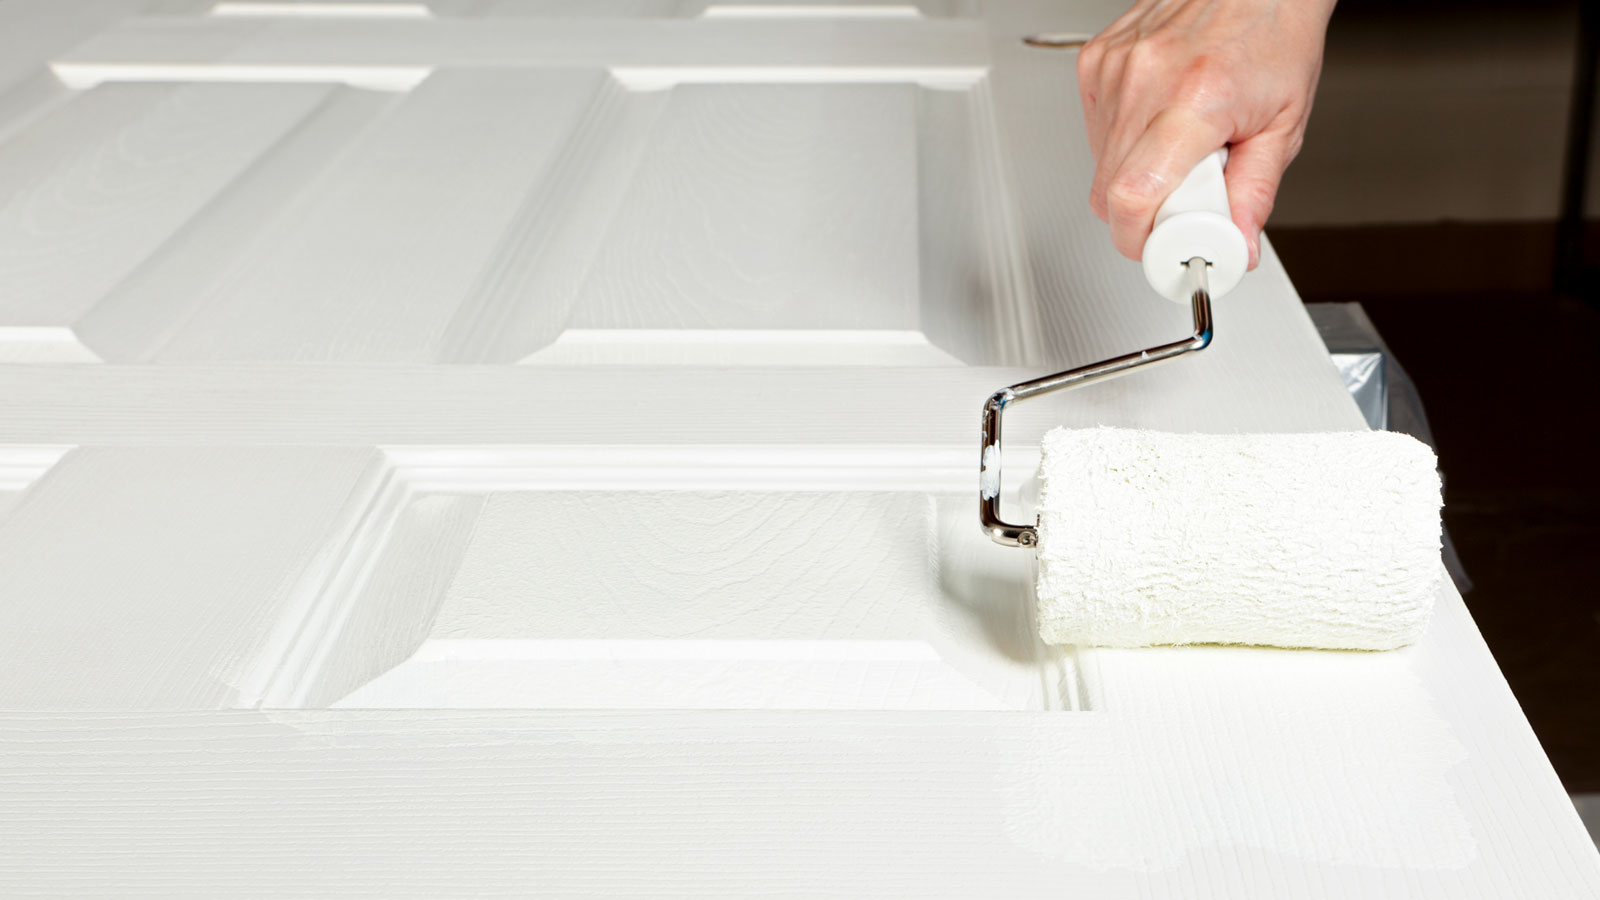
When painting a ceiling start with a two or three inch brush and go around the edges of the ceiling and light fittings to create a border around three inches wide. Next get a short or medium pile roller like this Harris Revive 9" medium pile roller set from B&Q. Leave the ceiling to dry and then cut in around the top of the wall to create a neat dividing line – if using a different colour.
Now create a border in the corners and along the skirting boards. Add your paint to the paint tray and load up the roller with paint. Not too much so it's dripping. Use an extension pole to make it easier. Now start the ceiling in one corner and think of using an extension pole to make it easier. Work in one metre sections and go across using a smooth fluid motion.
When finished go back over with the roller using a light touch (known as laying off).This gives a more even finish and helps get rid of any ridges created by the roller edges. If you have a heavily textured/artexed ceiling use a long pile roller to get an even cover. To paint a wall start in a top corner, so a strip from skirting board to ceiling using a V/W pattern to spread the paint and fill the gaps accordingly. Then lay off to finish.
Doors, windows and skirting boards
Prepare doors, windows and skirting boards
If needed, wash down the old paint with sugar soap, then wash down with a damp cloth and wipe dry. Add painters tape like this Frog Tape Yellow Delicate Surface Painters Masking Tape from Amazon to protect paint and help get straight edges. Now get a fine grade sandpaper – 180 grit is good – and rub down the woodwork. Wipe down the woodwork to get rid of dust with a damp cloth and leave to dry.
Paint woodwork and trim
Start the painting process with a primer if painting bare wood and an undercoat if painting previously painted wood. If painting a door frame do this before you paint a door. Typically painting windows is next, start at the top and work downwards and finish by painting the sill.
The last job is painting skirting boards, this helps ensure that no dust is kicked up onto the skirting boards when painting doors and windows. If painting skirting boards with carpet make sure to lay down a double depth of painters tape and make sure the edge is tucked in to stop it getting on carpet edges.

How to paint a hallway with stairs
If you are painting a stairwell at the same time as the hallway, you are going to need some help to reach the high ceilings and walls. The traditional way is to place a ladder against the high wall and a plank/board through a rung and onto a stair step. But a lot of DIYers don't have suitable planks or boards.
The alternative is to use a combination ladder like this 4.7M Multi-purpose Aluminium Folding Extendable Ladder from Amazon. This can be fixed into various configurations to help reach high ceilings and tops of walls.
But you still need a head for heights. If ladders are not your thing you can stand on your landing to reach. Use a sander head and an extension pole to prep the walls. To cut in at the top of the walls try a paint pad on an extension pole. To finish, use a nine inch roller on an extension pole.
FAQs
What is the best colour to paint a narrow hallway?
Mandy Rippon, Product Manager at Frenchic Paint isn't short on ideas when it come to colours for a hallway. Here they offer essential insight into choosing a colour and techniques for using a chosen colour.
- Off Whites - If your narrow hallway lacks light (which they often do), consider off-whites with warm undertones, rather than a pure white which can feel stark and lifeless in an enclosed space.
- Subtle shades - To add colour in a subtle way, try painting the wall at the end of the hall a bold, contrasting colour – this will also serve to bring it forward visually, shortening the long space. You can apply the same treatment to the inside of the front door (and even the surrounding frame and wall) too.
- Warm and cool colours - In terms of colour psychology, warm colours like red, pink and orange are upbeat and positive – chose softer or earthy versions for a more subtle feel. Cooler colours like blue and green are soothing and calm – opt for a shade of teal if you are unsure as it suits any aspect.
- Colour you love - If you are a fan of colour, then hallways are in fact a great opportunity to experiment or expand your home’s palette. These are transitional spaces, rather than rooms for occupying (relaxing in) and, as such, allow for stronger or more adventurous colour choices. Pick a colour you really love and run with it, that way, it will always greet you when you get home.
- Colour drenching - Whatever colour you choose, consider using the colour drenching trick of painting your skirting boards, doors and frames, the same colour as the walls – this gives a cohesive feel and reduces the impact of multiple doors and doorways which can make the narrow space feel cluttered.
Should I use a matt or gloss finish in a hallway?
"For walls, a matte finish offers a softer look." suggests Rippon. "It will also help mask any existing imperfections or uneven texture on the wall surface, whereas paint with a sheen will highlight them – this is especially so in long, narrow spaces like halls when the walls are always viewed at an angle." She continues, "Make sure your matte hallway paint is washable as these areas are high traffic and can pick up marks."
For woodwork a higher sheen is recommended, "For a subtle contrast, think about a scuff resistant satin finish for the woodwork. Remember, if using a white for the woodwork, choosing a water-based satin paint will avoid the yellowing that can occur over time with oil-based white paints in low-light."
Make the most of your hallway makeover with these 7 creative hallway storage ideas for a tidy entryway, Hallway decor ideas to make the best first impression and 13 hallway flooring ideas for an impactful entranceway.
Get the Homebuilding & Renovating Newsletter
Bring your dream home to life with expert advice, how to guides and design inspiration. Sign up for our newsletter and get two free tickets to a Homebuilding & Renovating Show near you.
Steve Jenkins is a freelance content creator with over two decades of experience working in digital and print and was previously the DIY content editor for Homebuilding & Renovating.
He is a keen DIYer with over 20 years of experience in transforming and renovating the many homes he has lived in. He specialises in painting and decorating, but has a wide range of skills gleaned from working in the building trade for around 10 years and spending time at night school learning how to plaster and plumb.
He has fitted kitchens, tiled bathrooms and kitchens, laid many floors, built partition walls, plastered walls, plumbed in bathrooms, worked on loft conversions and much more. And when he's not sure how to tackle a DIY project he has a wide network of friends – including plumbers, gas engineers, tilers, carpenters, painters and decorators, electricians and builders – in the trade to call upon.

