Painting a conservatory: How to get a factory like finish
Painting a conservatory can refresh and transform your old one so it looks like new. Here we tell you what tools, paint and techniques you need to use
Painting a conservatory is a quick and cost effective way to help return conservatories back to their best. You get to choose a new colour, a new look and save yourself some serious money compared with having to purchase a new one. Plus, if you do it yourself you could save yourself even more.
If you want a factory like finish you'll need to make sure you use the right tools including a spray gun. A brush and roller are cheaper and will give you a good finish, but it won’t compare with the results you'll get if you spray paint it. The good news is with money you save on doing it yourself you can invest it in a spray gun.
Here we run you through how to prep your conservatory, what paint you’ll need and give you an insight into how much a pro will charge.
Painting a conservatory: Make sure your roof and windows are in good condition
If you're considering painting a conservatory, be sure to undertake a thorough check and inspection of your roof and windows before you start.
Although discovering issues which mean you could instead be looking at conservatory roof replacement costs may not be ideal, neither will spending the time painting everywhere only to find yourself having to repair, or even deal with the prospect of a new conservatory cost after just a short space of time.
Having frame that is in a good condition should also result in a better and longer lasting finish once you've completed the task of painting.
Tools & products for painting a conservatory
Before you start you’ll need to make sure that you have all the gear you'll need.
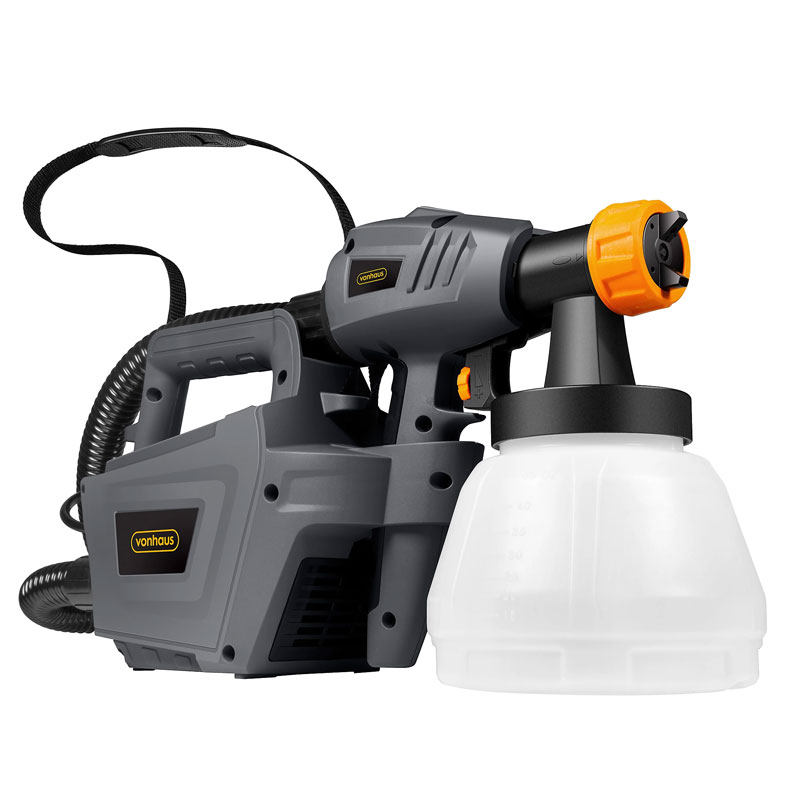
For spray painting wood or uPVC you'll need a paint sprayer, ladder, painters tape, masking paper, a mask and goggles and the right paint depending on the current finish of your conservatory frame.
If you don't own a paint sprayer, think about investing in one. A basic paint sprayer can be bought for £50-£100. If you are not confident in your spray painting skills make sure to do a few practice runs on a sheet of cardboard or old unwanted wood until you are confident that you can do your conservatory.
Or, if you prefer to stick with painting by hand, you'll need brushes and rollers instead.
Try these products for painting a conservatory

Designed to leave low profile paint edges and formulated for clean and easy removal
Painting a conservatory: A how to guide
1. Get rid of old silicone
A conservatory will have silicone around the outer edges of frames to help stop the ingress of water into the conservatory.
It's therefore a good idea to start the task of painting a conservatory by removing silicone and replacing it, especially if it's a few years old. Adding new could help avoid issues such as damp and condensation in conservatories in the future.
You can use a paint scraper or a sharp utility knife to get rid of the silicone, or if you're wondering is removing silicone and caulk easier with a specialist tool, the general answer is yes, so it may be worth adding one to your shopping list. I found this Amazon Basics 3-IN-1 Caulk Tool for Removal and Application the best when testing them.
2. Clean and sand
Next you'll need to wash down the conservatory areas to be painted, leave them to dry and then use a medium sandpaper grade - 180 grit is good – to rub down and ensure good adhesion for the paint.
Wipe down with a damp cloth once finished.
3. Mask up windows and walls
Before spray painting a conservatory you need to mask off all the areas you don't want to get paint on, commonly windows and walls. Use a painters tape like this ScotchBlue Sharp Lines Advanced Masking Tape from Amazon, and masking paper to cover all areas. Cover around two feet of the wall from the edge being sprayed.
Don’t forget to remove any door or window furniture i.e handles where possible, and make sure you mask the insides of any opening windows, as well as adding masking paper to the open area to ensure no spray gets inside the conservatory and onto floors and furniture.
4. Apply paint
Fill your paint sprayer with diluted paint – as recommended by the manufacturer. Do a few test runs on a piece of scrap material to make sure the paint is feeding through properly and you are happy with your action and the end result.
When painting a conservatory, start at the top and work downwards in sections. Holding the paint sprayer about 8-10 inches away from the surface, start spraying and use constant, even strokes to ensure you get a thin first coat that covers the conservatory. Leave to dry as recommended and then apply a second and third coat.
The same process applies if you use paintbrushes and rollers. Use the paintbrush for the edges and the roller for flat surfaces. Again apply a series of thin coats to get the best end results and follow our tips for painting wood if your frame is not made from uPVC.
5. Remove tape and add silicone
Finally, when you've finished go back to your starting point and start removing the masking tape and masking paper. Screw up and put into black bin liners.
Then, using an exterior silicone that matches the colour of your new paintwork, or a clear silicone, go back to all the areas where you removed the silicone and replace it with new.
Painting a conservatory FAQs
What paint do you use on a conservatory?
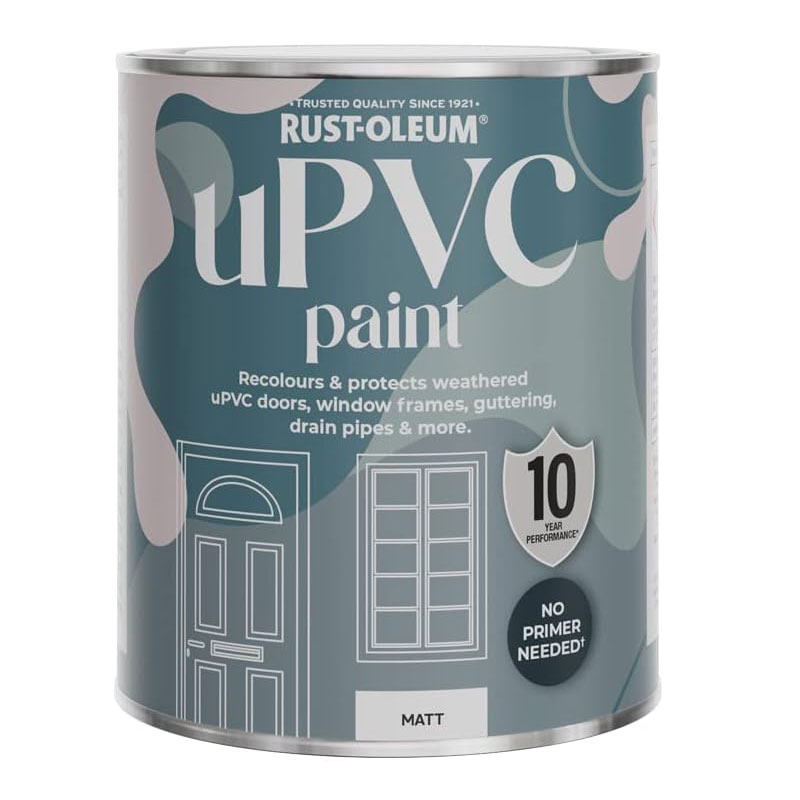
For a uPVC conservatory you want to be using a paint specially formulated for PVC or plastic. Kolorbond Original is a special coating designed to spray paint uPVC, available in all standard RAL and BS colour ranges. It is UV resistant, available in gloss, satin or matt finishes and is guaranteed for up to 10 years.
A good alternative option for all conservatory types is Zinsser AllCoat Exterior (available from Amazon). This is a mould resistant self-priming paint that works well with wood, metal, and uPVC. It can be applied with a spray gun, brush or roller and is available in gloss and satin finishes. It can be tinted to any colour but is only available in White, Black and Anthracite Grey base colours.
How much does a pro charge for uPVC spraying?
If you don’t want the hassle of doing all the preparation, set up and paint spraying you can call in a professional to do the job. The actual cost will depend on a few factors including how many doors and windows are being sprayed, the size of the windows, how easy it is to access - will scaffolding be needed - and are any repairs required beforehand.
As a general guideline you should expect to pay the following:
| Type (small) | Cost | Type (large) | Cost |
|---|---|---|---|
| Single window | £150 | Conservatory | £900+ |
| Door | £250 | Three bed house | £1200+ |
To get an accurate price for spray painting contact two or three local companies who will pay a home visit to discuss needs and cost.
How long does uPVC spraying last?
A well prepped, painted and maintained conservatory should last around 10-15 years. But its longevity will depend on the condition of the uPVC when originally painted. How old was it? What condition was the uPVC in? In addition, how good was the original preparation, what paint was used and how well was it applied?
Your location and climate can have an affect on the paint job. Is it constantly exposed to cold, hot or wet weather conditions? Is the paint regularly maintained and cleaned to ensure dirt, dust and grime are not having an effect on the paint? This task should be done around every six months to make sure you don't find yourself painting a conservatory again too soon.
When sprucing up your conservatory it's the perfect time to consider new ideas and tips to keep it looking good. Check out our 8 conservatory interior ideas, 12 conservatory blind ideas and tips to put a stop to condensation in conservatories guides to get the most from your space.
Get the Homebuilding & Renovating Newsletter
Bring your dream home to life with expert advice, how to guides and design inspiration. Sign up for our newsletter and get two free tickets to a Homebuilding & Renovating Show near you.
Steve Jenkins is a freelance content creator with over two decades of experience working in digital and print and was previously the DIY content editor for Homebuilding & Renovating.
He is a keen DIYer with over 20 years of experience in transforming and renovating the many homes he has lived in. He specialises in painting and decorating, but has a wide range of skills gleaned from working in the building trade for around 10 years and spending time at night school learning how to plaster and plumb.
He has fitted kitchens, tiled bathrooms and kitchens, laid many floors, built partition walls, plastered walls, plumbed in bathrooms, worked on loft conversions and much more. And when he's not sure how to tackle a DIY project he has a wide network of friends – including plumbers, gas engineers, tilers, carpenters, painters and decorators, electricians and builders – in the trade to call upon.
