Painting a Brick Fireplace: The Ultimate How-to Guide
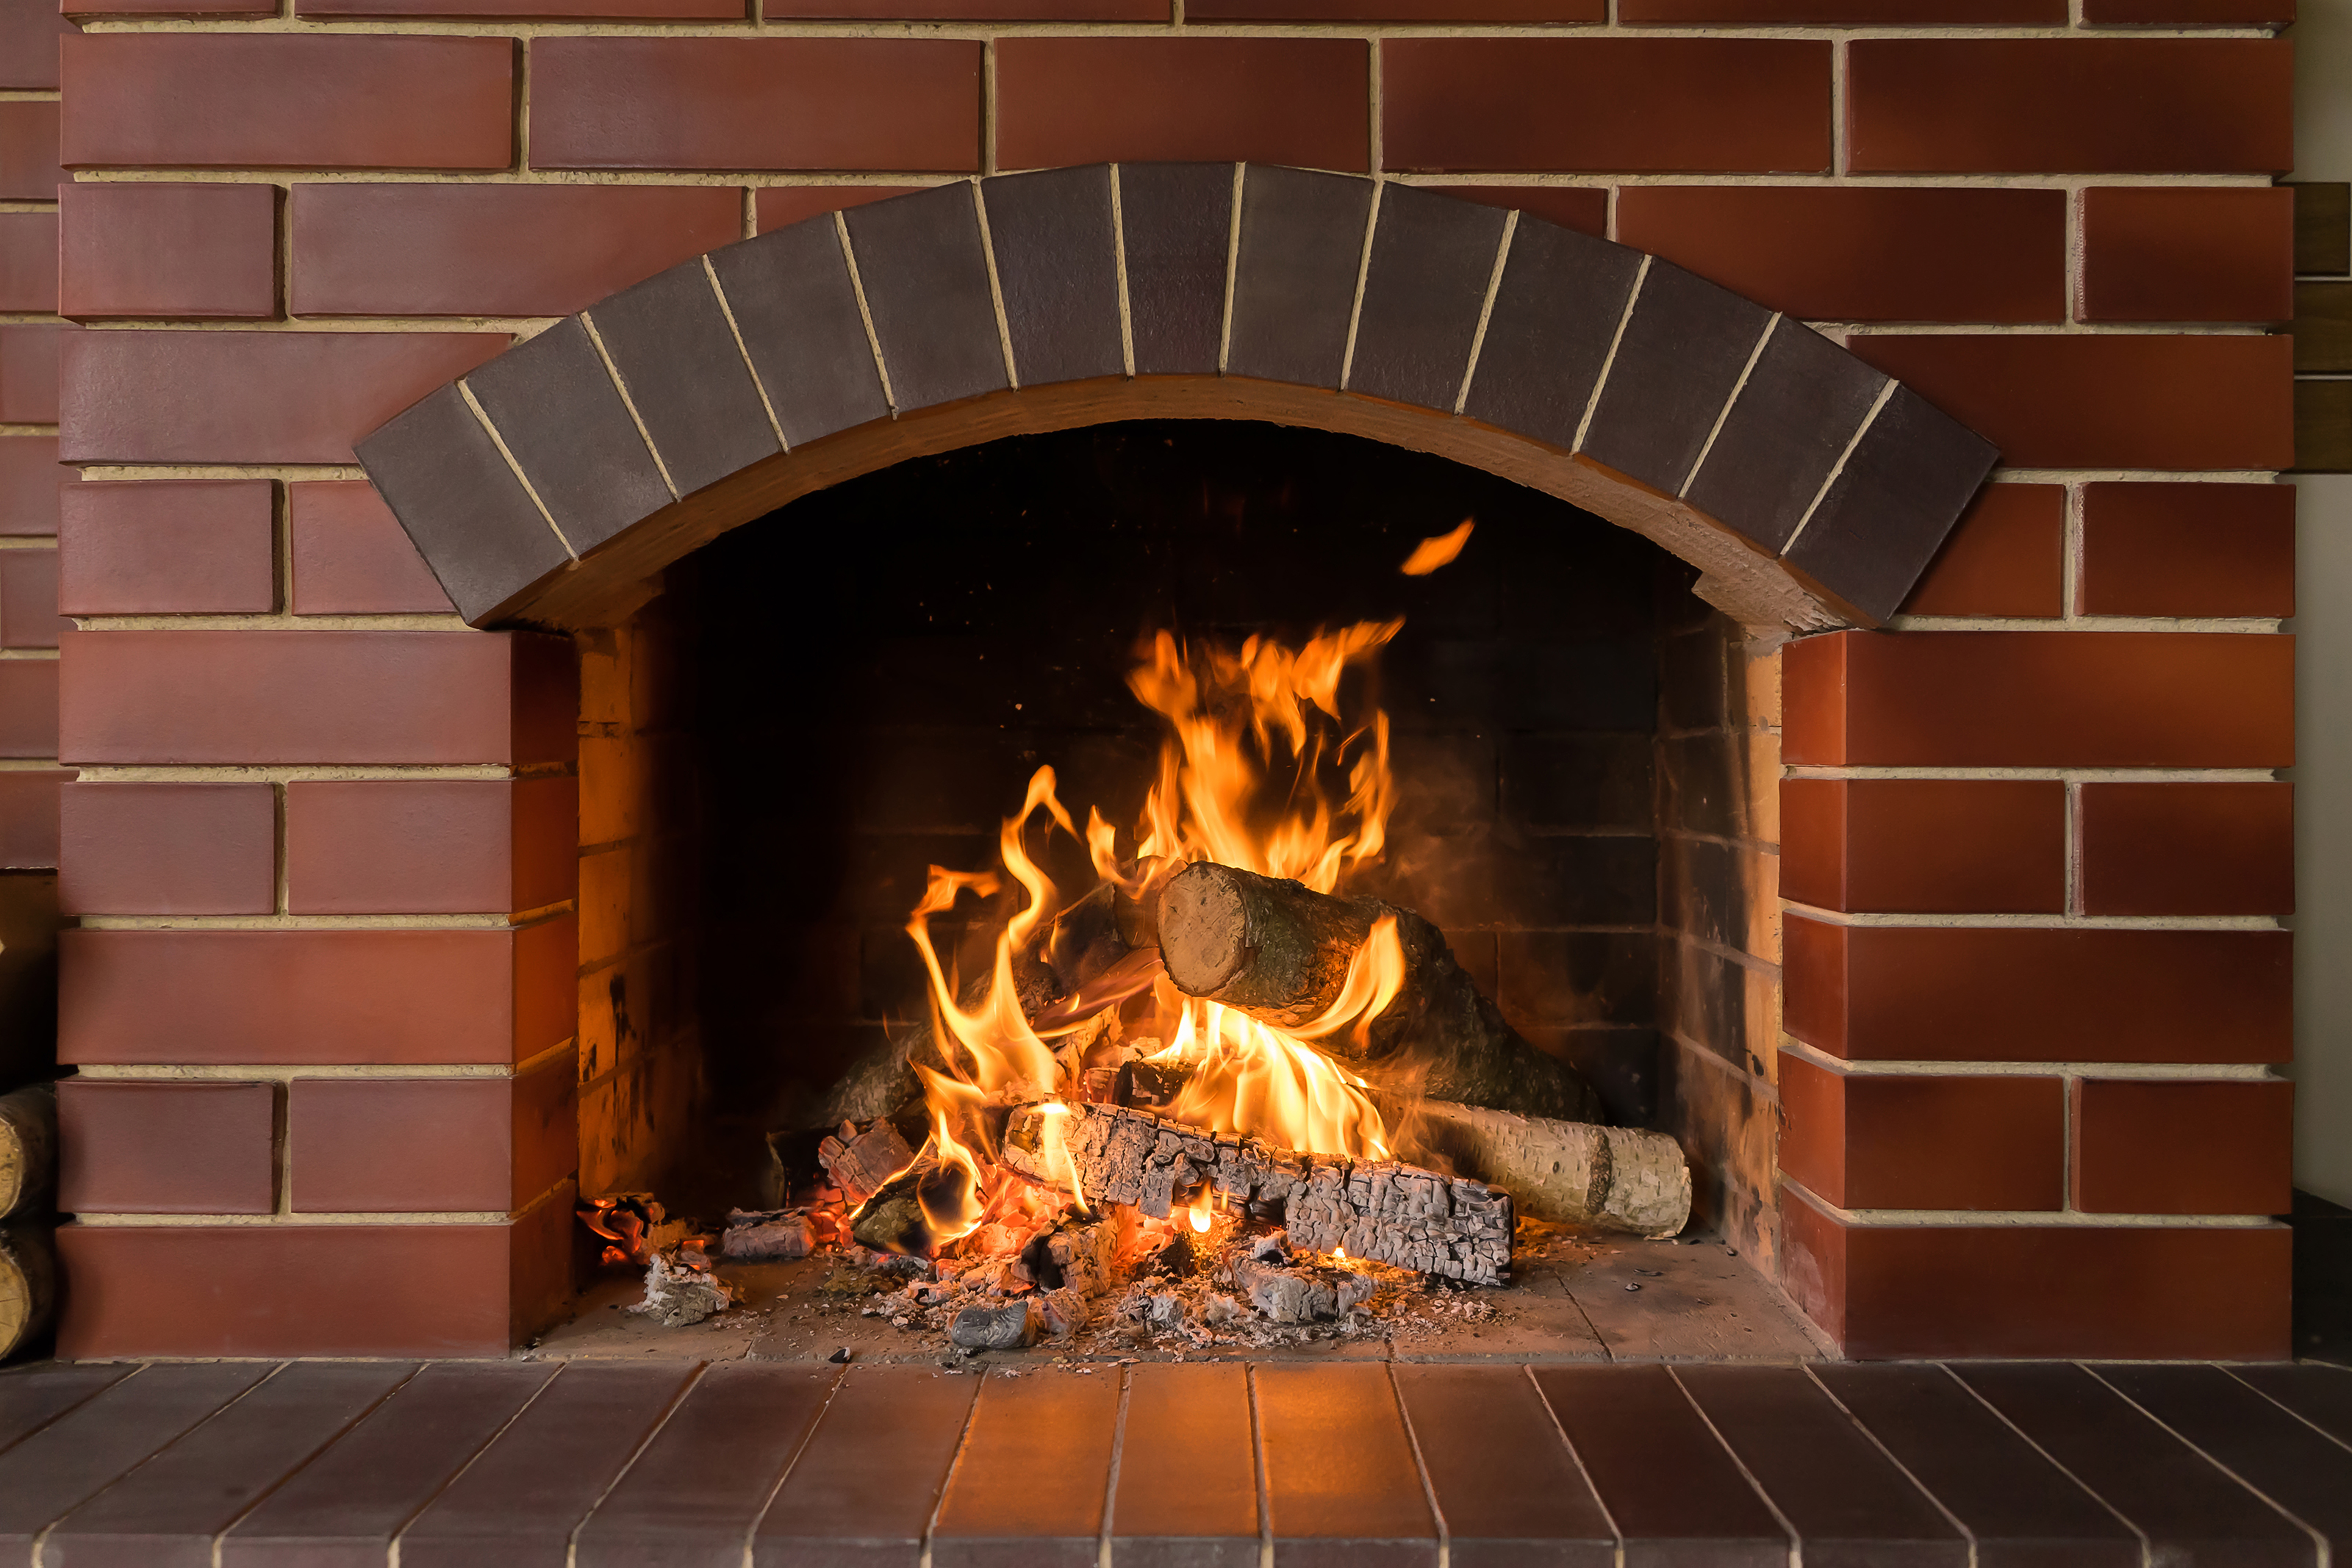
Is your brick fireplace looking tired and shabby? Painting a brick fireplace is easy with the right know-how - here's how to do it yourself

Painting a brick fireplace is a job you can do yourself which can instantly transform your room back into the space you fell in love with.
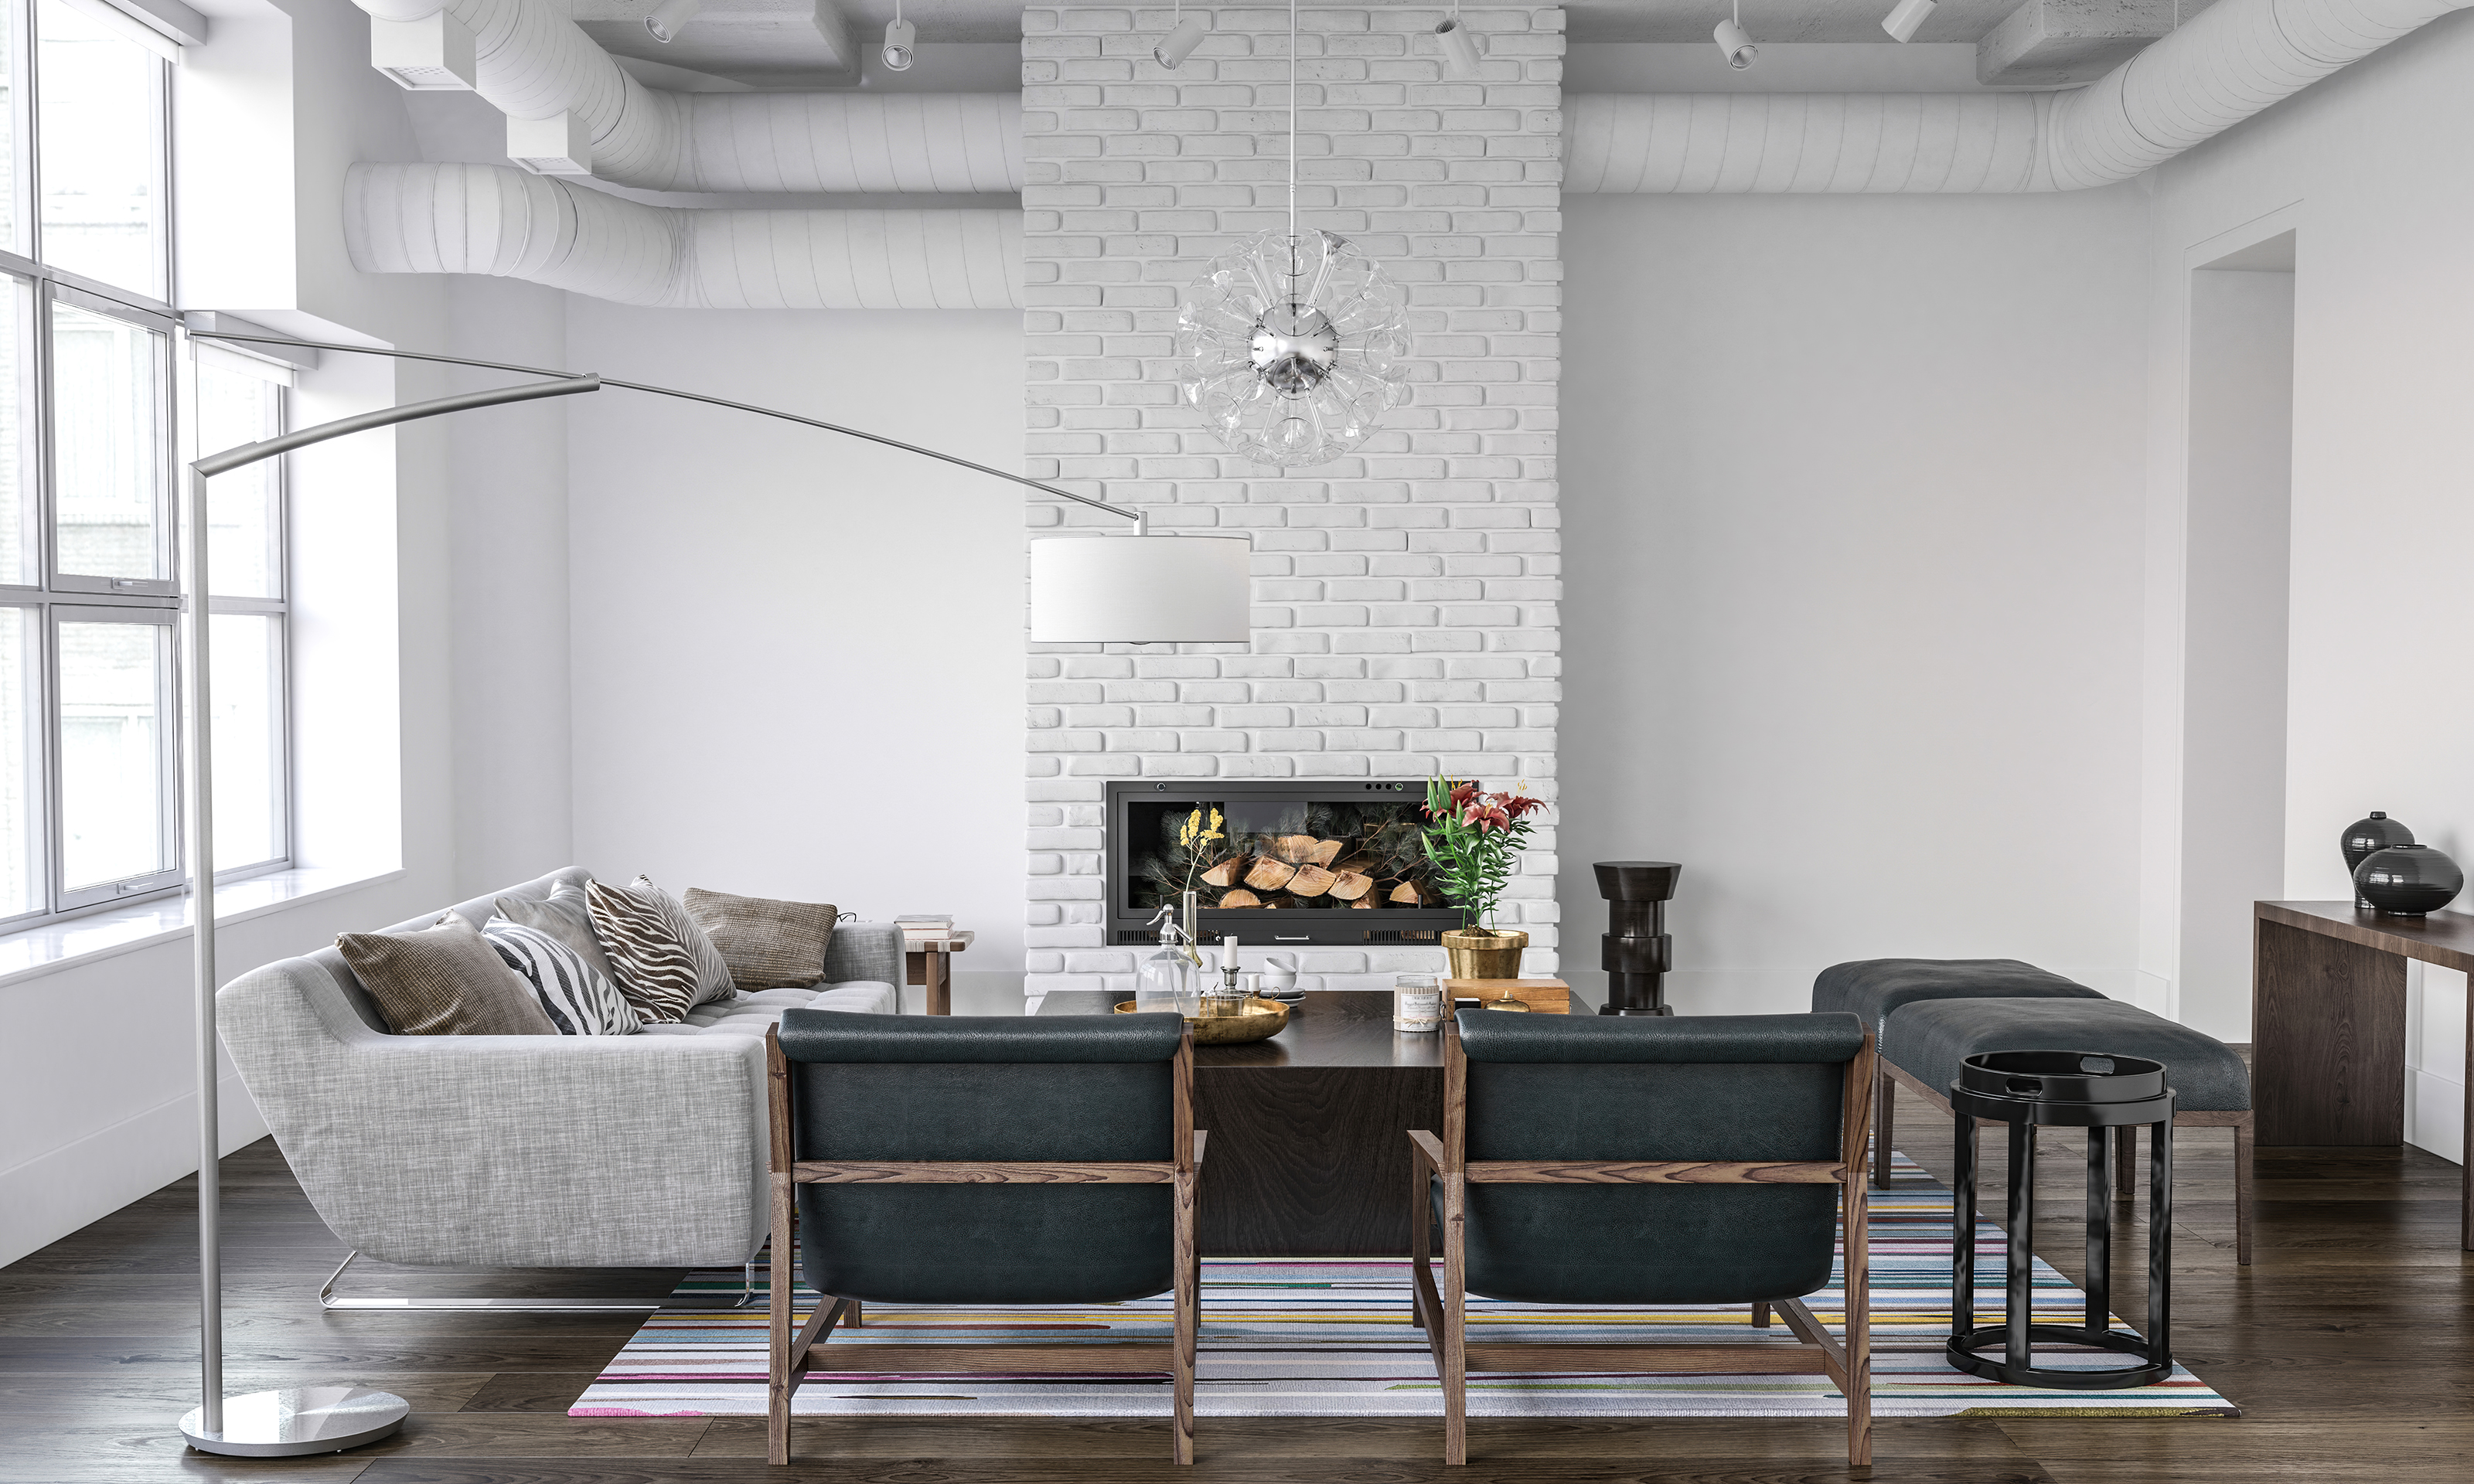
If your brick fireplace is looking tired and shabby, or it looks like it belongs in a different decade, painting it is a quick and simple solution. Not only can you hide away the bad, but you can bring your room up to date by painting it in a cool contemporary colour, which can be just as transformative as painting a wall.
Here are the tips and tricks you need to make it happen.
Painting a Brick Fireplace: What Tools Will I Need?
You'll need the following tools to ensure you're equipped for each stage of preparation and application:
- Wire brush
- Bucket
- Dust sheets
- Rubber gloves
- Paintbrush
- Roller
- Paint
Preparation
Clean Your Fireplace
Whatever the condition of your brick fireplace or chimney you will need to give it a clean first. The newer your fireplace is the less work you will likely have to do, but it still needs to be done.
Before you start, make sure that you have plenty of dust sheets in place; it could get messy. To start you will need to give it a good brush down with a stiff brush or broom to get rid of any soot, loose debris, dirt and cobwebs.
The next stage is to clean the brickwork. Get yourself a stiff scrubbing brush or wire brush and a bucket of warm soapy water. A squirt or two of washing up liquid usually does the trick. However, if you have more stubborn stains or grease spots you can try sugar soap or a specialist brick cleaner for really stubborn stains.
Do I Need to Prime the Brick First?
If you are painting bare brick then you need to seal the bricks before applying any paint. Bricks are more absorbent than standard plastered walls and will suck up more paint - especially old bricks.
Try to use a primer that acts as a sealer and stain blocker to get the best finish. Zinsser Bulls Eye 1-2-3 Primer, Sealer and Stain Blocker is a good choice for this.
If you are using a masonry paint like Sandtex Ultra Smooth Masonry Paint then you don’t need a primer. You can just apply the paint directly to the brick, but you might need at least three coats to cover properly.
Which Type of Paint Should I Use?
Using one of the best masonry paints is the obvious choice. These are generally self-priming, long-lasting, easy to apply and heat resistant.
“A masonry product works better with a render, stone or brick surface as that’s what it is formulated to do," explains Matthew Brown, Sadolin and Sandtex technical consultant:
Masonry paint typically comes in two finishes: smooth and textured. As you might expect, you get a smooth finish with the smooth choice, which is ideal for most fireplaces and chimneys, but if you have a rough surface you want covered, then textured paint is a better choice.
Masonry paint generally doesn’t come in a wide variety of colours, but you can get HQC Smooth Masonry Paint in 20+ colours. Once you have primed your brickwork properly you can use standard emulsions, eggshell, satin or gloss, although emulsion is the hardest to clean.
Limewash is another option - originally used in very old houses to paint masonry - it is much thinner than most modern paints. It is like whitewash and will soak into brickwork to create a faded, opaque finish rather than a solid paint finish. But you will need to add a few coats to get a good finish. It's an ideal choice if you're looking to recreate a historic looking home.
One key point to note is that all the paints we have mentioned here are for a fireplace surround, but Brown adds: "Just bear in mind they are not designed for use within the actual fireplace, ideally leave this be as it was designed otherwise you need to invest in specialist heat resistant paints for those type of areas."

Application
1. Prepare the area
After giving the fireplace/chimney a thorough cleaning, make sure you patch up any holes or missing cement. Then you'll need to clean around the area that you are going to paint.
First, sweep up any rubbish or debris and vacuum to get rid of as much dust as possible, then lay down dust sheets around the fireplace/chimney to stop paint getting on the floor. If you don't want to paint on adjacent paintwork (such as on your walls or skirting boards) then add painter’s tape to relevant areas.
2. Add a base coat
Apply the first coat with a 4-inch masonry paint brush and work the paint into all the cracks and crevices. Start at the top, do the sides and then the front. Then leave it to dry - this will help you spot any bits you have missed or still need filling.
For small holes, use decorator’s caulk to help you seal the hole/crack (which can be painted over). Then apply a second with the same brush and a deep pile roller for larger areas.
3. Paint the fireplace
Apply the top coat first with a brush to get into any hard to reach areas, such as the mortar lines between bricks, as well as any edges to create a border around the fireplace/chimney.
Start at the top and work your way down, painting left and right edges first then leave the front until last. You can continue with a brush to finish the job or use a roller - the choice is yours: like painting a wall you will get a slightly smoother finish with a roller, but on a surface like brick it isn’t as noticeable. When dry, make a judgement call if you need another coat or not.
Get the Homebuilding & Renovating Newsletter
Bring your dream home to life with expert advice, how to guides and design inspiration. Sign up for our newsletter and get two free tickets to a Homebuilding & Renovating Show near you.
Steve Jenkins is a freelance content creator with over two decades of experience working in digital and print and was previously the DIY content editor for Homebuilding & Renovating.
He is a keen DIYer with over 20 years of experience in transforming and renovating the many homes he has lived in. He specialises in painting and decorating, but has a wide range of skills gleaned from working in the building trade for around 10 years and spending time at night school learning how to plaster and plumb.
He has fitted kitchens, tiled bathrooms and kitchens, laid many floors, built partition walls, plastered walls, plumbed in bathrooms, worked on loft conversions and much more. And when he's not sure how to tackle a DIY project he has a wide network of friends – including plumbers, gas engineers, tilers, carpenters, painters and decorators, electricians and builders – in the trade to call upon.

