Opening up a fireplace: Your complete how-to guide
Opening up a fireplace can often be a job undertaken on a DIY basis by renovators — and it is certainly one well worth doing. Our guide will take you through the process
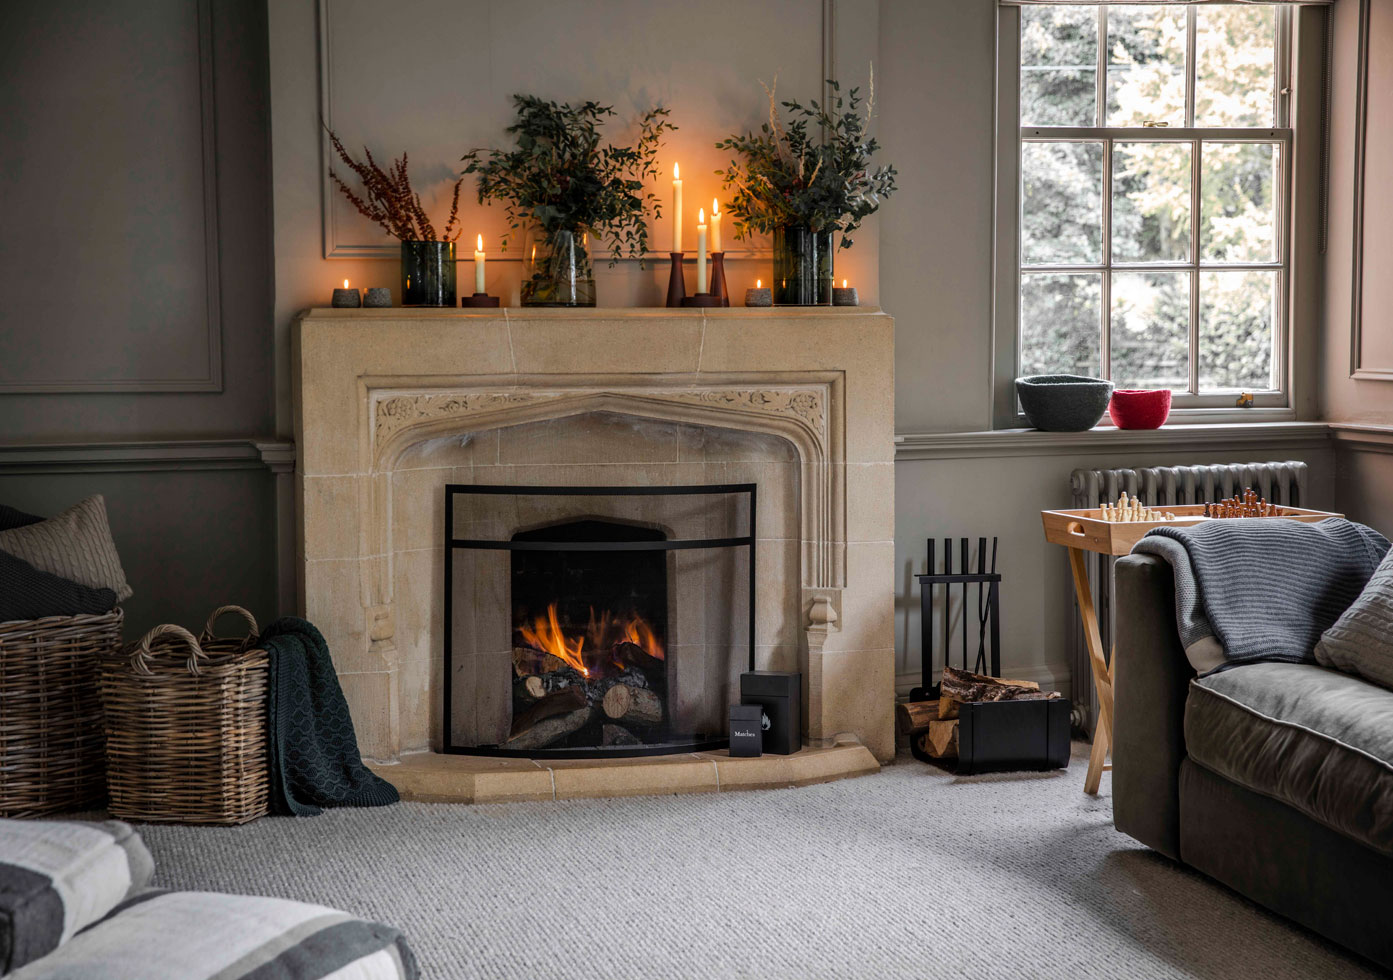
Opening up a fireplace has to be one of the best ways to add character, charm and value to a period property — after all, an open fire is high on many people's wish lists.
However, before you take a sledgehammer to what you believe to be a blocked up chimney or fire opening you should first ensure you familiarise yourself with the associated Building Regs, costs and how to do it safely to make sure you don’t end up with a whole lot of mess.
In some cases, opening up a fireplace could involve little more than prising off a sheet of old hardboard to reveal a hidden gem. But even if you don’t find a long-forgotten marble masterpiece behind, there’s still plenty you can do to create a captivating focal point.
Is Planning Permission Needed When Opening up a Fireplace?
When it comes to getting planning permission, unless the building is listed, you shouldn’t normally need to worry.
However, because of the potential risks from fire and toxic fumes, even if you’re only installing a stove in an existing fireplace or lining a flue, the work will need to comply with Building Regulations (Part J deals with combustion appliances). And, any structural alterations, such as removal of a chimney breast, will also need to comply.
Which Building Regs Relate to Opening Up a Fireplace?
For even more advice, information and inspiration delivered straight to your door, subscribe to Homebuilding & Renovating magazine.
The provision of a sufficient amount of oxygen, both for occupants and for the combustion of fires or appliances is a key part of compliance with current Building Regulations. This might require vents to be fitted close to the fire.
In timber floors, vents can be inserted into the floorboards so that the fire draws air from under the floor (rather than creating a draught under the living room door), which has the beneficial side effect of enhancing subfloor ventilation. Alternatively, vents are sometimes placed on outside walls just above the skirting. Redundant flues also need to be ventilated to prevent staining to chimney breasts caused by moist air condensing within the flue.
If required, a new gas supply can be piped to the fireplace under a timber floor or via copper pipe (usually 22mm) run externally and clipped to the outside wall surface. But when it comes to the installation of gas appliances, by law this task must only be carried out by a Gas Safe-registered engineer.
As ‘competent persons’, approved installers can ‘self-certify’ that work has been carried out in compliance with Building Regulations and issue completion certificates. HETAS is the equivalent body for solid fuel-burning appliances.
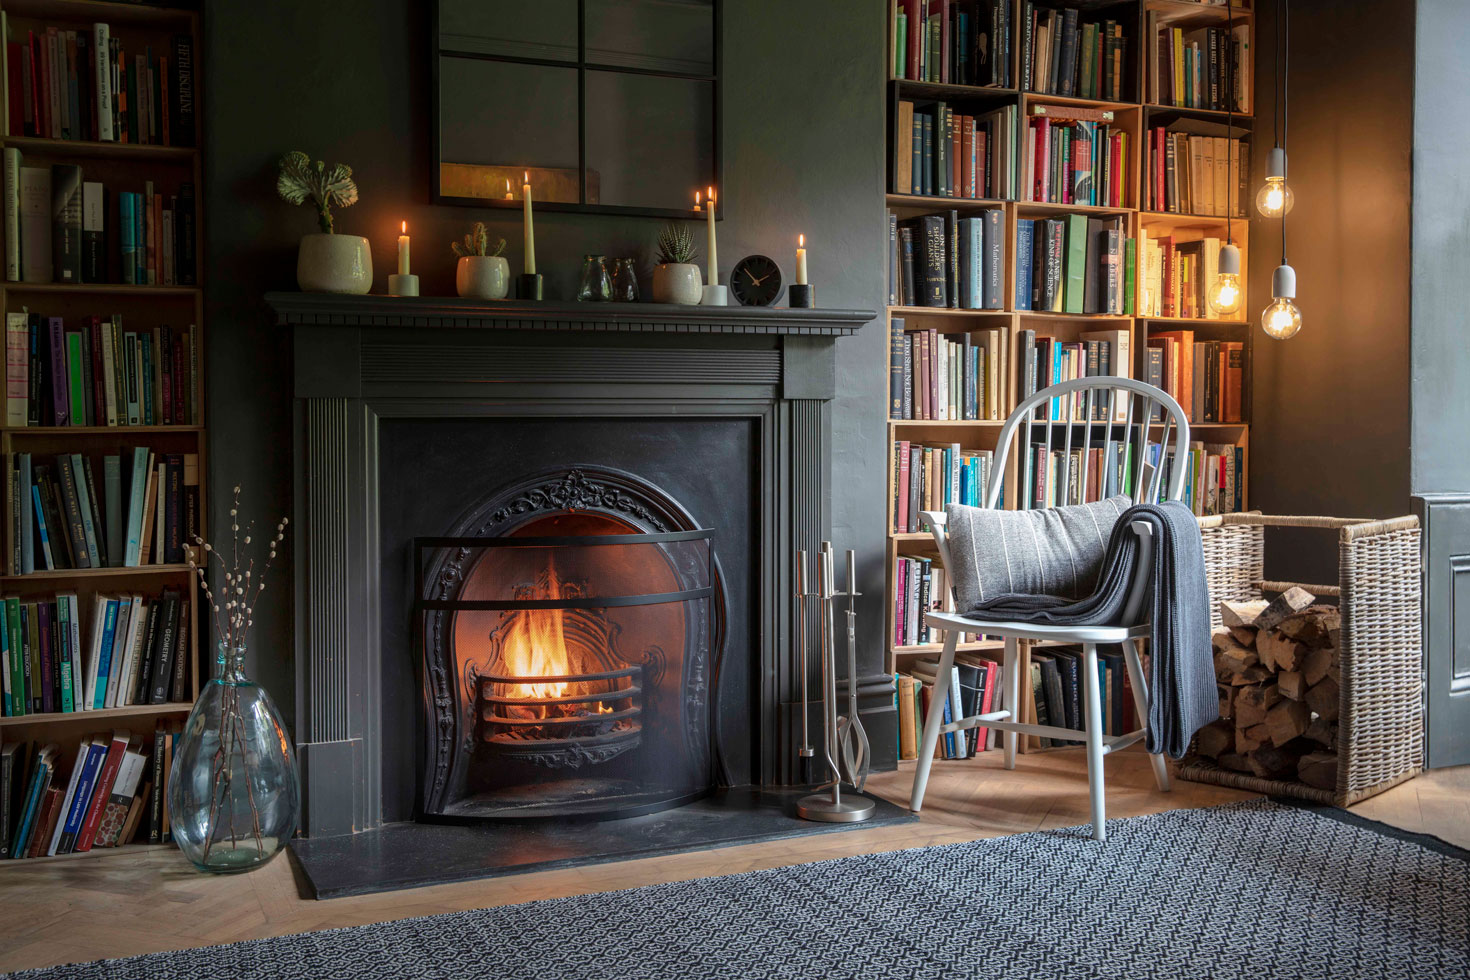
How Much Does it Cost to Open Up a Fireplace?
This will very much depend on how your original fireplace was boarded up. Very occasionally part of the old surround or insert will remain. More commonly it will have been completely removed and the opening either boarded or bricked up.
If the opening is boarded up it will be easier, quicker and cheaper to reveal than one that has been bricked and plastered over.
As a rough guide, a new flue liner measuring six meters costs between £150-£250 depending on the quality and supplier. Usually on one or two are required.
Knocking out a fireplace will usually take around half to a full day, whilst sweeping and installing the lining could take another. The average day rate for a tradesperson to do this job would be around £150-£250.
How to Open up an Old Fireplace
Before getting down to work it’s advisable to play safe and cover everything in sight because there is a potential that astounding volumes of soot and dust will be generated when opening up a fireplace — engulfing nearby furnishings, persons and pets in a thick, black miasma.
It’s also worth bearing in mind too that the vibration from builders’ Kango breakers can be very effective at rearranging the neighbour’s ornaments on the other side of a party wall. So a bolster and club hammer is probably a better option for localised demolition where old fireplaces have been bricked up. Having exposed the original ‘builder’s opening’, large deposits of accumulated soot and rubble will likely need to be removed before the chimney can be swept and the flue lined.
In most properties built in the 19th and early 20th centuries, the opening will be spanned by a load-bearing brick arch supported on a curved steel former. Exposed brickwork can look very appealing, but if the size of the opening needs to be altered, a concrete lintel can be inserted and the masonry plastered over.
Whatever your taste in fires, once you have a clean opening and a freshly swept flue, the next job is normally to upgrade the hearth, traditionally made from concrete set flush into the floor void. To comply with Building Regulations this will need to be raised above floor level; it’s a simple job to form a new one directly on top from in-situ concrete, or you might opt for a marble or slate hearth.
The new fire surround will stand on top of the hearth, screwed to the wall via small side lugs which can be inset into the wall and plastered over. Finally, if your preference is for a traditional Victorian cast iron insert, this can now be positioned centrally, secured by a mass of weak concrete placed behind it.
What Style of Fireplace is Right For Me?
After some fireplace design ideas? The style of fireplace you opt for really will depend on the age of the property and the overall look you’re aiming to create. A large inglenook might be perfect for a woodburning stove, for example.
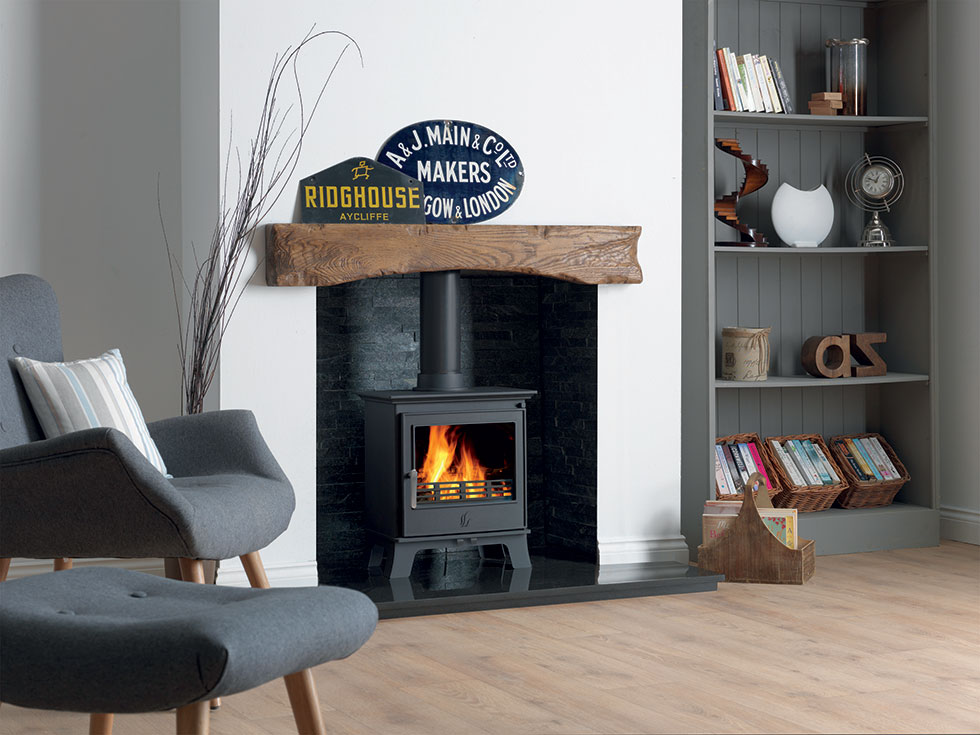
Chimney breasts take up a fair amount of space. So in smaller houses with cramped layouts it can be tempting to remove a redundant chimney breast, perhaps towards the rear of the property in a kitchen or bathroom. However, where a previous owner has already taken out a chimney breast and you want to open up a fireplace, it should be possible to rebuild it without costs escalating (assuming the stack is still in place).
Alternatively, it might be simpler to install an appliance designed to operate via a flue driven through an outside wall.
How is a Flue Installed?

Need more advice or inspiration for your project? Get two free tickets to the Homebuilding & Renovating Show.
Enclosed by the chimney breast and stack masonry, flues are designed to safely disperse smoke and combustion gases. Often multiple flues are accommodated within a single chimney with thin internal partitions. Before a fire can be used, in most cases the flue will need to be lined. In older properties, flues were lime rendered internally (known as ‘parging’), but over the years this can come loose and mortar joints can erode, allowing smoke and fumes to emerge in an adjacent flue or room.
Lining typically involves inserting a flexible steel tube down from the top — a job which can require scaffolding, adding to the cost of the task. The type and diameter of the flue liner, and the cowl or terminal, are both specific to individual appliances and fires and are specified by the manufacturer and/or installer.
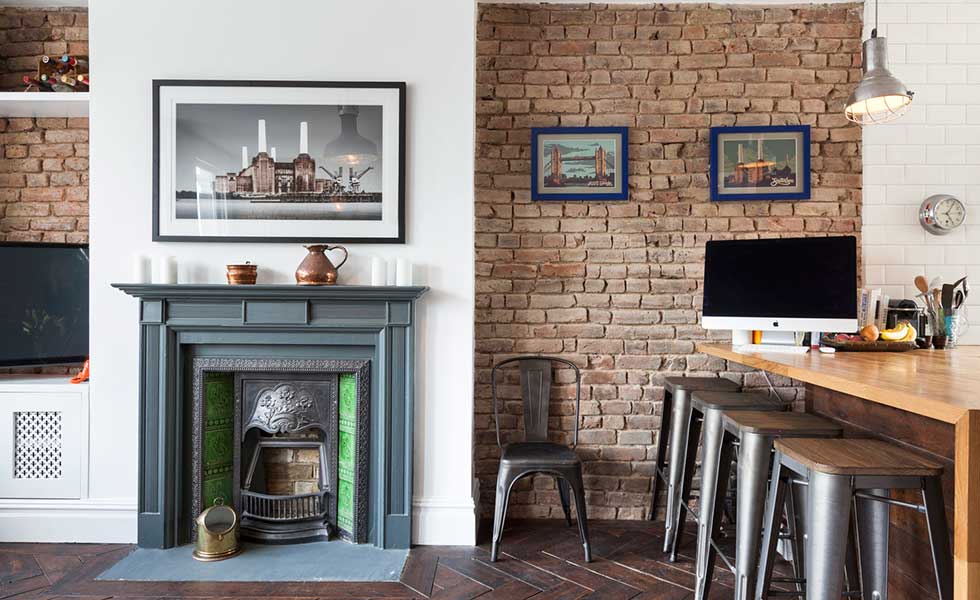
Troubleshooting When Opening Up a Fireplace
If you spot damp patches and staining on your chimney breasts or the walls around your fireplaces you are looking at signs of underlying damp problems. The two main causes of damp (other than leaks at roof flashings) are rainwater coming down chimney pots and condensation.
Burning fuel produces water vapour which turns to moisture when it hits cold surfaces, especially if the stack is particularly tall or located on a cold outer wall. Fuels such as freshly cut timber are particularly wet and give off a lot of water vapour. Once mixed with soot the moisture can bleed through the plasterwork leaving ugly stains.
In older properties, the stack walls were built without a damp-proof course (DPC), and eroded mortar joints can allow damp to penetrate down through porous masonry. To prevent this, modern stacks have a DPC through the chimney at approximately 150mm above the roof and another near the head.
Condensation inside the stack can usually be resolved by installing a suitable flue liner. But this can sometimes lead to problems where pots and flues are exposed to rain, because rather than being absorbed into the masonry, the rainwater may be channelled straight down the ‘chute’ forming puddles in the fireplace.
To exclude the entry of rain there’s a wide variety of caps, cowls, and hoods available to protect pots and flues. Even if redundant fireplaces are sealed up and you don’t want to use them, there should be a flow of air to prevent condensation with pots hooded or capped, and airbricks inserted in the stack wall.
Where damp is seeping down through porous chimney masonry, repointing the brickwork joints can sometimes solve the problem, or new larger flashings can be fitted that extend higher up and deeper into the brickwork.
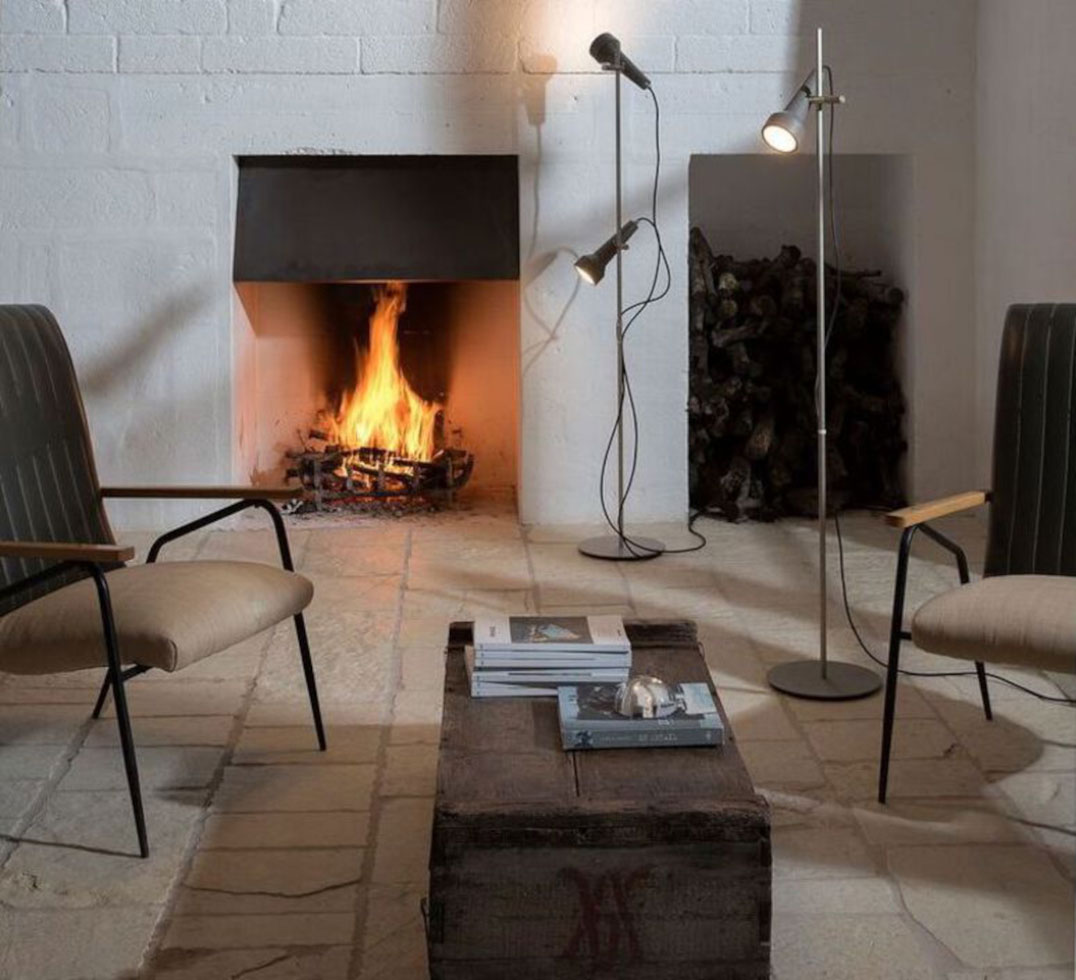
You’ve opened up a fireplace only to find smoke doesn’t go up the chimney but instead blows into the room – or maybe you find that the fire becomes choked and struggles to burn. What to do?
Fireplaces rely on the principle that warm air rises. A regularly used flue helps keep the escaping smoke warm, aiding its ascendance.
- Some chimneys are simply too cold to draw well, particularly those on outside walls.
- A stack that is too short or overshadowed by high buildings or trees can result in a downdraught with the smoke blowing back down.
- Flues that are too large can cause smokiness because it takes a long time for them to get warm enough to help the smoke rise.
- Flues that are too small can choke the fire.
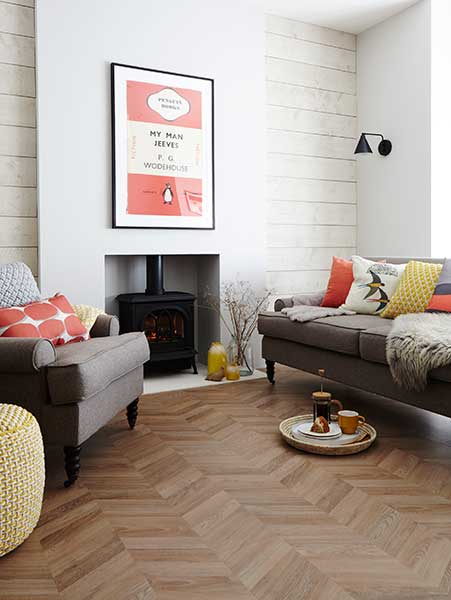
Probably the most common cause of smoky fires is a lack of air, particularly in houses where draughts have been sealed up. Smoke can also become trapped because there’s something blocking the flue — indeed anything which obstructs the flow of smoke and combustion gases, such as a badly fitted pot, can be a problem. Although there are multiple possible causes of smoky fires, sometimes the problem can even be down to a temporary change in wind direction distorting air pressure.
How to Fix a Smoking Fire
- Air starvation can be cured by boosting air supply by installing (closable) vents or an underfloor grille near the fire
- Flues that are too large can be modified with a suitable flue liner, and a ‘throat restrictor’ can be fitted to narrow the entry zone from the fireplace
- Smoke will disperse more efficiently where internal flue walls are smooth, once lined
- To clear blockages – debris, soot, nests, etc. – ensure that the chimney has been swept
- To solve downdraughts, a special draught-inducing cowl or circular deflector can be fitted, or the height of the flue raised with a pot extender.
Smoke Fumes are Leaking into Other Rooms — What Should I Do?
A blocked flue can divert smoke and fumes into adjoining rooms or adjacent flues. Smoke leakage and fumes may cause drowsiness, and there are potentially very serious dangers from breathing in poisonous fumes and from the risk of fire. Gas or oil-fired appliances are particularly prone to producing deadly, odourless carbon monoxide, too.
Look for signs of bird ingress and blockage such as feathers, sticks, straw and large amounts of soot in the grate. To prevent blockages caused by bird access and nests, unprotected chimney pots can be fitted with bird guards.
Gas and oil appliances need special chimney-top terminals to prevent blockage and to help disperse gases, too.
Gaps may have also formed where mortar joints have been eroded over time by acidic chemicals from combustion gases. Leaks can sometimes go undetected, particularly within lofts or to adjoining houses. The airtightness of a flue can be tested using smoke pellets (available from DIY stores). Where possible, leaky mortar joints should be made good prior to lining the flue. But even where a flue is already lined, old steel liners eventually suffer from corrosion.
It’s essential that flue liners are of the right type for the fire or appliance. Flexible single-skinned liners are used mainly for gas fires and oil or gas-fired boilers, whereas hardier double-skinned liners are required for burning solid fuels (i.e. for woodburners).
How to Prevent Chimney Fires
Fires in flues can burn unnoticed until structural damage is caused or fire spreads to the main house. Symptoms include excessively hot chimney breasts and the smell of burning.
Over time, soot and tar can build up inside flues and may eventually ignite causing hidden chimney fires that are hard to extinguish. A chimney fire can burn at over 1,000°C, causing metal liners to collapse. This is more common where the fuel being burnt is green, unseasoned timber as it generates excessive tar. But soot deposits can also be a result of inefficient combustion caused by poor air supply.
Flues need to be swept annually to remove combustible soot deposits and blockages. Choose a sweeper who’s National Association of Chimney Sweeps (NACS) or HETAS approved and ideally also a member of the Guild of Master Sweeps.
Wood and peat are particularly aggressive fuels and can produce a rapid build-up of tar and resinous deposits on the inside of the flue. But sweeping flexible flue liners can be difficult, so one trick of the trade is to occasionally burn smokeless fuel in a very hot fire which, it is claimed, melts the deposit away.
Get the Homebuilding & Renovating Newsletter
Bring your dream home to life with expert advice, how to guides and design inspiration. Sign up for our newsletter and get two free tickets to a Homebuilding & Renovating Show near you.
Chartered surveyor Ian Rock MRICS is a director is Rightsurvey.co.uk and the author of eight popular Haynes House Manuals, including the Home Extension Manual, the Self Build Manual and Period Property Manual.
Ian is also the founder of Zennor Consultants. In addition to providing house surveys, Zennor Consultants provide professional guidance on property refurbishment and maintenance as well as advising on the design and construction of home extensions and loft conversions, including planning and Building Regulations compliance.
Ian has recently added a 100m2 extension to his home; he designed and project managed the build and completed much of the interior fit-out on a DIY basis.

