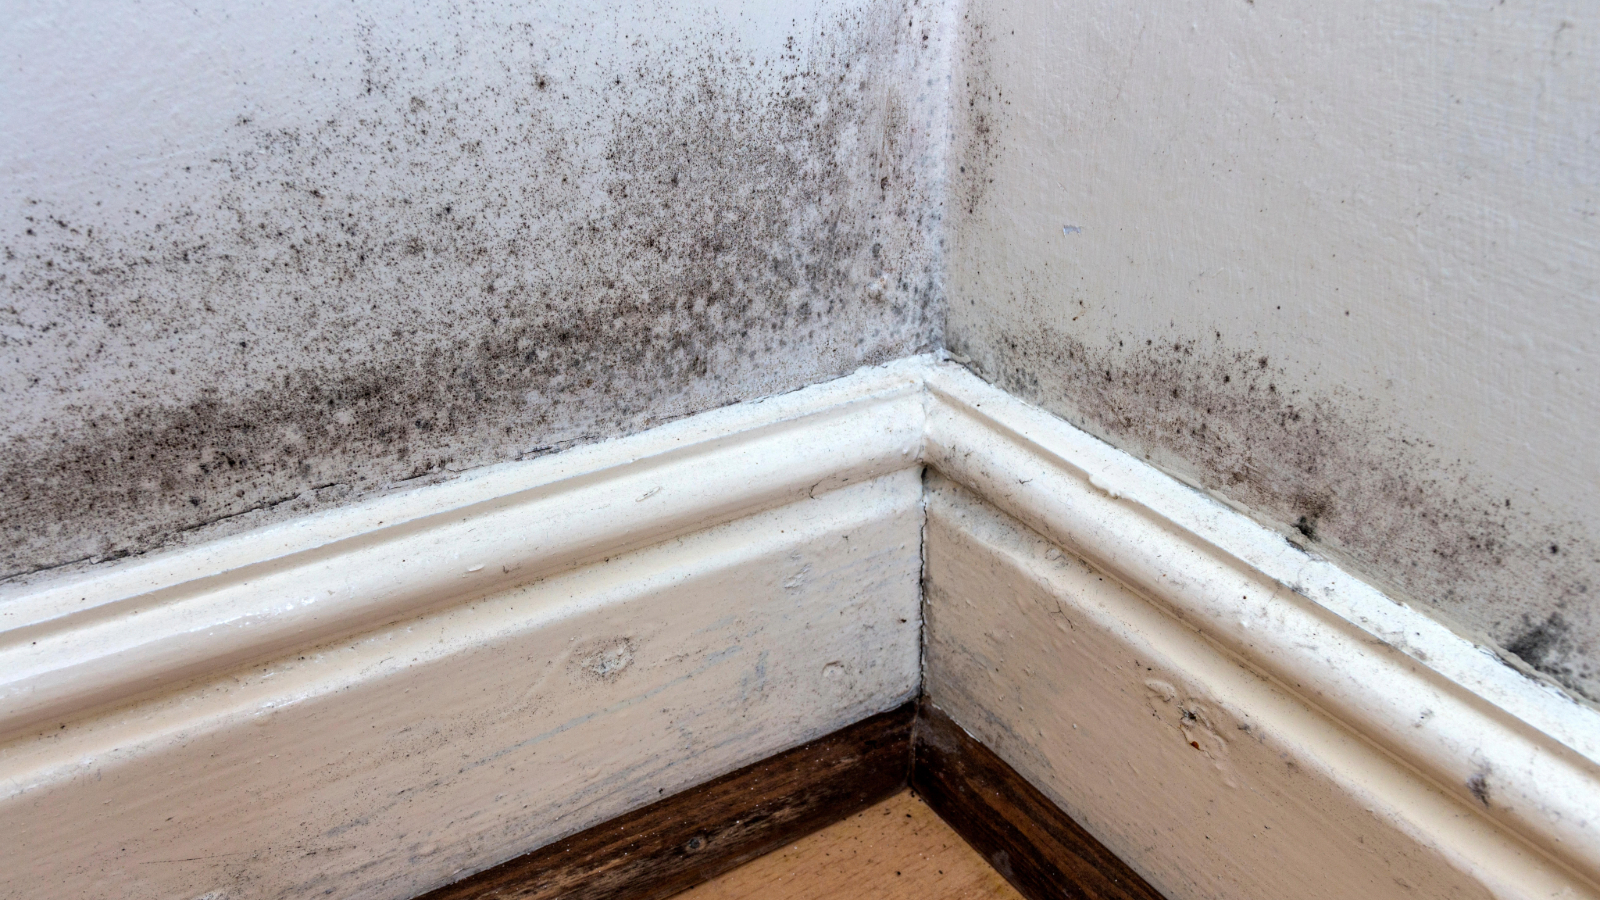
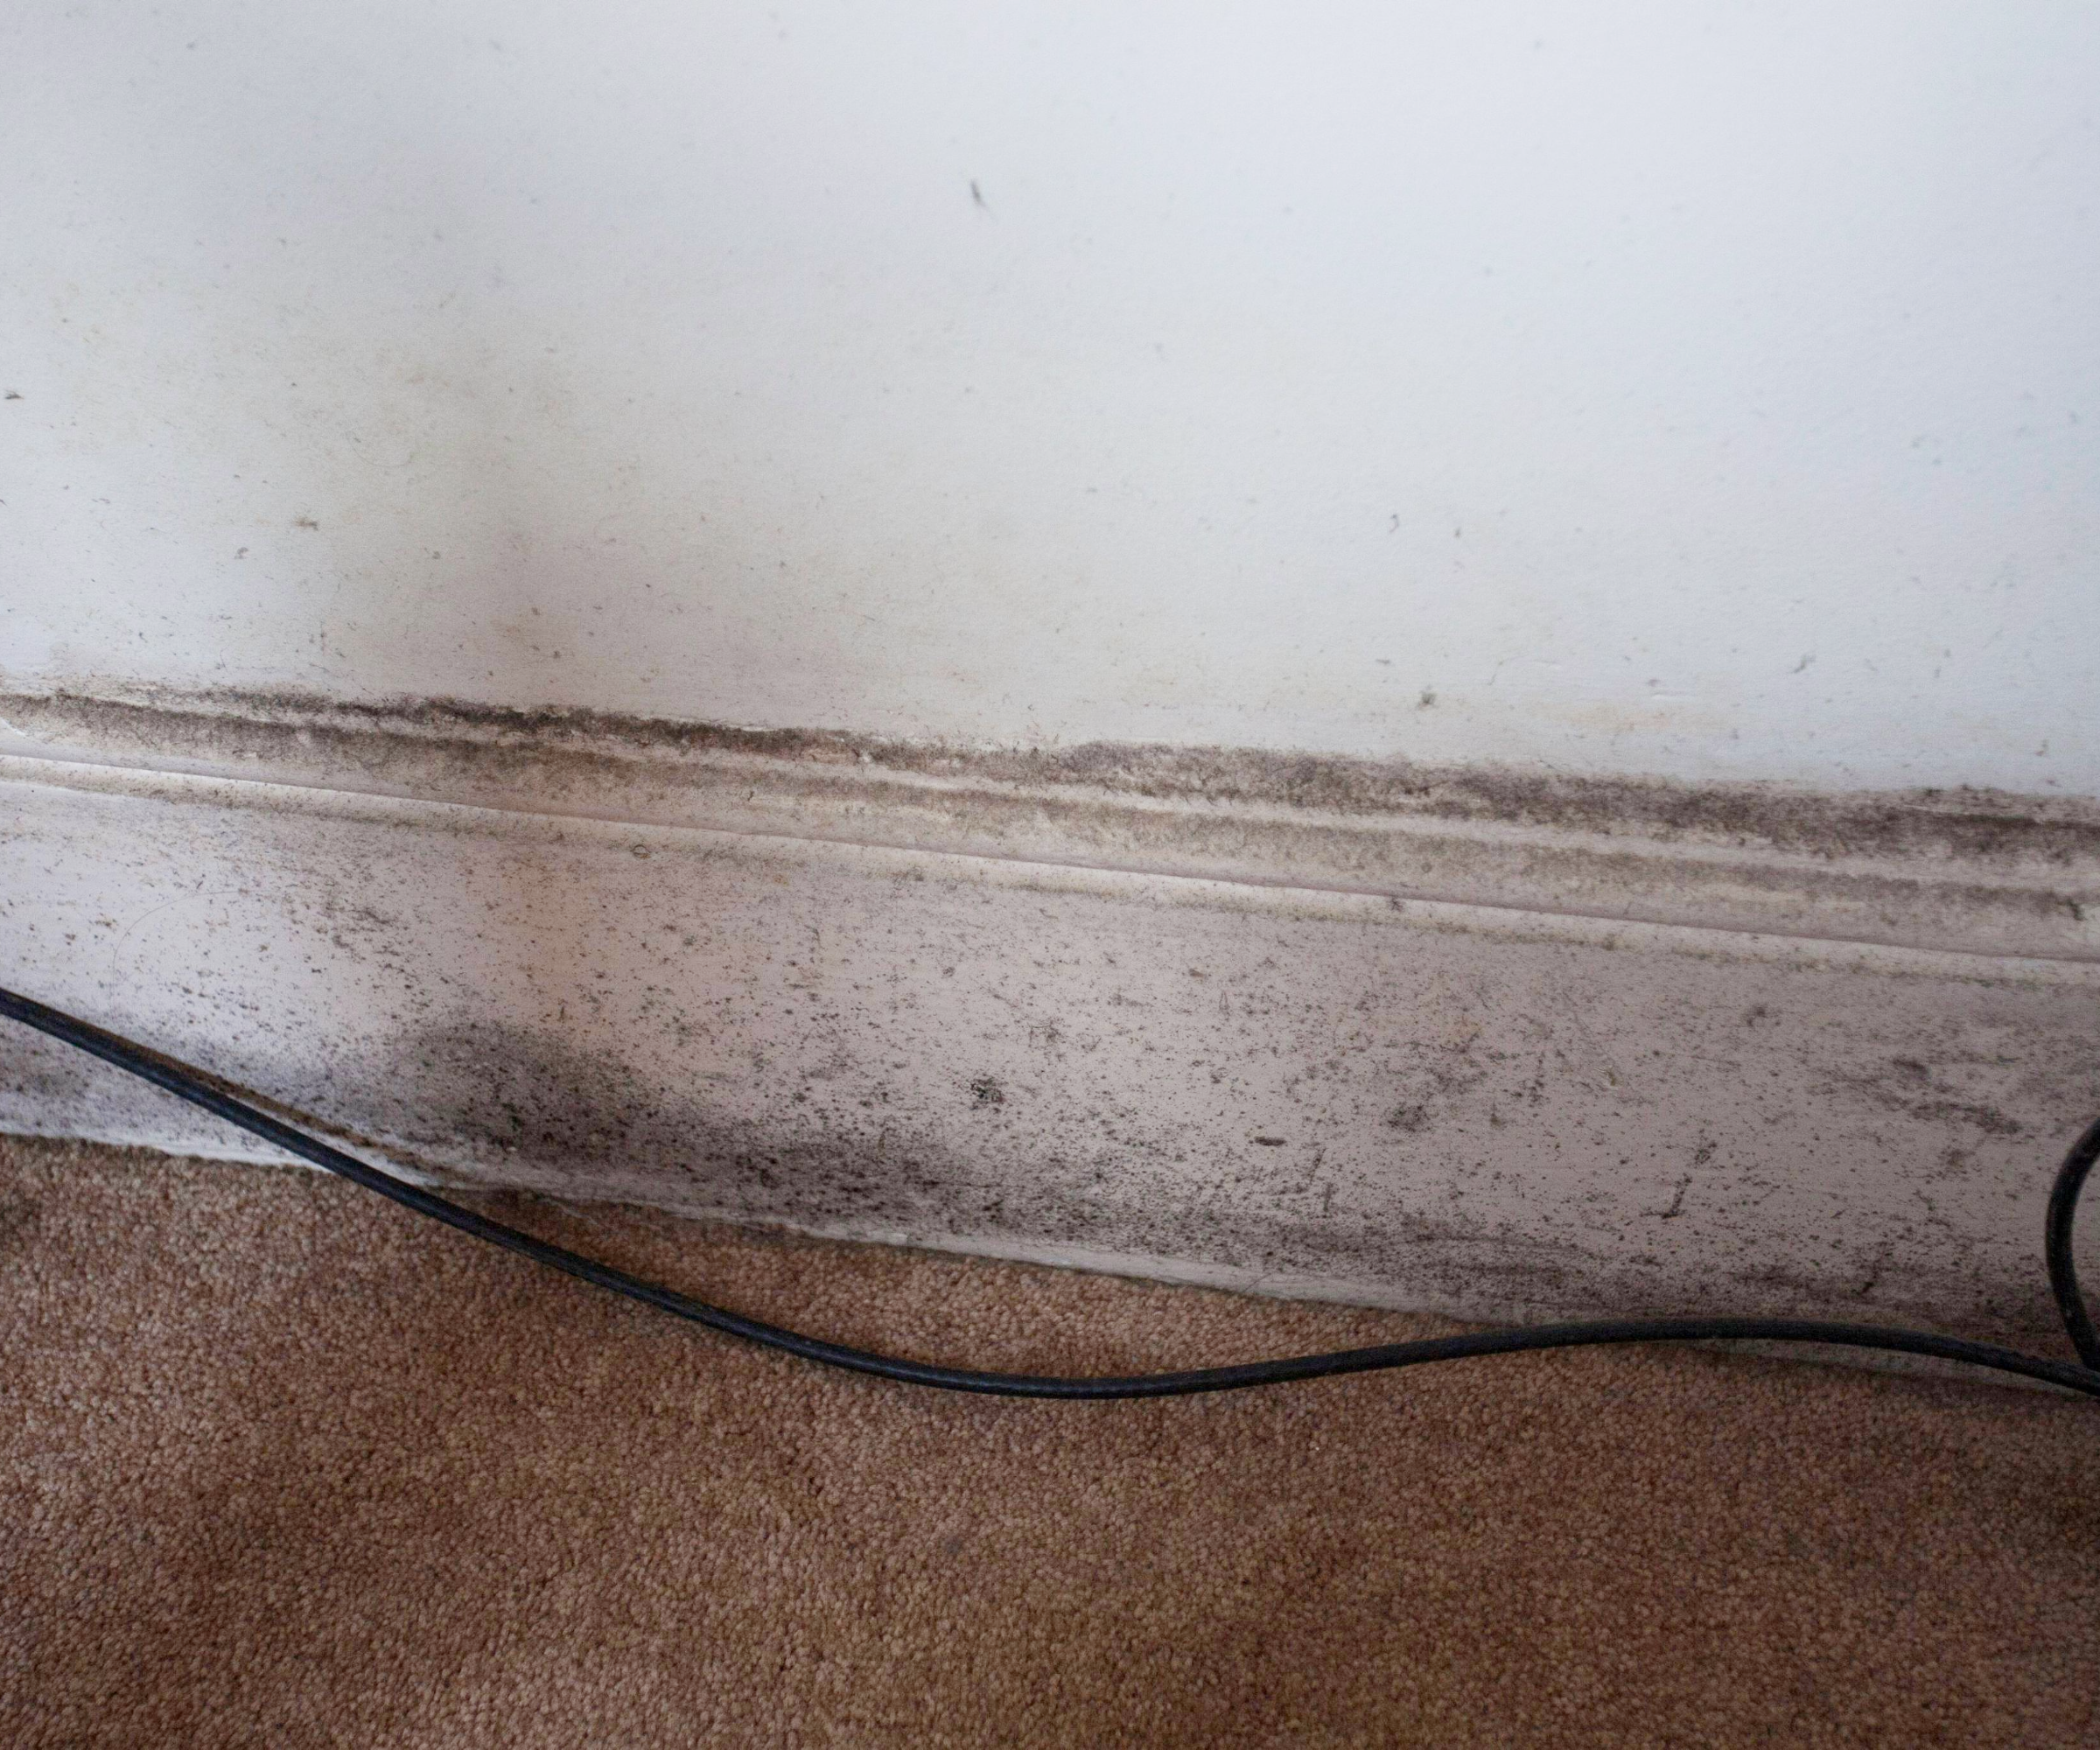
Mould on your skirting boards? Why it happens and how to get rid of it
Found mould on your skirting boards? Don’t panic – our quick guide explains the causes, treatments and prevention methods so you can eliminate the problem fast

If you’ve found mould on your skirting boards, you’re probably wondering what caused it, the best way to remove it, and how you can prevent it from happening again – which is why we’re here to help.
Since mould can grow quickly and cause a long list of health problems, including respiratory issues, allergies, and skin irritation, keeping on top of mould removal is vital. Not only is it bad for your health, but it can also cause foul odours and stains, and indicate that there’s dampness in your home that needs to be addressed.
To find out why there’s mould on your skirting boards, we asked experts about the causes, along with their top tips for removing it safely and preventing it from returning.
What causes mould on skirting boards?
There are usually three main culprits when it comes to mould forming on skirting boards and walls: condensation, damp and poor ventilation.
Although condensation is most likely to occur in bathrooms and kitchens (where there are usually high levels of humidity), in poorly ventilated homes, condensation can become problematic in pretty much any space.
Where damp is the cause, things can be a little more complicated. Before the mould can be fully resolved, it will be necessary to first understand what causes damp and, second, to get to the bottom of what the underlying reason might be. Then, you can work out the best solution.
In either case, both excess condensation and damp can, if left unchecked, lead to skirting boards that twist, warp and come away from the walls. They may also rot. This is a particular problem for those with MDF skirting boards and if not remedied quickly, you may end up needing to replace them, which is not always a quick or easy job.
Bring your dream home to life with expert advice, how to guides and design inspiration. Sign up for our newsletter and get two free tickets to a Homebuilding & Renovating Show near you.
Ben Snape, expert at IntelOptic adds, "Poor airflow can cause issues by preventing damp areas from drying out. For example, when people place furniture directly against walls, this limits airflow and will trap humid air, leading to mould behind the skirting board and furniture backs."


Ben Snape is part of the team at IntelOptic, a home health app that helps identify early signs of damp using cutting-edge AI and optical technology.
How do I remove mould from skirting boards?
Once you have got to the bottom of what is causing the mould and are sure the problem is not going to return, removing it should not be too difficult.
There are several methods you can use to remove mould from skirting boards:
1. Spray with vinegar or mould remover
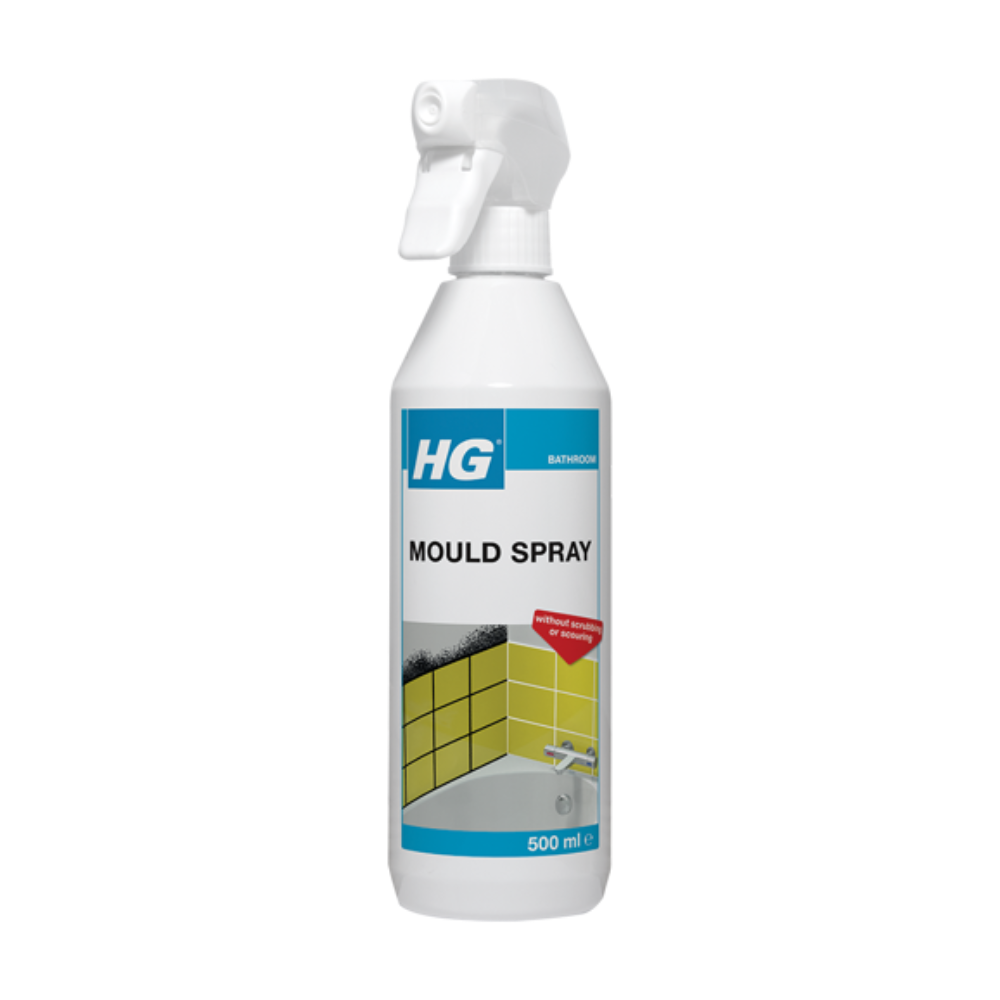
If your mould is surface-level, Michael Zohouri, founder of Pyramid Eco, recommends spraying the area with a white vinegar solution or mould remover. Let it sit for around 30 to 60 minutes, scrub gently, then dry the area fully and repaint with mould-resistant sealant or paint.
Homebuilding's Amy Willis rates HG's spray as the most effective mould removal product, having tested it on mould on her bathroom ceiling, along with a couple of other household products.
2. Apply a baking soda and vinegar paste
Alternatively, Steve Jenkins, Homebuilding's freelance content creator, suggests using a paste made from two parts baking soda to one part white vinegar. He recommends applying the paste to the mould and leaving it for around an hour.
"For your safety, put on rubber gloves and a face mask," says Steve. "Use a stiff brush to remove as much of the paste as possible. If needed, use a kitchen sponge or scourer to get rid of any residue. Wipe down the area with a damp cloth. To help make sure that all the mould spores have been killed off, finish by spraying the affected area with a fine mist of water and vinegar and leave to dry."
3. Replace your skirting
If your skirting feels soft or is starting to break down, Michael says it's likely that the mould is inside the material and will need removing and replacing.
He adds, "The mould is only there because of moisture. That could be rising damp, condensation pooling behind furniture, or even poor ventilation."


Michael Zohouri specialises in tackling mould, damp and ventilation issues, alongside sustainable upgrades such as heat pump installations. His focus is on creating healthier homes that improve air quality and energy efficiency.
How to prevent mould on skirting boards
If you want to prevent the mould on your skirting boards from returning, here's what Ben Snape recommends:
1. Improve ventilation
Improving ventilation can make a big difference. Use these whilst cooking and cleaning, and keep them running for at least 20 minutes after. Opening windows regularly also helps – especially in winter, as we tend to keep them shut.
2. Check for leaks
Regular checks for early signs of leaks, condensation, and peeling paint are important. Look out for swollen skirting boards and musty smells. Catching problems early and repairing fast will help stop the spread.
3. Move furniture away from your walls
As mentioned before, furniture being too close to the walls (especially external walls) can cause damp issues. Try to keep around four to six inches between any furniture and the wall to allow air to circulate and avoid trapping moisture.
4. Use anti-mould paint or treatments
Once you’ve addressed any mould or damp issues on your skirting boards, you can apply anti-mould paint or treatments to the affected areas after they’ve been cleaned thoroughly. These contain fungicidal agents to help prevent regrowth.
5. Use a dehumidifier
To prevent excess moisture building up in your home, it's worth investing in one of the best dehumidifiers.
By learning these causes and prevention tips, you won't have to worry about pesky mould returning to your skirting boards again – and if it does, you'll know the best way to get rid of it.
You might also want to read our advice on how to remove black mould from silicone sealant, as well as the different types of mould to be wary of.
Natasha was Homebuilding & Renovating’s Associate Content Editor and was a member of the Homebuilding team for over two decades. In her role on Homebuilding & Renovating she imparted her knowledge on a wide range of renovation topics, from window condensation to renovating bathrooms, to removing walls and adding an extension. She continues to write for Homebuilding on these topics, and more. An experienced journalist and renovation expert, she also writes for a number of other homes titles, including Homes & Gardens and Ideal Homes. Over the years Natasha has renovated and carried out a side extension to a Victorian terrace. She is currently living in the rural Edwardian cottage she renovated and extended on a largely DIY basis, living on site for the duration of the project.
- Megan MilsteadContent Editor


