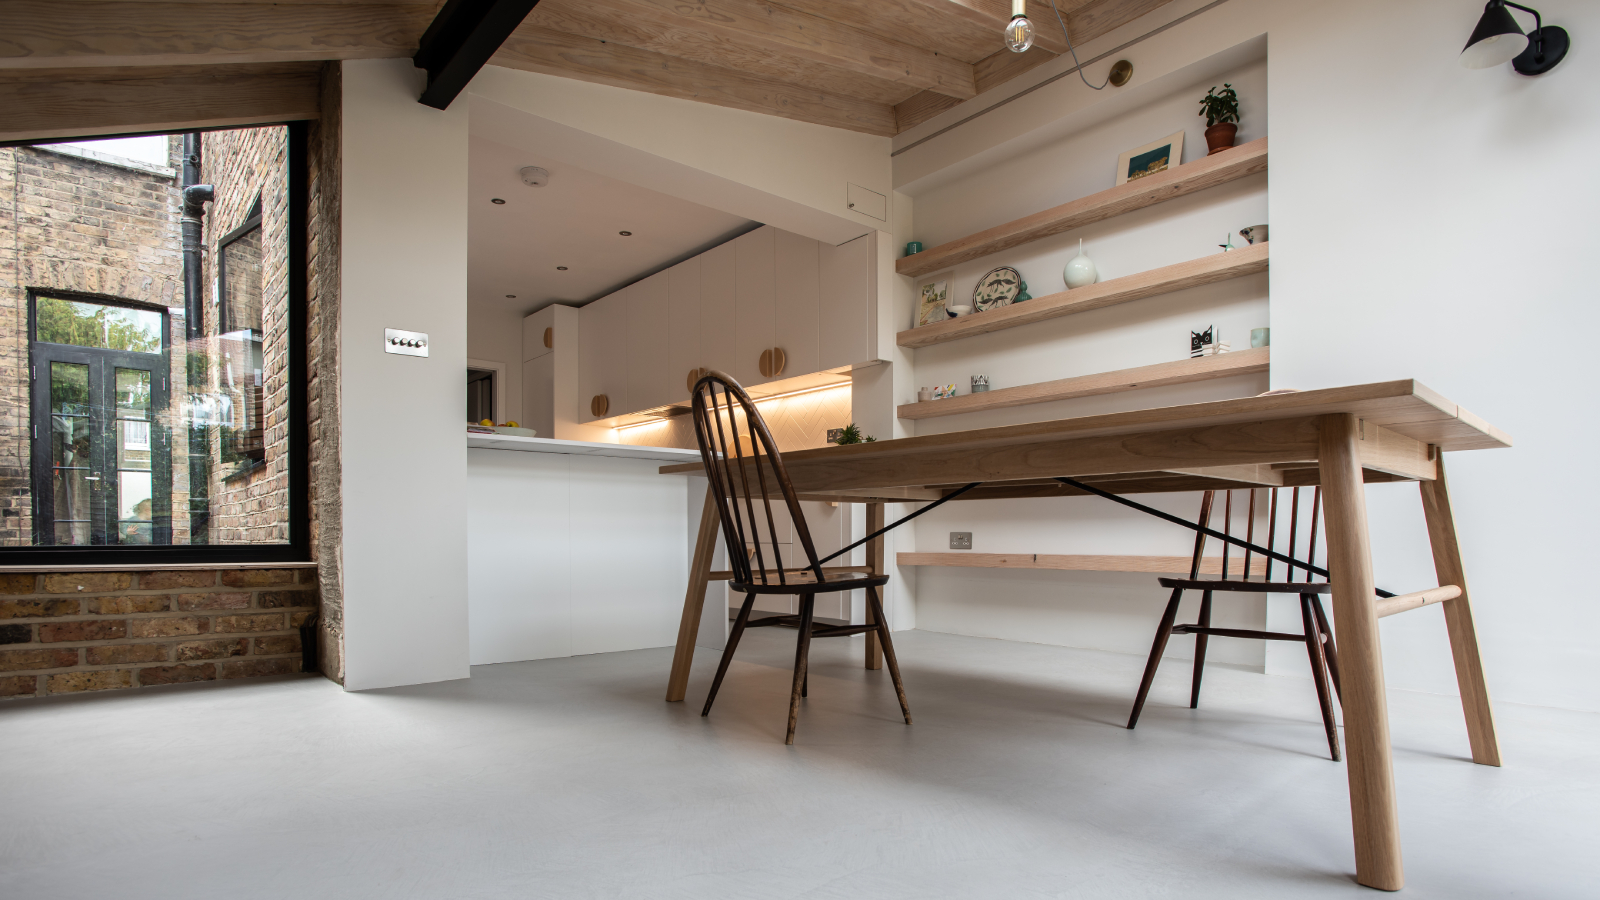
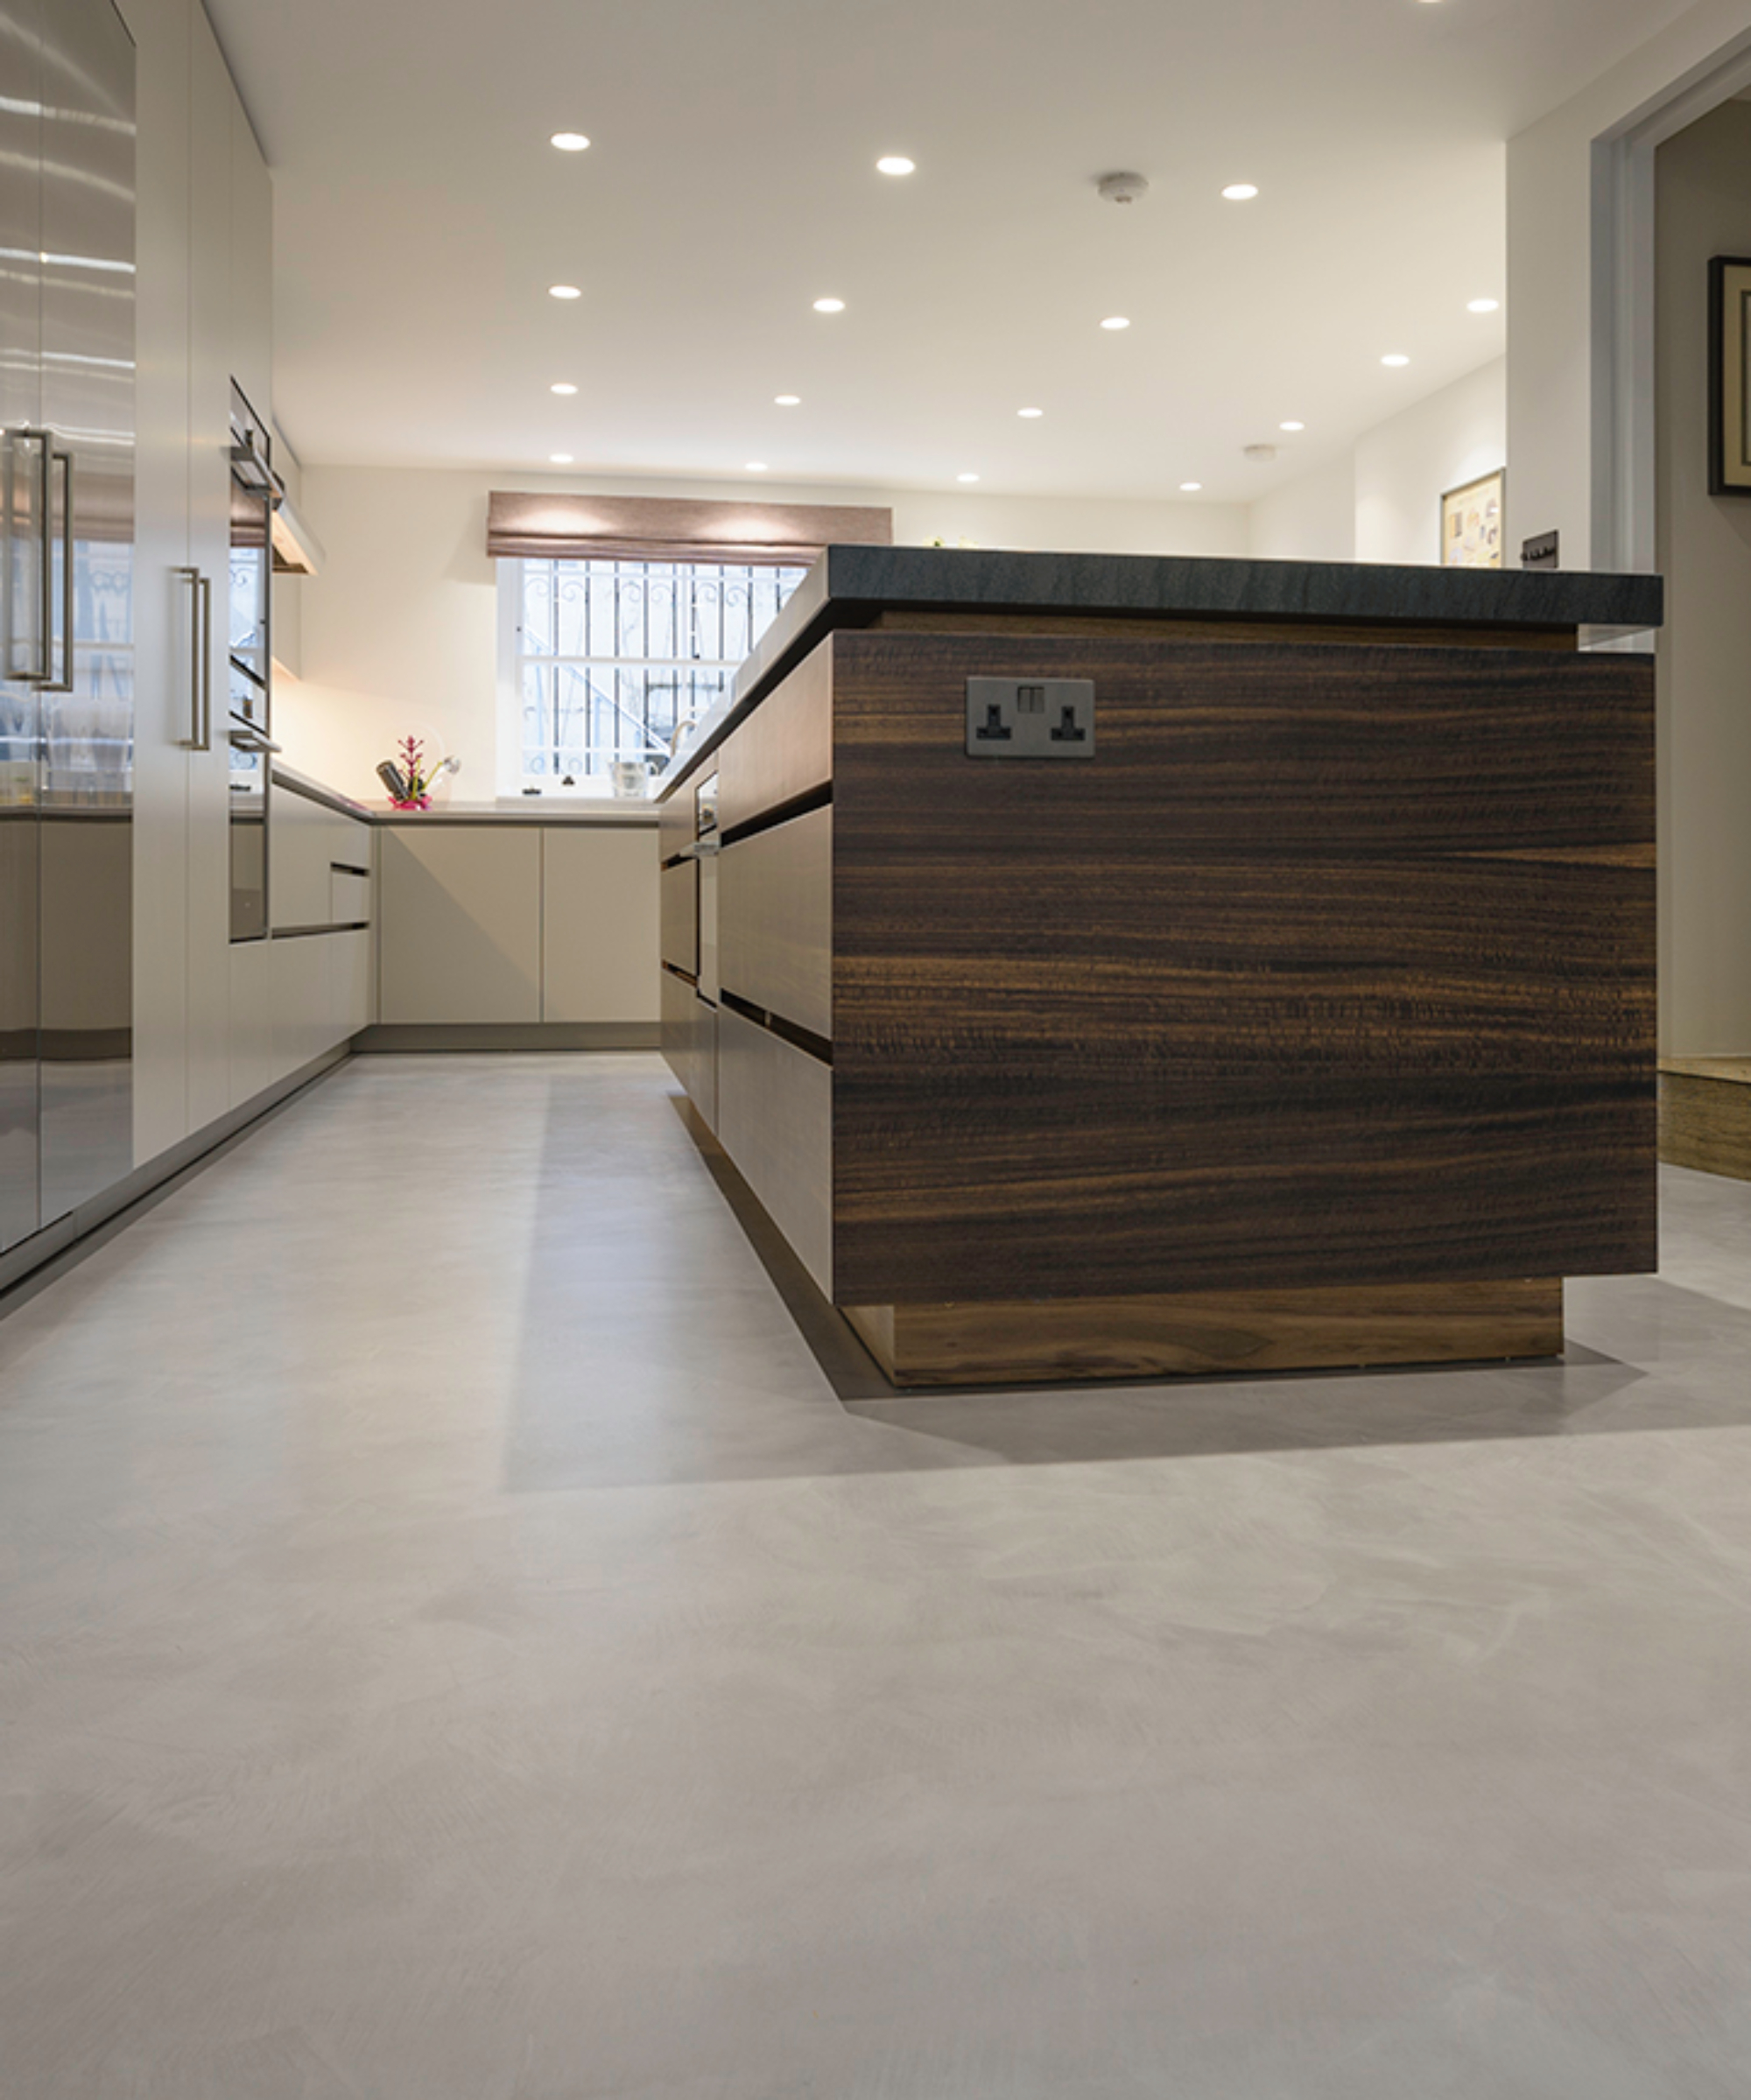
Could microcement flooring be the ultimate low-maintenance floor finish? Experts reveal what you need to know about this modern floor option
Find out all you need to know about microcement flooring including the different types, how it's installed, where you can use it and how much it costs

In the hunt for practical, low-maintenance floor finishes for our homes, one option which is pushing to the fore in modern homes is microcement flooring.
If you're looking at the different types of flooring available for your self-build or renovation, microcement flooring may be a good option to consider. With an appearance similar to polished concrete, it's called 'micro' as compared to other concrete flooring, it is laid in a far thinner layer of only around 2-3mm.
But what else is there to know about microcement and is it suitable for use across your whole home? Is it restricted to use on flooring or can it be used elsewhere? How is it laid and can you install it yourself?
We asked the experts all these questions and more in our guide to microcement flooring.
Microcement flooring isn't polished concrete flooring
While the finished appearance of both may be similar, the two types of flooring are not the same and there are a number of differences between microcement flooring and polished concrete flooring.
As previously stated, microcement flooring is laid in a much thinner layer compared to the 100mm layer usually required for polished concrete. It also requires less finishing, is laid by hand and is generally less prone to cracks.
"Polished concrete will require diamond polishing to get it to a certain gloss whereas microcement is finished by hand, and can also be applied to a much larger surface area before requiring expansion joints," explains Jason Hyatt, managing director at The Resin Floor Co.
"And of course, perhaps one of the most benefical reasons to homeowners for using microcement flooring," adds Jason, "is that it can be laid much later in the project as it requires less drying time."
"Polishing concrete can be a long, messy, costly process," agrees Richie Butt, Technical Director at Relentless Microcement, "and you will also have little control over the end result in terms of colour and patina."


Jason has been working in the microcement and resin industry since 2010, specialising in specifying and installing high-end finishes for residential, retail, and commercial projects. He has collaborated with many leading architects and designers, and his contributions have also led to several concepts, products and systems being developed and adopted by many companies and professionals.

Richie and Sally, the founders of Relentless, first identified a potential market for microcement whilst they were renovating their own house back in 2015. Richie’s previous experience is in concrete production, plastering and rendering meaning he was well suited to the work, and Sally, who’s background is in marketing, built the Relentless brand. A few years on and the product offer has grown considerably to include microcement kits for furniture, worktops, wet rooms, walls, floors and more.
Types of microcement flooring
Microcement is sometimes referred to as microtopping, microcemento, microscreed or microcrete, but is generally a product made from a mixture of cement, polymers, fine aggregates and additives.
However, Jason Hyatt says it is the addition of different items such as epoxy and acrylic which creates the different types, as follows:
- Mono-component microcement: This 'traditional' microcement is made from powder and water. It is suitable for most stable surfaces and can be mixed with pigment to create most colours, or to mimic the effect of polished concrete. It requires sealing but is low VOC, quick- drying and UV stable.
- Bi-component microcement is made from powder with the addition of polymer liquids which increase flexibility during application. It can be colour mixed and has more water and movement resistance. It is UV stable but may require comparatively longer drying times.
- Epoxy microcement, as the name suggests, is made from powder mixed with epoxy resin. Offering extra durability and resistance, it's well suited to high-traffic areas but is best applied by a professional. It's less environmentally friendly, has low UV stability and more costly to buy and apply.
- Acrylic microcement often comes as a pre-mixed product making for easier application on site. It has good resistance to water and stains, colour choices and a good option for DIY enthusiasts. It is, however, more expensive than mono or bi-component microcement. Some lower VOC versions available.
Installing microcement flooring
Suitable surfaces for installation
"Microcement is incredibly versatile, as long as you have a solid, stable surface, you can apply microcement to," says Richie Butt, with screed and self-levelling compound the most stable.
It's the stability of the substrate that is one of the most important elements of the installation process, says Jason Hyatt.
"If you are looking to lay it over tiles in a renovation project, for example, you would need to check for cracks, grind the surface of the tiles, apply mesh and epoxy and then the microcement," he explains. "You could also add a self-levelling screed prior to the microcement if you were unsure about any discrepancies in levels." Find out more about what's involved with this in how to level a floor.
"You can also apply microcement to composite timber flooring like ply and OSB," says Richie Butt. "However, we would always recommend using a high performance primer, which will help to bridge the joins and add strength to the surface."
Professional install vs DIY
Even with a suitable surface available, preparation is key in order to avoid any problems further down the line. With a smooth, crack-free and level surface your end goal, it's usually best applied by professionals. Although Richie Butt notes how there are a number of detailed training courses that are free online at Relentless Microcement, as well as a number of kits that are designed specifically for DIYers.
Using a professional is the preferred choice of Jason Hyatt, who recommends you also follow best practice when hiring an installer.
"Always be sure to ask which brand they will be using and if they are a qualified installer for that product," advises Jason. "Establish if the product is made of fine quartz or granite as this will have harder-wearing properties compared to those containing marble or ceramic powders.
"Also ask to see examples of their work — in person if possible," he adds, "and don't be swayed by cheaper quotes. They are unlikely to give you the finish you are hoping for."

Timings
If you're wondering at what stage of your build you should install microcement flooring, then this would rather depend on the project you're undertaking. "If you are using it in a new self build or extension, standard procedure would be for it to be applied once the screed had dried and cured and the underfloor heating had been commissioned," explains Jason Hyatt.
In a renovation project it would depend on which room you were installing it in and any other work taking place after it.
Drying times are relatively quick and dependent on the type of microcement used. "But in general, it's a five-day process," says Richie Butt, "with drying times in between each coat. After the final sealer is applied, we suggest it is left 48 hours before light use."
"We would also recommend protecting flooring for a further five days, or until any other work has finished in the area," says Jason Hyatt.
Pros and cons of microcement flooring
If you prefer clean lines and contemporary finishes, you will likely find microcement flooring appealing as the seamless finish is considered one of the main pros of the product. Other positives include:
- Easy to clean and maintain
- Can be colour matched to suit your scheme with added pigmentation
- Is durable and flexible
- Only laid to a depth of 2-3mm reducing the impact on floor levels (as a guide this would be the same depth of tile adhesive)
- Suitable for use with underfloor heating
- Less prone to cracking
- Hard wearing
- Fast drying
- Waterproof
However, if you are unsure about your floor's strength or substrate, this might be the product for you. Negatives include:
- If the surface is not prepped correctly it could lead to the system failing
- Will stain if the right sealant isn't used
- Needs extra care if used in bathrooms or wet rooms where there are joints between walls and floors
- Not generally considered suitable for outdoor use
- This is not generally considered a cheap flooring idea – although DIY kits are available – so it's suitability might come down to budget

The cost of microcement flooring
The total cost of your microcement flooring project will depend on a number of factors says Jason Hyatt.
"Your flooring substrate, size of the floor to be covered, your home's location in the UK and the finish required will all influence the final cost," he says.
Expect to pay around £140 - £160 plus VAT per m2 for a quality product and install. If you are considering a DIY option, kits start from £27.50 per m2 advises Richie Butt.
FAQs
How long does microcement flooring last?
"With the right cleaning and maintenance, you can expect microcement flooring to last around 8-10 years," says Jason Hyatt. "We often find that people are looking to change their floor for aesthetic reasons, rather than it needing replacing."
Be sure to use non-abrasive products and tools for cleaning microcement and a neutral soap-based cleaner. Check with your supplier for any specific advice as you may be advised to seal it again after a few years.
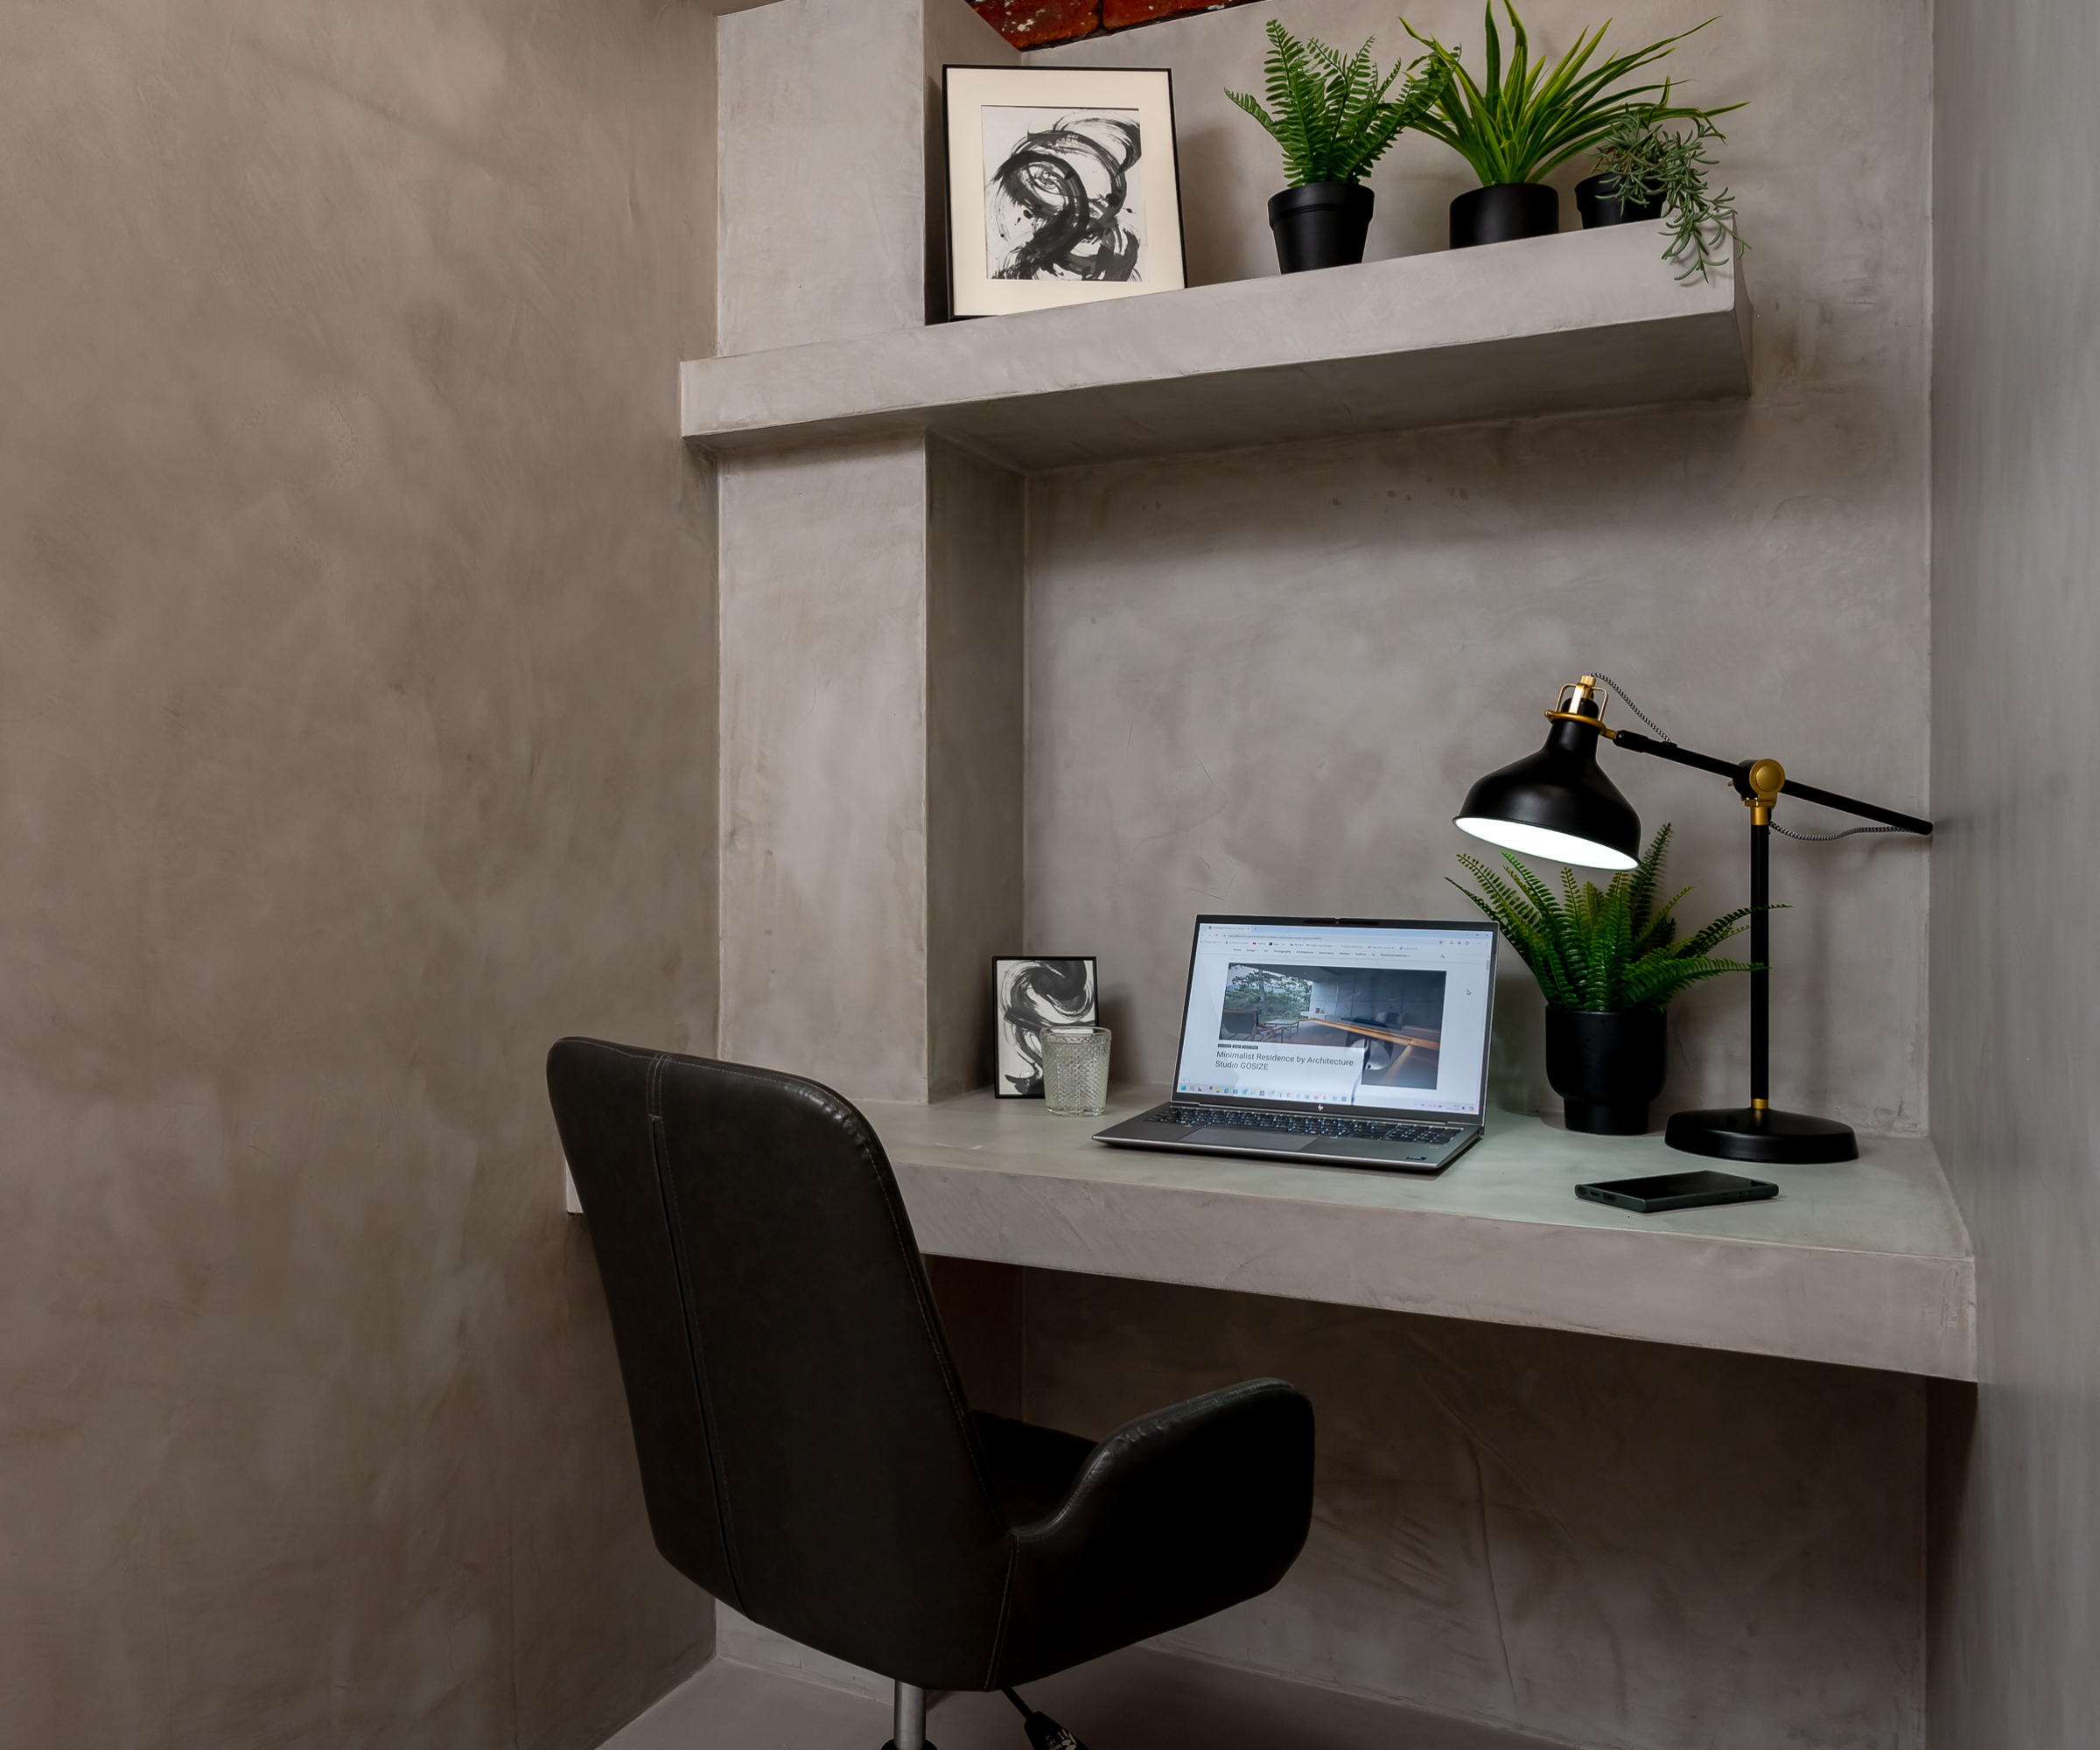
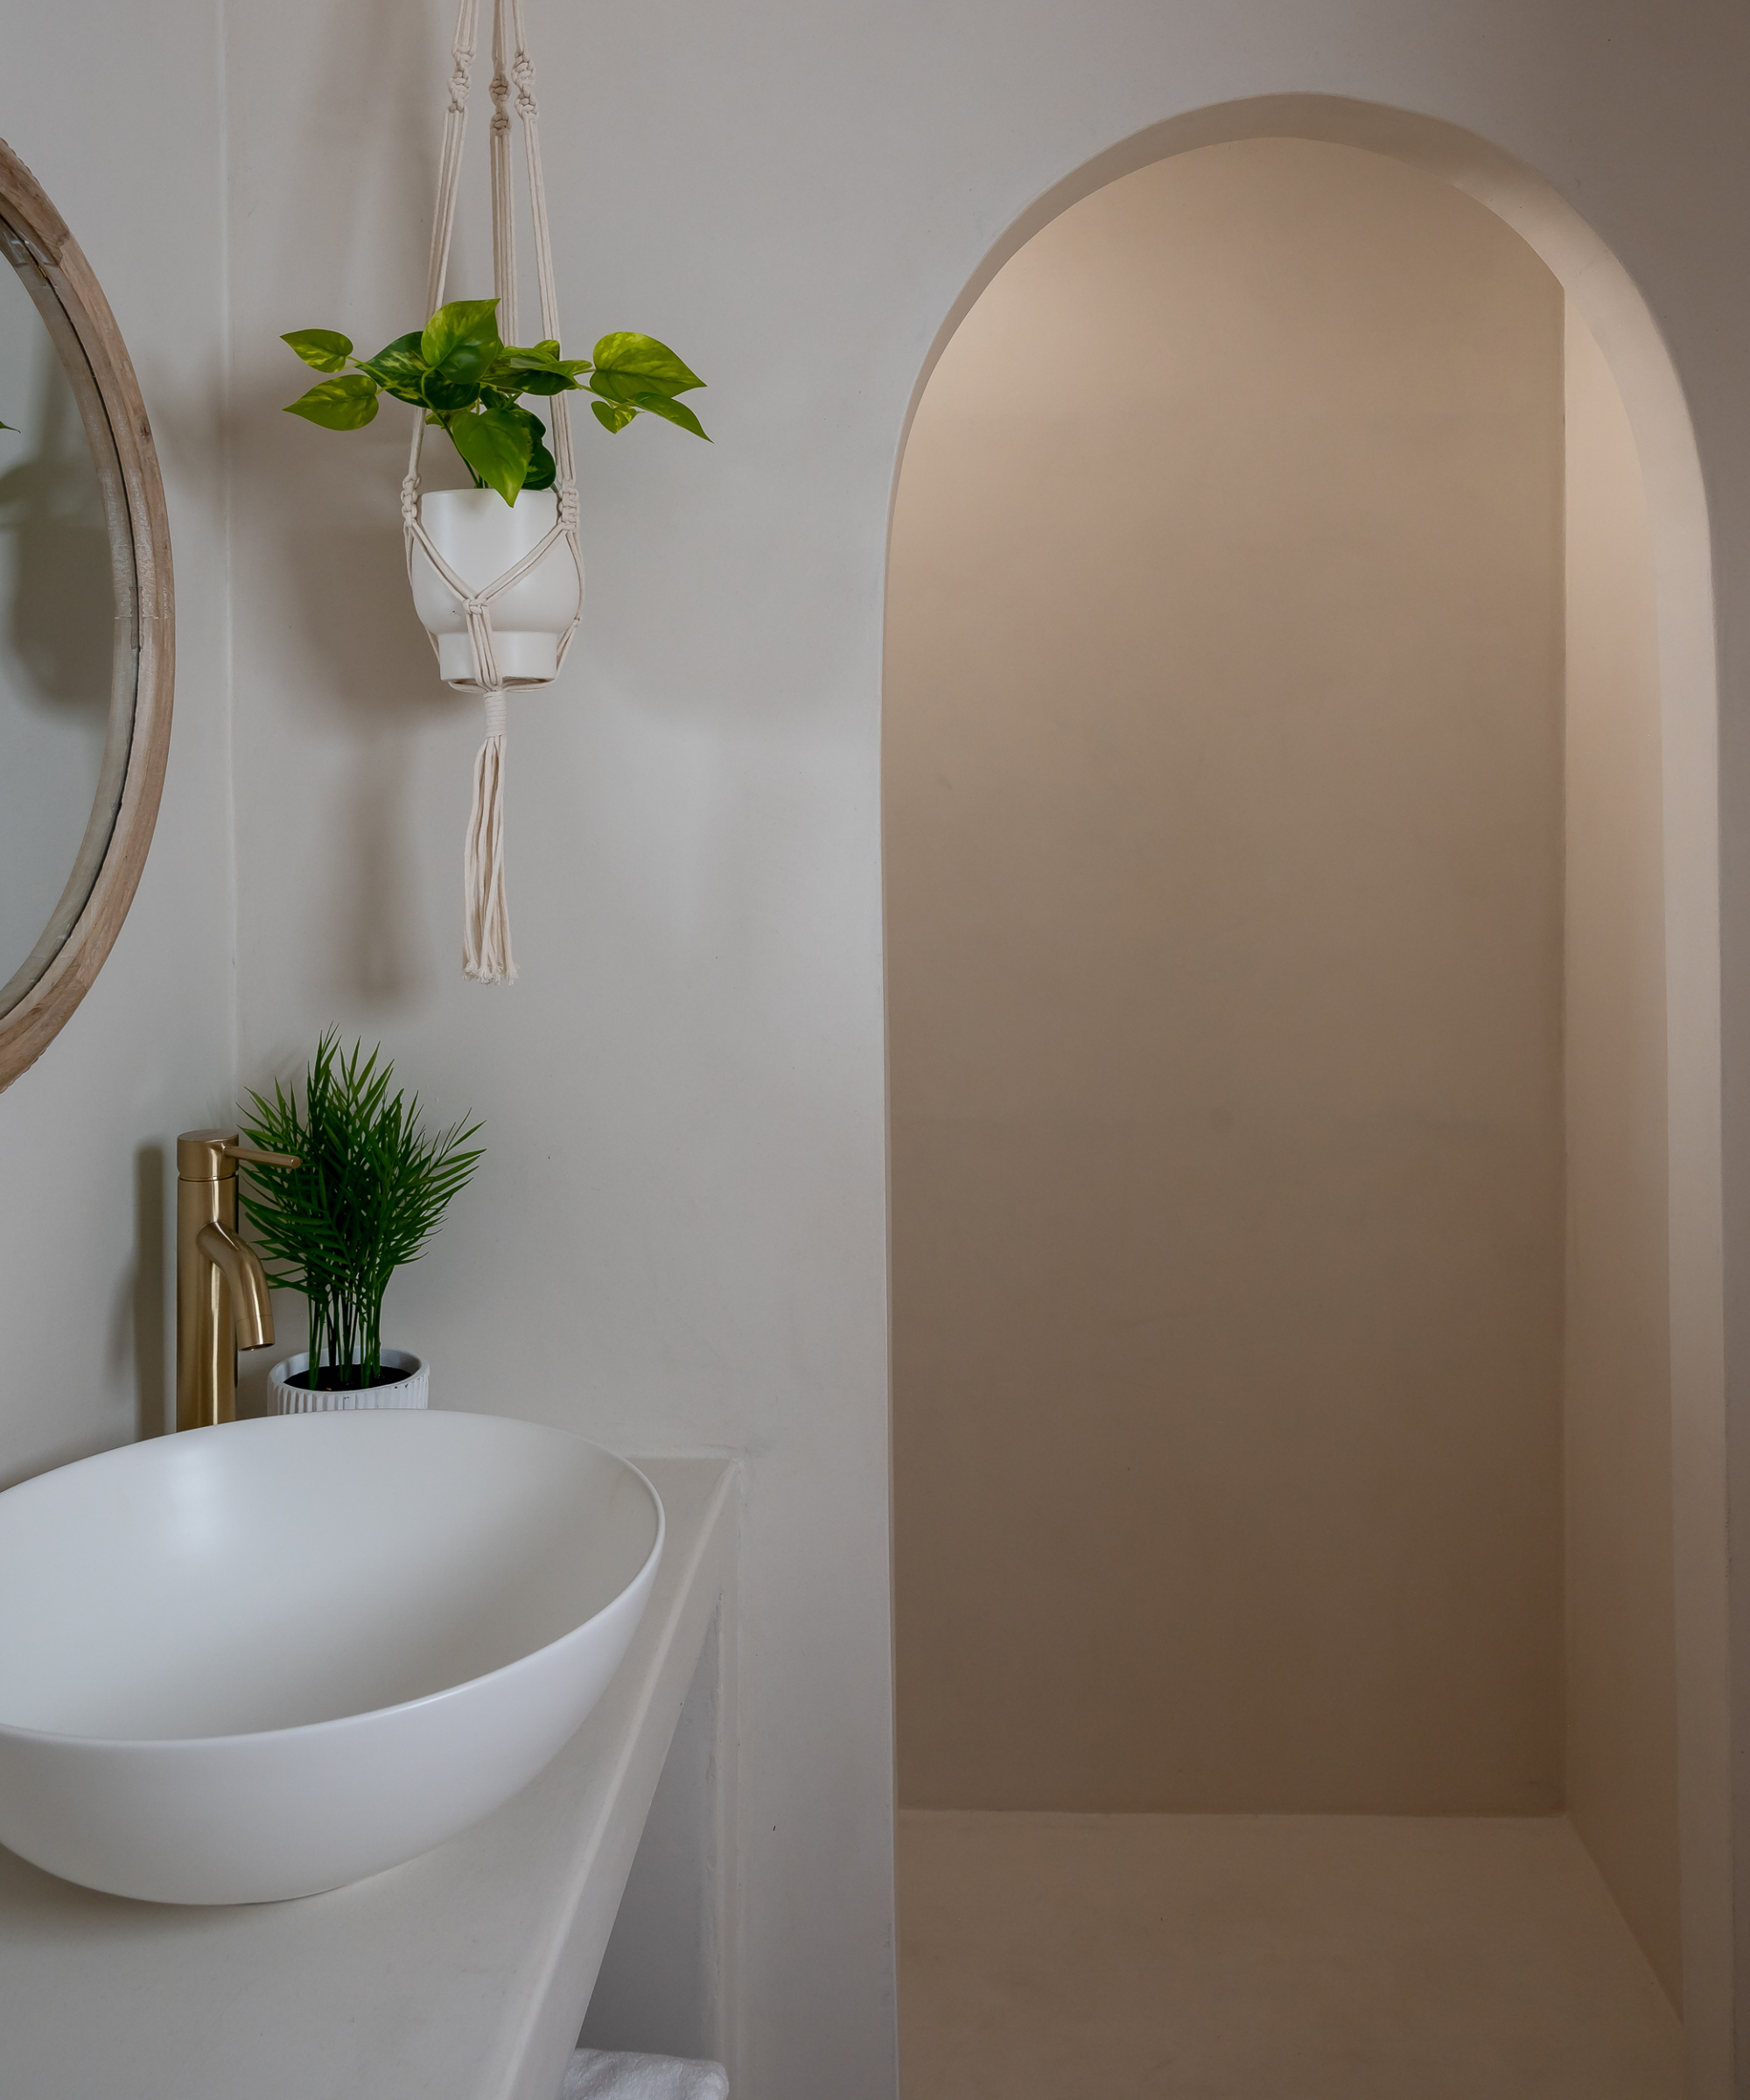
Can I use it anywhere other than floors?
In short, yes. As long as the substrate or surface is stable say the experts, then it can be applied to walls, columns, doors and wardrobes to create a seamless finish in the room of your choice.
Can you add any other decorative effects to it?
Although the seamless finish will appeal to many, there are other decorative effects you can also use. As well as the addition of pigments giving you plenty of options when it comes to being creative with your colour choice – Jason Hyatt notes how he's even installed a bright red microcement floor – there are other options to consider.
"We've had customers add items such as metallic strips," says Jason. "We can also create a tiled effect by cutting joints into the floor and then grouting the joints."
Can you lay other flooring on top of it?
If you decide to change your microcement flooring, you have plenty of options says Jason Hyatt. With sufficient floor height available, you could apply a new layer in a different colour, add tiles, carpet or different types of wood flooring.
Even if you have underfloor heating, it's so thin that it won't prevent heat being transmitted through an additional layer of flooring. (That said, when it comes to underfloor heating with carpet, you will need to check the tog rating of the new carpet to ensure capability.)
Getting your flooring choice right is essential in any new build or renovation project, but with products like microcement, it all starts with the basics of getting the substrate layer right. If you're just embarking on your project and still learning, read our guide to floor screed first to make sure you know where to start.
Get the Homebuilding & Renovating Newsletter
Bring your dream home to life with expert advice, how to guides and design inspiration. Sign up for our newsletter and get two free tickets to a Homebuilding & Renovating Show near you.

Sarah is Homebuilding & Renovating’s Assistant Editor and joined the team in 2024. An established homes and interiors writer, Sarah has renovated and extended a number of properties, including a listing building and renovation project that featured on Grand Designs. Although she said she would never buy a listed property again, she has recently purchased a Grade II listed apartment. As it had already been professionally renovated, she has instead set her sights on tackling some changes to improve the building’s energy efficiency, as well as adding some personal touches to the interior.
