Lath and Plaster Walls: What Are They and How to Repair?
A staple in many period properties, we explain what lath and plaster is, how these walls are constructed and how to repair them

While lath and plaster isn't used in modern construction, if you are the owner of an older property, there's a possibility that your home was built using this method.
Lath and plaster was a method of finishing off walls and ceilings used from early in the 18th century right up until the mid-20th century — when modern methods for plastering walls began to be used and sheet plasterboard became more commonplace.
If your property has lath and plaster, or are considering buying one, this guide looks at how they were constructed and how they can be repaired if they are, as many will be, showing signs of wear and tear.
What is Lath and Plaster?
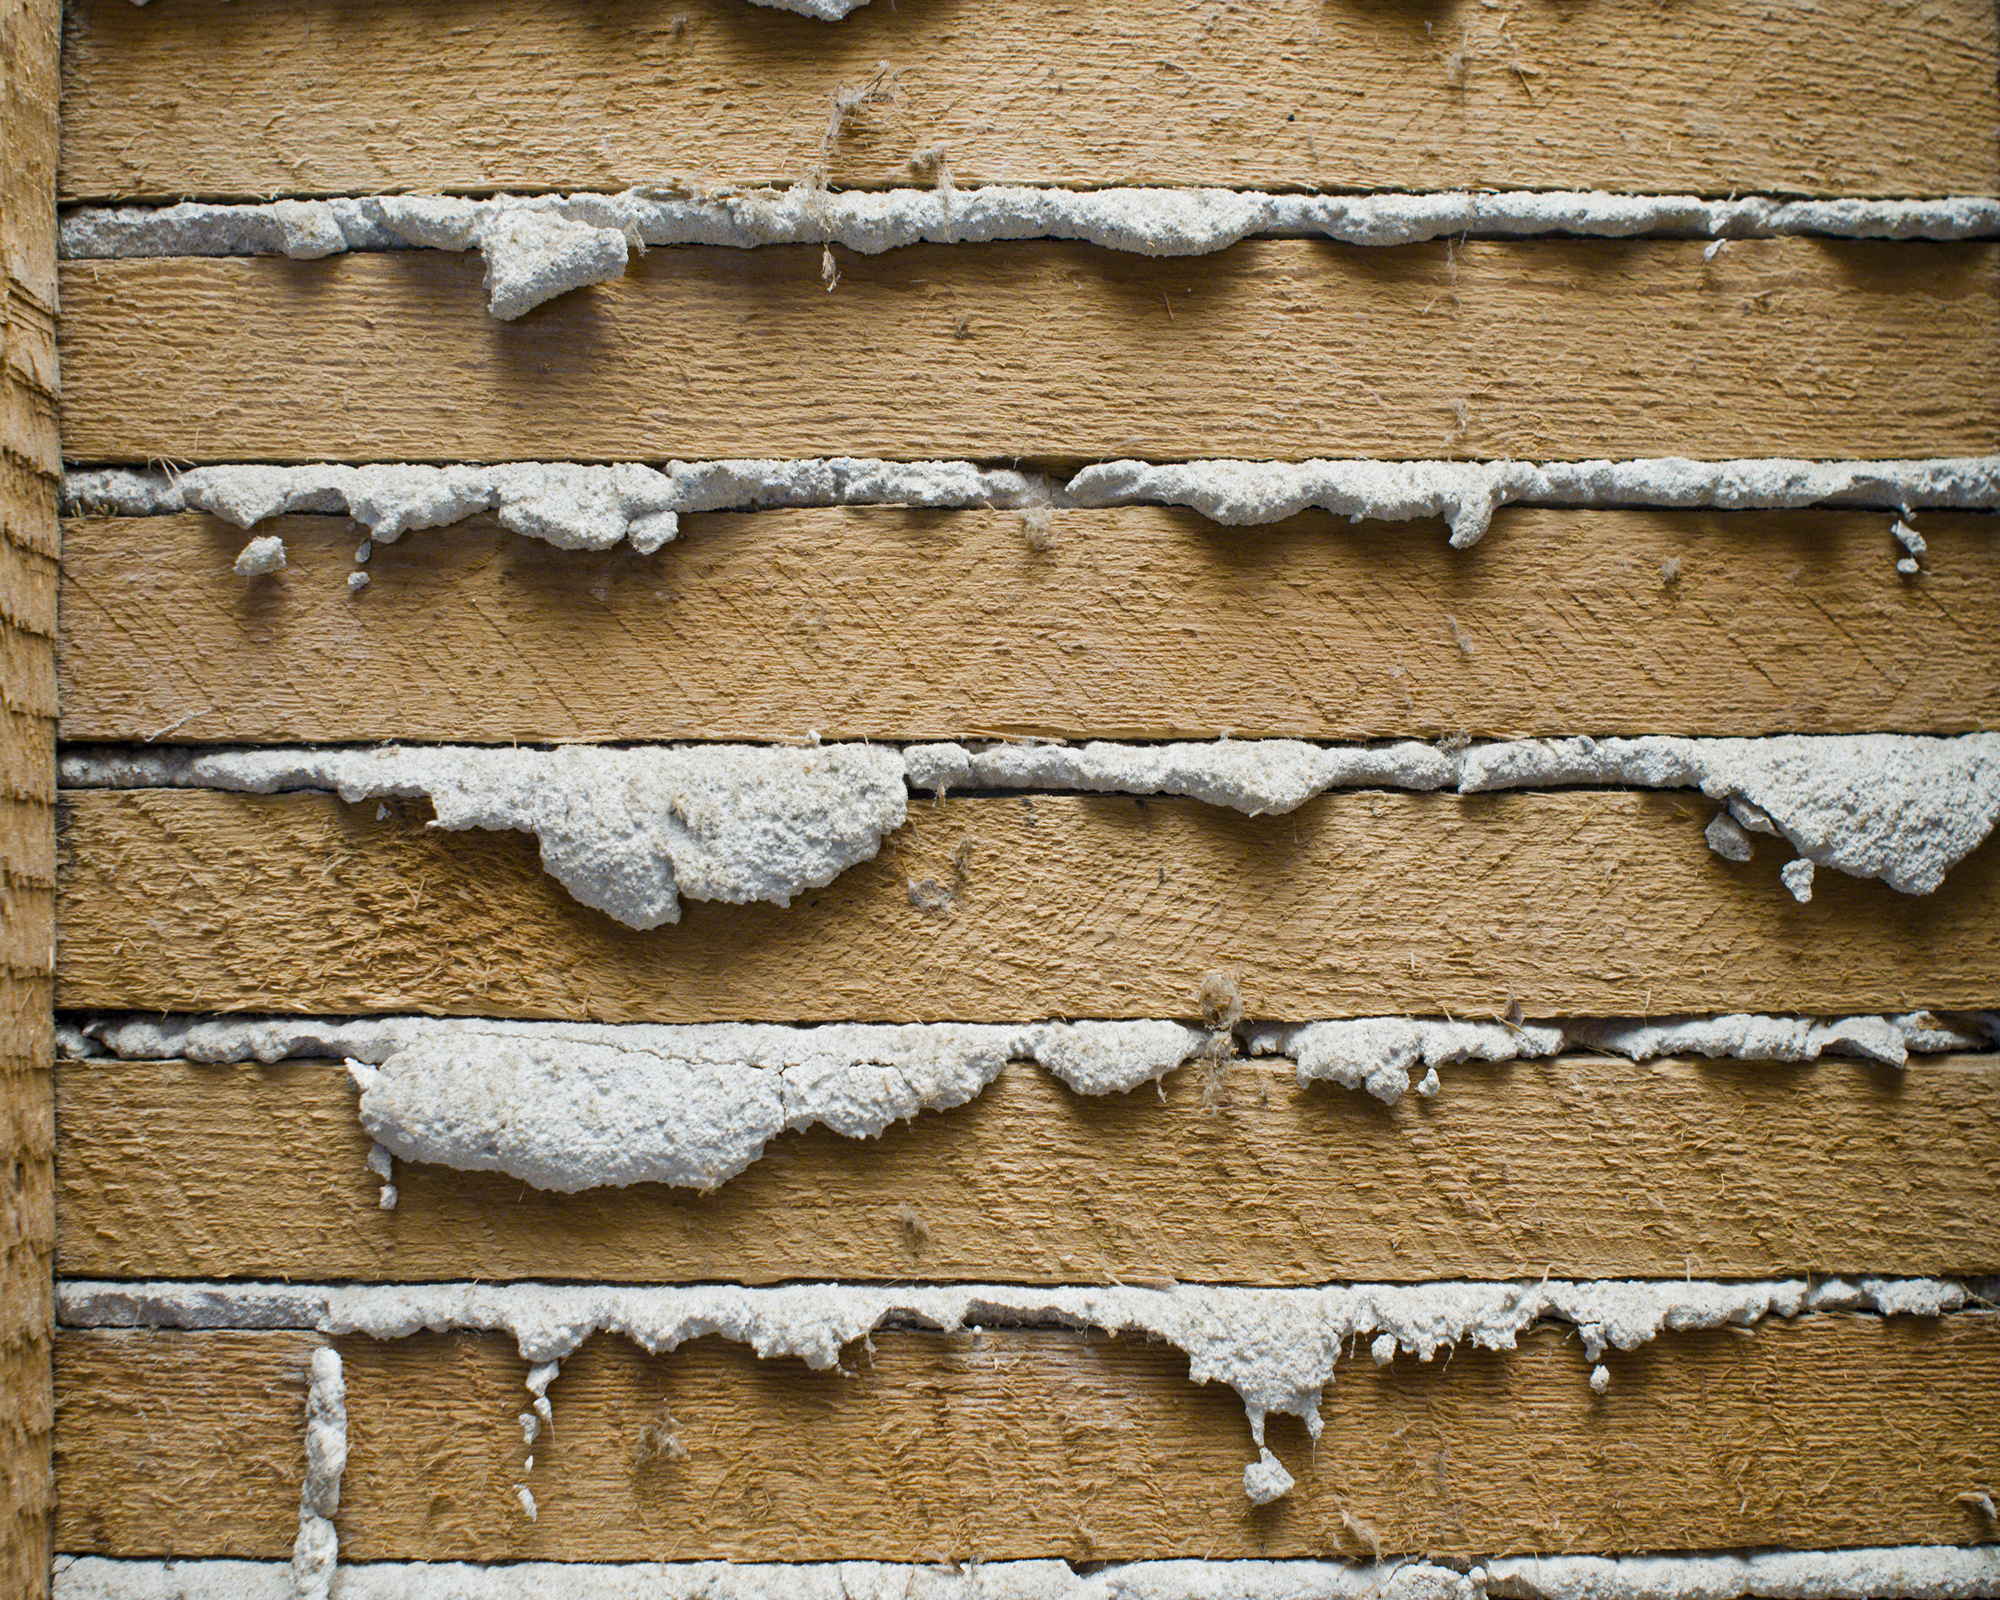
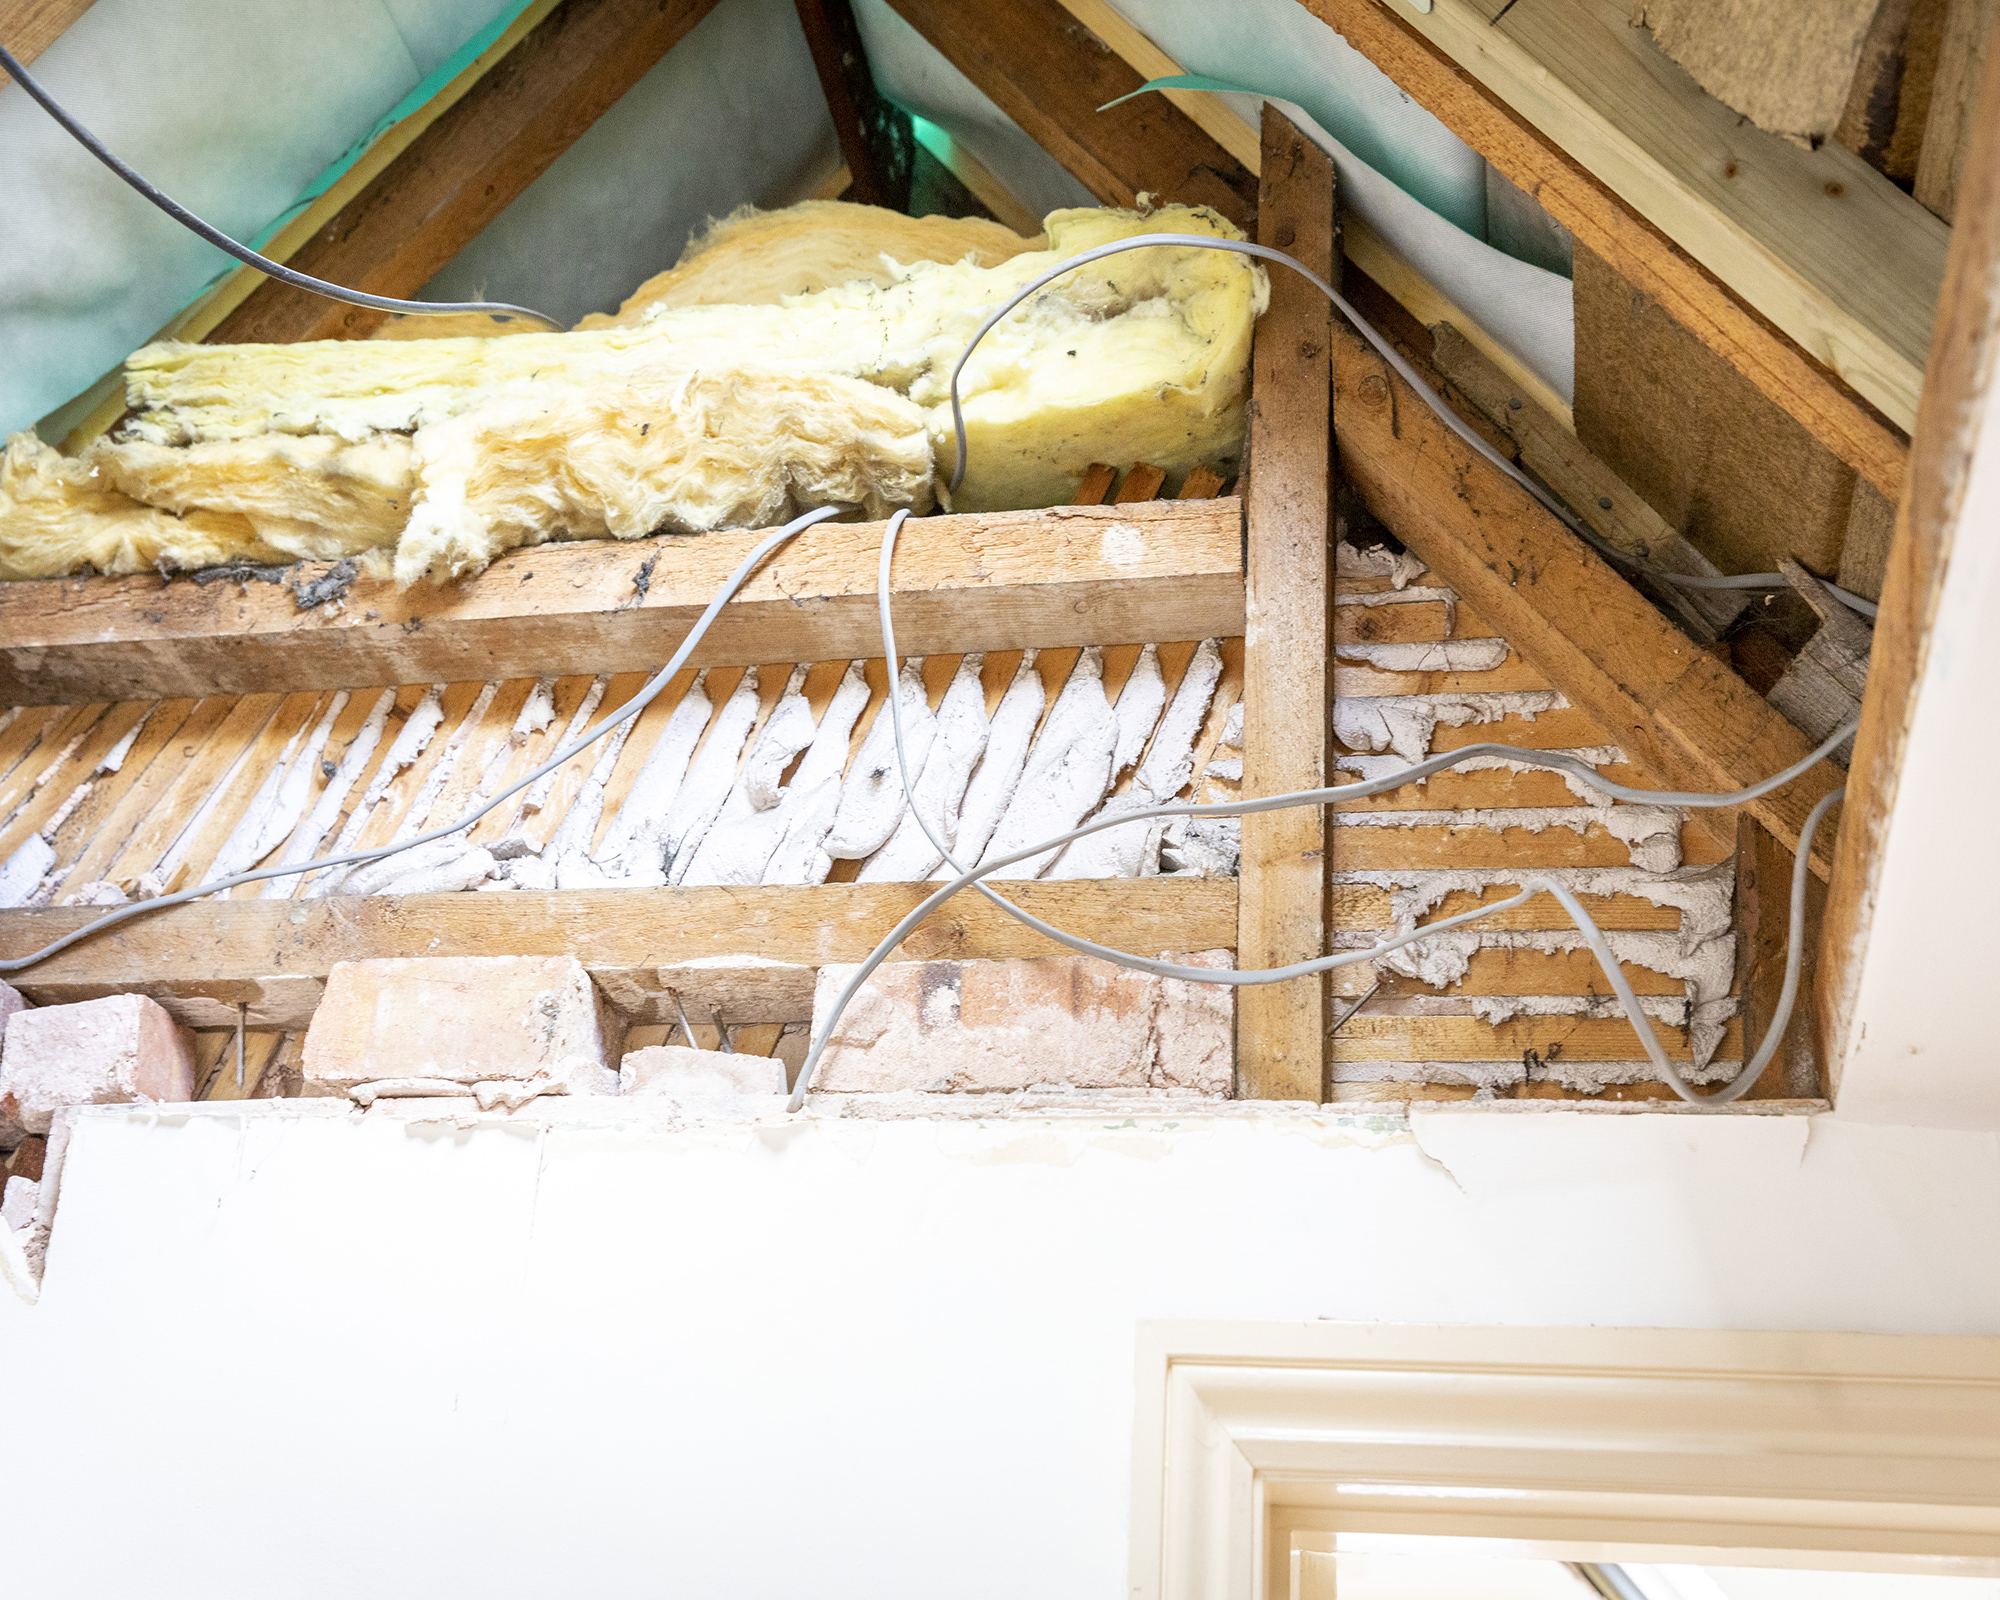
Lath and plaster can be identified by the presence of laths, thin strips of timber measuring around 25mm x 6mm, behind the plaster. These would be nailed to vertical timber joists or posts to form a framework for the wall. Each lath was spaced with gap of around 6mm to take the plaster which would be applied next.
Three coats of plaster were given. The first was a 6mm thick render layer designed to stick to the lath and fill the gaps between each one. Next was a 'floating' layer, again of around 6mm thing. This provided a smoother surface to which the final 'setting' layer could be applied. The setting layer was usually 3mm thick and gave a nice smooth finish to decorate.

What Type of Plaster Was Used For Lath and Plaster?
The first two layers of plaster that were applied to the lath were usually made up of lime putty and sharp sand in a 1:3 ratio — often with animal hair added in to help bind them.
The third layer was commonly made up of lime putty and a fine sand in a 3:1 mixture — or sometimes just lime putty.
Later on, it became common to add in gypsum or sometimes cement — this was to speed up the setting process between each layer. These mixtures usually used a 1:1:6 combination of gypsum or cement, lime putty and sharp sand for the initial two coats, then equal parts of lime putty and gypsum for the final layer.
How do you Repair Lath and Plaster Walls?
If you live in a house with lath and plaster walls (likely if your house was built before 1940) then you might be wondering how to repair damaged lath and plaster.
Of course, if your walls are still in good condition, there is no need to touch them. Simply check them regularly and keep an eye on any new cracks that appear — often simply skimming over them with a suitable , lime-based, plaster mix is sufficient.
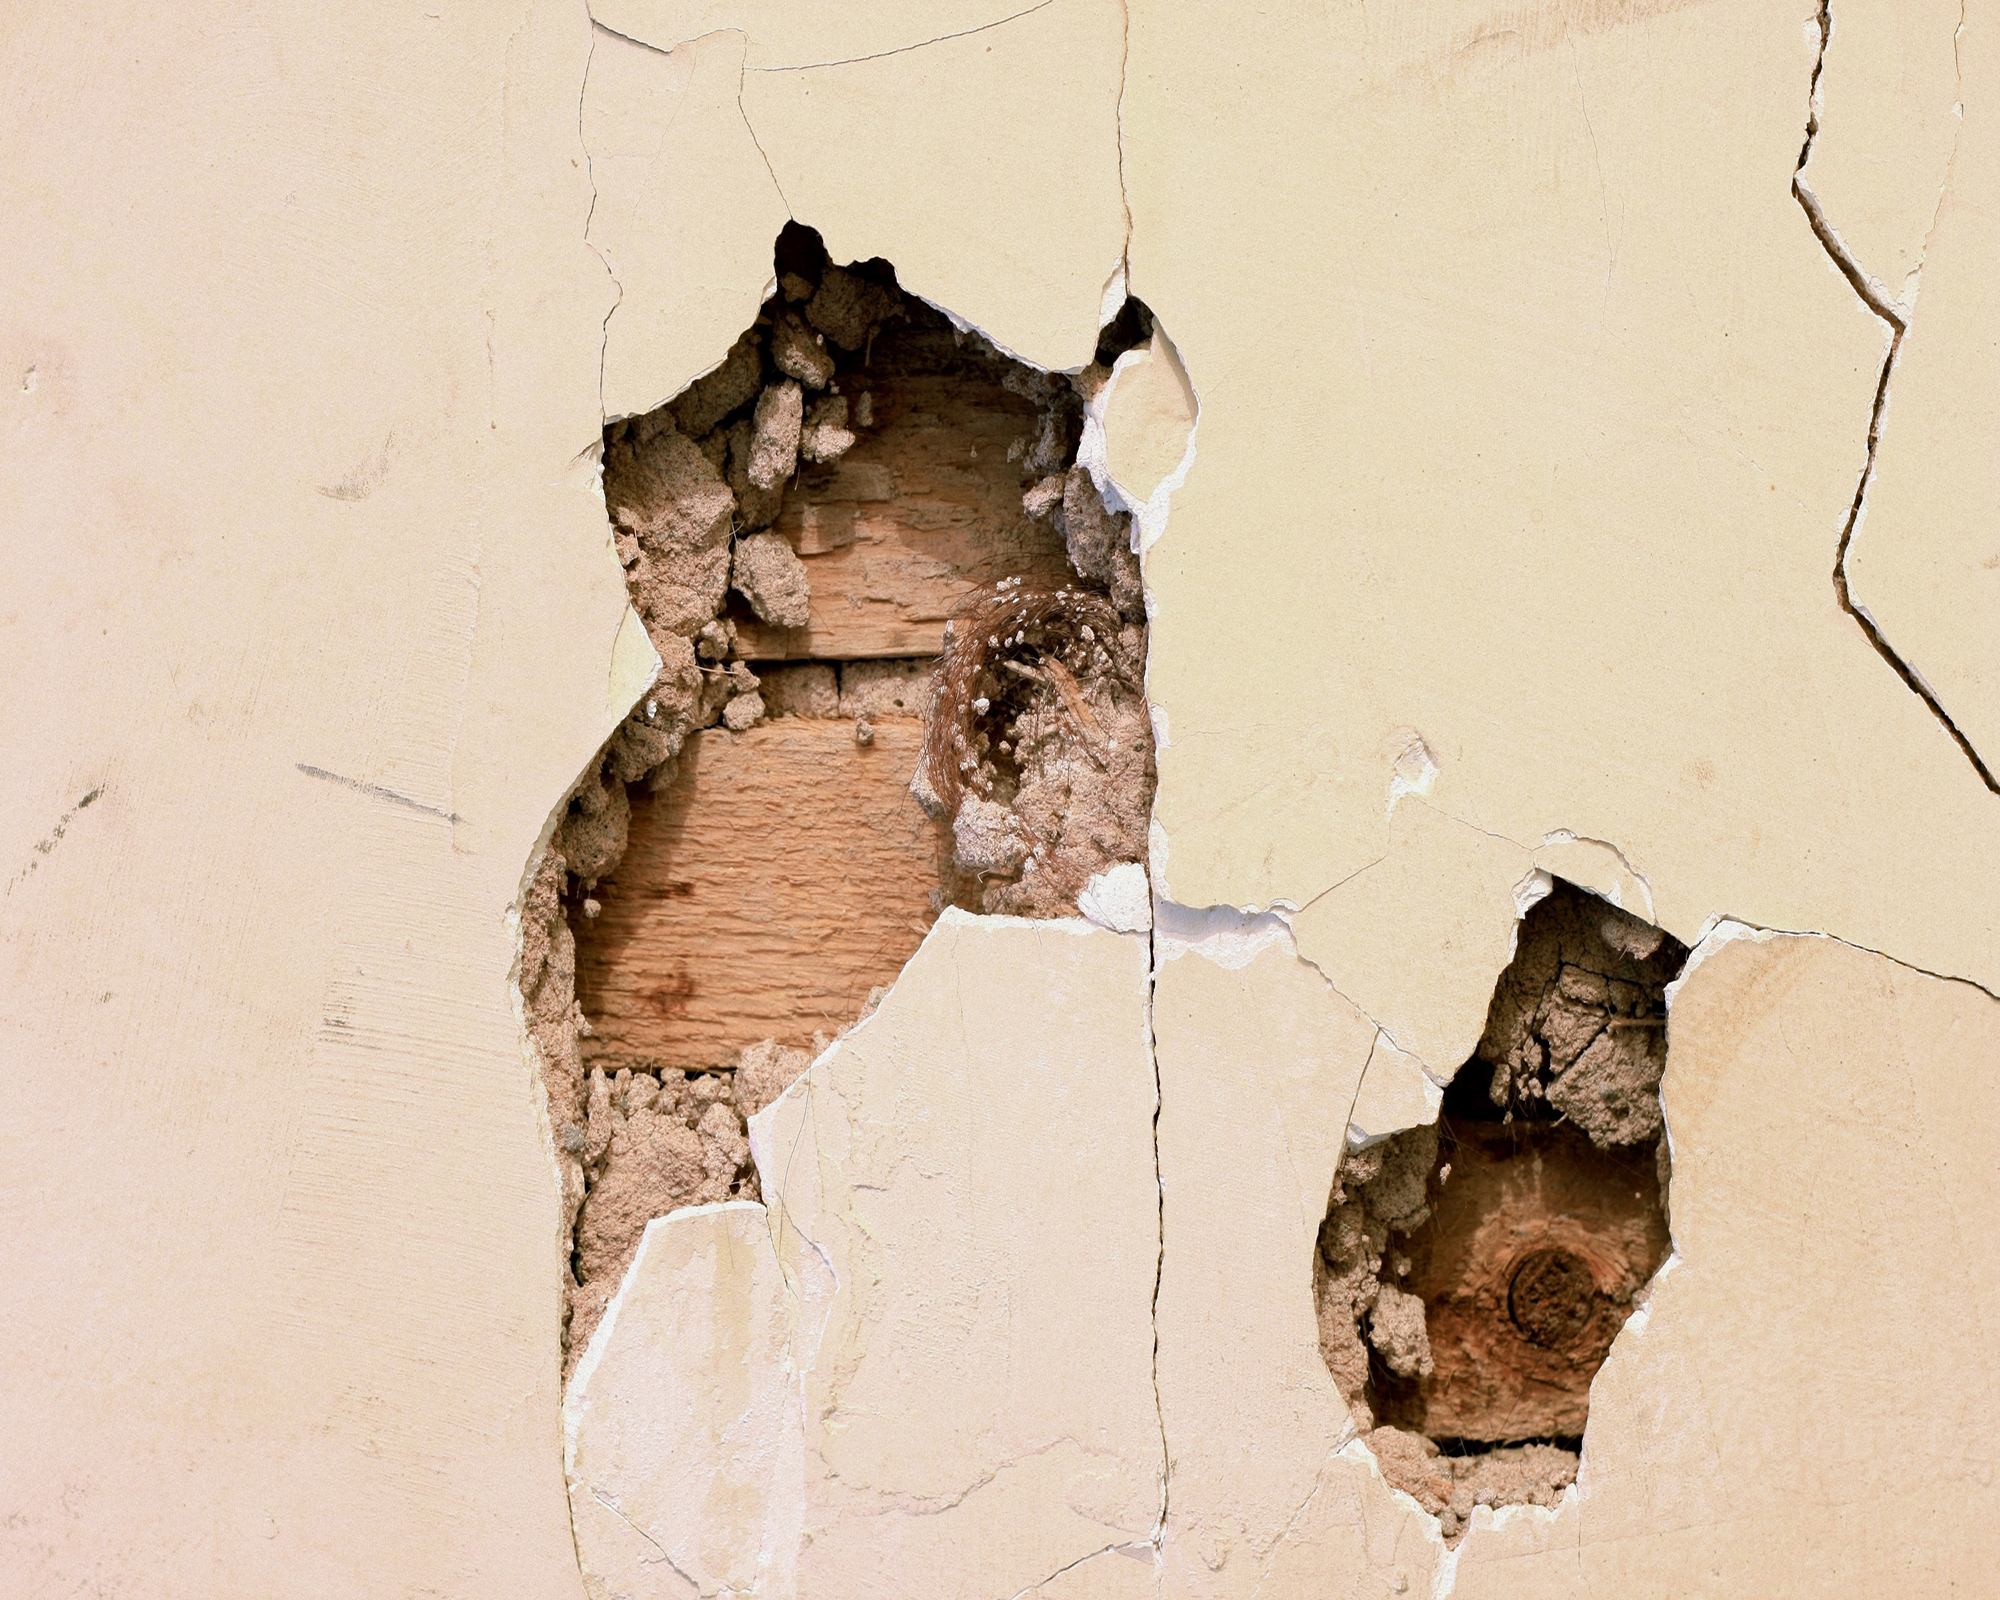
If, on the other hand, large chunks of your wall or ceiling are coming away, more significant repair work will be necessary.
There are several ways in which to repair lath and plaster — using modern or traditional techniques, or by learning how to patch plaster.

Modern Repairs to Lath and Plaster
The two most commonly used modern methods mean cutting back the laths and plaster to the nearest studs either side of the damage. You can then cover the hole in one of two ways.
The first way (and the one which is usually preferred by conservation and heritage groups) is to galvanised mesh called Expanded Metal Lathing (EML). This mesh is mailed between studs before being plastered over. This method results in an aesthetically pleasing uneven finish similar to that of lath and plaster walls.
The second method is to use sheet plasterboard to fill the hole once the damaged area has been cut back, fixing it in place with plasterboard nails.
In both cases, using a lime-based plaster, similar in texture and density to the original is always advisable.

Traditional Lath and Plaster Repair
There are companies who specialise in lath and plaster repair and if you want to remain true to the original construction of your home it is well worth considering this route.
Some people do choose to carry out repairs on a DIY basis. In this case, you will need to replace any missing sections of lath, and refasten all loose pieces. You can then re-plaster the walls using a suitable plaster mix. This is a job which often looks and sounds easier than it is.
Get the Homebuilding & Renovating Newsletter
Bring your dream home to life with expert advice, how to guides and design inspiration. Sign up for our newsletter and get two free tickets to a Homebuilding & Renovating Show near you.
Natasha was Homebuilding & Renovating’s Associate Content Editor and was a member of the Homebuilding team for over two decades. In her role on Homebuilding & Renovating she imparted her knowledge on a wide range of renovation topics, from window condensation to renovating bathrooms, to removing walls and adding an extension. She continues to write for Homebuilding on these topics, and more. An experienced journalist and renovation expert, she also writes for a number of other homes titles, including Homes & Gardens and Ideal Homes. Over the years Natasha has renovated and carried out a side extension to a Victorian terrace. She is currently living in the rural Edwardian cottage she renovated and extended on a largely DIY basis, living on site for the duration of the project.

