Why laminate flooring on stairs is a good choice and how to do it
You might think that laminate flooring on stairs sounds crazy, but it’s not. It’s cost effective, easy to clean and a job any DIYer can tackle

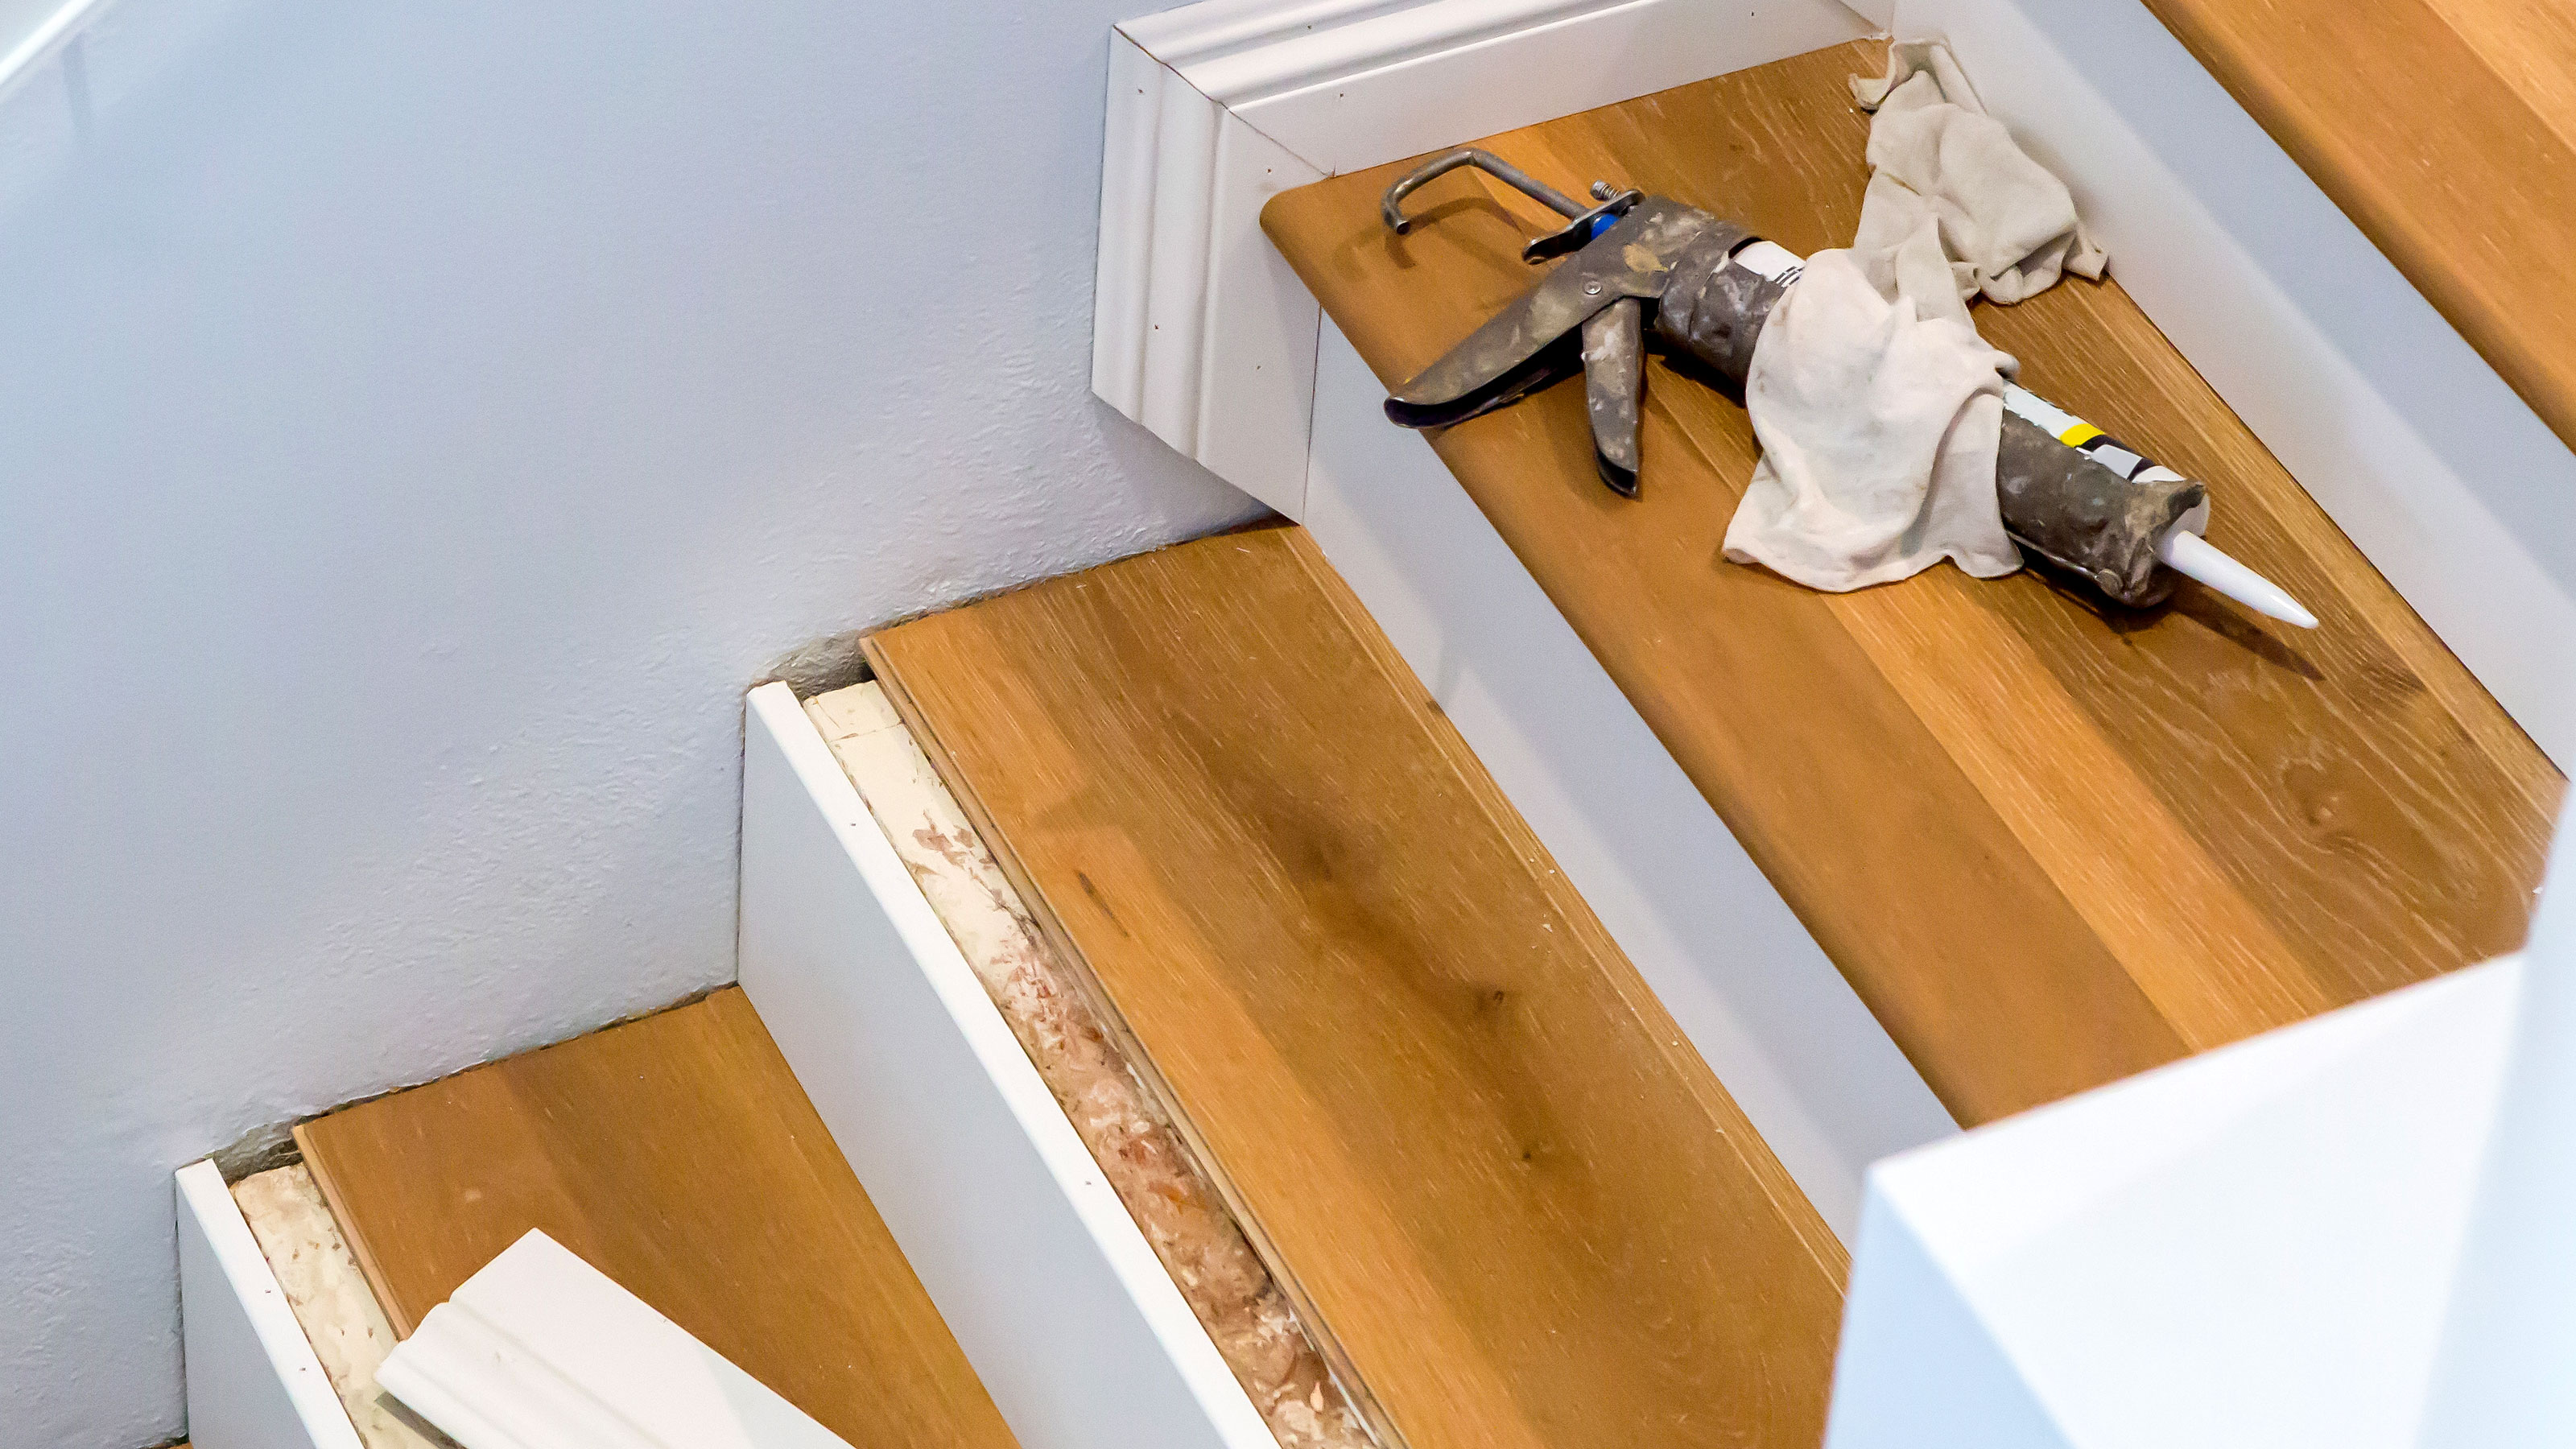
Laminate flooring on stairs makes sense. It can match with the laminate in your hallway to create a neat natural looking flow, it's durable and easy to clean. As an alternative to carpet it provides a smart, contemporary feel to any home.
But how much does it cost to lay laminate flooring on stairs and how do you do it? It’s not quite as easy as laying laminate on a floor but it's still well within the remit of any competent DIYer. All you need are the right tools, the right laminate and this guide to help make it happen.
Laminate flooring on stairs: a step-by-step installation guide
Before you start make sure that you have the tools, equipment and laminate ready to go. You’ll need a saw to cut the laminate (a mitre saw is a good choice), a strong wood glue like this Gorilla Wood Glue from Amazon, a tape measure, pencil and nail gun is useful if you have one.
Let the laminate acclimatise for around 48 hours by leaving near the stairs. This will help ensure you get a good fit. Start at the top of the stairs so you don't have to tread on any newly-laid laminate.
1. Clean and prep your stairs
The first step is to get rid of any old stair covering, such as carpet, and remove any old nails that might be sticking up and leftover glue residue. Sweep the stairs and give them a rub down using a hand sander like this VonHaus Detail Sander from Amazon. You will need a clean, smooth surface for good adhesion, so prep is important.
2. Square off the stairs
To laminate stairs you need to remove the nosing (the overhang) on the tread (the part you stand on) so you have a flat square edge with the riser (the front of the step you don't stand on). There are two options here. You can use a multitool like this DEWALT Cordless Brushless Oscillating Multi-Tool from Amazon to cut off the nosing.
Or you can measure the gap and fill it out with plywood and or hardboard – by gluing and nailing – to get a square edge. To measure the gap, get a straight edge, place against the nosing, and on the tread below, and measure from the riser to the straight edge. This will typically be around 25mm-30mm.
3. Measure the tread
Measure the width of the tread – front and back to get a good fit – and then the depth from the back of the tread to the front. But here's the important part. What depth you need will depend on what type of laminate nosing you have.
If you have nosing that sits flat on the tread and riser measure to the edge of the tread. If you have nosing that has a recess joint, place the nosing on the tread and mark where the recess is. This will be the depth you need to cut the laminate.
4. Install the tread
Laminate typically has tongue and groove on both edges so you want to start by cutting off one edge, then measure and mark the second cut and cut leaving you with two straight edges. Note, you might have to join two lengths of laminate together to get the right depth. In this case you will only need one straight edge on each piece.
Now add plenty of glue to the back of the laminate, place on the tread and push down to fix. You can add weights to ensure a good bond, and add small panel pins on each corner and a few along the edges for a more secure fit. Make sure to place the pins close enough to the edge so they will be hidden by the riser and nosing.
5. Install the riser
To install the riser you need to measure up to the nosing. This will differ depending on what type of nosing you have, but it needs to be accurate. Before measuring, install laminate on the tread below, so you can measure the distance between the two treads. Now cut and fix as you did the tread. Use small panel pins to get a secure fix.
6. Add your nosing and finish
The final step is to add the nosing. Whatever type you have cut to length and glue into place. Wipe off any excess glue and leave everything to dry ideally for 24 hours. The longer you can leave it the better. Finally, think about caulking with a clear caulk. Add a thin strip on the joints to help seal and stop moisture getting in when cleaning.
Laminate flooring on stairs FAQs
What should I use to cut laminate flooring?
There’s a couple of options for cutting laminate, saws or a specialist cutting tool. We suggest saws as a specialist tool won’t get much use after you have finished cutting any laminate, while a saw will be used again.
So what saw should you use? The best mitre saws are ideal for cutting laminate as they will give you a straight clean cut every time. But if you don’t own one, you can use a hand saw. Just make sure you use one with fine teeth, ideally at least 16 TPI to make sure you get a smooth finish.
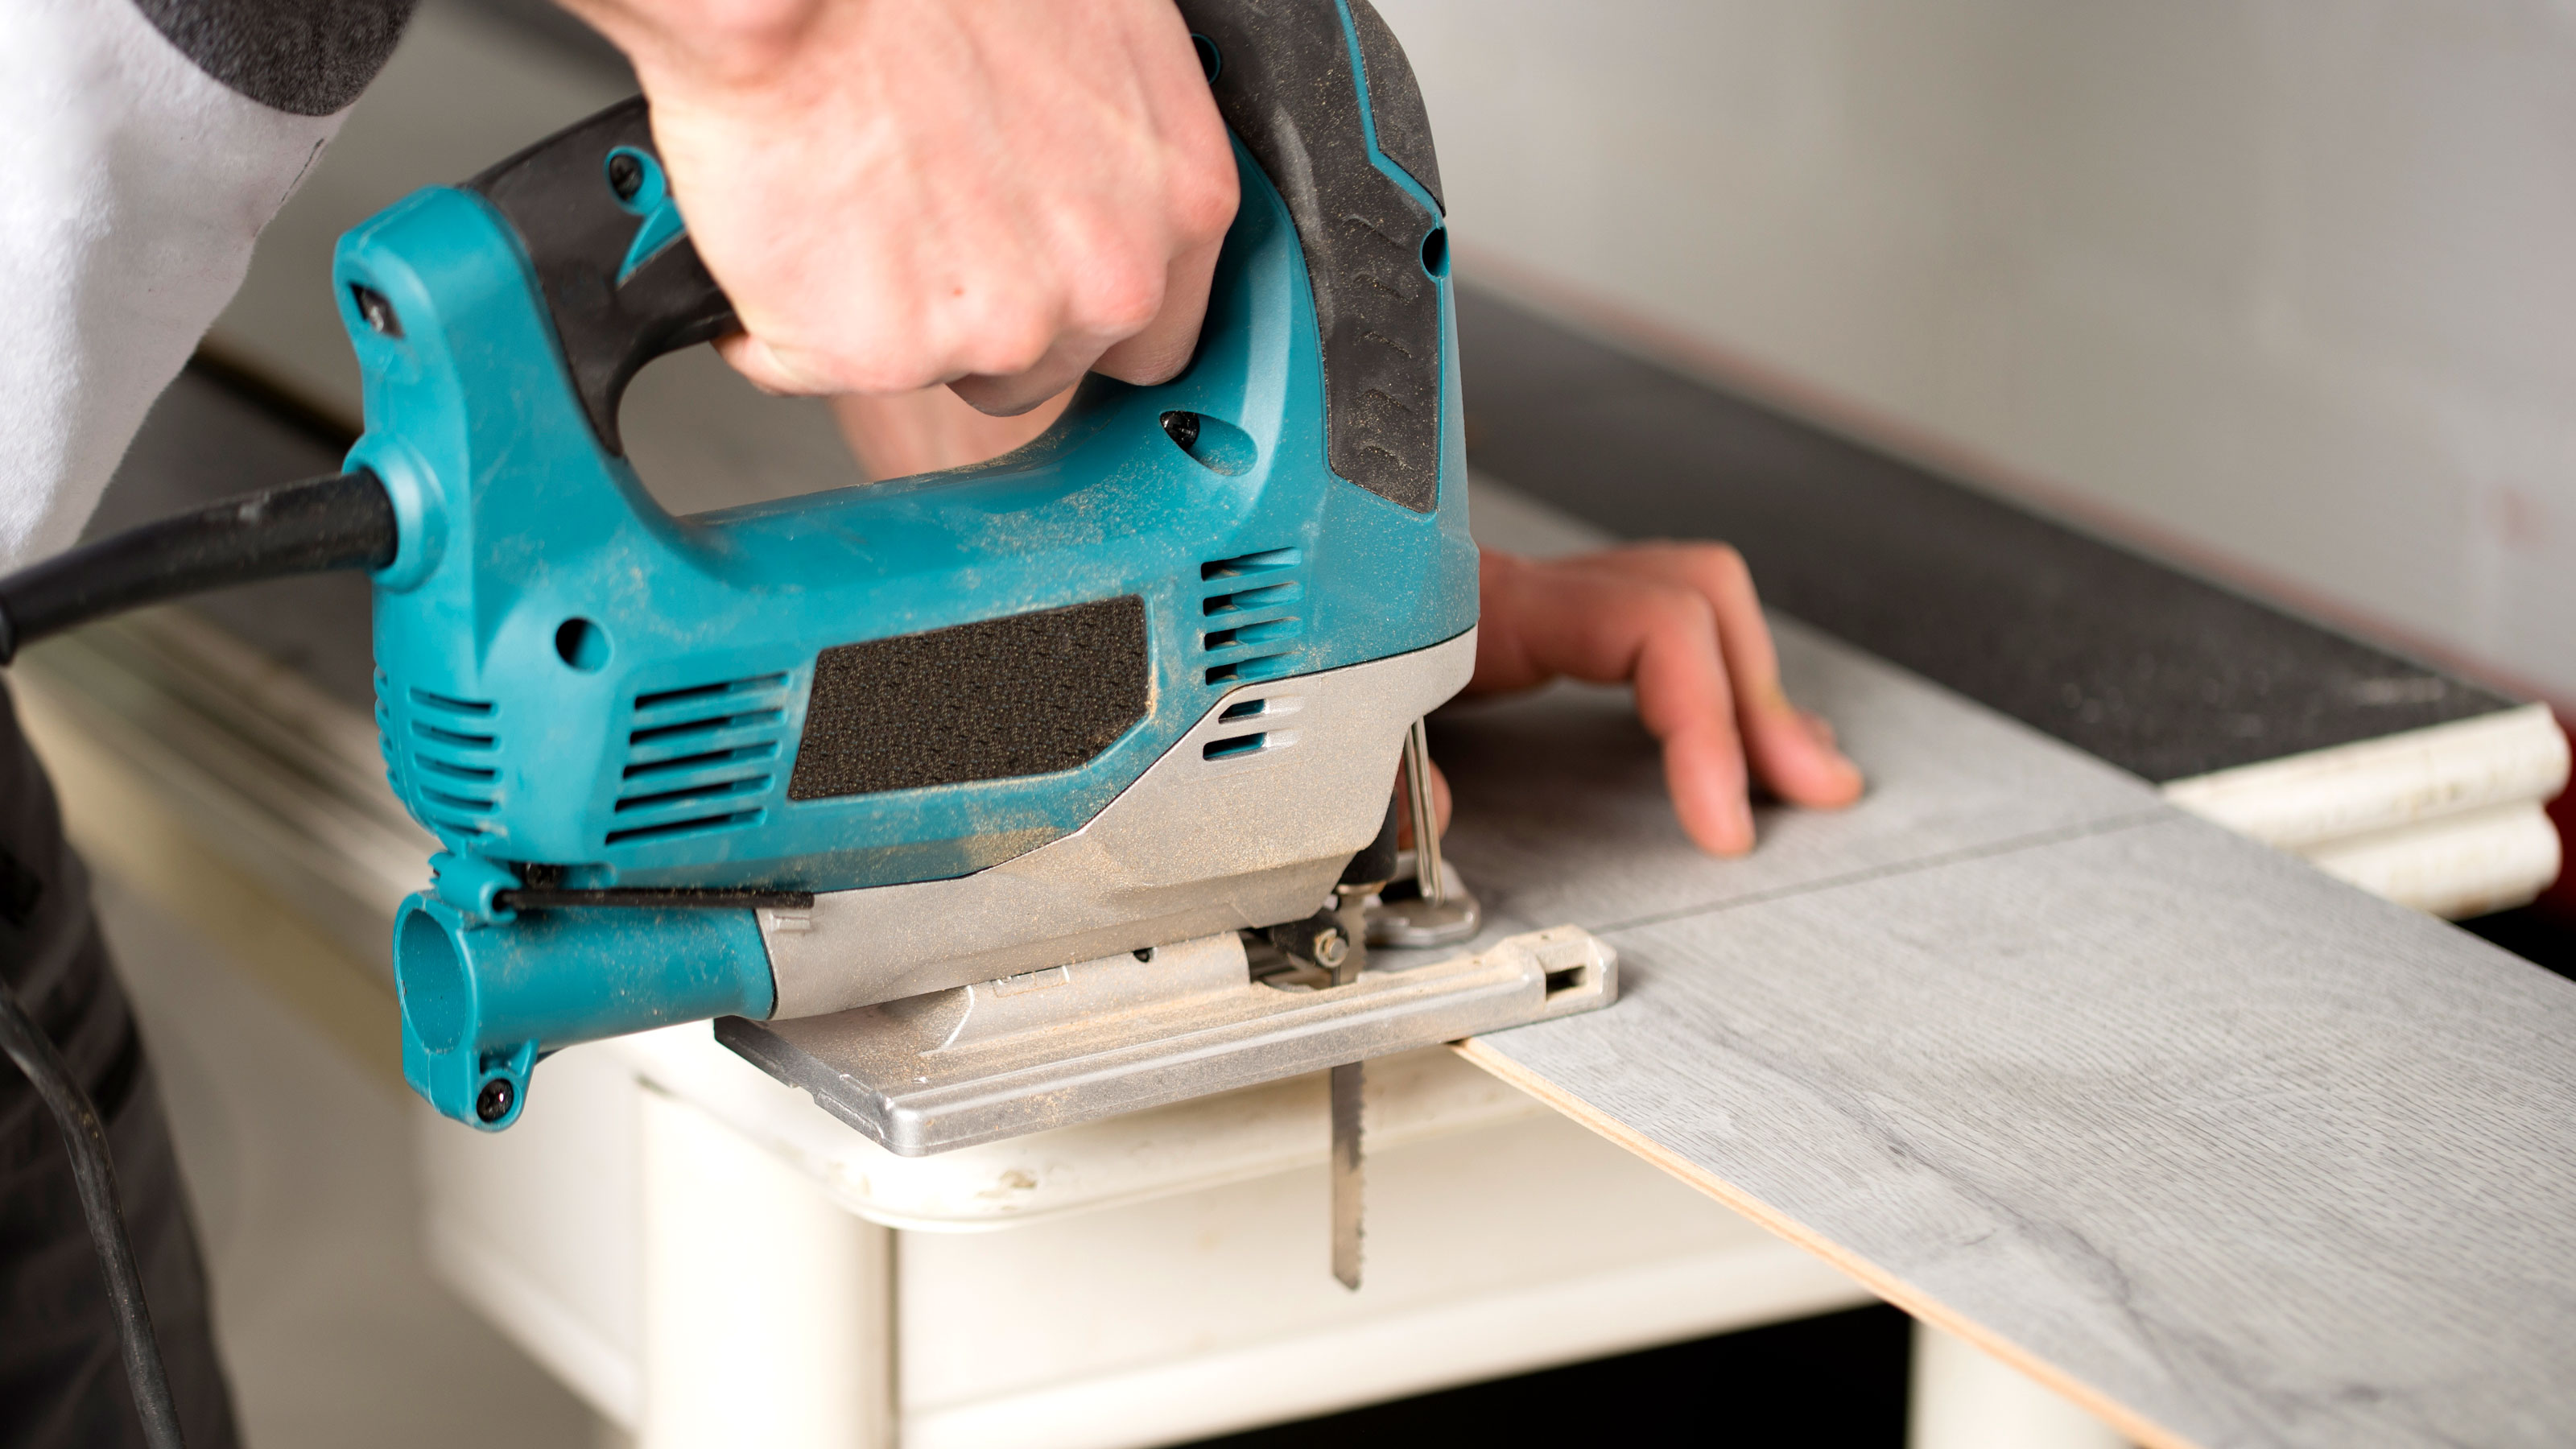
A jigsaw like this Bosch Home and Garden Jigsaw from Amazon is a good choice for straight and curved cuts if you need to cut around architraves and stairs. Make sure to use a fine tooth blade for wood to get a clean cut.

Do you need an underlay for laminate on the stairs?
The simple answer is no. It's not the same process as knowing how to lay laminate flooring. This is effectively a floating floor that is placed on top of the current floor. The underlay is used to create a moisture barrier, reduce the noise and help keep the laminate in place.
Underlay is not needed on stairs as the laminate needs a solid surface to attach itself to. The laminate is directly glued and or nailed to the stairs to keep it in place.
Why does my laminate feel bouncy?
This can be attributed to a few things, but it's typically because the laminate is becoming detached from the subfloor, which in the case of stairs is the tread and riser. If this is the case you will need to lift up the laminate and refit.
Use a wide filling knife/scraper like this Purdy Flexible Putty Knife from Amazon to gently lift the laminate off the stair. Clean the step and the back of the laminate, give both a quick rub down with sandpaper, apply glue and put down.
If it has been nailed into place you may struggle to lift the laminate out in one piece. If you have saved any spare laminate simply replace after cleaning the stair and removing any nails.
Is it cheaper to carpet or laminate stairs?
There’s a whole host of factors that come here, but as a general rule carpeting stairs is the cheaper option, but not always. A standard set of stairs (13 steps) needs around 20m2 of laminate, with costs at the low end around £20 a square metre, so it would cost around £400 for materials.
More expensive and specialist stair laminate would obviously mean that your outlay for material would be more. This can easily be £500-£600.
The price of the best carpet for stairs starts at around £10m2, but expect to pay twice as much for a good quality stair carpet and you will need to factor in an underlay which can easily be around £10m2. Alternatively, you can choose a budget foam backed carpet that doesn't need underlay for around £5-£6m2. Making this cheaper than laminate. But carpet is much quicker and cheaper to install if calling in trades.
How can I make the laminate flooring on stairs less slippery?
The make up of laminate flooring means that it is typically more slippery than bare wooden stairs or carpet. But there are a few steps you can take to help make sure you keep a secure footing when using the stairs. You can purchase anti-slip spray and coatings for laminate, but these are expensive. You can add anti-slip tape but this will spoil the look of your stairs.
The simple thing to do is keep the stairs clean. Brush regularly and wash occasionally. Get a bucket of warm water, add a squirt of washing up liquid and mop the stairs. Make sure to wring out the mop well. We suggest you wipe down with a dry cloth after mopping to help stop moisture getting under the laminate.
Get the Homebuilding & Renovating Newsletter
Bring your dream home to life with expert advice, how to guides and design inspiration. Sign up for our newsletter and get two free tickets to a Homebuilding & Renovating Show near you.
Steve Jenkins is a freelance content creator with over two decades of experience working in digital and print and was previously the DIY content editor for Homebuilding & Renovating.
He is a keen DIYer with over 20 years of experience in transforming and renovating the many homes he has lived in. He specialises in painting and decorating, but has a wide range of skills gleaned from working in the building trade for around 10 years and spending time at night school learning how to plaster and plumb.
He has fitted kitchens, tiled bathrooms and kitchens, laid many floors, built partition walls, plastered walls, plumbed in bathrooms, worked on loft conversions and much more. And when he's not sure how to tackle a DIY project he has a wide network of friends – including plumbers, gas engineers, tilers, carpenters, painters and decorators, electricians and builders – in the trade to call upon.

