Adding internal wall insulation to a renovation — the pros, cons and right way to insulate your internal walls
Adding internal wall insulation to a renovated property can be beneficial, but isn't without risks. We explore what it is and how to get it right
Internal wall insulation isn't for every home. While it's easy to assume insulating every surface in your home will lead to greater energy efficiency, it isn't the case with internal wall insulation.
Best suited to homes with solid walls made from stone or brick, adding internal wall insulation to homes that have a cavity wall is not considered necessary. As well as eating into floor space, it changes the fabric of your home and can lead to bigger problems such as damp and condensation.
But, when you get it right, internal wall insulation can be a valuable addition to your home insulation plans and here's how to make sure it's the case in your home.
Where is internal wall insulation best used?
Internal wall insulation involves the application of insulation to the interior face of external walls in order to improve the thermal performance of the property.
"It is typically required in homes with solid walls, such as solid brick or stone constructions, where external wall insulation, or cavity wall insulation is not feasible," explains James King, managing director of Unity Lime Products.
"It is commonly used in listed or historic buildings where alterations to the external appearance, such as installing external wall insulation, are not permitted. While internal wall insulation can technically be applied to other building types, such as timber-frame or cross-laminated timber (CLT) structures, it is generally considered only when other insulation options are unsuitable.
"However, solid wall constructions can be some of the most challenging building components to insulate effectively," warns James. "When done correctly, insulating these walls can reduce heat loss and improve the overall internal environment, but careful consideration and proper detailing are essential to ensure the work is suitable, effective, and avoids long-term issues associated with poor internal wall insulation installation such as interstitial condensation and mould."
Bring your dream home to life with expert advice, how to guides and design inspiration. Sign up for our newsletter and get two free tickets to a Homebuilding & Renovating Show near you.
There are various methods of installation – the most common (but not always the most effective) is building a new stud wall, to which insulation can be added. What is most suitable will vary with the application, and a bit of research will be needed to find the best solution for your home.


James King is managing director at Unity Lime Products Ltd, a company specialising in supplying a variety of breathable insulation systems for both new build and retro-fit projects.
When not to use internal wall insulation
"If you have the option to install external wall insulation then this should be the preferred option over internal wall insulation," says James King. "With external wall insulation you can insulate more effectively, use thicker insulation, and without the same risk of causing unexpected moisture problems.
"It is also recommended not to install internal wall insulation on a filled cavity wall construction due to the movement of the dew point causing a serious issue with trapped moisture within the fabric of the wall," he warns.
"Finally, if there are existing damp issues, these must be addressed properly before proceeding with internal wall insulation," says James "Failure to do so can lead to serious issues over time and will likely result in it needing to be removed again so that the issue can be fixed."
Best types of internal wall insulation
There are a number of types of internal wall insulation, and with the homes that need it being built in a very different way to modern properties, there's more than just the insulation value to take into account when choosing which is the best type for your home.
There are two main routes to take when choosing internal wall insulation, according to James King:
- Using vapour permeable insulation materials that work with moisture such as wood fibre or sheep's wool. When specified correctly these are typically regarded as the best option for the longevity of the building as they are sympathetic to fabric of the building and do not rely on membranes that can be damaged by occupants or trades in the future.
- Using non vapour permeable materials and/or vapour barriers to avoid the risk of interstitial condensation. These systems are effective if installed correctly with an effective vapour barrier and excellent attention to details. It is important to note that if the vapour control layer is not installed correctly or is damaged in the future there can be a significant risk of trapped moisture leading to long term issues.
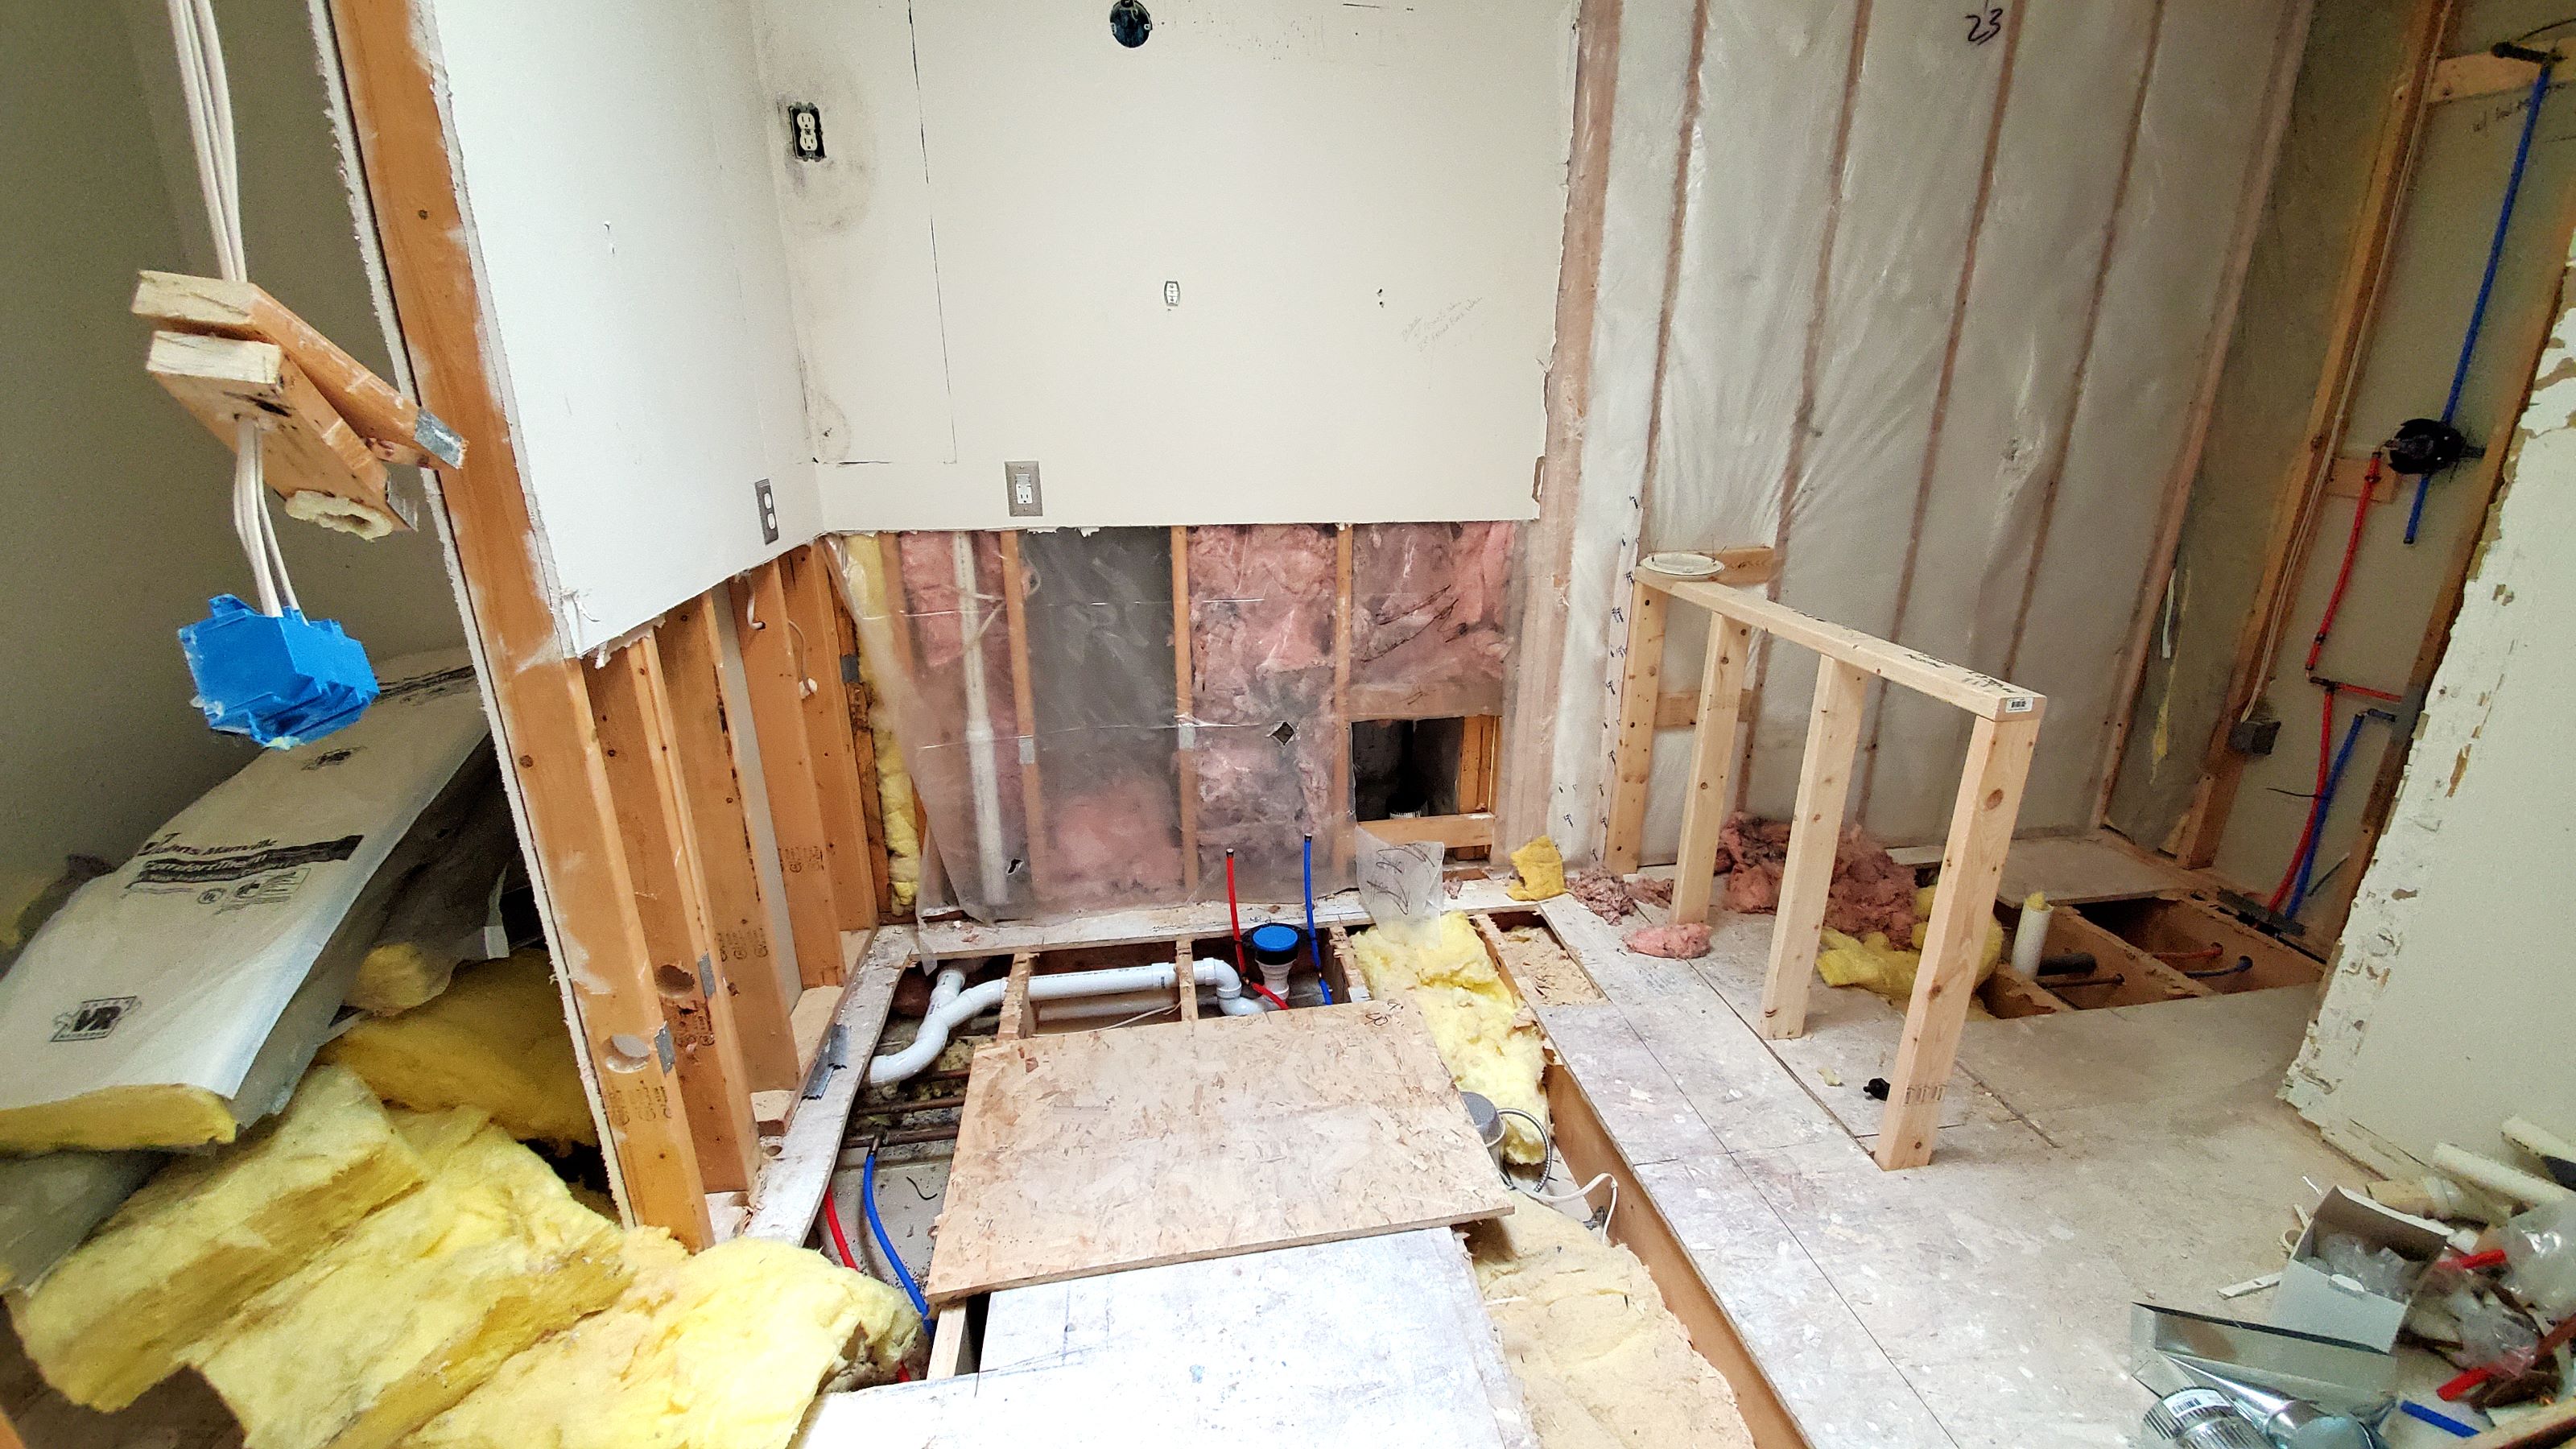
Breaking this down further, rigid foam boards of insulation (such as Kingspan or Celotex) are better insulators than some alternatives and are thinner and take up less floor area. They can also incorporate a vapour barrier. But they are more expensive and might not tick the breathability boxes on your checklist.
Mineral wools such as Rockwool or Knauf are widely used and tend to be available as semi-rigid batts or quilts, while natural materials such as sheep’s wool, wood fibre insulation or cork are good options for people looking for good levels of breathability and those interested in the eco-credentials of a product. Natural materials do not ‘gas-off’ (release toxins) either.
Thin insulation is also something to consider when finalising your internal wall insulation. As it is the floor voids, reveals and returns that need particular attention to ensure continuity in the insulation and eliminate cold bridges, thinner materials are generally needed here meaning paints such as Therma-Coat Acrylic Insulating Primer to aerogels like Spacetherm are all viable options too.
Shop insulation
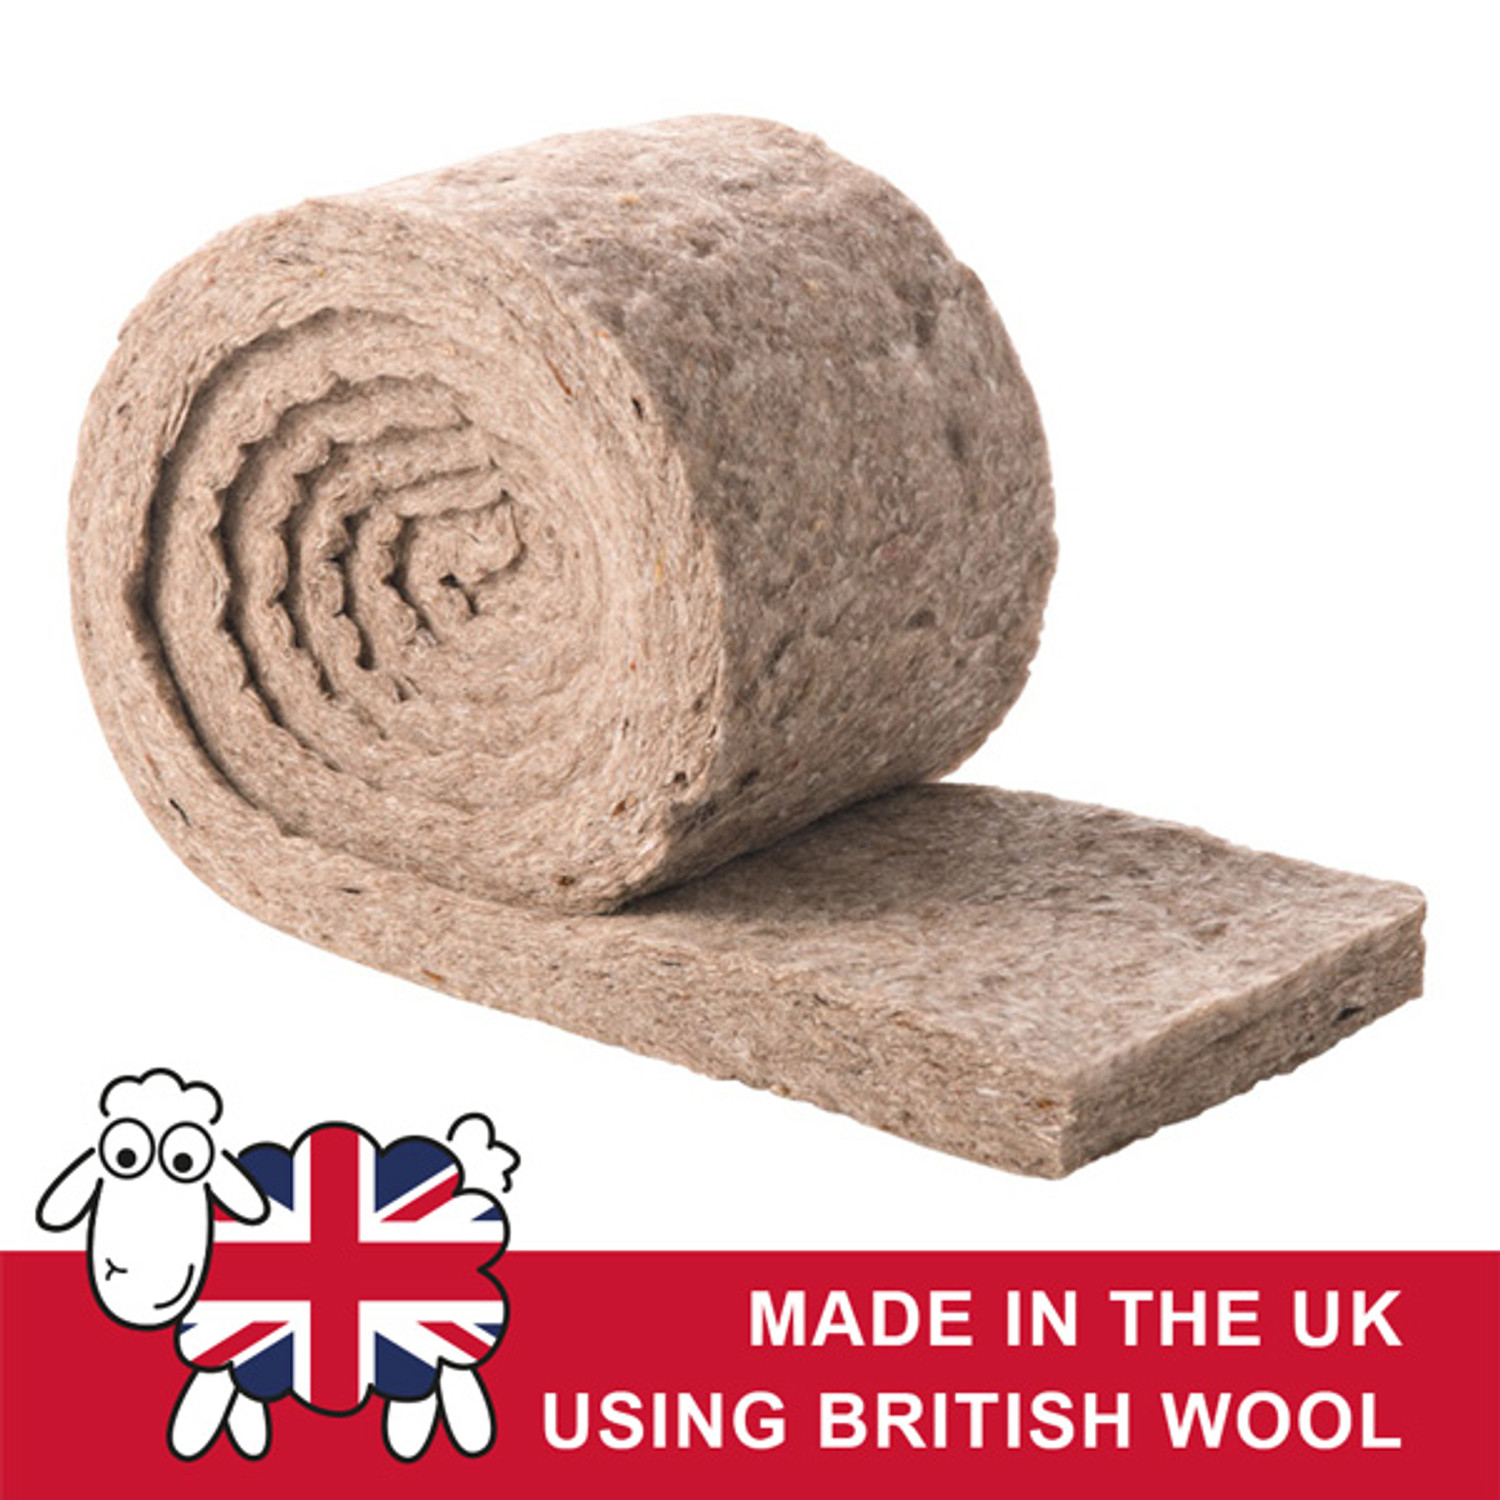
Ideal for loft, wall, and floor insulation and boasts excellent acoustic insulation properties
An eco-friendly, high-performance wood fibre insulation designed to provide superior thermal insulation while promoting sustainability
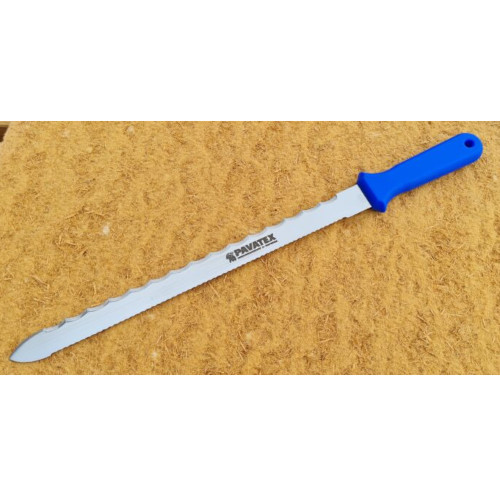
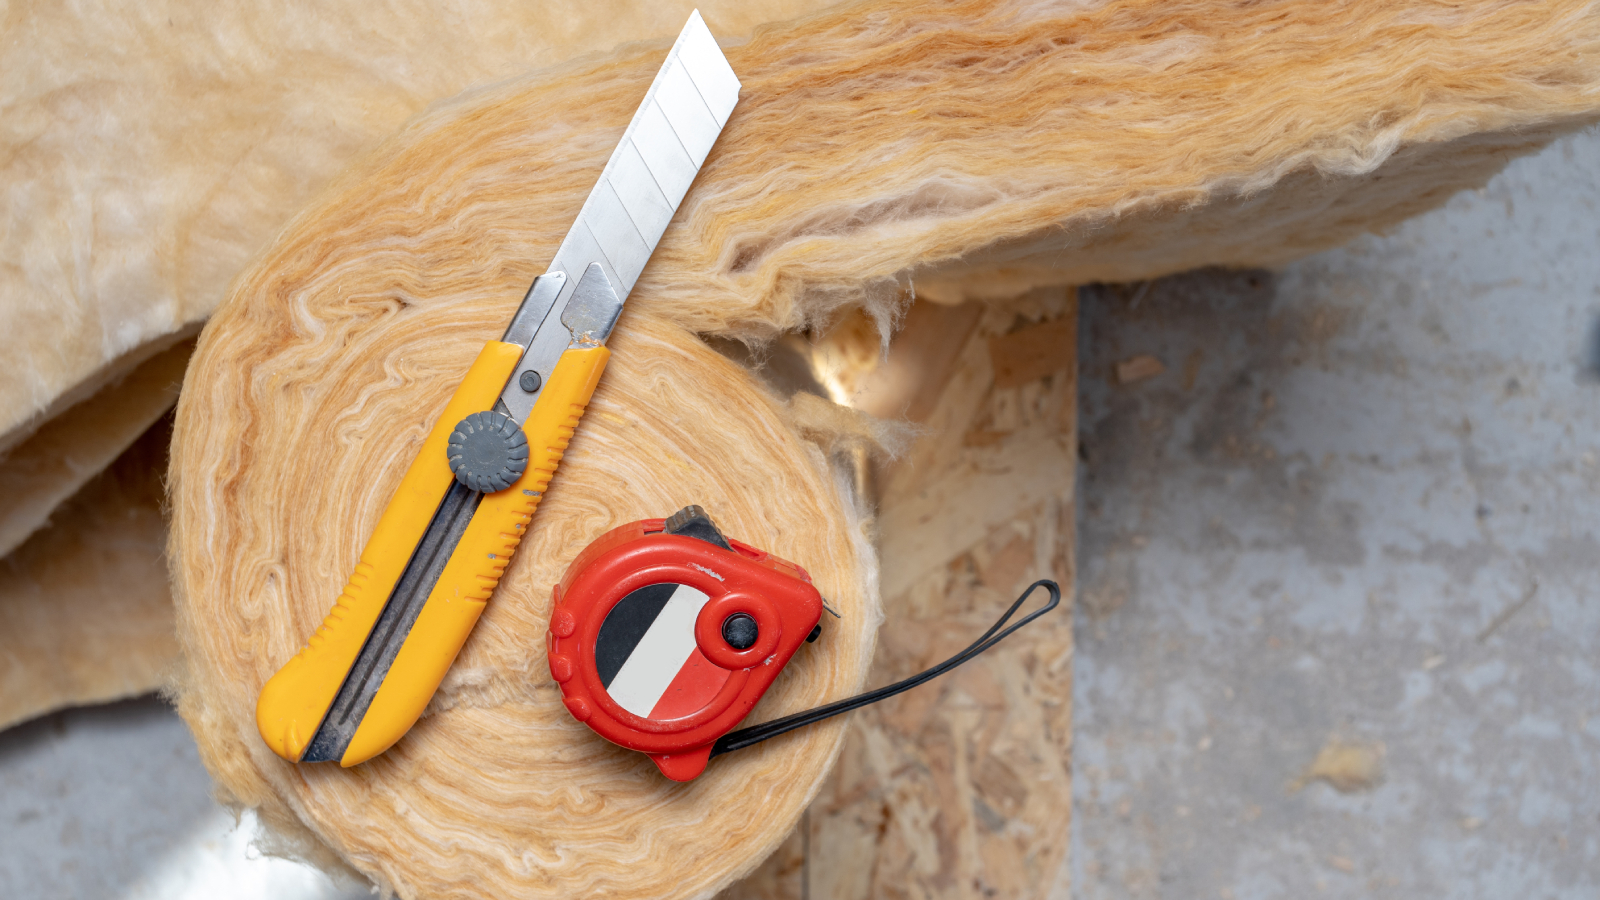
Cut your internal wall insulation to size with this insulation knife
Need more advice or inspiration for your project? Get two free tickets to the Homebuilding & Renovating Show.
Installing internal wall insulation
Before you begin the process of installing internal wall insulation, you will need to undertake a full assessment of your walls. The condition of the wall’s surface and whether the wall is damp will need to be addressed, as the surface condition will determine what preparation work is needed – principally if the old plaster needs hacking off.
It will also determine if you will be able to use adhesive to fix insulation to the walls or will require mechanical fixing, and if battening will be necessary to provide you with a flat surface.
Preparation is key
In order to ensure your internal wall insulation works to the best efficiency, and given you are working with old walls, preparation is essential to success.
James King recommends you start with a thorough inspection of your walls, paying careful attention to the following:
- Internal surface of walls for rainwater penetration, particularly at cills, flashings, and copings
- State of repair of pointing; recommend repointing where necessary
- Provision and integrity of rainwater goods; clean and ensure the functionality of gutters and downpipes
- Drainage at the wall base and adequate provision for rainwater drainage
- Check for evidence of salt contamination
Then, once you are happy your walls are fit for purpose, James says the process for wall prep is to:
- Schedule works to ensure the substrate is in a suitable condition to receive the system – well-adhered existing lime plaster is an ideal substrate
- Remove wallpaper and any oil-based or impermeable paints
- Remove unsuitable plasters, including: plaster with tanking additives, sand and cement internal plasters with mix ratio stronger than 6:1, browning gypsum plasters and modern gypsum plaster is also recommended for removal
For each method of internal wall insulation, there are then certain ways to approach the installation.
1. Method one: Fix rigid vapour permeable insulation directly to the wall
"Products such as wood fibre insulation are designed to allow moisture to migrate safely through the wall and good for internal wall insulation," says James King.
"Begin by levelling the wall, (if required) using an insulating lime plaster. Adhere the wood fibre boards onto the wall using a lime plaster. Secure the boards using secondary fixings depending on the type of substrate, and finish with a two coat lime plaster finish, batten out and and then plasterboard."
2. Method two: Fix insulated plasterboard to the wall
"Insulated plasterboard is a a highly insulative system that is reliant on the prevention of vapour from passing through the system," explains James King. Installation is achieved by installing battens, install insulated plasterboard or suitable system over the studs and then add your internal finish.
"Particular attention must be taken to detailing when adding the plasterboard to create an effective, continuous vapour barrier," he adds.
If the wall is relatively flat and in good condition, this can be an effective, quick method. Boards can be glued directly to the wall with an adhesive specific for the purpose. Mechanical fixings (screws) can also be used, if necessary. Gaps between boards, at the ceiling and floor edges, should be filled with mastic and taped over before plaster skimming to ensure continuity of the vapour barrier.
Ensuring a continuous, unperforated vapour barrier is the only effective way of dealing with a dew point that occurs in the wall, and although these are expensive products, this is offset to some extent by the speed of installation.
The problem with this method is re-fixing heavy items such as kitchen cabinets, and hanging pictures, mirrors, etc. Special fixings are available for this but, over time, it can become a headache.
3. Method three: Attaching membranes or studwork
"Another option is to install a breather membrane against the solid wall, fix studs back to the masonry and then fill the void with with sheep wool, mineral wool or similar insulation," says James. "Then, install a suitable airtightness and vapour control layer over the studwork, apply lining board and skim."
Fixing battens to the wall provides a more even fixing for the insulation, while fixing the battens over the insulation is known as the ‘warm batten’ method. Both would use 25x50mm battens and the first method is the more common.
However, even though this can be the best option when the wall is very uneven, the insulation will be rigid and is screwed to the battens, inevitably leading to perforations in the vapour barrier.
The warm batten method is less common but it has some distinct advantages. In this method, a semi-rigid wool batt is placed against the wall. Appropriately spaced battens are placed on top and screws driven through the batten, through the insulation and into the wall.
Rigid or semi-rigid insulation can then be installed between the battens with plasterboard then installed. The advantages the warm batten method offers is that the battens are kept warm by the insulation and so are less likely to rot; the battens are accessible directly below the plasterboard and so pictures can be hung with more ease; and extra battens can be installed to allow heavier items such as kitchen cabinets to be refixed.
Another solution is the construction of a new stud wall, generally 100mm thick inside the existing wall, with a 40mm cavity between the two. This option takes up more floor space than the other options.
It is also more expensive and no more effective, except in the case of very damp walls. The cavity between the new stud wall and the existing wall must also be ventilated to the exterior so any moisture can be carried away, but this then impacts on airtightness.
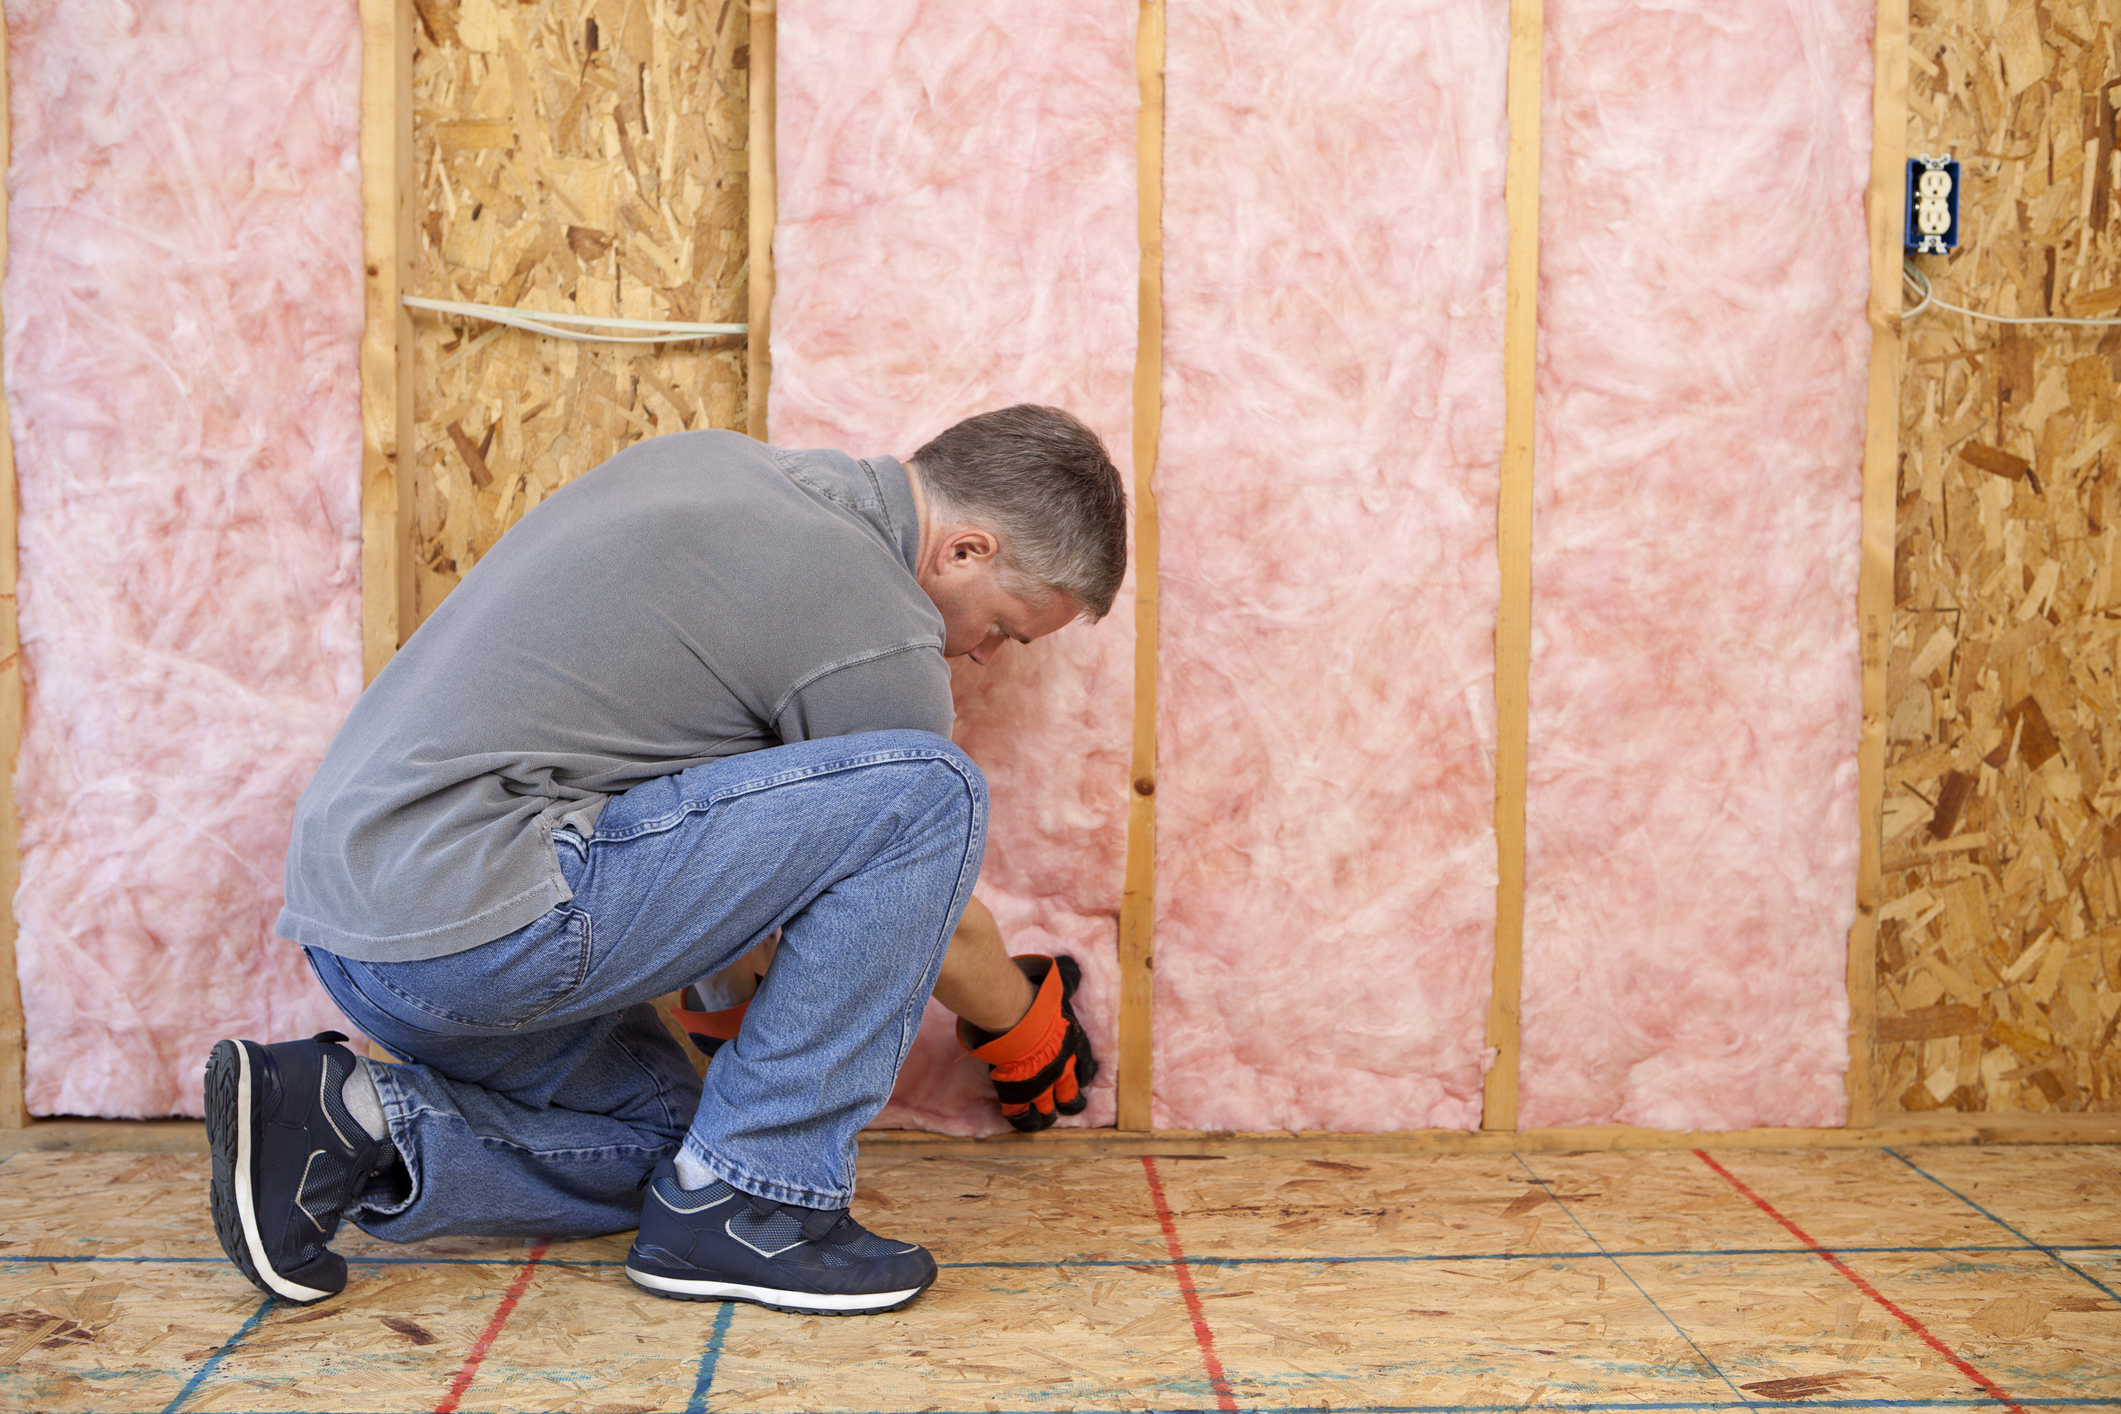
4. Method four: Insulated breathable plaster
This is another good option for internall wall insulation on older properties. "Lime is normally recommended as it is better at managing moisture than other modern alternatives," recommends James.
It is most useful on stone walls, where breathability is important. This would involve either a hemp or cork-lime mix (the hemp or cork providing the insulation) or layers of lime plaster sandwiching a cork or wood fibre board.
This option will not get the desired U-value – typically around 0.5W/m2 is the best you will get – but it has a few distinct advantages. It significantly improves airtightness by sealing all the cracks and gaps, provides a warm internal surface, and most importantly, being breathable, it prevents any damp patches.
Pros and cons of internal wall insulation
Internal wall insulation, while offering benefits to the homeowner, still presents its own set of problems and it's worth weighing up all the pros and cons before deciding if it's right for your home renovation.
Perhaps one way to look at it is that it is better than doing nothing, and it has a better payback than external wall insulation, which possibly makes it worthwhile overcoming the problems it presents.
Pros of internal wall insulation
- It is cheaper than external wall insulation (up to 50% less)
- It might be the only option if you can not insulate externally (if you are in a conservation area for example)
- There are options where breathability is a concern
Cons of internal wall insulation
- It is less effective than external wall insulation
- It is more likely to cause damp problems (so needs careful planning)
- You will lose internal floor area
- It is a more disruptive process (you may need to move out of the rooms being worked on)
It has been well established that improving airtightness has a greater impact on heat loss than insulation. The solid elements of the wall will naturally be fairly airtight – but it is the gaps, cracks and penetrations that can be problematic.
These tend to occur as much in awkward places, such as floor/ceiling voids, below the ground floor, the first floor ceiling, as on the accessible areas of the wall. The insulation applied to the wall can form the airtight barrier, but the benefit will be reduced by up to 50% if the gaps, cracks and penetrations are not also dealt with.
Insulation can also make a damp wall worse by reducing the temperature of the wall and by reducing (or eliminating) air movement across its internal surface.
There are only two ways of dealing with a damp wall: creating a stud wall with a cavity between the insulation and the existing wall, or finding the cause of the damp and eradicating it.
When it comes to the latter, if you believe that rising damp is a myth, then options other than installing a damp-proof course need to be explored. Damp could be caused by rain penetration through the wall itself – in which case internal insulation would be a mistake. It might be a leaky gutter, downpipe or overflow, which is easy to fix. Or, it could be that the external ground levels have been built up above those of the interior wall levels.
Building regulations and internal wall insulation
The building regulations stipulate certain requirements when it comes to airtightness and heat loss that need to be achieved in order for your home to be compliant. The U-value of a material is the rate at which heat (in watts) is lost through each square meter of the surface. A lower figure means better thermal performance.
"Approved Document L is the primary document for energy efficiency, including thermal elements like walls," explains James King.
"For a renovated solid wall, the target U-Value is often 0.3 W/m²K, though there is a threshold value of 0.7 W/m²K for internal insulation on solid walls when it is not technically or functionally feasible to achieve the target U-Value," he says.
"BS 5250:2021 is also a code of practice for managing moisture in buildings, detailing best practices for preventing moisture and minimising risk to user," adds James, noting how The Department for Business, Energy & Industrial Strategy has also released a publication 'Retrofit Internal Wall Insulation Guide to Best Practice (2021)' that provides more information.
An uninsulated cavity wall will have a U value of around 1.5W/m2 and there will also be a relatively high level of cold bridging due to the cavity ties. A solid 225mm brick wall will be around 1.9W/m2, while a solid stone wall will be around 1.7W/m2 to 1.4W/m2 (depending on the thickness)
FAQs
What is the dew point?
The dew point is the point where air meets a temperature that causes the moisture to condense out as water. Internal wall insulation will tend to keep the wall at external ambient temperature and thereby draw the dew point towards the internal surface.
If the dew point is too close to the internal surface of the existing wall, moisture can be absorbed by the insulation and appear as damp patches on the plasterboard.
To help prevent damp penetration, a vapour control layer will need to be installed. The internal surface of an insulated wall will tend to be warmer, reducing the likelihood of condensation forming, but there will be areas – such as where an external wall meets an internal wall – that remain cold.
There is a distinct risk of condensation forming in those areas, typically in high-level corners. Overcoming this typically means extending the insulation to cover that cold bridge.
How much floor space will I lose with internal wall insulation?
The thickness of internal wall insulation varies from brand to brand, but you can expect it to be anywhere from 60mm to 100mm – largely, the more expensive the insulation, the thinner its profile. You should expect to lose at least 100mm on each wall when insulating interior walls.
Is internal wall insulation expensive?
Up to 60% of your internal wall insulation costs will be labour. Skimping on the thickness of insulation as a means of reducing the expense of installation is a false economy; the labour cost will remain largely the same whatever thickness of insulation is installed.
The generally accepted cost for internal wall insulation is between £7,000 and £10,000 for an average sized home. But, this will vary according to the type of insulation specified and the condition of the existing wall.
There are grants available for internal wall insulation for solid walls for qualifying households under the government's ECO4 scheme.
Can you use internal wall insulation and cavity wall insulation together?
"On the whole, it is not recommended to use internal wall insulation in combination with a traditional cavity wall that has been insulated," says James King. "There is a considerable risk of interstitial condensation in this situation, inappropriate specification of products can result in trapped moisture in the cavity leading to long term damp issues.
"If you are building a modern construction with a partially insulated cavity and appropriate airflow then it is possible to combine both," he adds, "but it is always recommended to seek the guidance of an experienced professional when deviating from any manufacturer’s standard guidance."
If you do decide to proceed with internal wall insulation, James King shares his final advice on avoiding any problems.
"Poor specification of materials or inappropriate material selection for the type of wall it is being installed onto can create a host of problems including damp, mould and even damage to the fabric of the building," says James. Speaking to a professional expert before you start is always key.
"Not considering external factors, can also be an issue," he adds. "Wind driven rain can have a big impact on solid wall constructions, so what is suitable for London is not necessarily suitable for Cardiff.
"Another issue is not being able to insulate the details effectively causing issues at wall connections, window reveals and between intermediate floors where the joists meet the external wall.
"And finally, over insulting internally is a common issue," says James. "Where a lot of insulation is added onto the walls this can bring the dew point too far inside the wall."
For more advice on insulating older properties, take a look at our guide to insulating a Victorian house, and also make sure you know the main areas of a home never to insulate.
Tim was an expert in sustainable building methods and energy efficiency in residential homes and wrote on the subject for magazines and national newspapers. He is the author of The Sustainable Building Bible, Simply Sustainable Homes and Anaerobic Digestion - Making Biogas - Making Energy: The Earthscan Expert Guide.
Tim's interest in renewable energy was first inspired by visits to the Royal Festival Hall heat pump and the Edmonton heat-from-waste projects. Moving to a small-holding in South Wales fanned his enthusiasm for sustainability. He went on to install renewable technology at the property, including biomass boiler and wind turbine.
He formally ran energy-efficiency consultancy WeatherWorks and was a speaker and expert at the Homebuilding & Renovating Shows across the country.

