Insulating a Loft Hatch: How to, the Cost and More
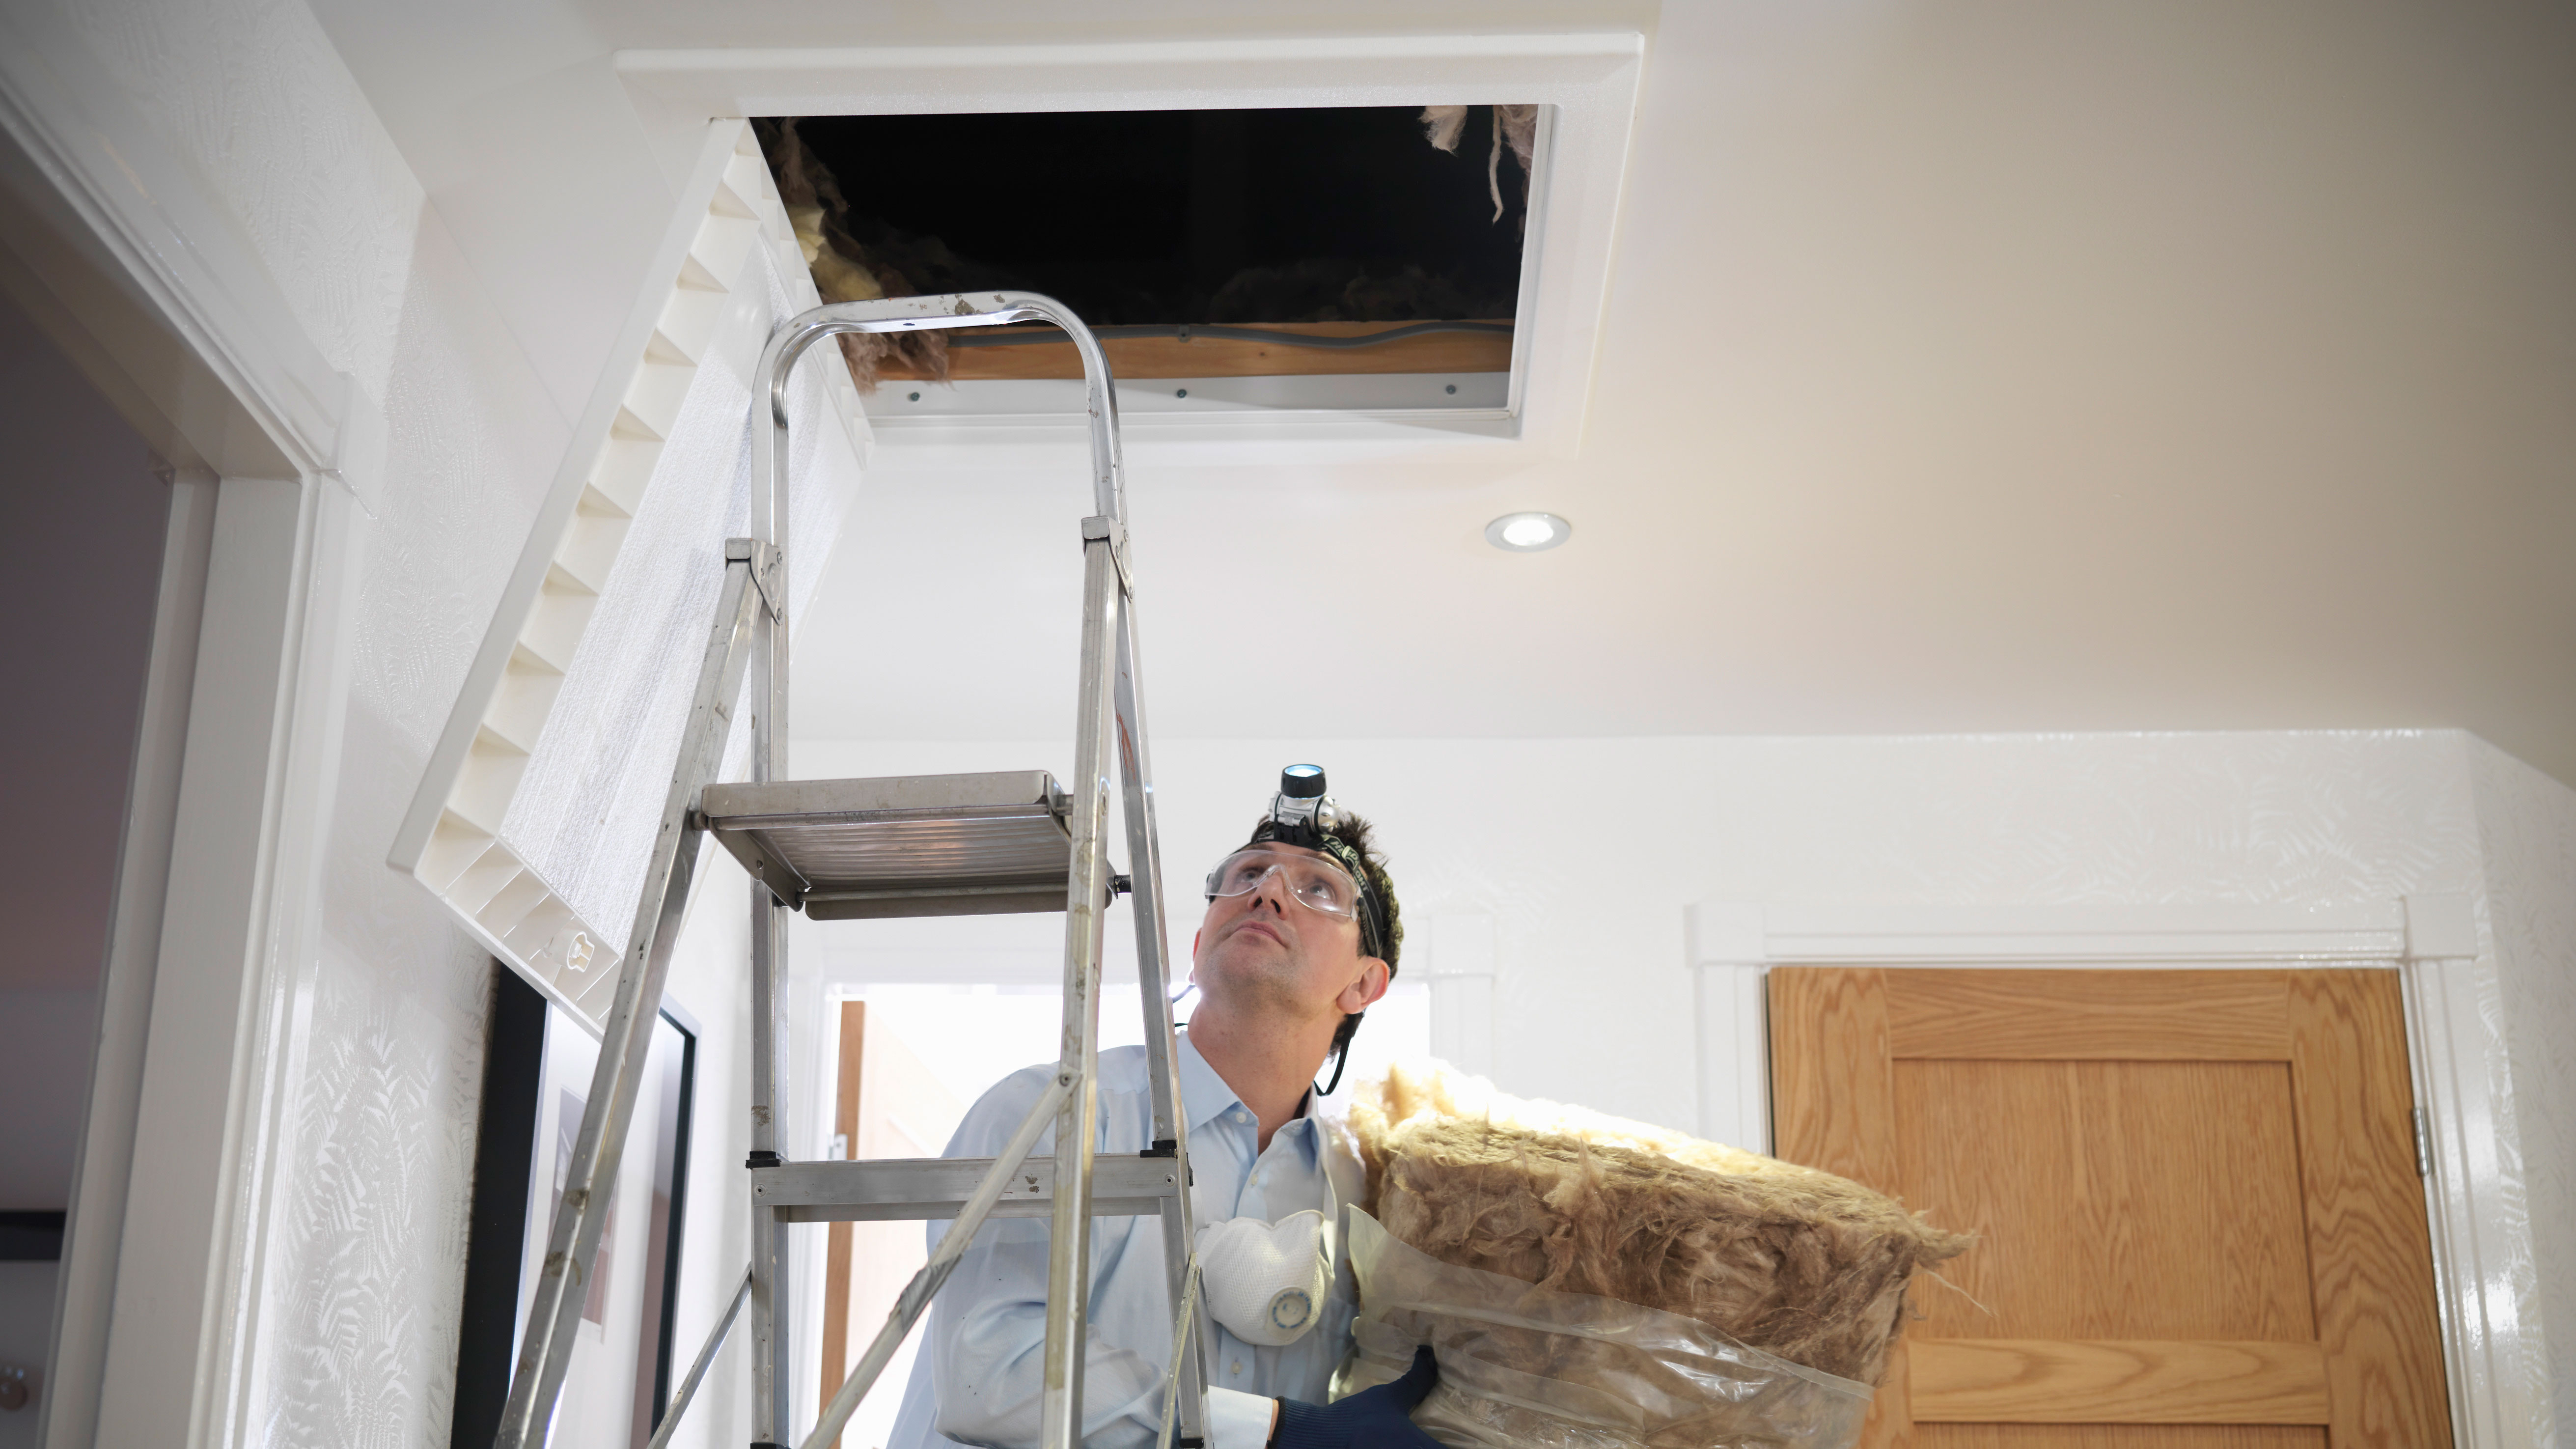
Insulating a loft hatch is a simple, cost-effective DIY task which could help prevent heat loss, draughts and condensation. Here's what you need to know first

Very few people spend time thinking about insulating a loft hatch — the loft hatch is, after all, simply a means of access to a space seldom used and does not warrant a great deal of thought.
However, an uninsulated loft hatch can be a source of draughts and potential heat loss in your home. And, if you are insulating your loft, it makes sense to address this area at the same time.
Here, we explain why it's a good idea to insulate a loft hatch, how to undertake this DIY task, how much it will cost, as well as the options available to those building a new home or replacing an existing loft hatch.
How Much Energy is Lost Through a Loft Hatch?
How much energy is lost through an uninsulated loft hatch all depends on the size of the hatch, and importantly, how the loft itself is insulated.
If the loft is insulated at the roof rafter level then an uninsulated loft hatch will have little or no, effect. If the insulation is at the ceiling joist level then an uninsulated hatch will have a significant impact.
That said, even then the measurable energy loss is unlikely to break the bank. A 500mm x 500mm loft hatch could lose up to 40kWh/year. Add in the draughts around the hatch’s edge and the cold-bridge effect this creates, and that figure could reach 60kWh/year (varying with how draughty the loft is).
Even in these days of energy price rises that is still only worth around £3.50 per year. So it could be argued that energy loss alone does not warrant spending a lot on insulation.
However, the better the insulation and draught proofing to the rest of the house the greater the impact of an uninsulated hatch.
Should I Insulate the Loft Hatch in My Home?
In an existing home, if the loft insulation is at the ceiling level, then it's particularly important to insulate the hatch as well to prevent heat from escaping. It does not save a lot of money or CO2, but it is a quick, cheap, easy job.
A loft hatch can be a source of draughts, so draught proofing and insulating an existing loft hatch will improve the thermal comfort in the bedroom or living spaces below.
What's more, insulating a loft hatch can help to prevent possible issues with condensation in the loft space. Warm, moist air can be drawn into a loft space through a loft hatch. When this air hits cold surfaces, such as the roof timbers, it will condense. Condensation on timbers can result in rot and decay over time, damaging the roof structure.
In a new build, it will be necessary to insulate a loft hatch to comply with Building Regulations and, to be honest, it would be difficult to find a new loft hatch that is not insulated and airtight (to a degree, at least). Gone are the days when MDF or plywood is used to create loft doors in new homes.
Most new products also include built-in draught proofing. Any new loft hatch will have adequate airtightness for all but Passivhaus levels of thermal efficiency.
How to Insulate a Loft Hatch
This task will depend on the type of loft hatch in your home. There are two main types:
- The hinged variety that fold downs into the living space, and could come with or without a ladder. This option is now the go-to option in new homes due to the ease and accessibility they offer.
- Lift-out loft hatches are common in older homes and are often uninsulated.
The simple lift-out hatch (those without a hinge) can be insulated by gluing a plastic bag to the hatch, filling it with insulation material and taping the bag closed. It is effective, cheap and the bag prevents the insulating fibre from getting disturbed.
Alternatively, a piece of rigid foam insulation could be glued to the hatch but this will tend to leave gaps around the edges, allowing draughts.
Existing drop-down hatches with attached ladders can be treated in the same way, with care being taken to ensure the insulation does not interfere with the ladder operation. Foil insulation might be a good alternative in this instance, as a thinner layer is required as compared with rigid foam.
Adding draught proofing strips around the perimeter of the loft hatch will help to prevent draughts in both instances.
How to Draught Proof a Loft Hatch
Just as important as insulation is draught proofing, and undertaking measures to draught proof an existing loft hatch will improve comfort in the living space below.
Draught proofing an existing hatch is simply a matter of attaching a self-adhesive foam strip (sometimes called weatherstrip) or EPDM door and window draught proofing strip.
This needs to be put around the edge of the hatch as well as around the frame it sits in, ideally (but not essentially) with a closing mechanism that pulls the hatch down onto the draught proofing.
How Much Does it Cost to Insulate a Roof Hatch?
Insulating an existing loft hatch should cost less that £15, depending on the insulation material used, and is a relatively straightforward DIY job. Adding draught proofing to an existing loft hatch is also an inexpensive DIY task — typically costing less than £10.
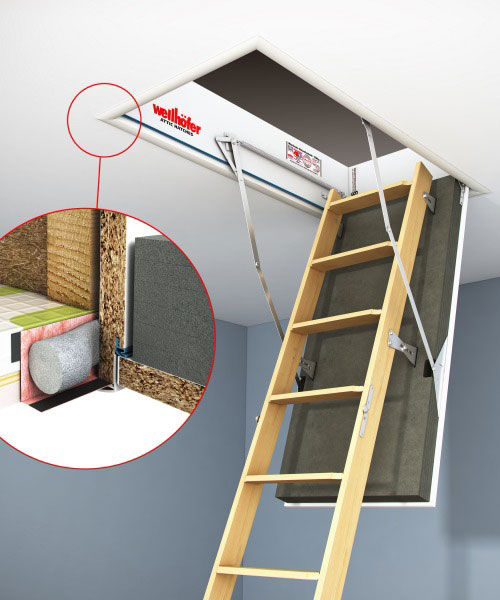
If you're adding a new loft hatch – in a new home or to replace an existing hatch – then there are a number of options to choose from, ranging in price from £40 to over £400. There are plenty at the low end of the price-range, like the Jupiter Blue AT15, that provide good insulation, and airtightness, for under £55.
Those at the upper end of the price range, like Wellhofer's attic hatches, are highly insulated, very airtight but can only really be justified where there is a need to maintain extremely high levels of thermal efficiency for the house as a whole, as with a certified Passivhaus.

Get the Homebuilding & Renovating Newsletter
Bring your dream home to life with expert advice, how to guides and design inspiration. Sign up for our newsletter and get two free tickets to a Homebuilding & Renovating Show near you.
Tim is an expert in sustainable building methods and energy efficiency in residential homes and writes on the subject for magazines and national newspapers. He is the author of The Sustainable Building Bible, Simply Sustainable Homes and Anaerobic Digestion - Making Biogas - Making Energy: The Earthscan Expert Guide.
His interest in renewable energy and sustainability was first inspired by visits to the Royal Festival Hall heat pump and the Edmonton heat-from-waste projects. In 1979
this initial burst of enthusiasm lead to him trying (and failing) to build a biogas digester to convert pig manure into fuel, at a Kent oast-house, his first conversion project.
Moving in 2002 to a small-holding in South Wales, providing as it did access to a wider range of natural resources, fanned his enthusiasm for sustainability. He went on to install renewable technology at the property, including biomass boiler and wind turbine.
He formally ran energy efficiency consultancy WeatherWorks and was a speaker and expert at the Homebuilding & Renovating Shows across the country.

