Installing window film: a quick easy way to add privacy
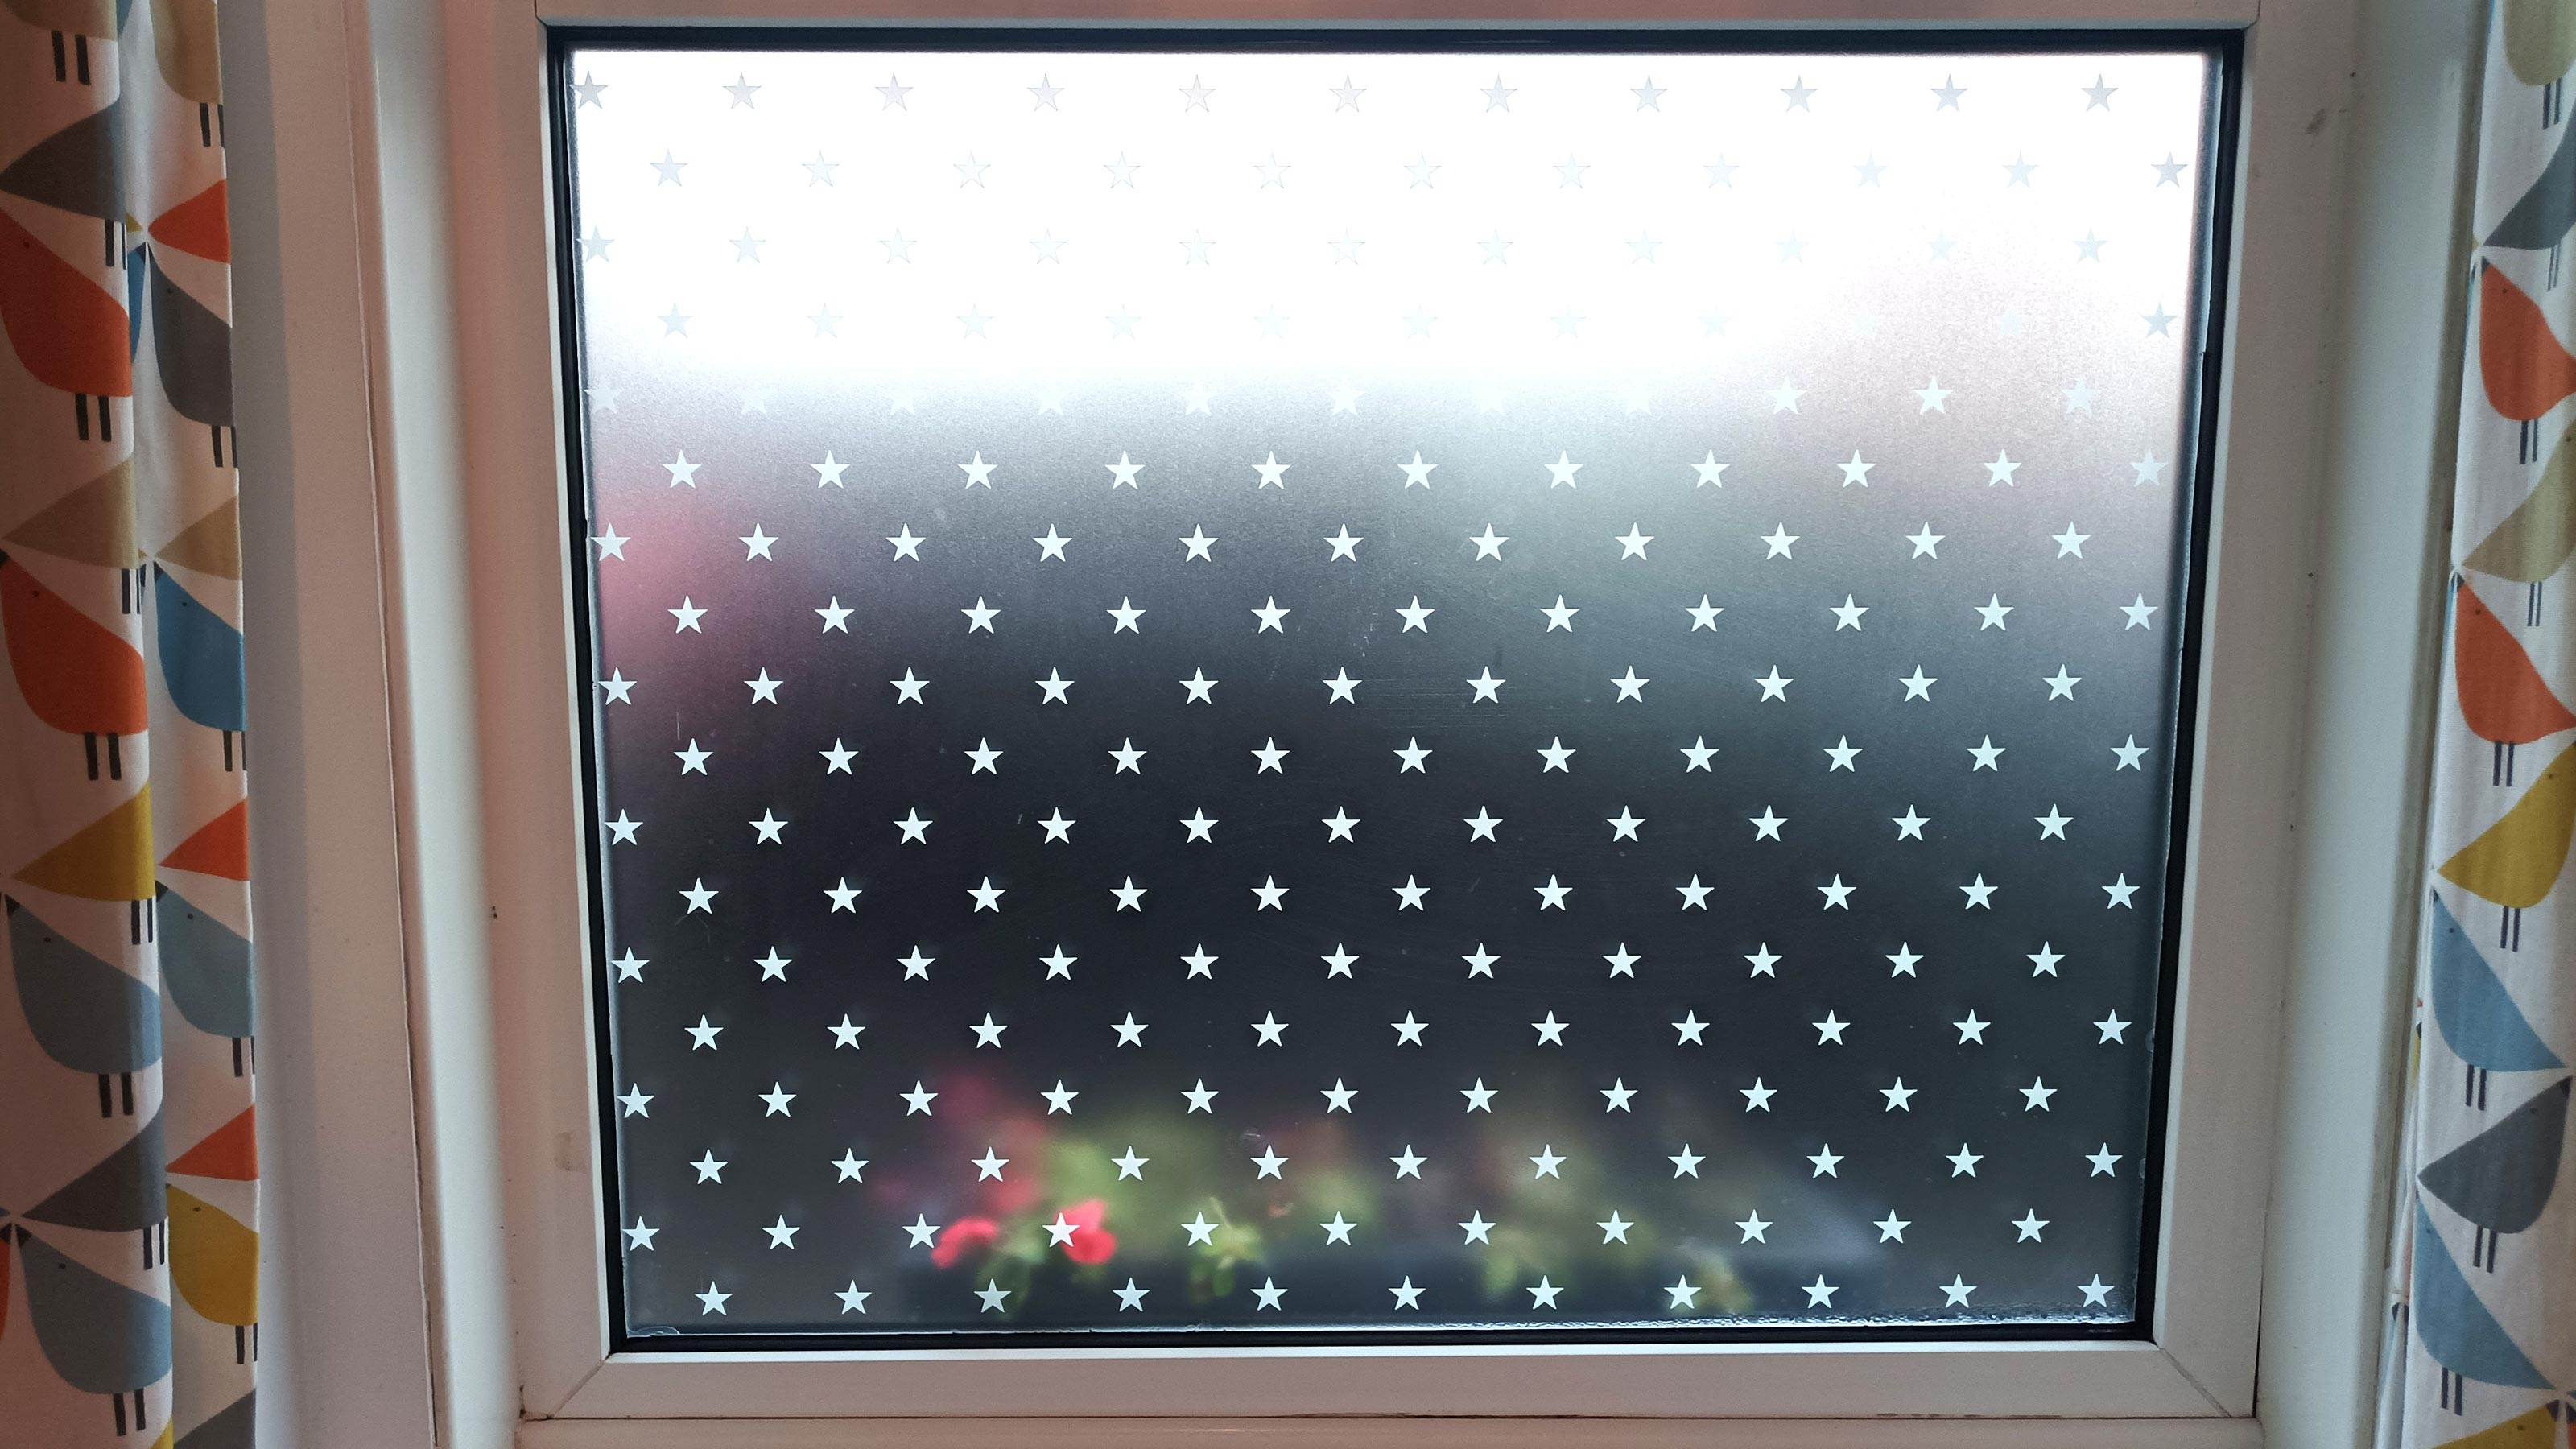
Installing window film adds privacy and stops unwanted glances into your home. Here we show how to remove old film easily and install new window film
Bring your dream home to life with expert advice, how to guides and design inspiration. Sign up for our newsletter and get two free tickets to a Homebuilding & Renovating Show near you.
You are now subscribed
Your newsletter sign-up was successful
Installing window film brings with it a host of benefits and as an added bonus it's a job any DIYer — even novices — can tackle. All you need is a simple selection of tools and a little know how, which you can find in this guide.
However, it can’t be applied to any types of windows, or more specifically the glass. Window film won’t adhere properly to textured glass that you typically find in bathrooms. You need to have a flat surface so that it sticks to the surface.
Here we take a look at the tools you need, how to install new film and a painless method for removing old window film.
Plus, a word of advice....do not do what I did the first time I installed an expensive sheet of privacy window film, by removing the backing before you have your water and washing up mixture ready to go. As I peeled off the backing paper, it stuck to itself and I couldn’t pull it apart. The harder I tried the worse I made it. Finally I had to throw it away and waste £50. You have been warned.
Installing window film in four easy steps
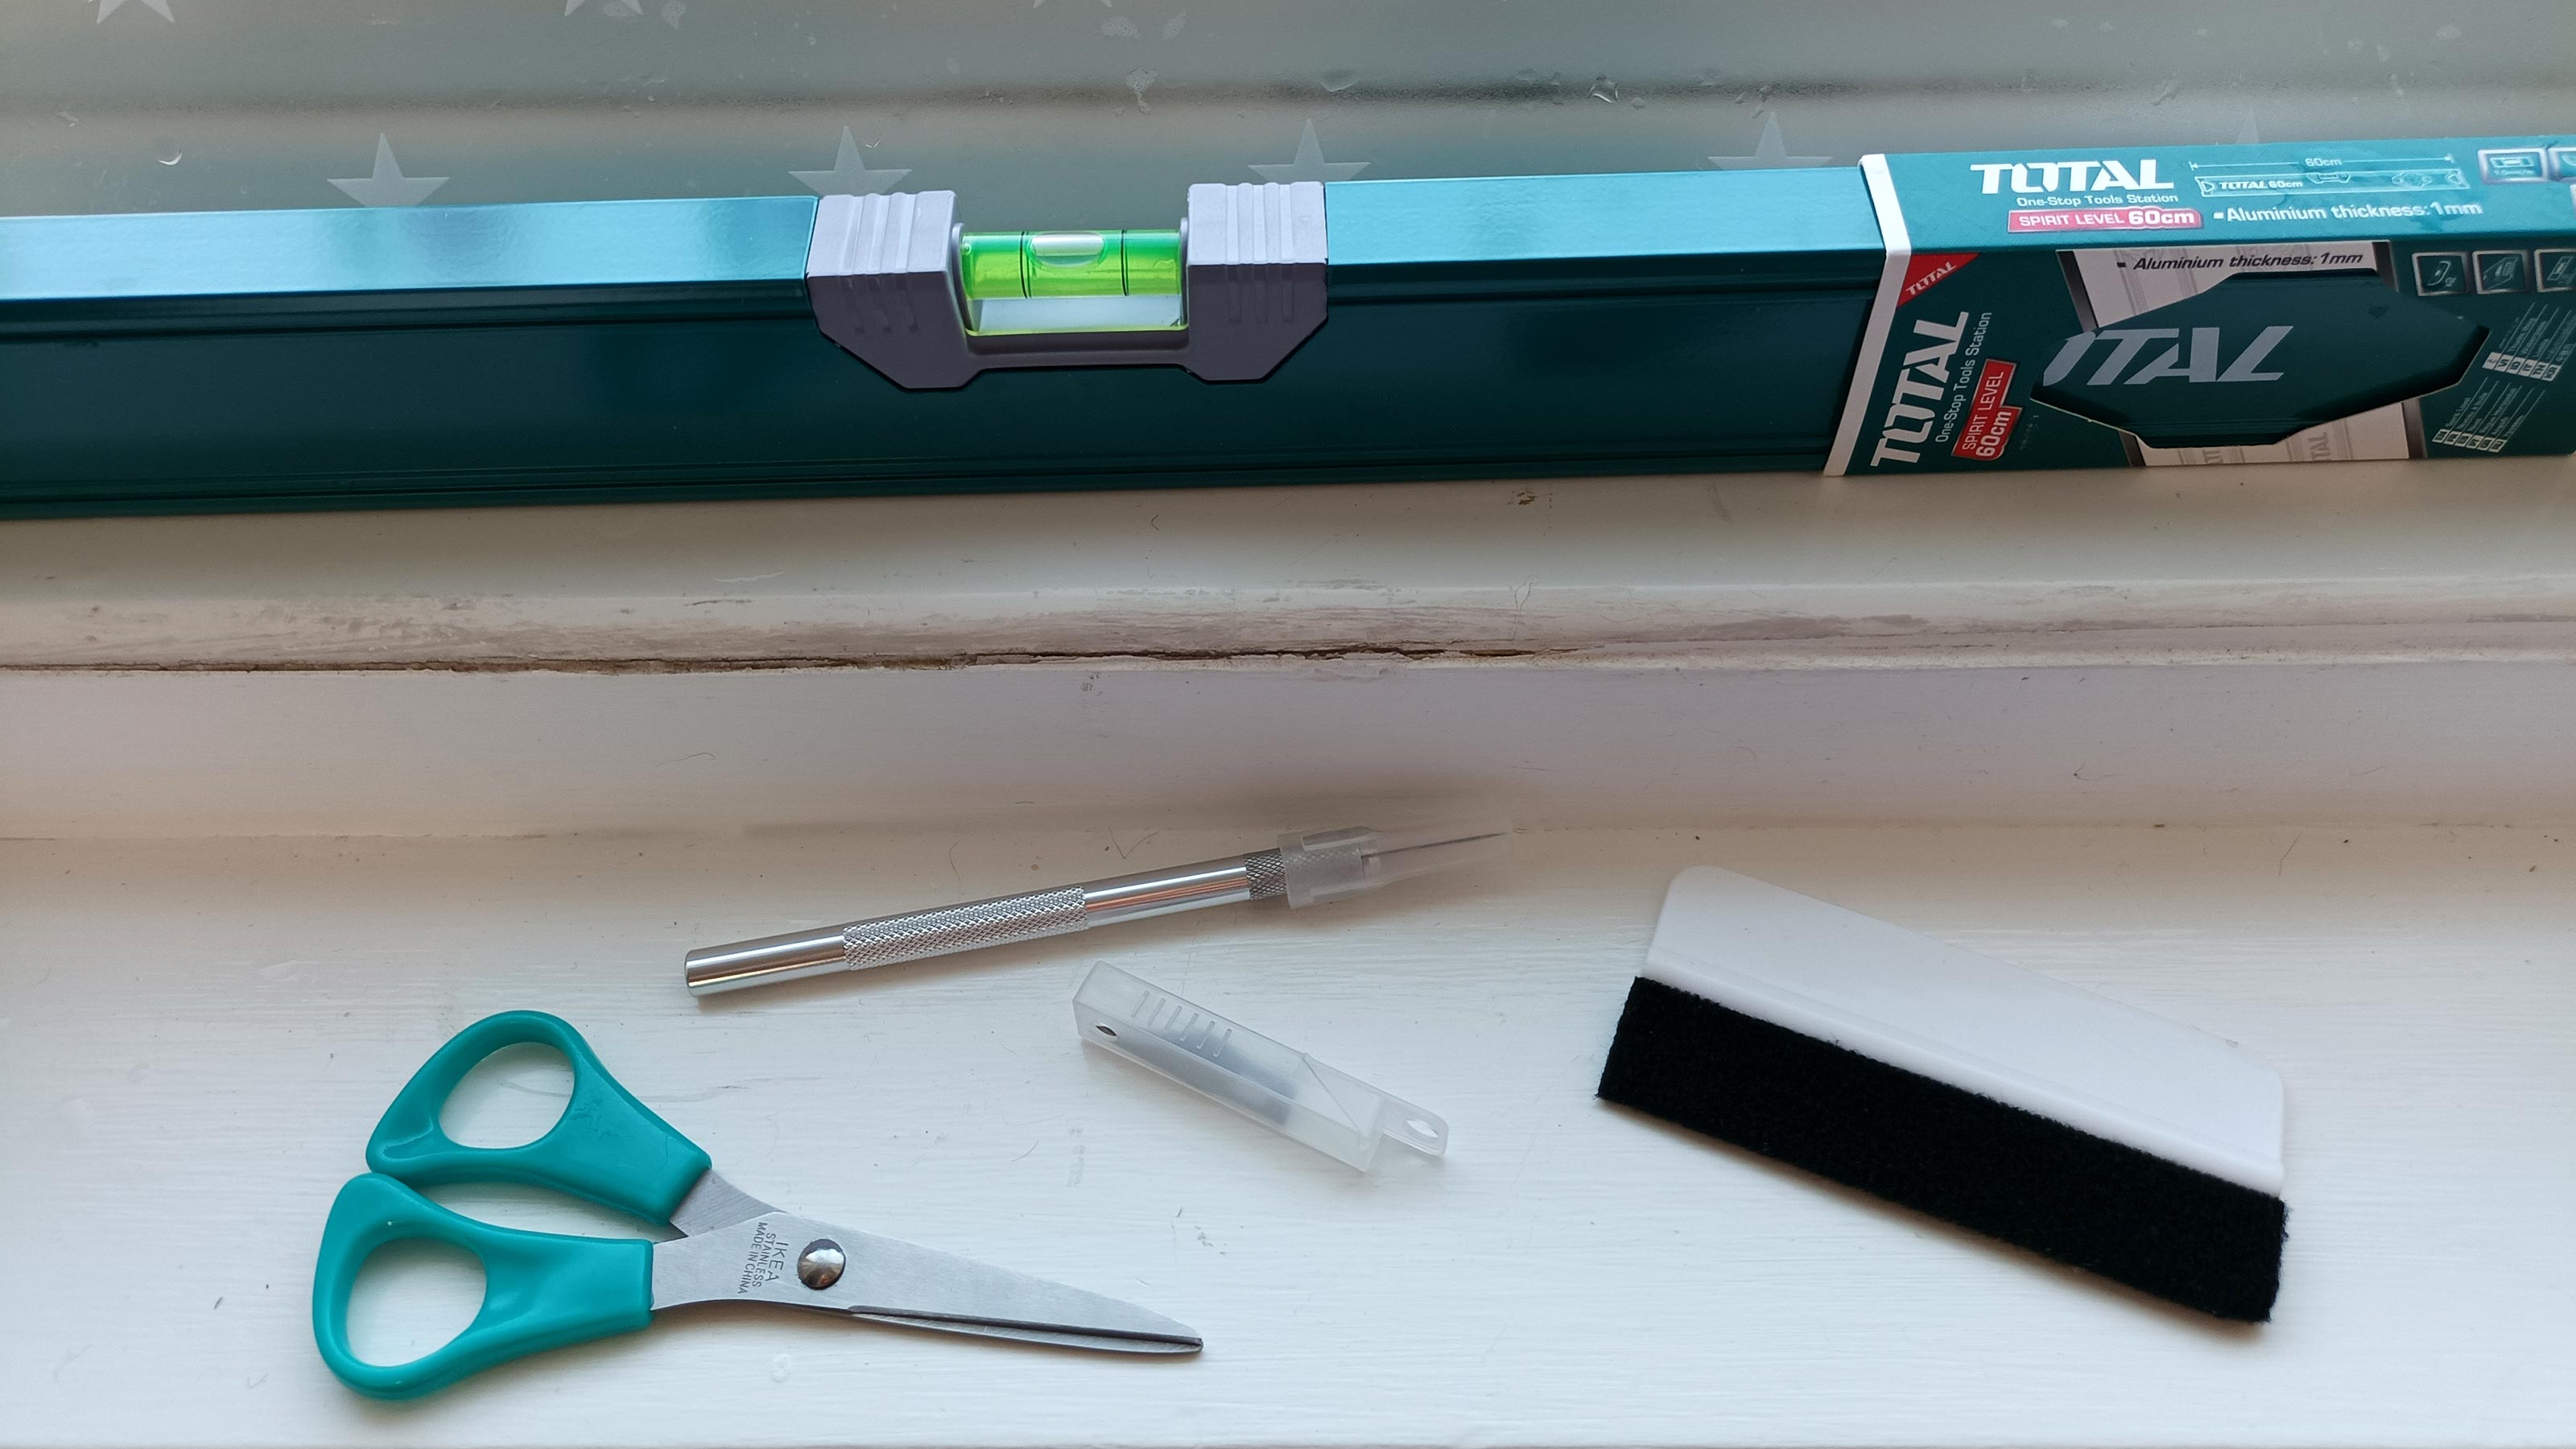
Applying privacy film is straightforward, but you will need a few tools to do the job. Make sure you have a spray bottle, a vinyl wrap squeegee — these are often supplied with the film — a dry cloth or tea towel, a straight edge and a sharp knife. A spirit level and a craft knife are good choices here.
1. Measure up
Before you get started, measure up the window pane where you are going to apply and add a couple of inches all round. Now get a straight edge and mark with a pencil or felt tip. Measure again to make sure. There’s nothing worse than cutting the film too small and having to throw away your not-so-cheap window film.
2. Cut and remove backing
Now get a pair of scissors and cut the film. Hold against the window to make sure you have enough excess. If the film needs trimming, trim and place against the window again to check the fit. If all is good you can remove the backing on the film. Before you do, get a spray bottle and fill with warm water and a good squeeze of washing up liquid and shake to mix.
Place the film flat on a solid surface and start removing the backing from a corner. Pull back the backing about a quarter of the width of the film and spray with water/washing up liquid solution, Repeat until the back has been removed and the back of the film has been covered.
3. Apply to window
Now spray the window with the water/washing up liquid solution, making sure to cover the entire window pane. Grab the top corners of the window film and place against the window.
Get a vinyl wrap squeegee and push in at the top to get close to the edge of the window pane. Use the squeegee to brush down and out to the left and right to get rid of the water and air bubbles. Do as much of the window as possible.
4. Cut to finish
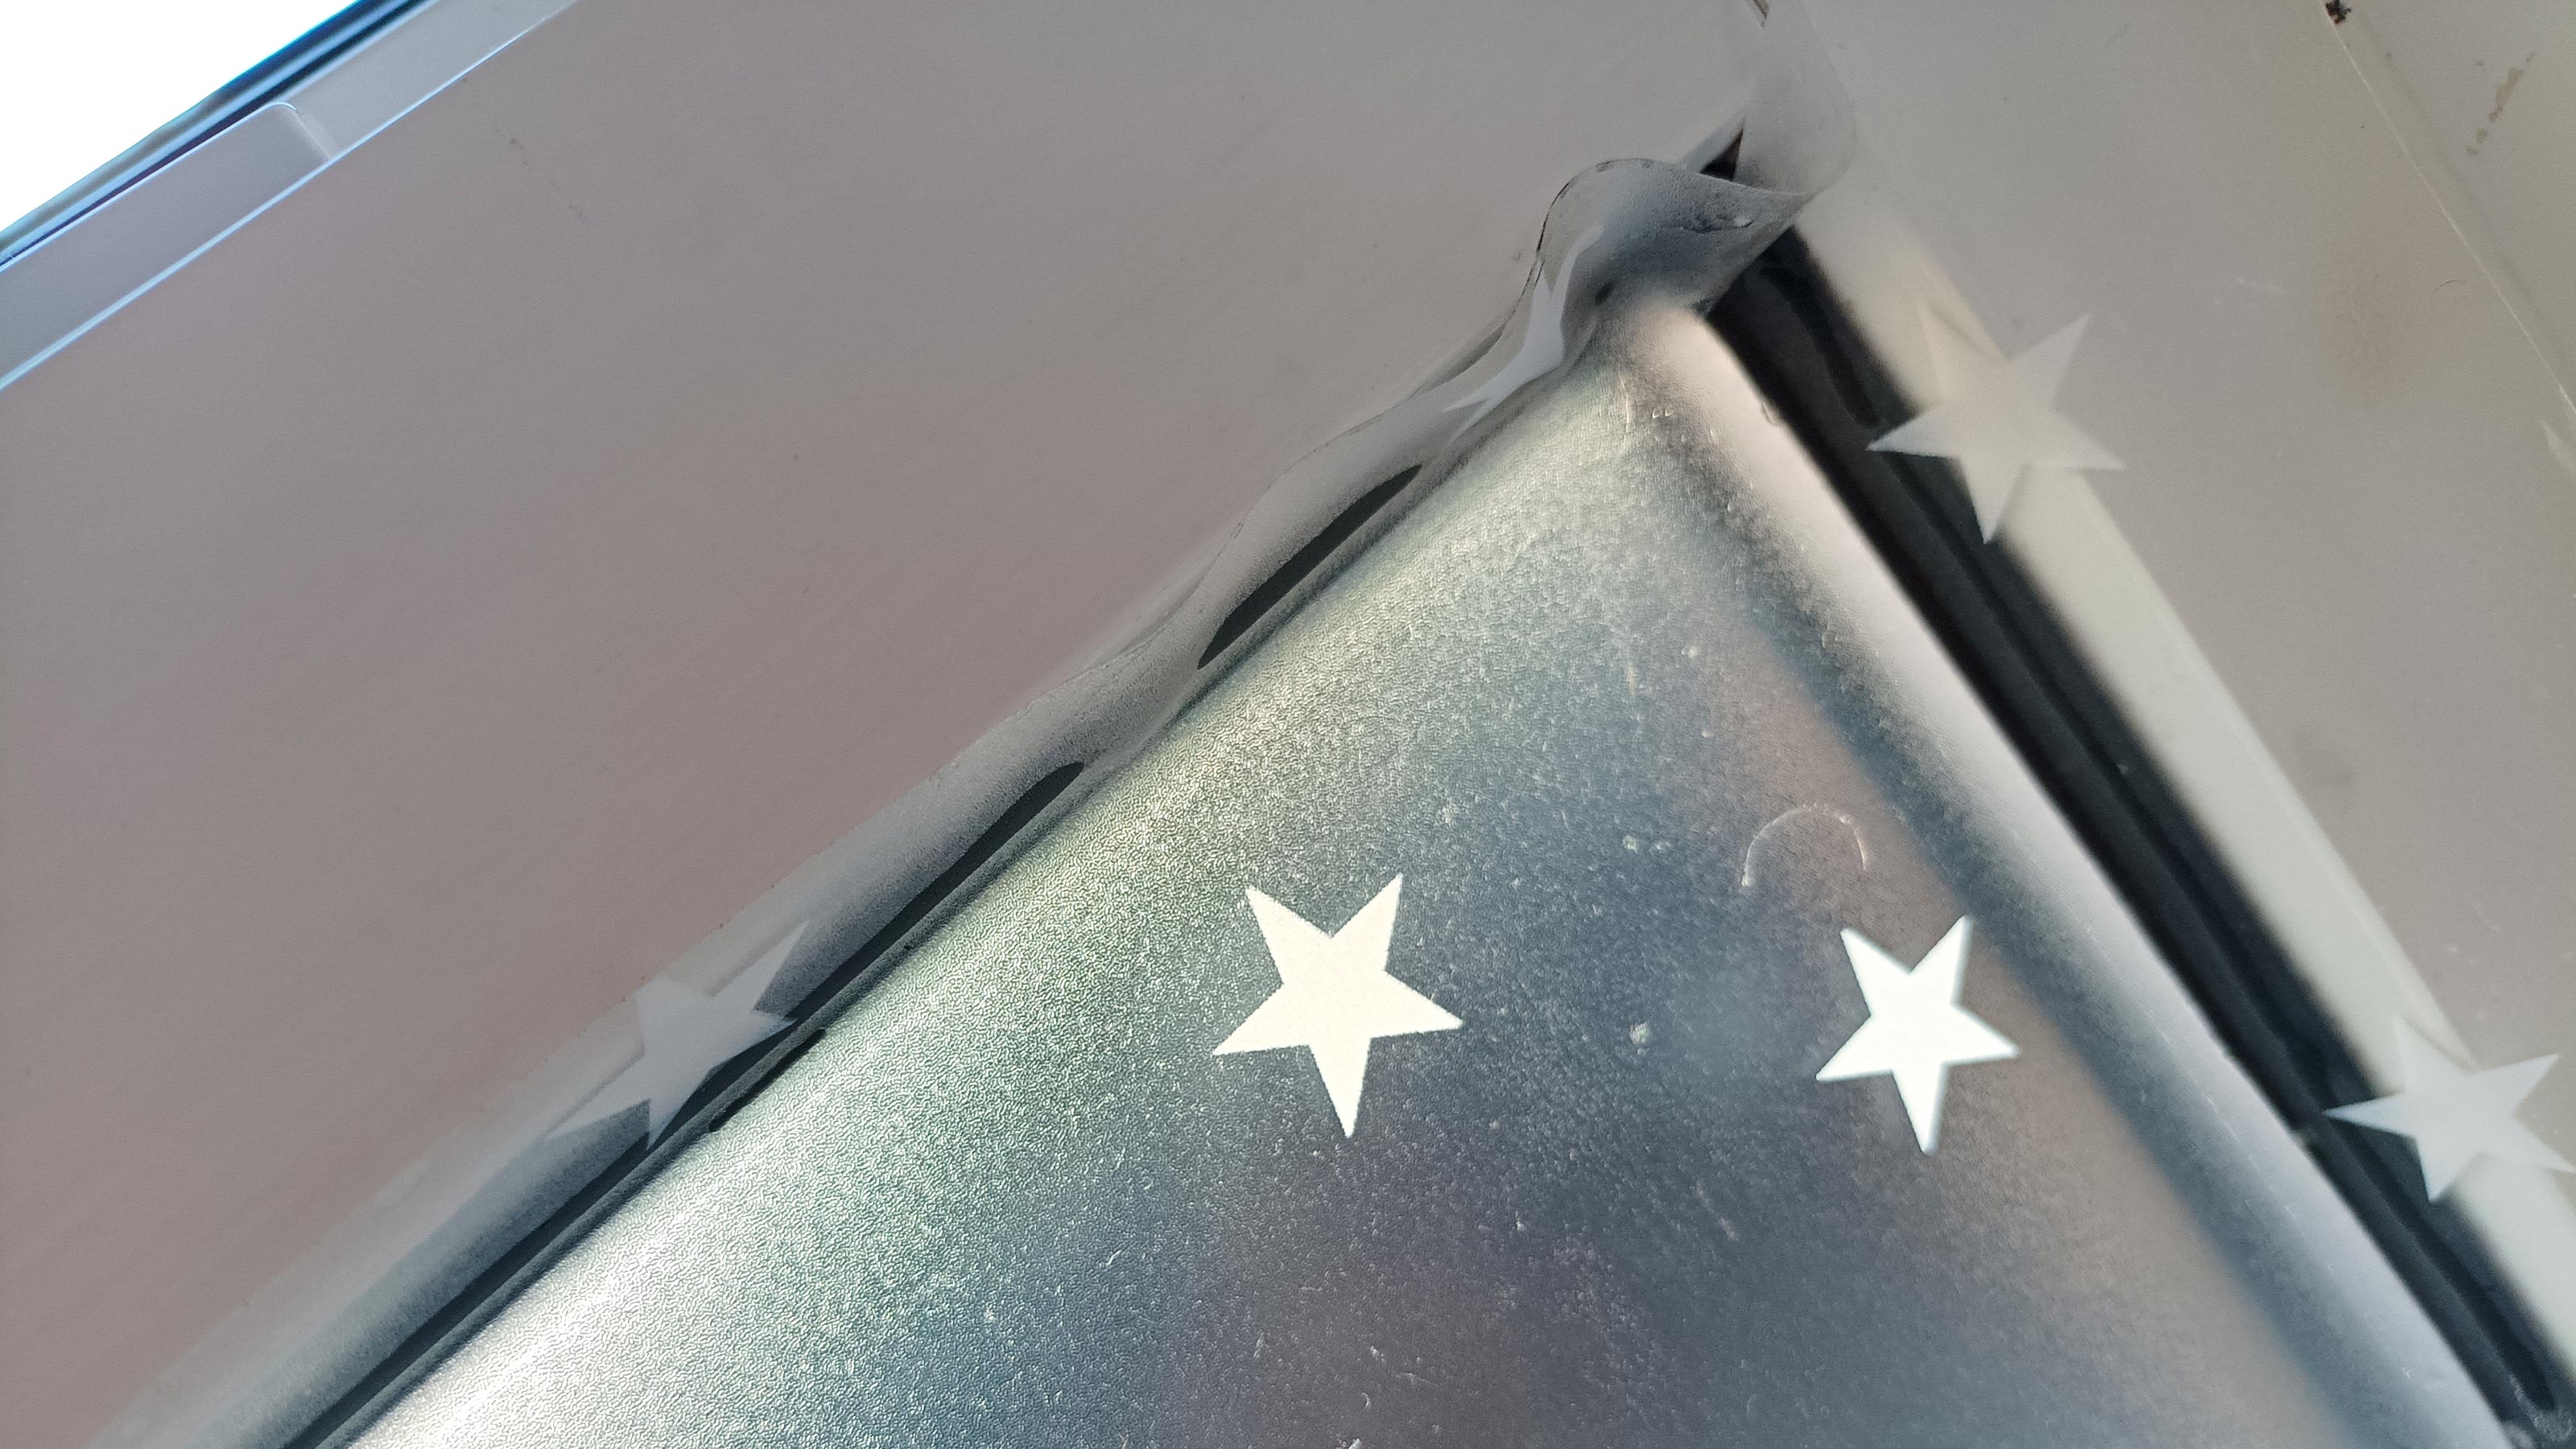
Get a sharp knife and push in the film at a top corner with your hand and do a diagonal cut from the window corner to the edge of the film. Repeat this in the other top corner. Now get the squeegee and push the top edge against the window frame. Use a straight edge and the sharp knife and cut as closely to the edge as possible and throw away the excess film. Use the squeegee to push the film flat and wipe away any excess water.
Repeat this process on the left and right sides of the window and as you get to the bottom, create a diagonal cut in both bottom corners. Use the squeegee to push out all water and air. Finally wipe away any excess water and check for air bubbles. Use the squeegee to push any air bubbles to the nearest edge.
Bring your dream home to life with expert advice, how to guides and design inspiration. Sign up for our newsletter and get two free tickets to a Homebuilding & Renovating Show near you.
The easy way to remove old window film
Removing old window film can be difficult, but not if you use this simple and reasonably quick method. Effectively you are reversing the application process to remove the window film.
Start by getting a spray bottle and filling with warm water and a few squeezes of washing up liquid. Liberally spray onto the window film and cover with bin liners or plastic sheeting. Make sure there is no air trapped under the bin liner. Use your hand to push the air out to the sides. Alternatively, get a vinyl wrap squeegee like this one from Amazon. You can use this to apply window film as well.
Once all the air has been removed and the bin liner is tight to the window — right up to the edges — leave for at least an hour. Try a corner. If the window film is still difficult to remove, leave for another hour. Now you will be able to pull off the film in one go.
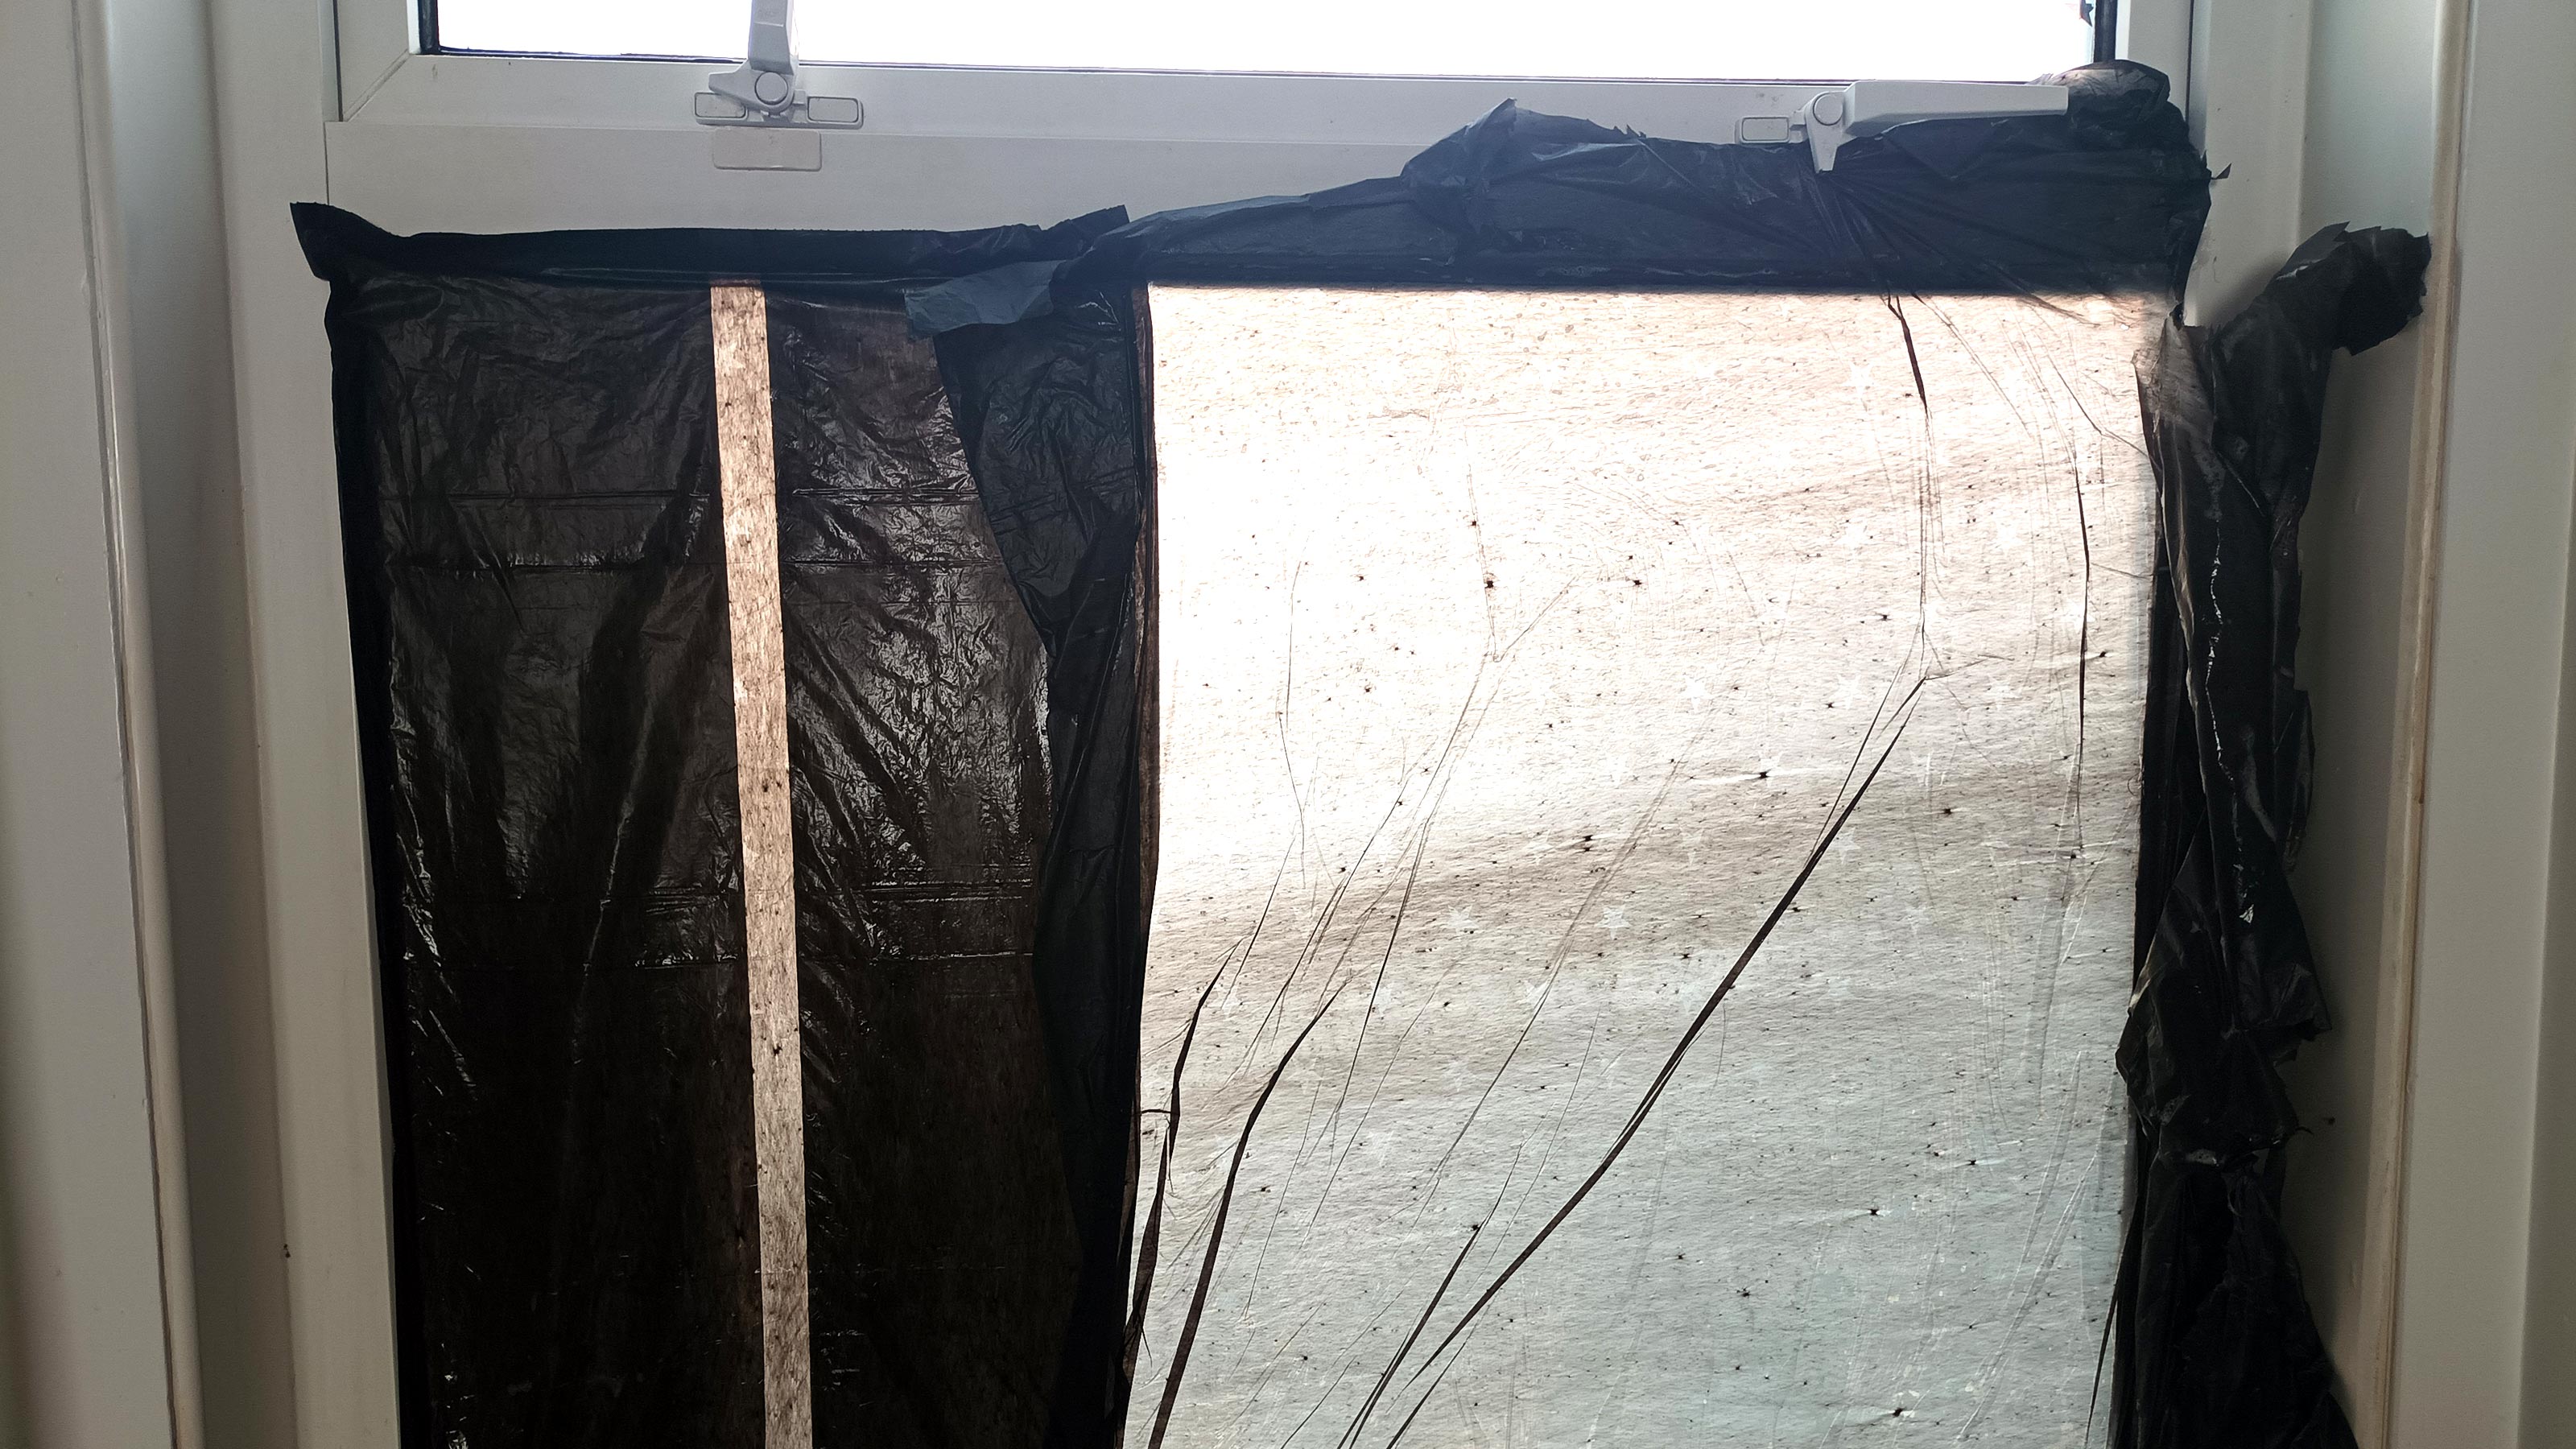
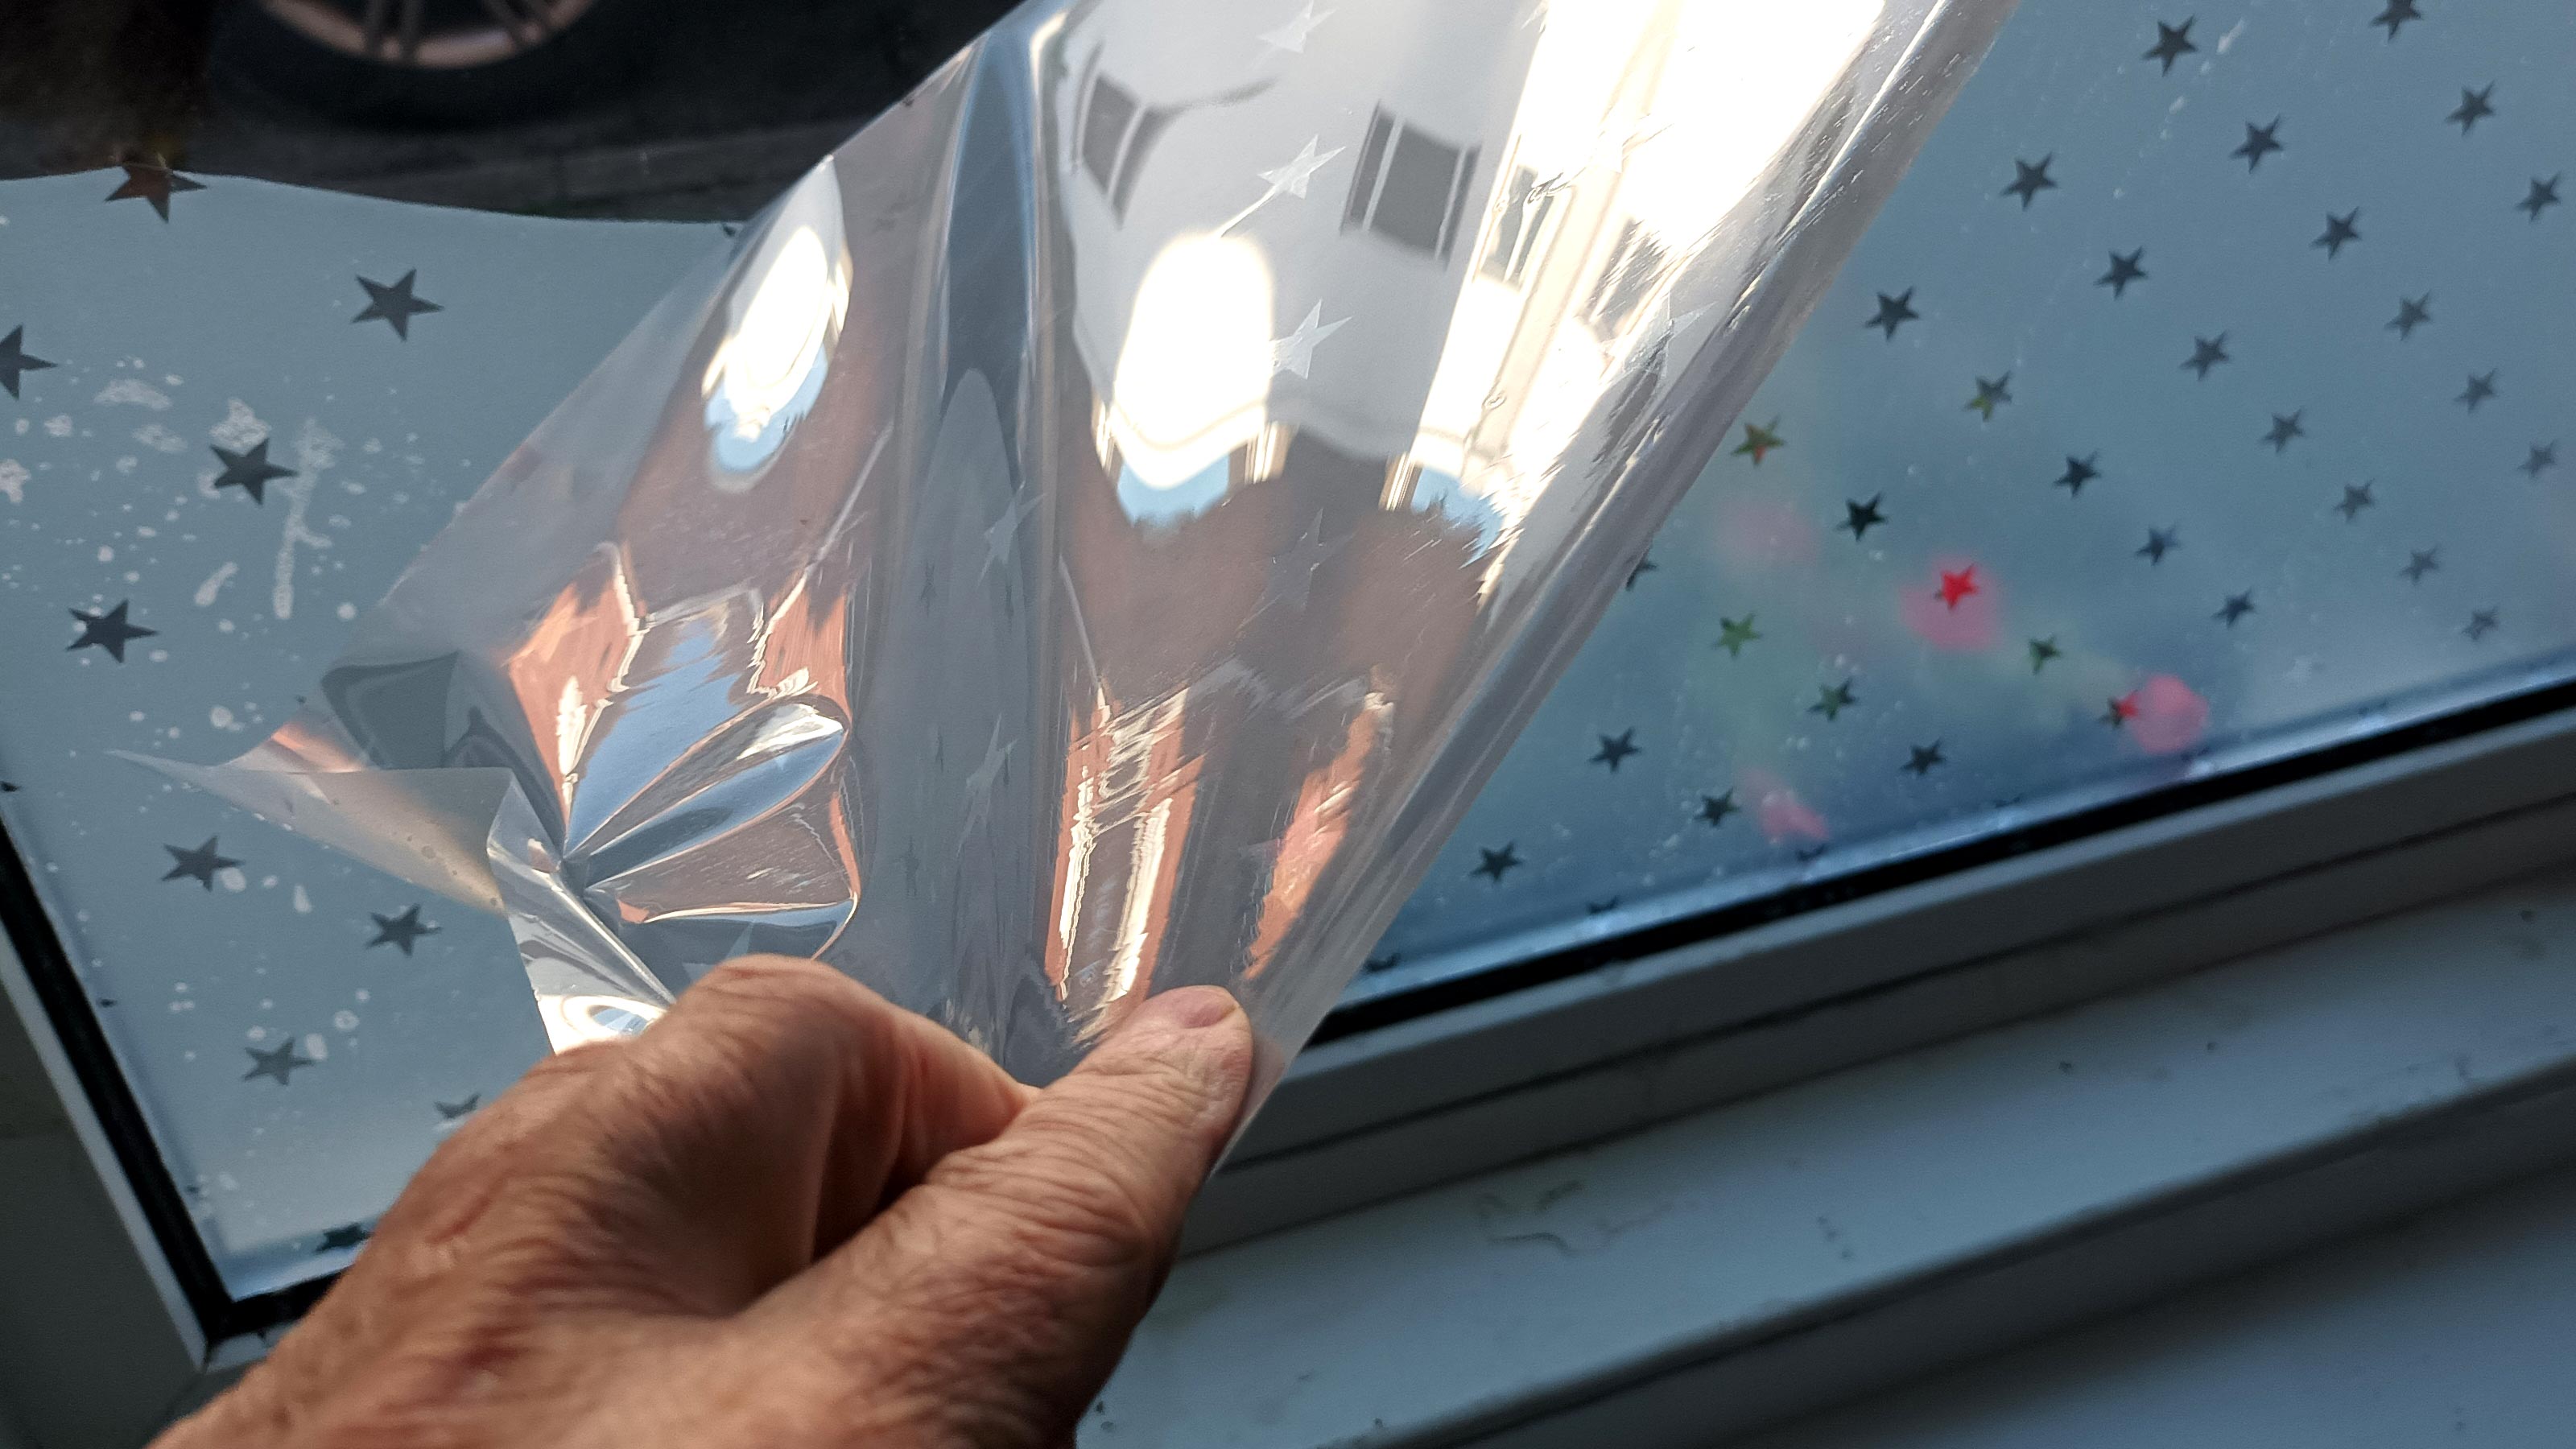
How long does it take window film to dry?
The time of the year and weather will make a difference on drying times. If it's warm and in the middle of summer, the window film will dry quicker than in the cold winter months. Typically, window film is dry within a couple of hours, but it can take a lot longer to fully cure.
The film could be fully cured within 2 or 3 days, or it might take a week or two. Make sure to check what the manufacturer says about drying times. Ideally leave for 14-30 days before you think of cleaning.
How much does it cost to install window film?
This is a job that any competent DIYer can take on, so the only costs will be the film and the few tools that you will need for the job such as a sharp craft knife. A simple frosted privacy film will be around £25 a square metre, while a more decorative film will cost anything from £45 upwards for a square metre.
If you are not confident about applying the film yourself you can get a local handyman to do the job. Typically they will charge between £20-30 an hour. A single window should take an hour or less to do. If you want more windows done, get a quote to see how much you can expect to pay.
Steve Jenkins is a freelance content creator with over two decades of experience working in digital and print and was previously the DIY content editor for Homebuilding & Renovating.
He is a keen DIYer with over 20 years of experience in transforming and renovating the many homes he has lived in. He specialises in painting and decorating, but has a wide range of skills gleaned from working in the building trade for around 10 years and spending time at night school learning how to plaster and plumb.
He has fitted kitchens, tiled bathrooms and kitchens, laid many floors, built partition walls, plastered walls, plumbed in bathrooms, worked on loft conversions and much more. And when he's not sure how to tackle a DIY project he has a wide network of friends – including plumbers, gas engineers, tilers, carpenters, painters and decorators, electricians and builders – in the trade to call upon.

