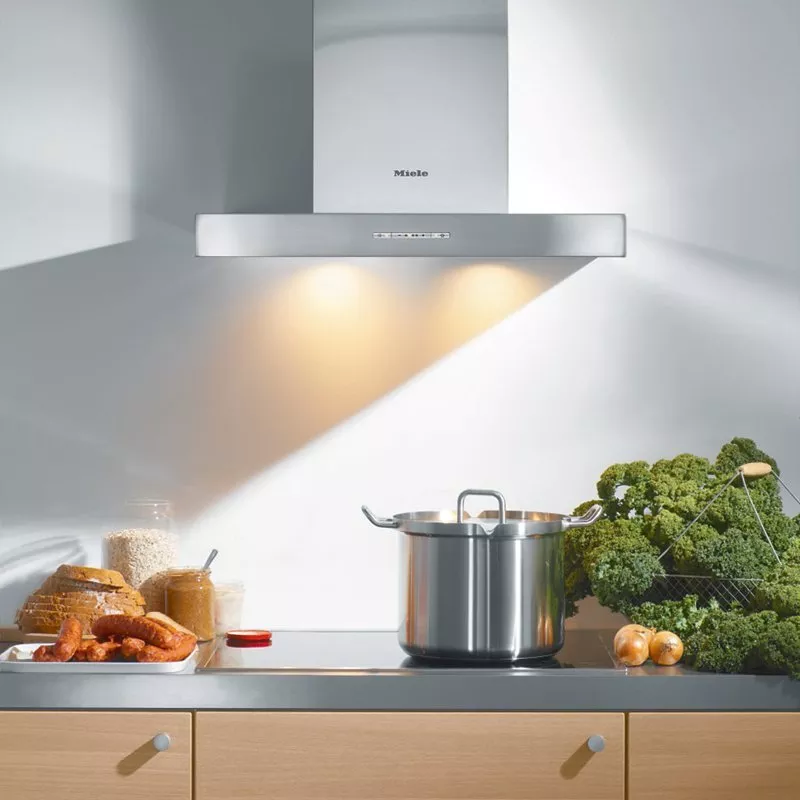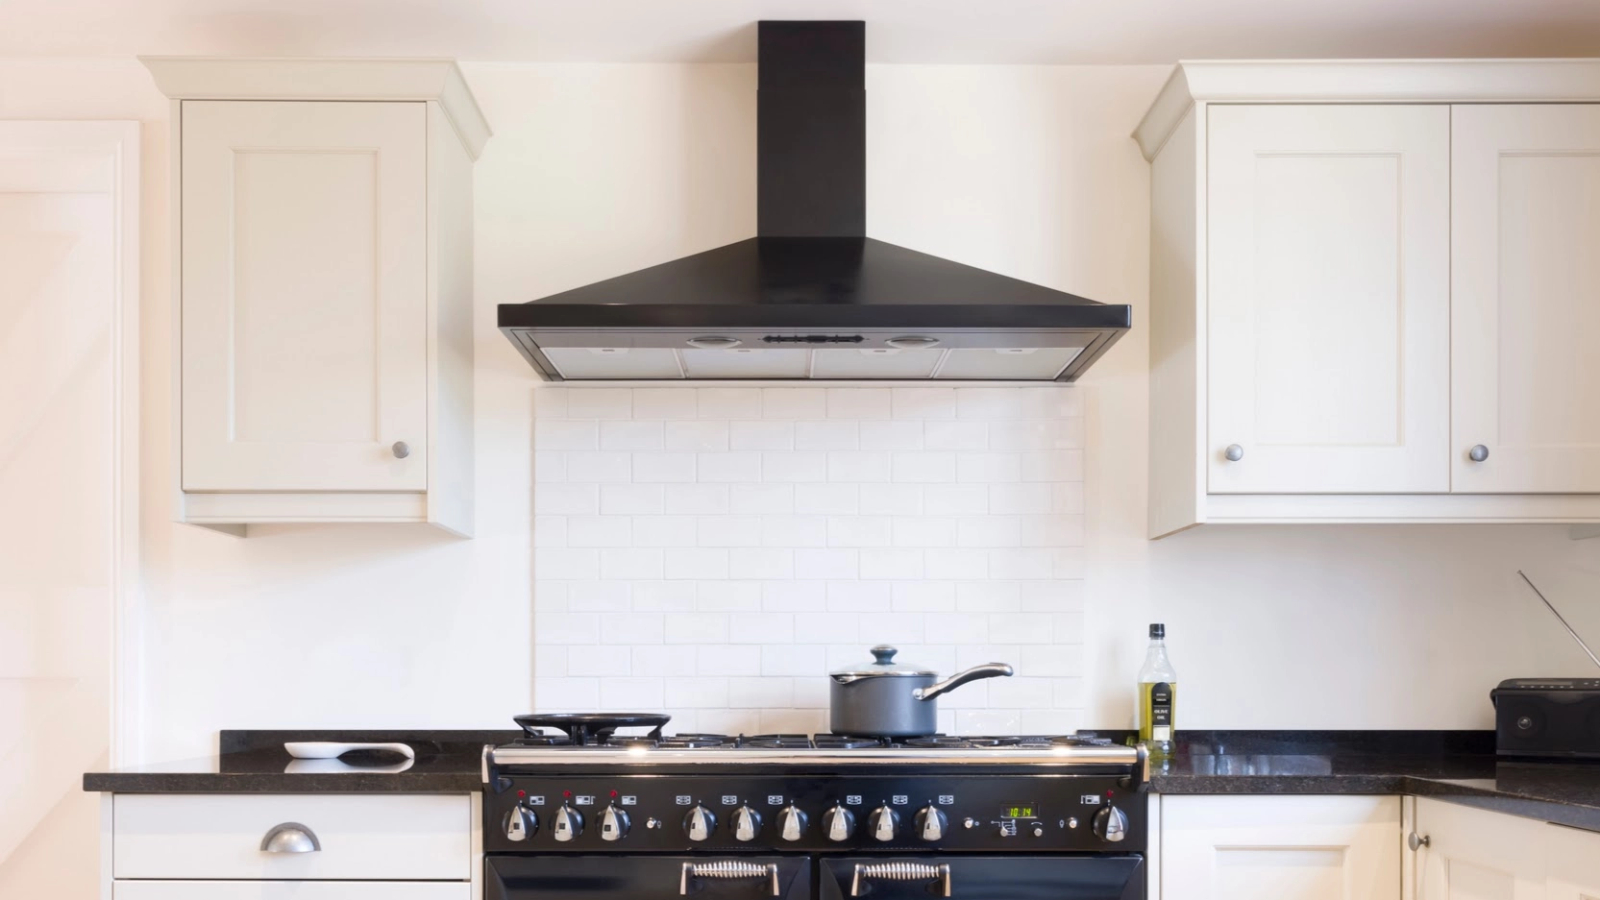
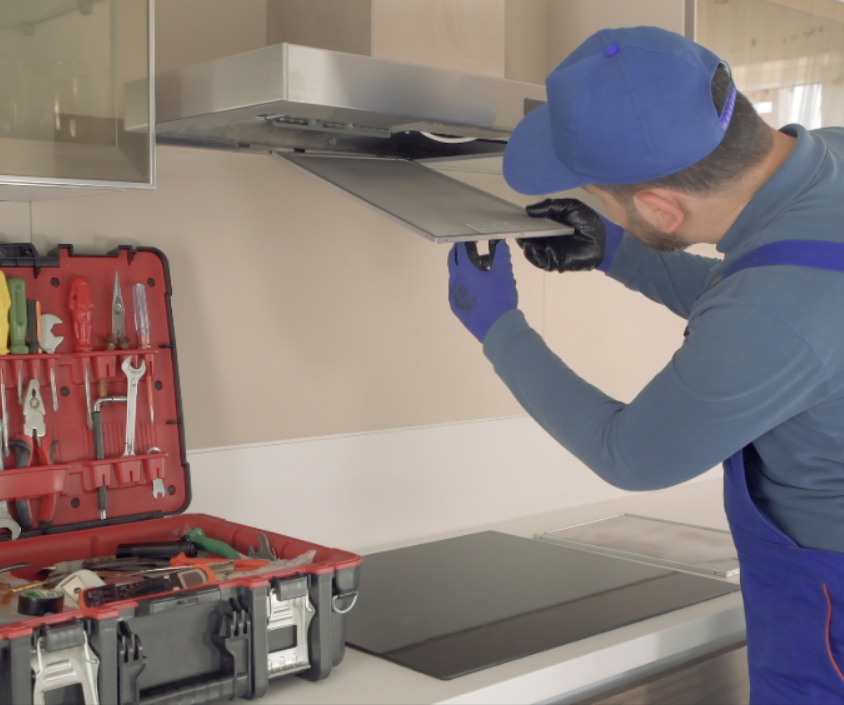
Installing a kitchen extractor fan is a satisfying, money-saving measure that’s within the capabilities of some DIYers – although installing a ducted extractor that takes air out of the room is more difficult than fitting a simple recirculating cooker hood.
In either case, correct installation is crucial. An essential kitchen appliance, errors when installing your extractor fan could lead to structural issues or draughts, and your cooking fumes not being dealt with effectively.
To help you install your kitchen extractor fan successfully, we spoke with construction and kitchen experts to put together this step by step guide. And, if you're not yet decided on which extractor fan you need. we've got some top tips for choosing one.
Factors to consider before you start installing a kitchen extractor fan
Many kitchen extractors can be used either as a ducted extractor or as a recirculator, however depending on your preference, each will need different installation methods.
For a ducted extractor configuration, you'll need to create a circular hole in the external wall or ceiling to allow extracted air to travel through the ducting and out of the room. Recirculating cooker hoods are simpler to install but do not truly extract cooking fumes; they purify them instead.
Another point to consider is electricity. Most extractors need to be permanently plugged into a mains power outlet. If there isn’t a suitably placed socket you can use, you’ll need to get an electrician to add one to your kitchen’s circuitry.
Some of the steps explained in this article relate only to installing a ducted extractor. If you need instructions specific to installing a recirculating one, find out more in our guide on how to fit a recirculating cooker hood.
Bring your dream home to life with expert advice, how to guides and design inspiration. Sign up for our newsletter and get two free tickets to a Homebuilding & Renovating Show near you.
Tools and materials needed for installing a kitchen extractor fan
Before you start the process of installing the best kitchen extractor fan to suit your needs, you'll need to make sure you have these tools to hand:
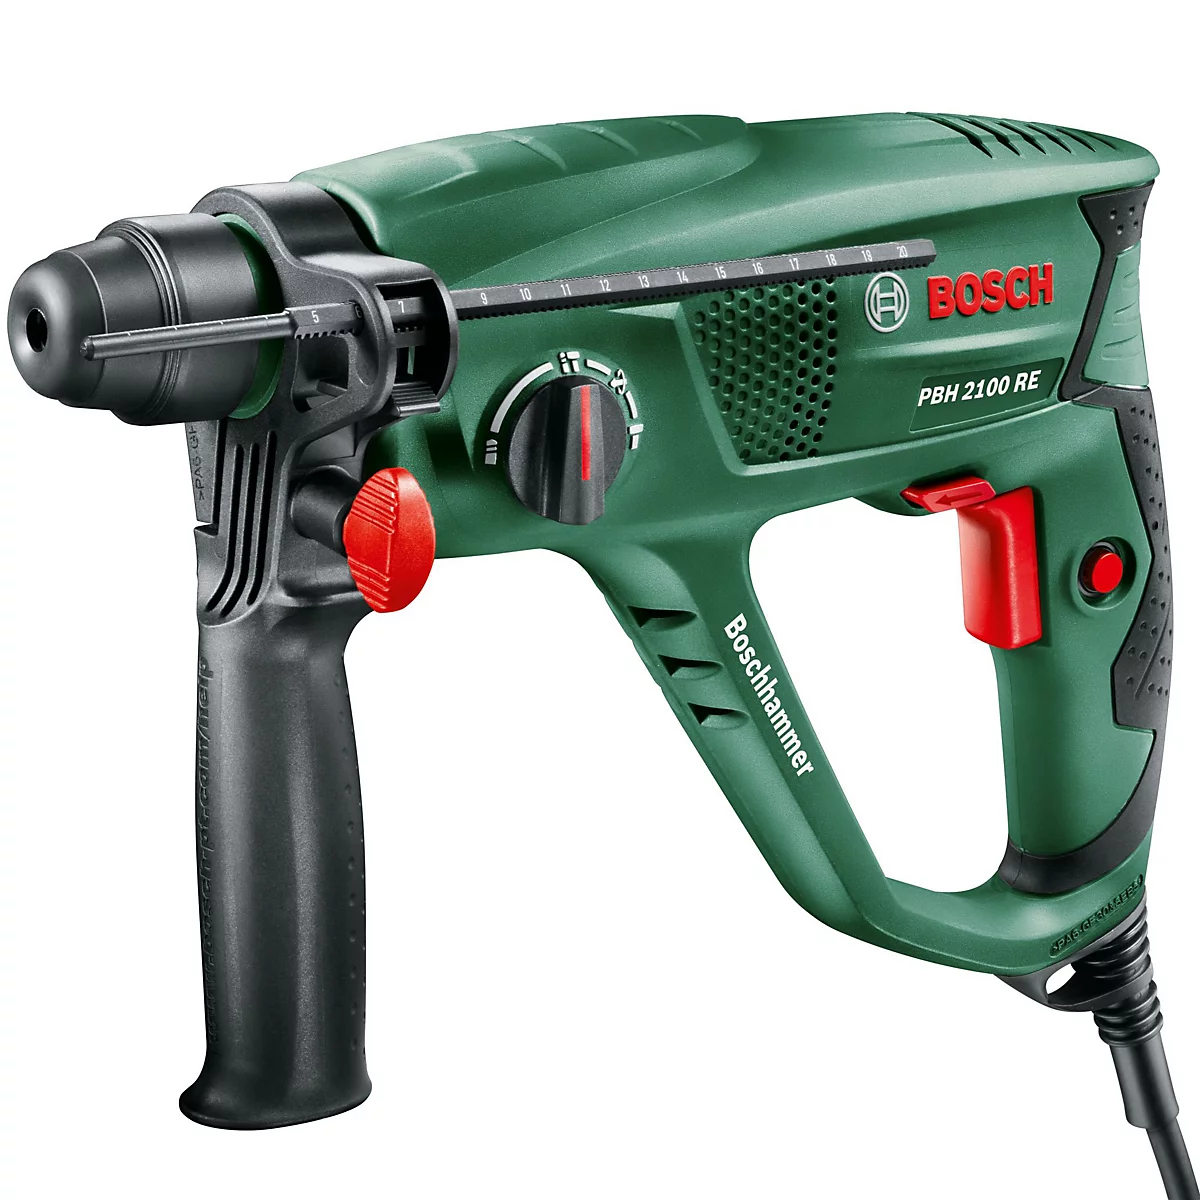
- SDS drill (for installing ducted extractors; must be rated to accept the appropriate width of drill bit)
- Diamond core drill bit (for installing ducted extractors; must be the right width to match the extractor’s ducting)
- Combi drill
- Masonry drill bits
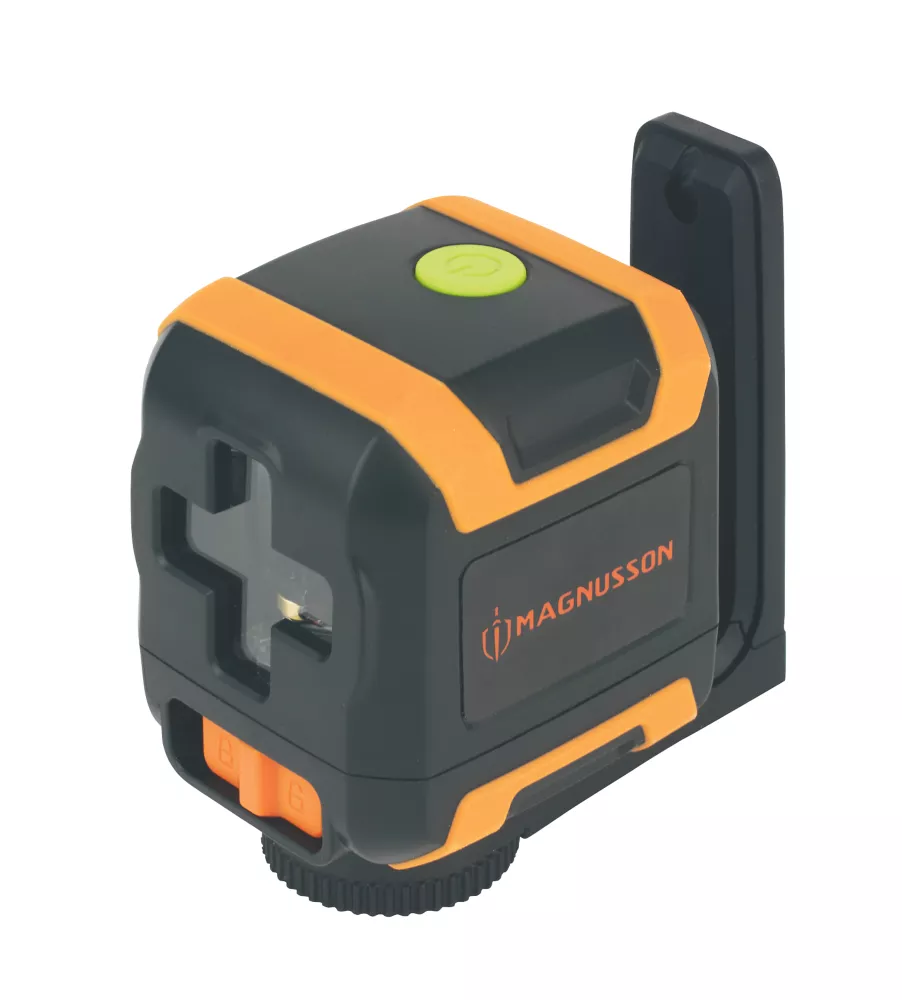
- Laser level
- Tape measure
- Pencil
- Hammer
- Extractor unit
- Ducting kit / cooker hood termination kit (if ducted)
- Sealant (if ducted)
- Screws
- Wall plugs
- Duct tape
- Gloves
- Goggles
- Ear protection
- Step ladder
Shop for tools to help with installing a kitchen extractor fan
How to install a kitchen extractor fan: step-by-step guide
Here are construction expert, Ian Smart, company director at Graline Construction Ltd's five steps to installing a kitchen extractor fan:
1. Planning
First, decide which type of extractor you want to install in your kitchen. As Ian Smart explains, there are two main types, each of which have their own pros and cons:
“Ducted systems vent air outside through an external wall and are highly effective at removing moisture and smells, but they tend to be more expensive and require additional installation work,” he says.
“Recirculating systems push air through charcoal and grease filters to eliminate smells, smoke, and moisture before recirculating the air back into the room. They are generally more cost-effective as they do not require ducting and are ideal for kitchens without direct access to an external wall.”
Once you’ve chosen an extractor, decide where you’ll install the extraction hood or inlet (above your cooker) and mark the place on the wall.
“UK building regulations state that extractors should be installed 750mm above a gas hob and 650mm above an electric hob,” says Ian.
“Ensure that the wall where the extractor will be installed has been checked for any cables, pipes, or gas lines before marking out," he adds.
If you’re installing a ducted extractor, mark the circle on the external wall or ceiling through which the ducting will channel cooking fumes out of the room. Use a laser level to ensure the marked circle aligns perfectly with the extractor hood, and make sure you won’t be drilling through any cables, pipes, gas lines or features on the outside of the building.
2. Prepare the area
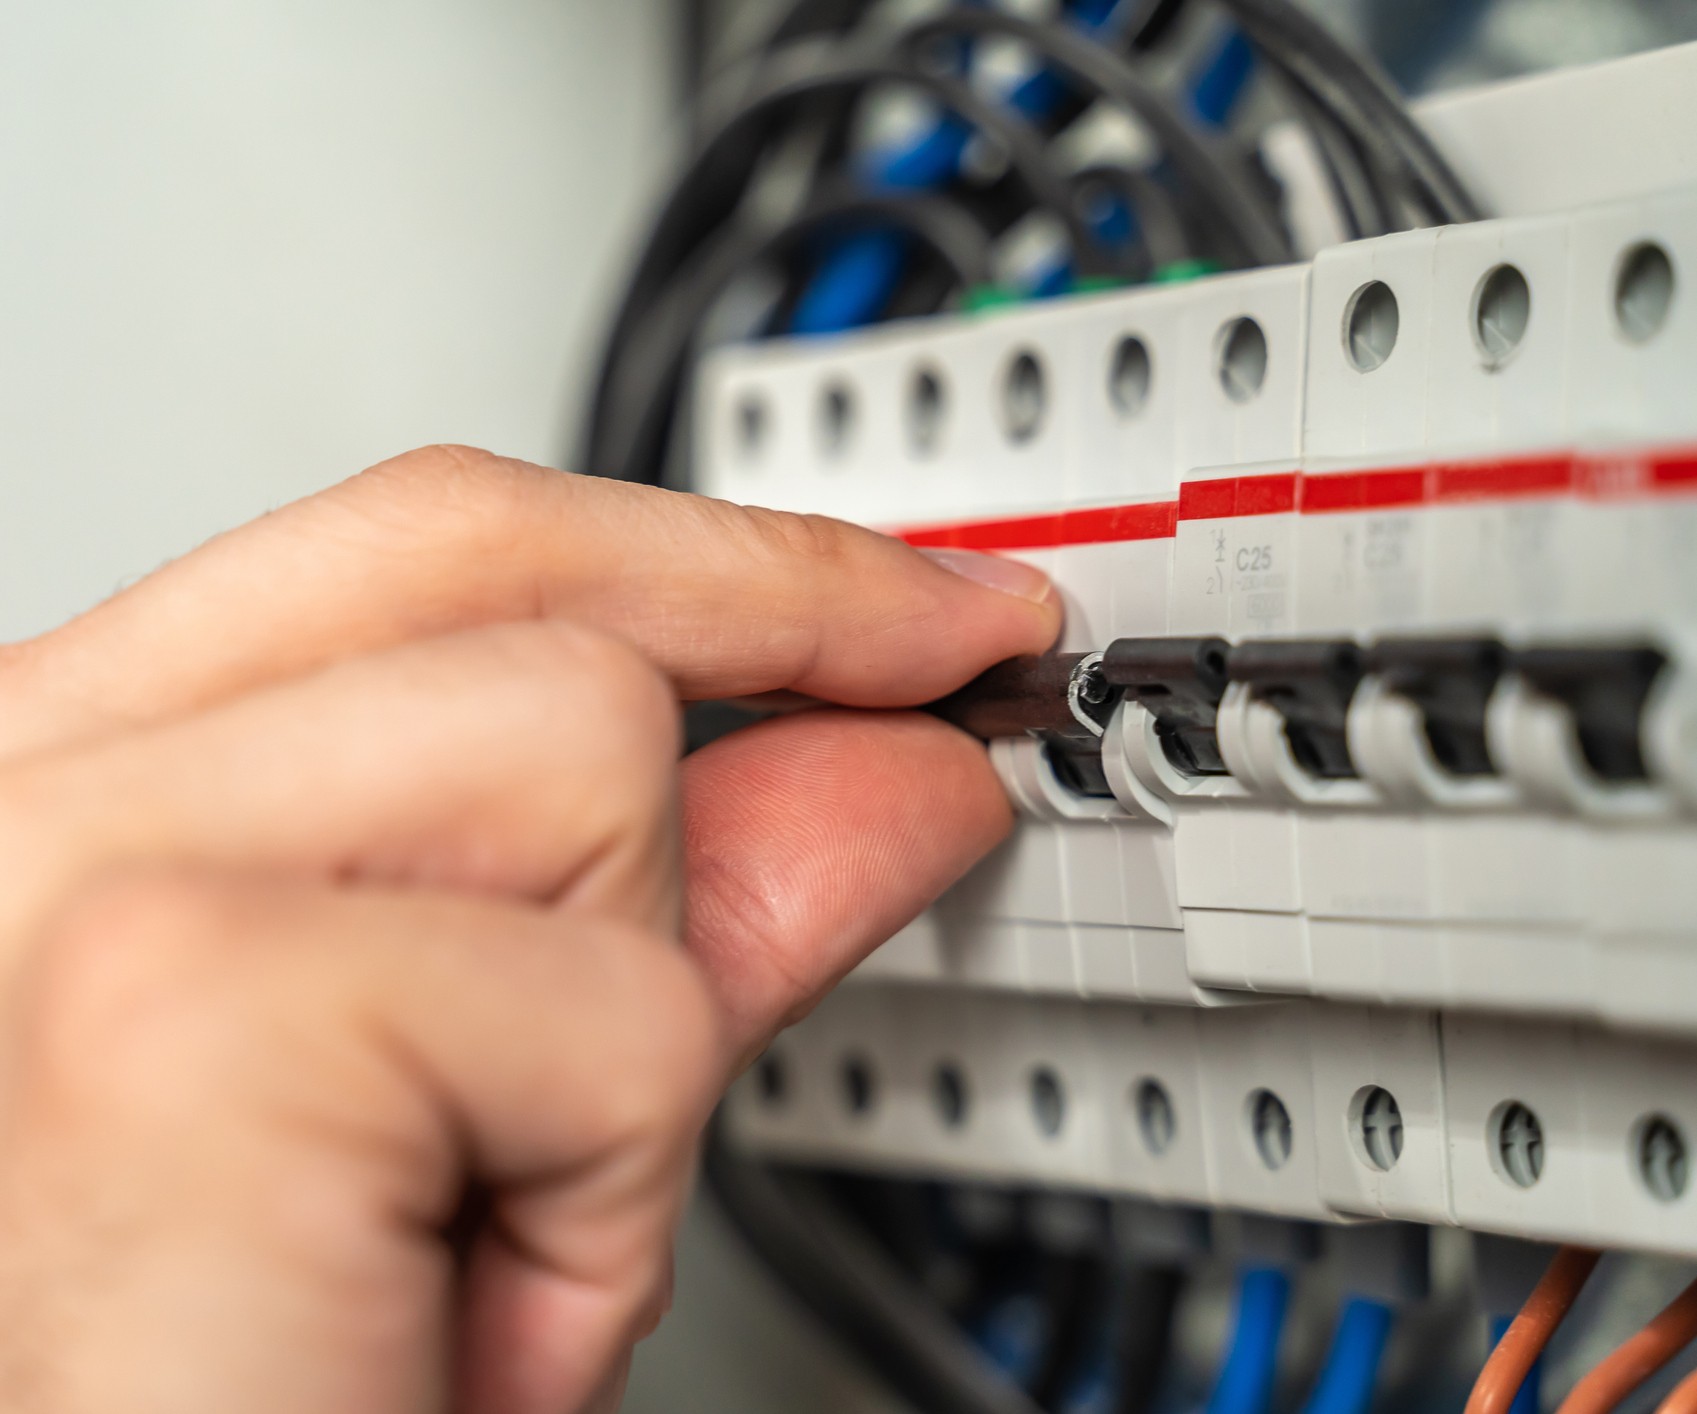
Before you begin installation, ensure the electricity supply to any applicable power outlets is turned off at the consumer unit. Do not skip this step.
Installing your extractor fan will create some dust and mess – especially if you’ve chosen a ducted model. So, remove delicate or breakable objects, put down dust sheets and make sure family members and pets can keep clear.
Remember to put on some PPE, including a dust mask, goggles, work gloves and hearing protection.
3. Drill the vent hole (for ducted extractors only)
This step can be dangerous and may be unsuitable for most DIYers. If in doubt, get an experienced person to do it for you.
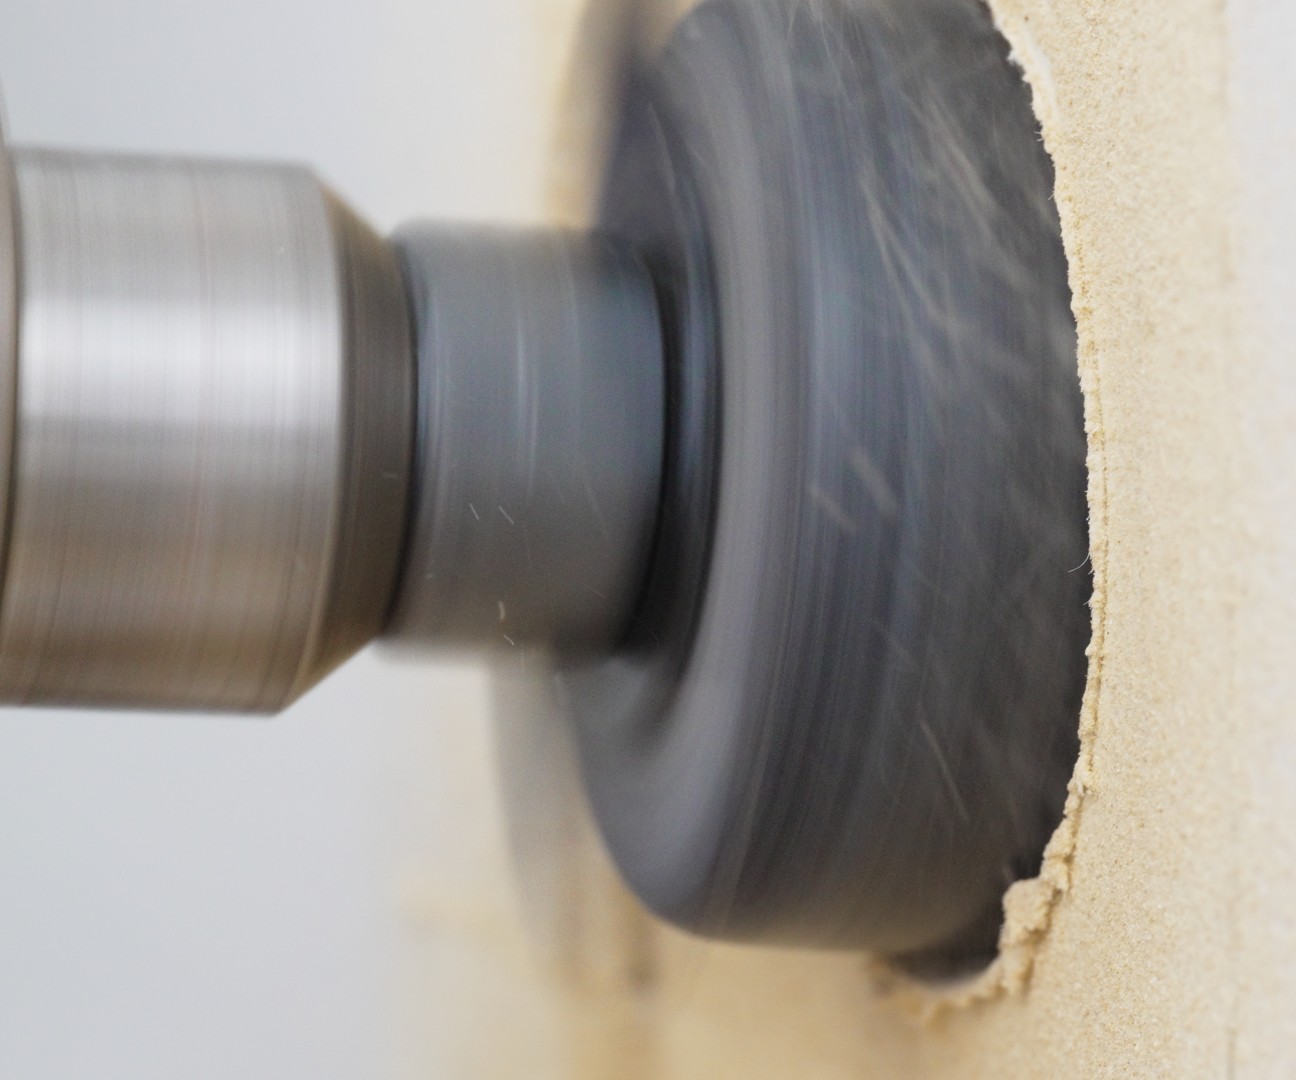
Using an SDS drill with a diamond core drill bit, make a hole in the external wall or ceiling (from the inside) to match the ducting for your extractor. The hole should be just wide enough to accommodate the vent.
Set up your SDS drill with a diamond core bit. The bit should be fractionally wider than your ducting. Most extractors have 150mm ducting, and in that case you’d use a 152mm bit. Check your ducting specifications to ensure you can drill to the correct width.
You will probably need a step ladder to reach the spot. Stand and drill very carefully, as the drill may jam during drilling, causing the tool to jerk backwards towards your arm or face. Apply very gentle pressure, never forcing the drill, until the hole is made.
As you drill, some brick and other debris will come away within the forming hole. Drill in stages and remove loosened material as you go (e.g. using the claw of your hammer, or a crowbar if you have one.) This will also help prevent the diamond core drill bit from overheating and deforming.
4. Install the extractor components
You’re now ready to install your extractor in the kitchen.
“Attach any mounting brackets to the wall using screws and wall plugs, ensuring they are level,” says Ian Smart.
To do this, place the brackets against the wall, check their level using a laser level, then pencil-mark the wall through the screw holes in the brackets. Drill holes in the marked places using your combi drill (in hammer drill mode) with a masonry drill bit, use a hammer to tap the wall plugs into the holes, and finally fix the brackets to the wall by screwing them into the installed wall plugs.
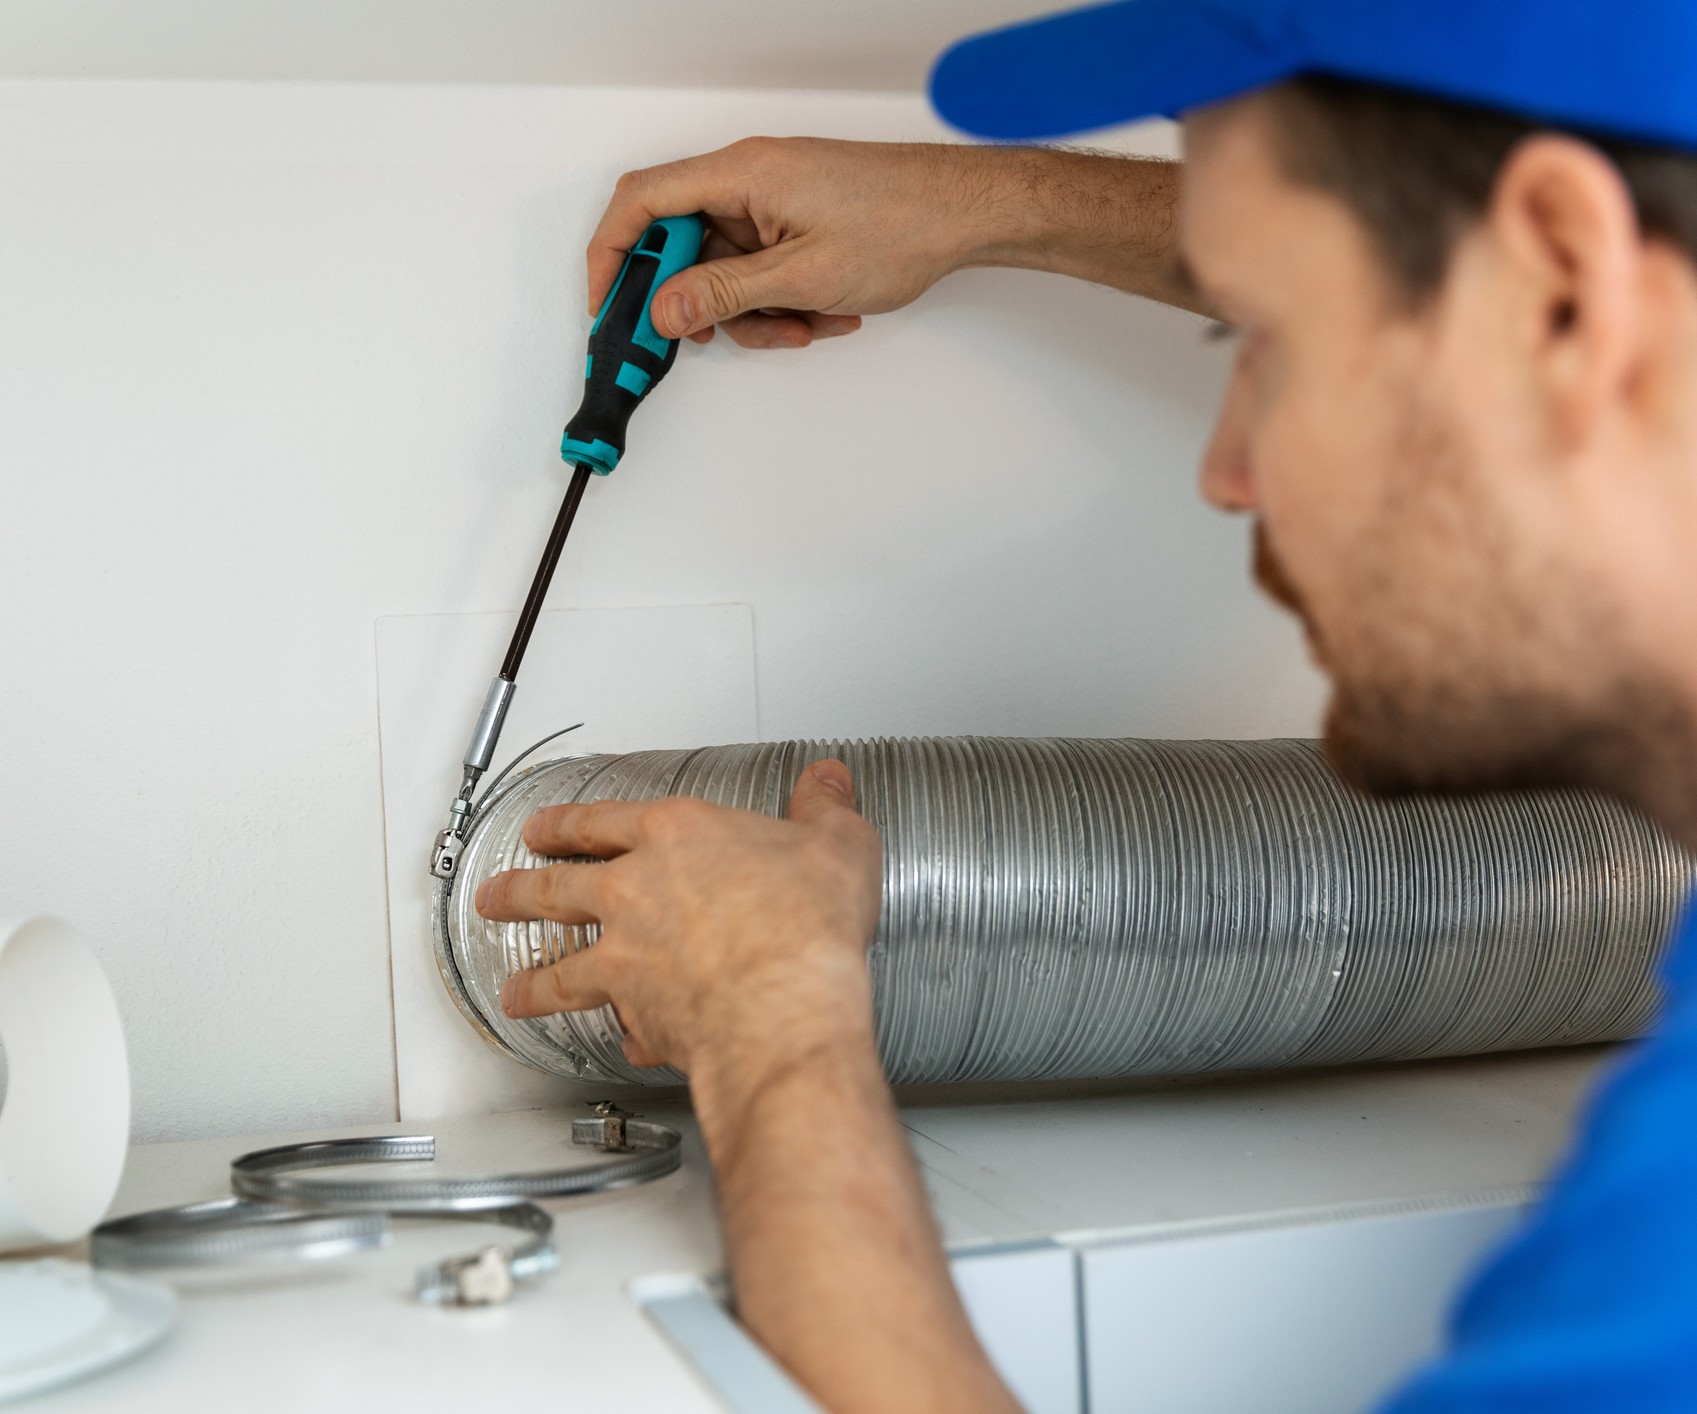
Connect the ducting (if present) very securely to the extractor using duct tape and/or clamps, then lift the extractor into place on the brackets, and tighten up any screws or other fixings. This is a two-person job.
Feed the ducting from the extractor to the duct hole you’ve made in the external wall or ceiling, and fix the ducting securely into a suitably sized vent on the exterior of the building.
“If there are any gaps around the ducting or mounting area, use sealant to fill them,” says Ian.
5. Electrical connections and finishing touches
You can now connect the extractor’s wiring as per the manufacturer’s instructions, which may involve wiring a plug. Make sure the power supply to the socket is turned off at the consumer unit before you plug the extractor into the socket.
Don’t attempt this step if you are not certain you can do it safely. Instead, hire an electrician to complete the task for you.
If your extractor is a recirculating model, you’ll also need to install the charcoal and grease filters before use.
Finally, turn on the extractor and test its performance. Cooking fumes from your cooker should be sucked into the extractor and up through the ducting (or through its purifying filters).

Ian Smart is Company Director of Graline Construction Limited, a construction company based in Solihull, near Birmingham. Graline Construction Limited is a member of the Federation of Master Builders – the leading trade body for builders in the UK.
FAQs
Where is the best place to position a kitchen extractor fan?
The ideal position for an extractor fan depends on your kitchen layout and the type of unit you choose.
“For wall-mounted or ceiling-mounted extractors, place the unit directly above the hob for maximum efficiency, while downdraft extractors should be installed alongside or behind the hob, ideal for kitchen islands or minimalist designs,” says Sophie Lane, product training manager at Miele GB.
“In open-plan spaces, consider noise levels and airflow direction to maintain a comfortable environment,” she adds.
“The extractor should also be positioned to allow for easy access and maintenance.”

Part of the award winning training team at Miele GB, Sophie is the brand’s go-to person for advice on a wide range of kitchen and household topics, from tips on how to deep clean the home ready for spring to how to choose the best appliances for the kitchen.
How to choose the right extractor for your kitchen?
Kitchen extractor fans vary greatly, which can make it hard to choose the right option for your home.
“Consider your kitchen layout and decide between downdraft, wall-mounted, ceiling-mounted, or island extractors,” says Sophie Lane.
“Check the extraction rate, ensuring it suits your kitchen size, especially if you cook frequently or have a large space. Noise levels are crucial in open-plan layouts, so opt for quieter models where possible.
“Energy efficiency can help reduce running costs and environmental impact, while design and aesthetics should complement your décor," says Sophie. "Features like built-in lighting, automatic sensors, and smart connectivity can also enhance convenience and functionality.”
How does the type and size of cooker affect extraction requirements?
The type and size of your cooker significantly influence your extraction needs.
“Larger cookers, especially those with multiple burners or a wide induction hob, produce more steam, grease, and odours, requiring a higher extraction rate,” says Sophie Lane.
“For gas hobs, extraction is essential to remove combustion fumes and excess heat. In smaller kitchens or for occasional light cooking, an extractor with a lower extraction rate may suffice.
“In rare cases, such as when cooking very infrequently or in highly ventilated areas, an extractor might not be necessary, but efficient ventilation is always recommended,” she says.
Installing a recirculating or ducted kitchen extractor fan system will ensure your kitchen has cleaner air and is less susceptible to formation of mildew and mould, and accumulation of grease on surfaces.
However, if your kitchen requires even more ventilation, then you might benefit from installing an additional standalone electric extractor fan, such as the Vent-Axia 441628 from Amazon. Read more in our guide to getting your kitchen ventilation right.
Pete Wise is a freelance writer and keen DIYer from Leeds. Pete's tool reviews have featured in titles including Homebuilding & Renovating, Ideal Home and The Independent. He also writes features and news articles for publications such as The Guardian, BBC Good Food and T3. When he isn't busy writing, Pete can often be found at libraries, pubs and live music venues. He finds tile-cutting strangely zen.
