How to whitewash wood: top tips to get the distressed look
Want to know how to whitewash wood? We reveal the essential techniques you need to know, what wood you can whitewash and the best paint to use

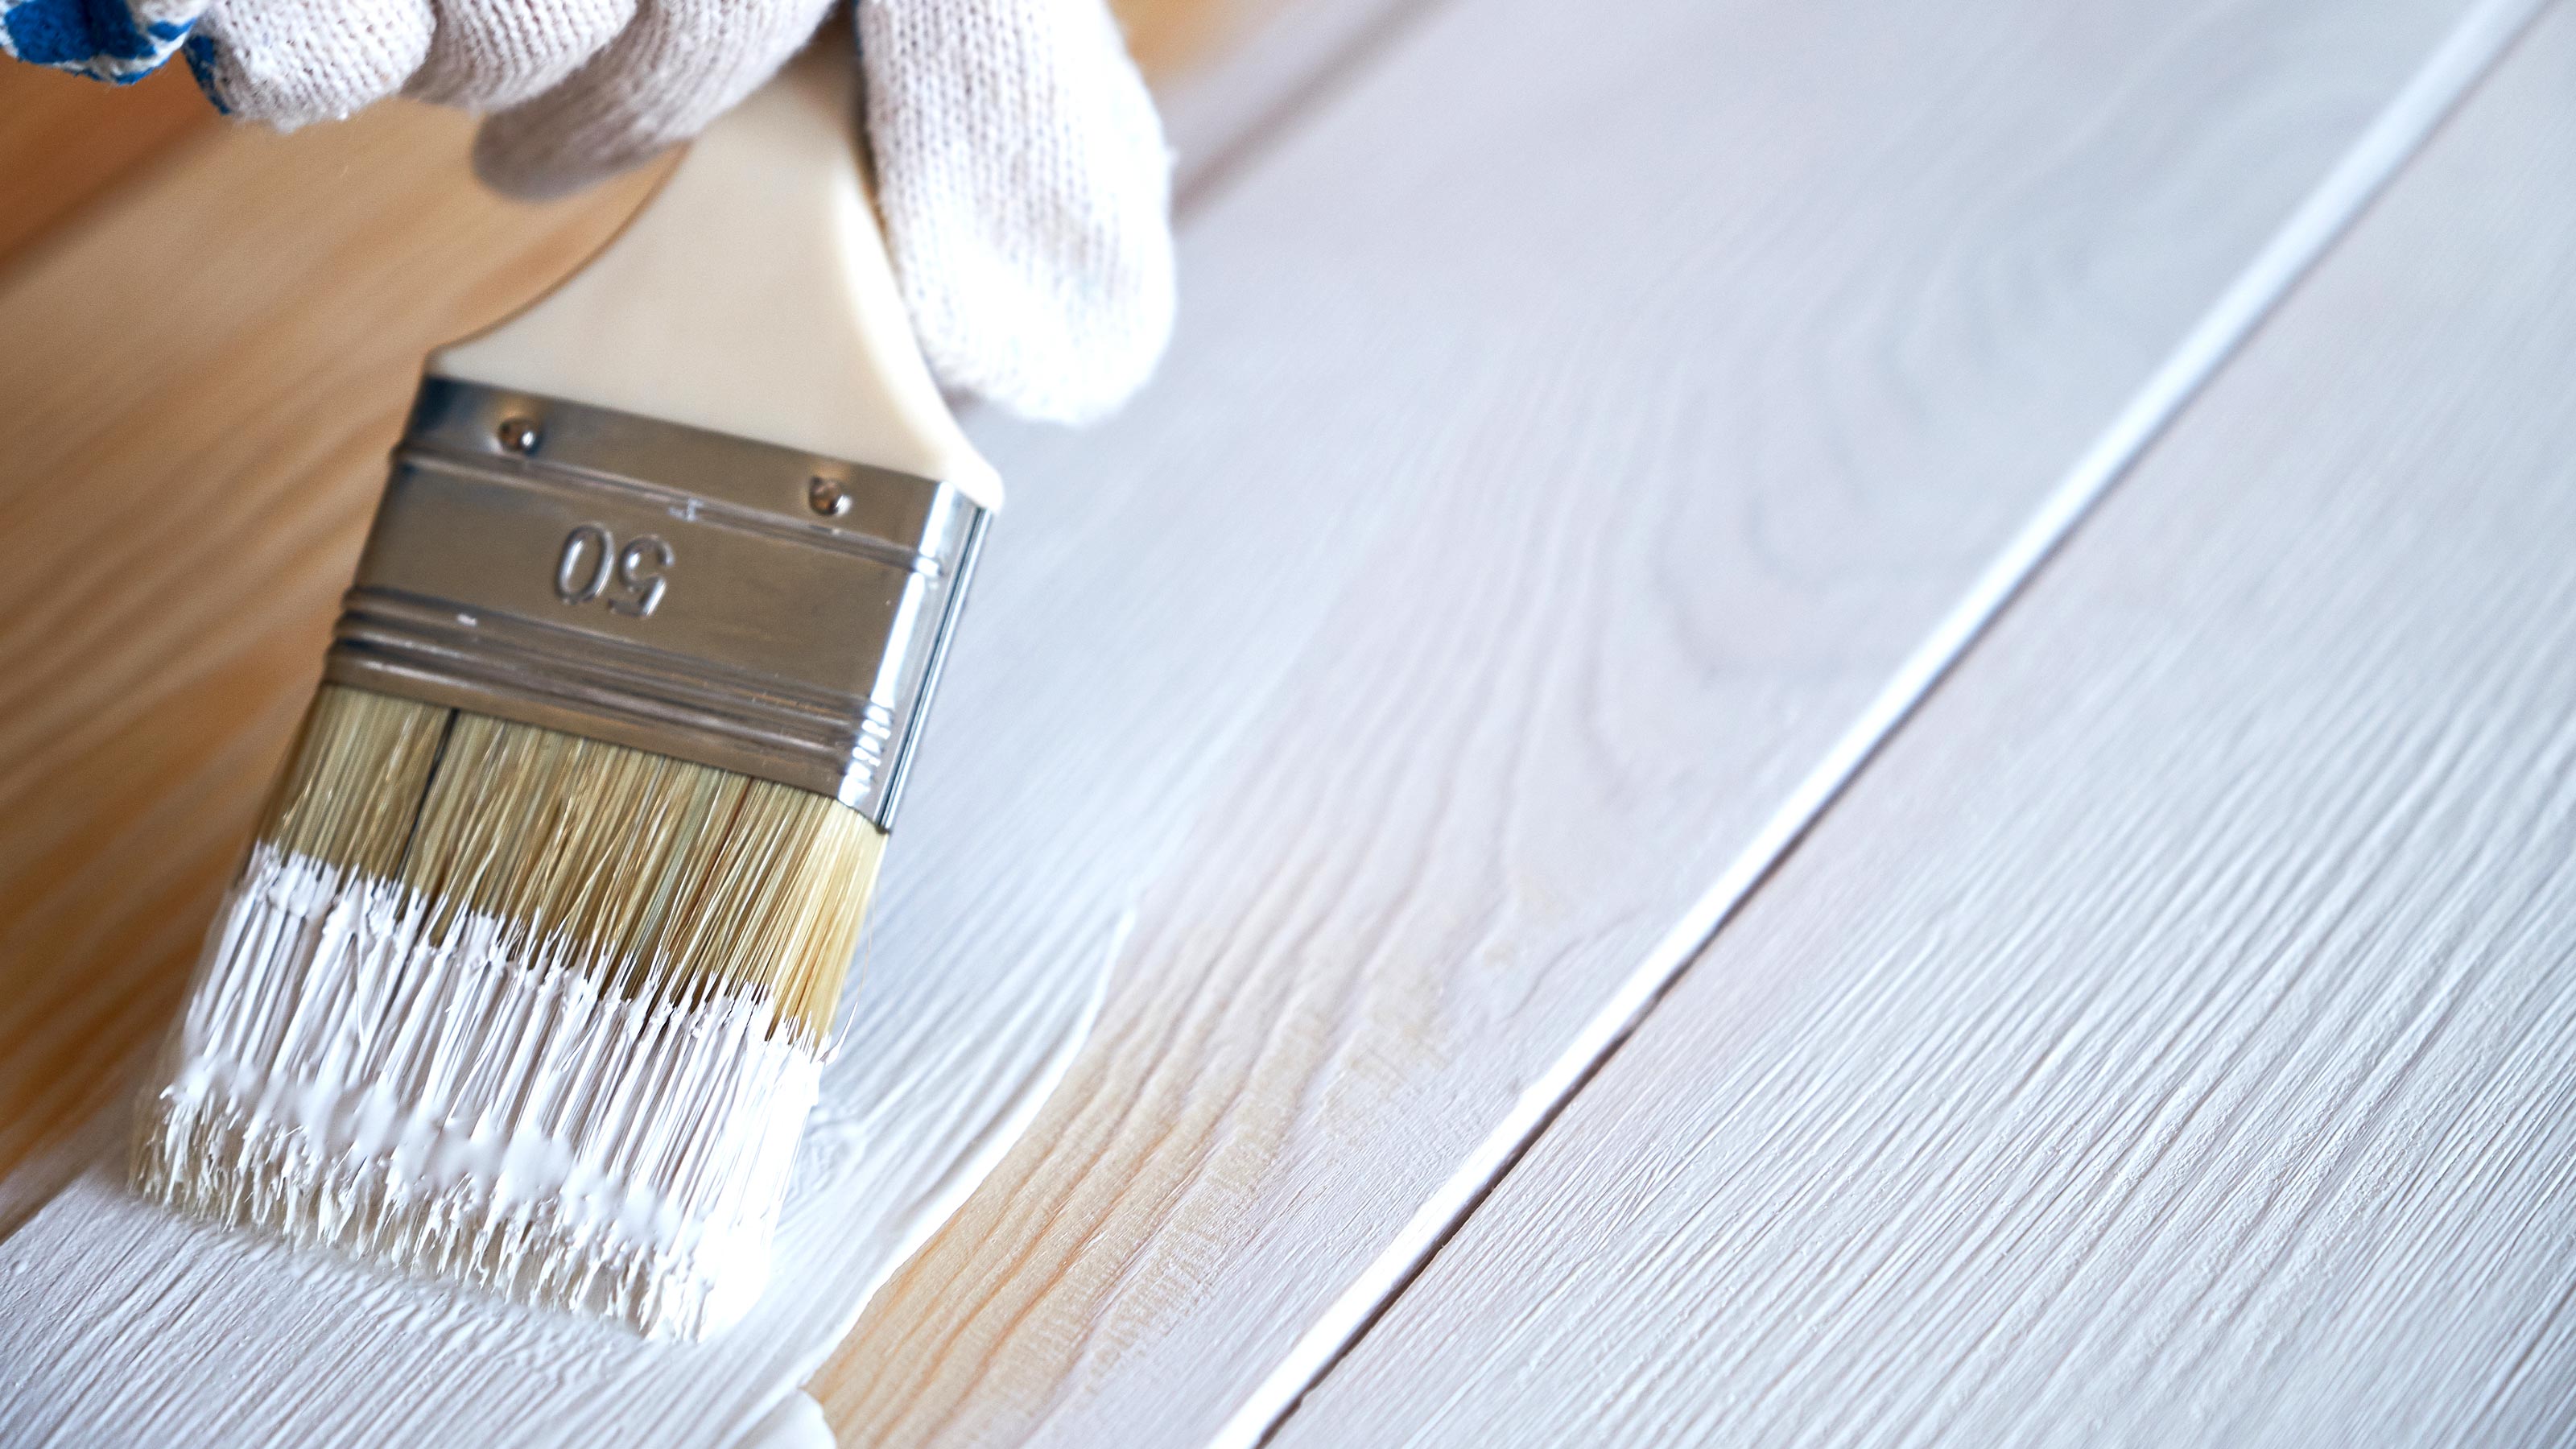
Learning how to whitewash wood means you can transform furniture, doors, bathrooms, kitchens – anywhere there’s wood – and give it the ever popular distressed, vintage look. It’s a simple technique that any DIYer can pick up quickly and it doesn’t need any specialist tools to get a good-looking finish.
It’s very much like painting wood, but with a watered down white paint. The opaque nature of the whitewash helps the grain of the wood shine through. But the best bit is that you get to decide on the exact depth and colour of the finish. You can add a single coat or as many coats as you want. The choice is yours.
Whitewashing wood: A step by step guide
Before you begin, you'll need a couple of key materials and tools, including:
- White paint
- Sandpaper
- Electric sander
- Paintbrush
- Mixing container
- Roller (optional)
- Heat gun (optional)
This isn’t a difficult DIY task but getting the finish you want is very much your choice. You can add one coat for a subtle touch or if you want a deeper finish add more whitewash. Here we run through the process of whitewashing previously prepped wood.
1. Mix the paint
Take your paint and pour it into a container and then add water and mix to create the whitewash. A 1:1 ratio or 2:1 ration will give a good finish. But if you want a more subtle finish, change the ratio to 1:3 or 1:4 by adding more water.
If possible try the mixture on a waste bit of wood or an out of the way area to see what the finish is like. If needed, adjust the mix until you get the finish you want.
2. Apply the paint
Get a paint brush and load with paint. Now paint along the grain of the wood with long strokes. The first coat will dry quickly so try to do it in sections – i.e where the corners meet – to help hide the join.
Now get a cloth to wipe away excess whitewash to help show the grain and give the washed out effect you are looking for.
3. Create the whitewash effect
Leave the first coat to dry and if needed add another coat to get the depth of colour and effect you want. In between, get a fine grade sandpaper – 220 grit is good – and gently rub down. Keep repeating this process until you are happy with the finish.
4. Protect your whitewash
This step is optional. You can leave the whitewash to weather naturally or you can add a coat of wood varnish to protect the finish. Choose from a matt, satin or gloss varnish to complement the whitewash.
Can you whitewash any wood?
Yes, but only use natural woods such as pine and oak as they have a visible grain which will enhance the white wash effect. There is little point in attempting to whitewash MDF as it has no grain and lacks character. However, you can think about painting plywood as it has a grain and knots, to add character to the finish.
Whatever wood you do choose to whitewash just make sure that it has been prepped properly before you start.
Do you have to sand wood before whitewashing?
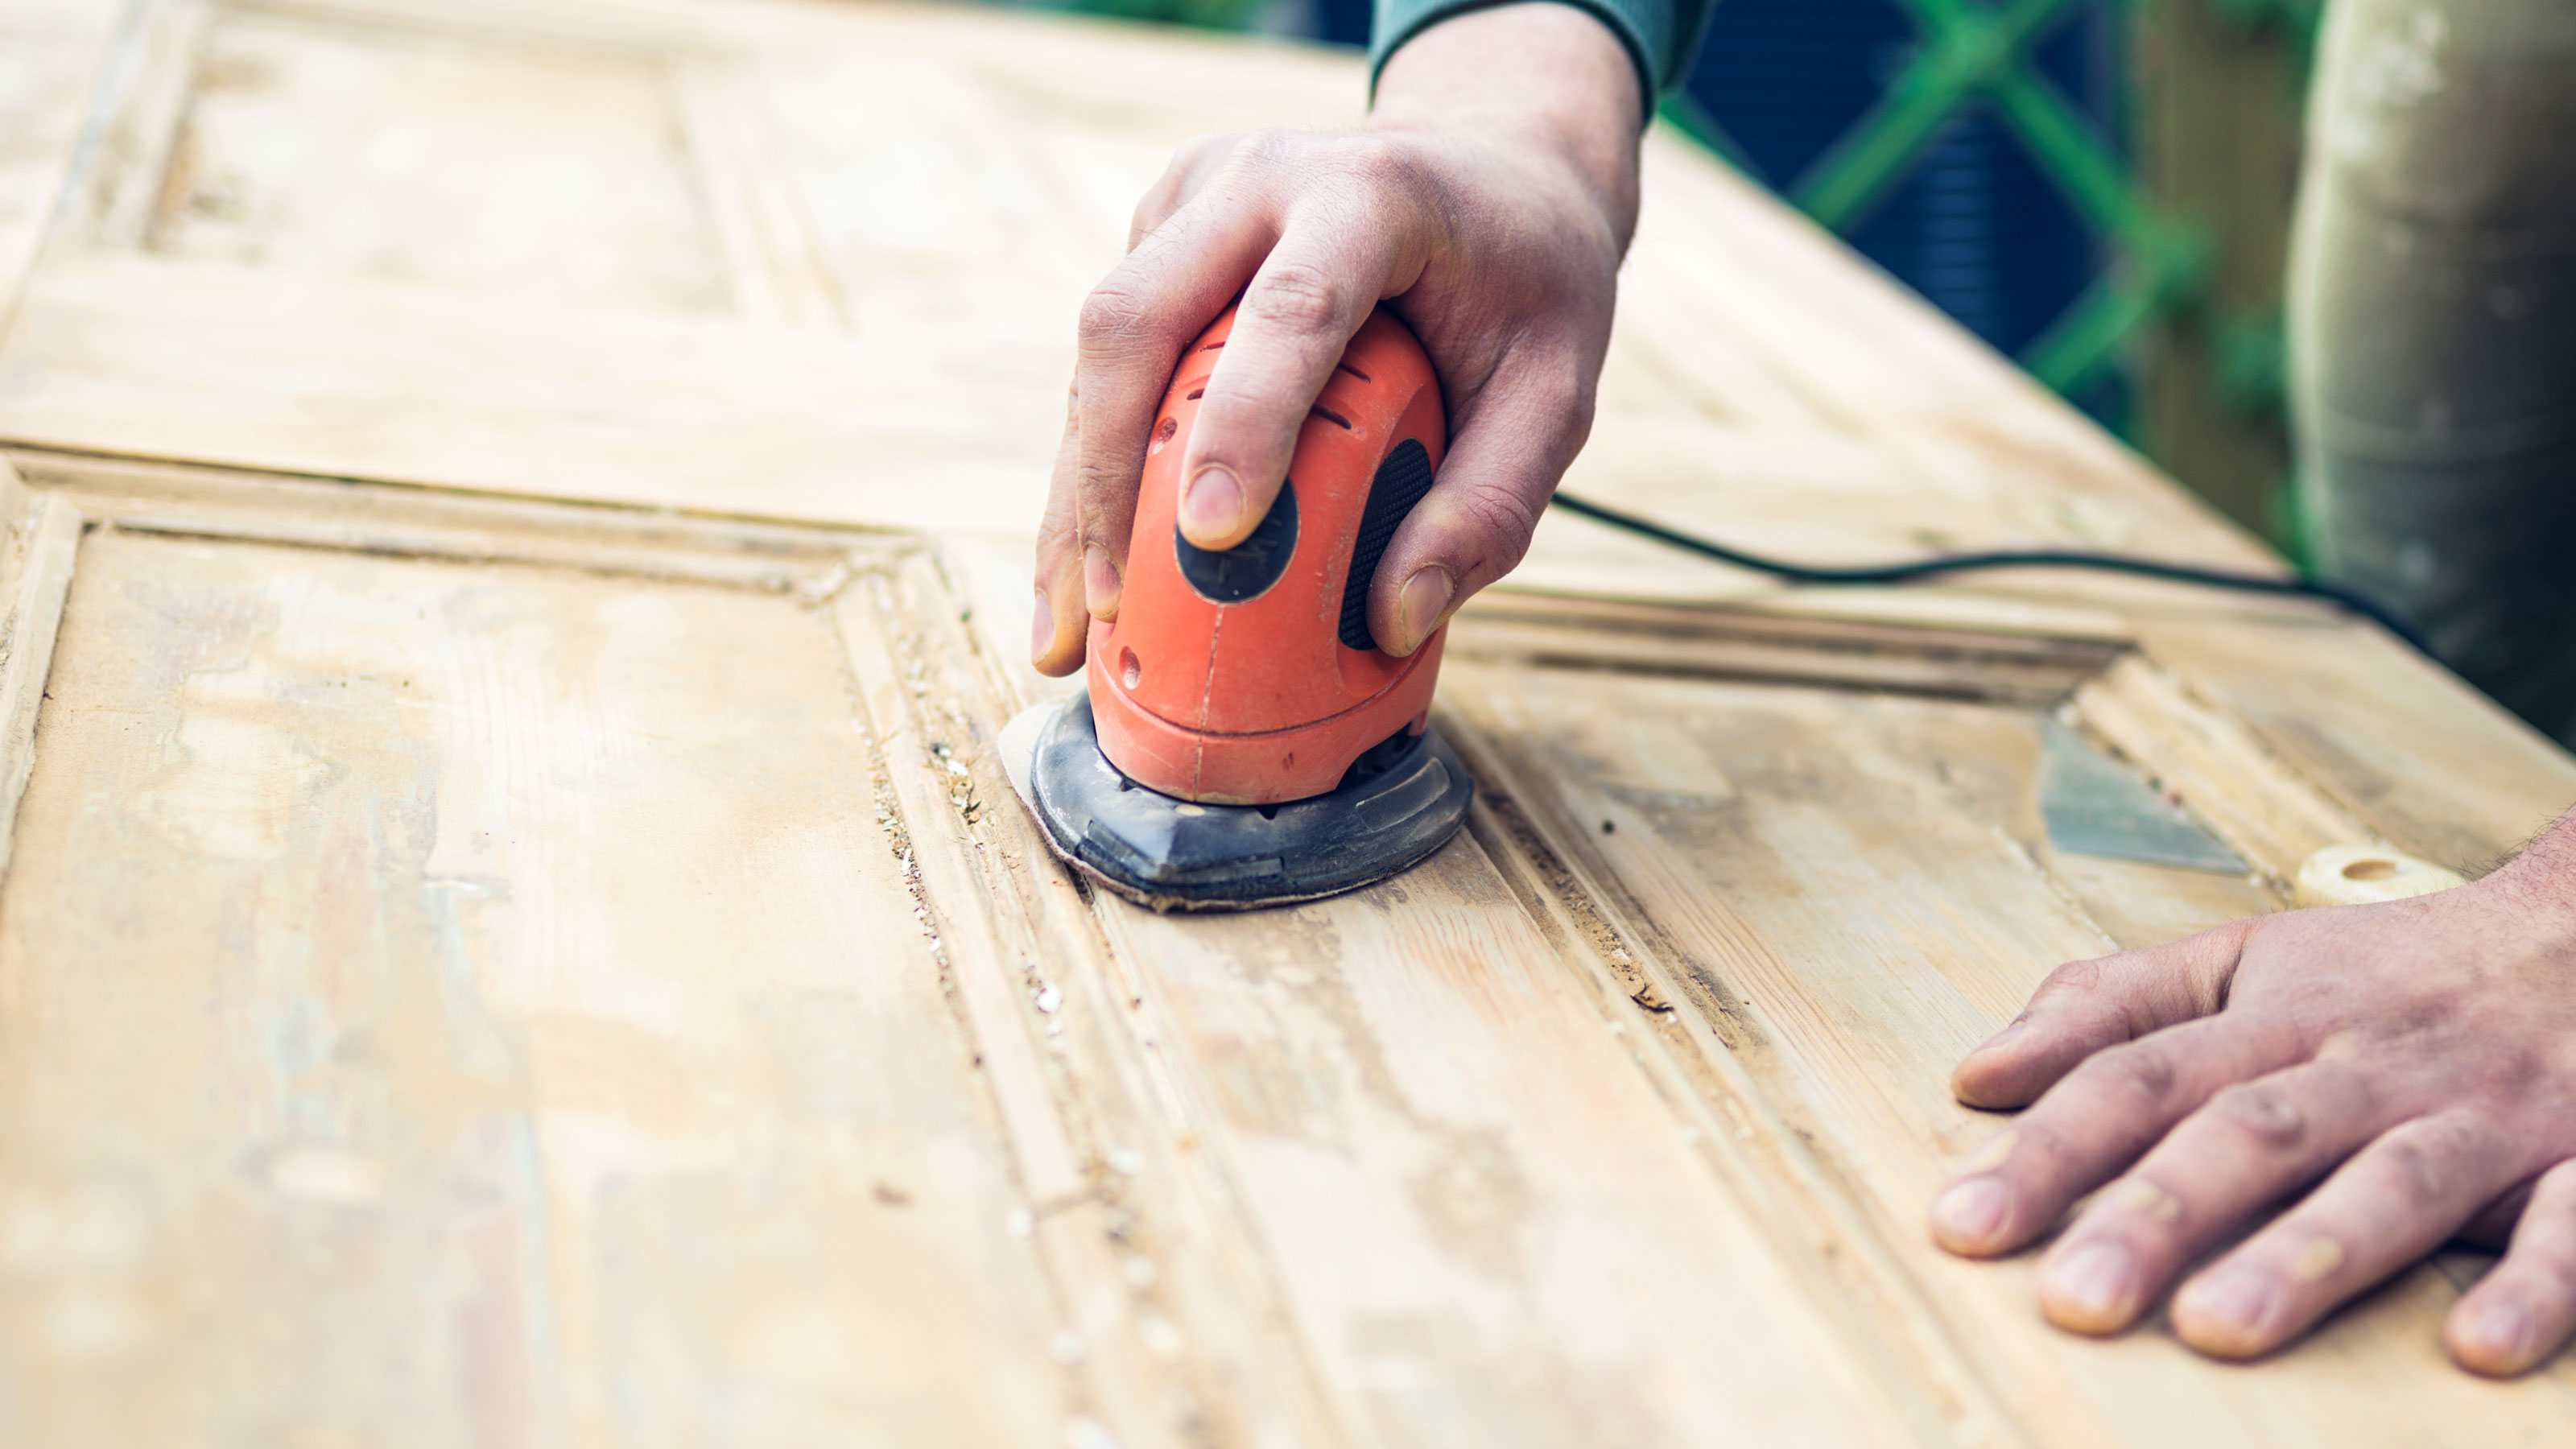
Yes — to get the best whitewash effect you need to expose the grain of the wood you are using. If you are whitewashing new bare wood then you just need to give the wood a quick rub down with a fine grit sandpaper to prep the wood for painting.
If the wood you are using is covered with a paint, stain, or varnish finish this will need to be removed before you can start. Stain and varnish can be removed with an electric sander to speed up the process.
If the wood is painted, get a decent heat gun like this Black + Decker heat gun from Amazon to strip off the majority of paint. Finish off with an electric hand sander to get a clean, smooth, paint-free finish.

What kind of paint do you use to whitewash wood?
You can use any paint you like as long as it’s white. But in reality you want to be using a water-based paint white paint. Chalk paint is a popular choice, but undercoat, primer or emulsion are good choices as well.
Primer and undercoat adhere well to wood and will provide a longer-lasting finish, but emulsion helps create the distressed look well.
If you are looking at an outdoors whitewashing project you might want to consider the best exterior wood paints as they will add weatherproofing and durability to the project.
If you want to go a bit left field you can use any colour you like. It might not be ‘white’ wash, but the principle and techniques are the same whatever colour you use.
How long does it take for whitewash to dry?
To get the best whitewash effect you need to ask yourself how long does paint take to dry for the paint you are using. Even though whitewash is watered down paint, the drying time should be very similar.
Expect to wait at least 30 minutes for it to be touch dry and around an hour before you think about recoating.
Get the Homebuilding & Renovating Newsletter
Bring your dream home to life with expert advice, how to guides and design inspiration. Sign up for our newsletter and get two free tickets to a Homebuilding & Renovating Show near you.
Steve Jenkins is a freelance content creator with over two decades of experience working in digital and print and was previously the DIY content editor for Homebuilding & Renovating.
He is a keen DIYer with over 20 years of experience in transforming and renovating the many homes he has lived in. He specialises in painting and decorating, but has a wide range of skills gleaned from working in the building trade for around 10 years and spending time at night school learning how to plaster and plumb.
He has fitted kitchens, tiled bathrooms and kitchens, laid many floors, built partition walls, plastered walls, plumbed in bathrooms, worked on loft conversions and much more. And when he's not sure how to tackle a DIY project he has a wide network of friends – including plumbers, gas engineers, tilers, carpenters, painters and decorators, electricians and builders – in the trade to call upon.

