How to use a laser level: Set up advice, plus clever ideas for using this tool
Get to know how to use a laser level with this handy guide to the best types for DIYers, how to use and calibrate one and more

If you're a novice DIYer, it's likely that you may not know how to use a laser level. It's not, necessarily, an entry-level piece of kit or a toolbox essential. You're more likely to have a spirit level for ensuring your lines are perfectly level, anyway.
However, if you're in the trade, or starting work on a home renovation, a laser level is a worthwhile investment for a few reasons. Mostly, because they're hands-free, so there's no juggling with a spirit level while trying to hold power tools too. Plus, you can set it up and keep a straight line of reference for as long as you're working on that specific DIY project. Something's that can be really useful.
If you think you're ready to pick up one of the best laser levels and put it to work, here's a quick guide to setting it up, using it correctly and some ideas for the type of jobs you can use a laser level for.
How to use a laser level: What's the best type for my project?
First of all, before learning how to use a laser level, you need to decide the type of laser level you're going to buy. There are two main types for DIYers: torpedo levels and self-levelling laser levels.
You'll find small laser levels, sometimes called torpedo levels, incorporated into a traditional spirit level form. This is great for working in small spaces, but they often aren't as flexible in positioning as other forms of laser levels and are more limited in their applications.
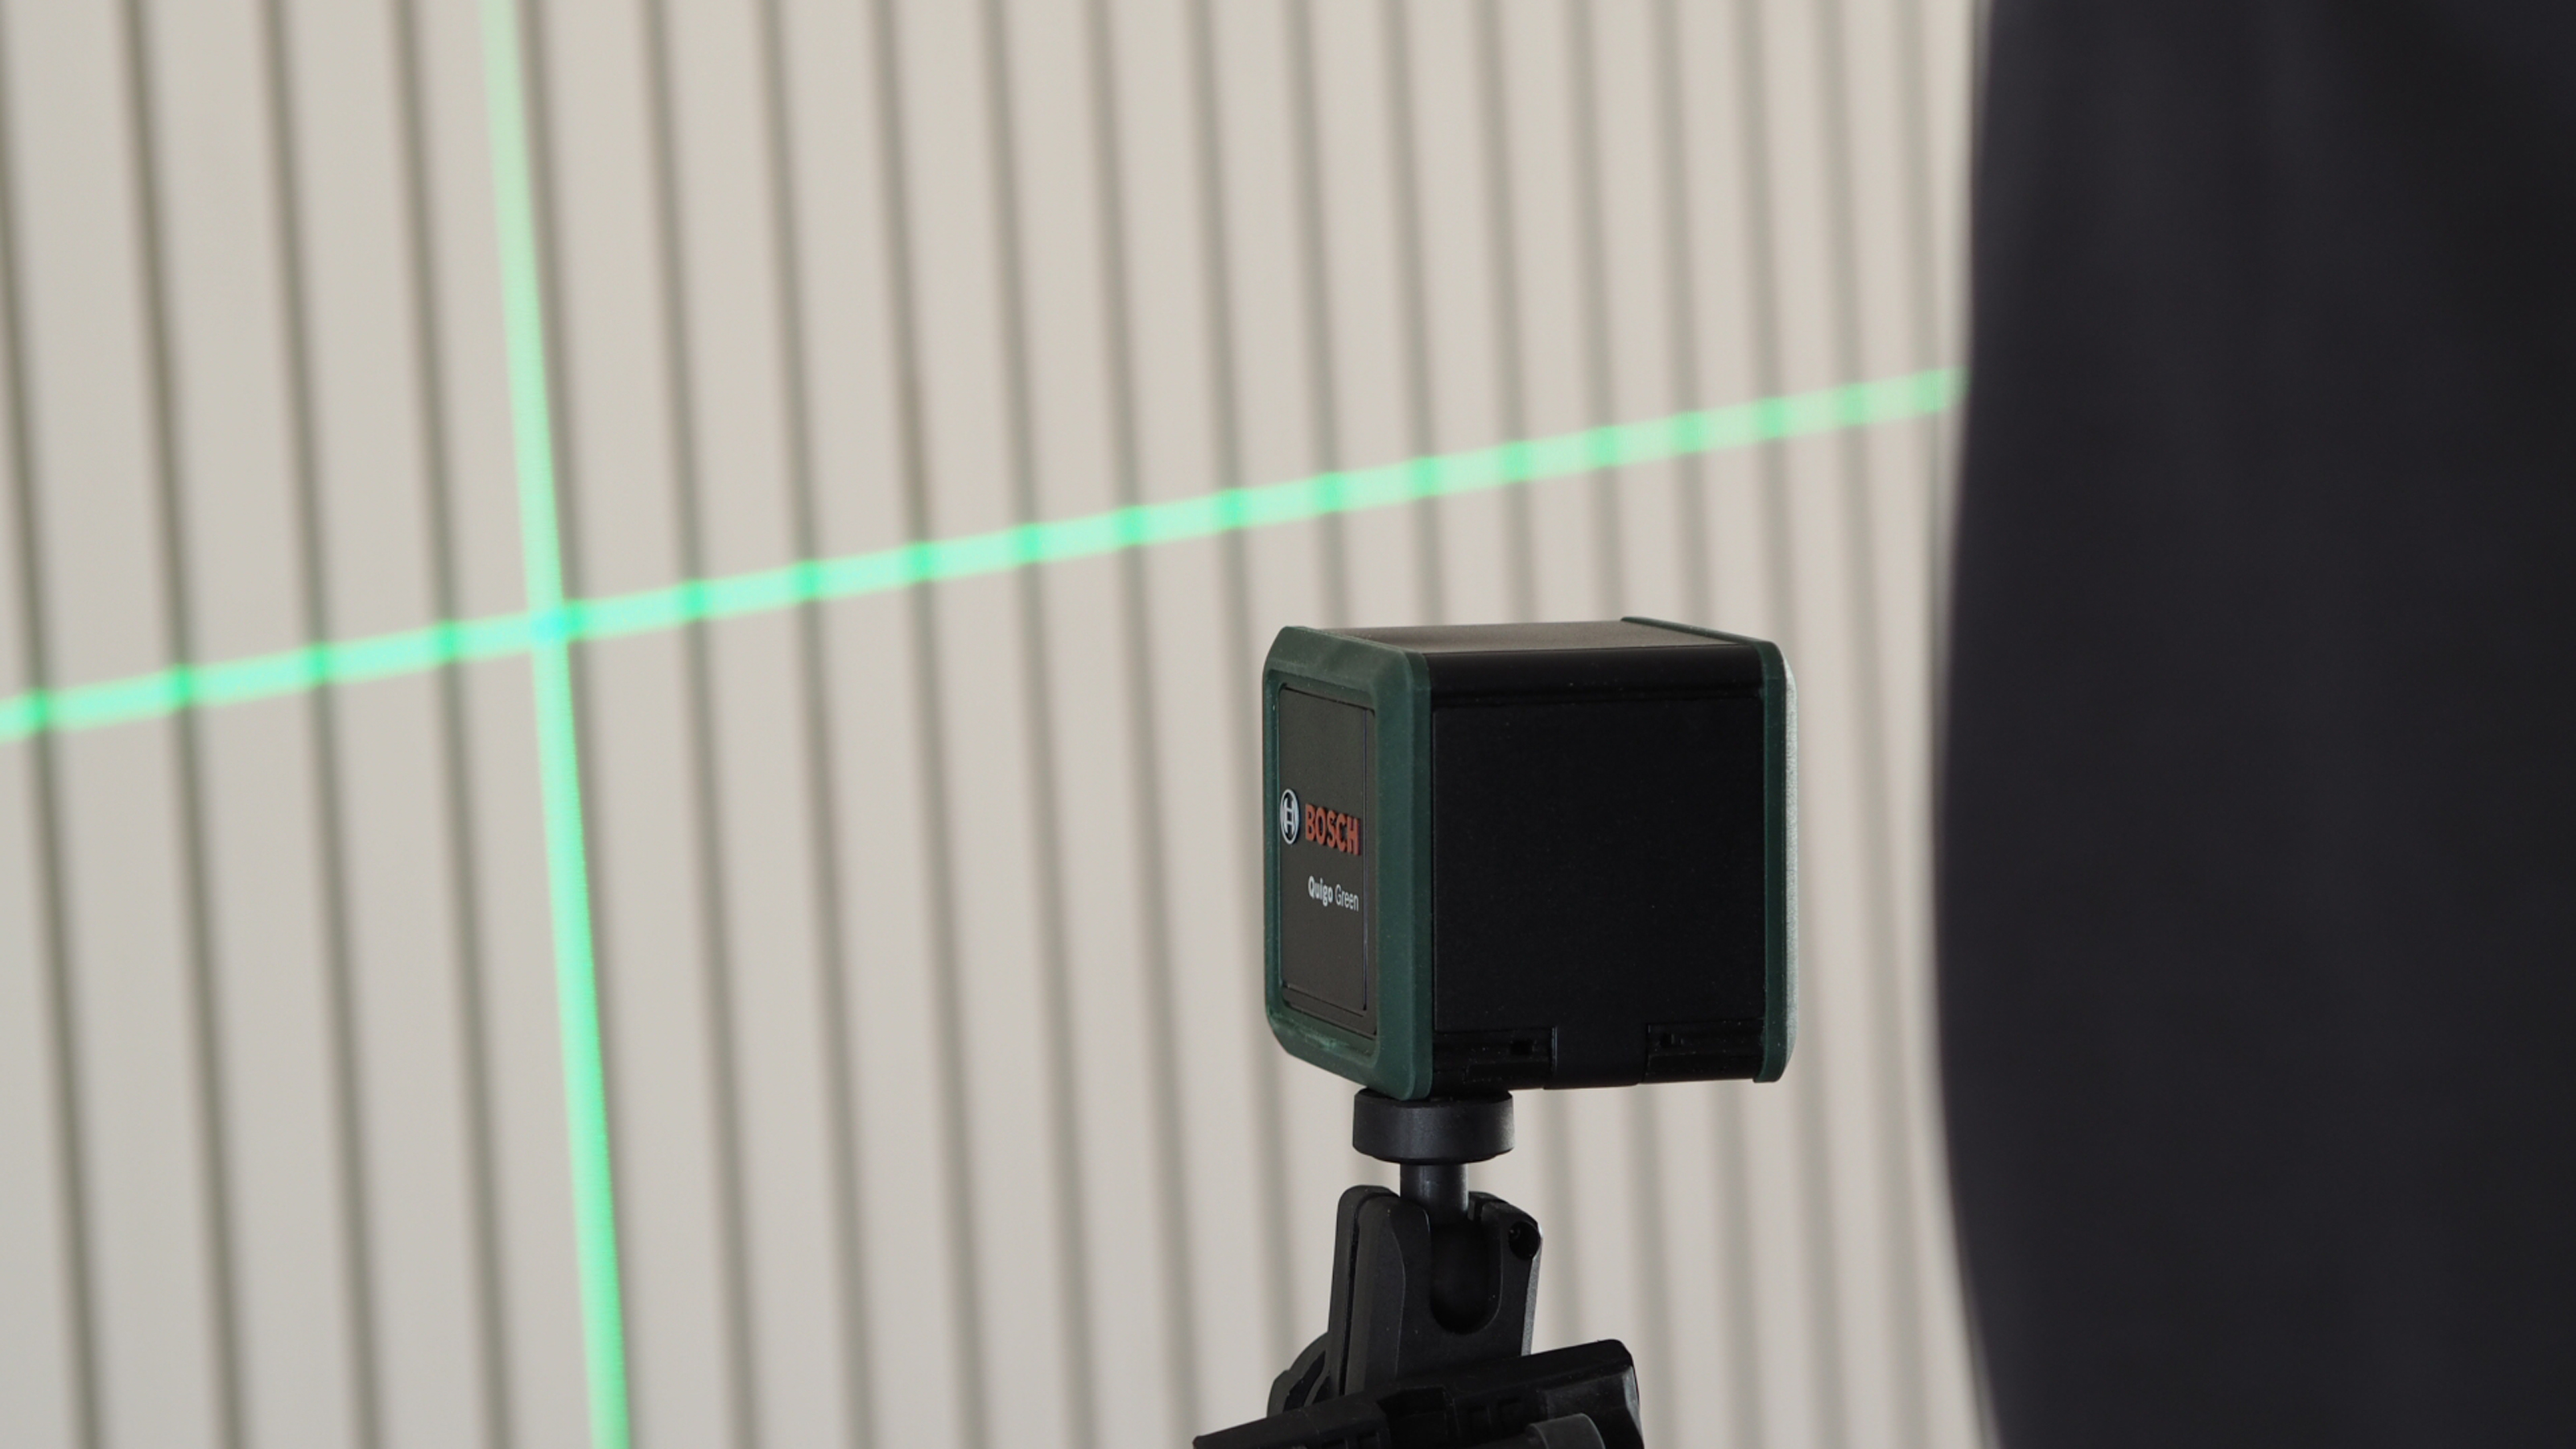
Self-levelling laser levels often have adjustable arms, or fit into tripods, meaning you have complete control over how they're used. These are also often cross line lasers that give you both a vertical and horizontal line, which can make any jobs that involve perpendicular planes much easier, as well as 360 degree laser levels, which fire a laser line out in all directions.
Torpedo levels are pretty self-explanatory, but self-levelling lasers might require a bit more consideration. However, largely, they're relatively easy to use.
How do I use a laser level on the wall?
Some self-levelling laser levels will come with a base stand, some won't. If yours does, set it up and attach your level to it using the fixings provided. If not, you may have to create your own stand at the right height. Your level will probably have an adjustable grip that can be tightened onto a rod or similar, or a base that can be fixed into a tripod.
Turn on, or flip open the laser cover and wait for the laser to self-level. It should cast a strong laser light across the room, which should be relatively visible even in daylight. It's important that a self-levelling laser is near level, or it won't work. It has just a few degrees of leniency here. If not, the laser level will flash or beep, letting you know it's not able to self-level.
Once set up, you shouldn't have to touch it again, but it's worthwhile marking the line for a reference point, just in case you knock the level, just so it can be easily readjusted into place.
What can I use a laser level for?
Laser levels have a lot of uses, both in construction and DIY, though professional laser levels tend to be larger and more expensive, but with strong lasers that can be used outside in daylight.
It can stand in place of a spirit level or plumb bob in many instances, especially over longer lengths where you'd have to mark and move the spirit level, making it less accurate.
These uses include:
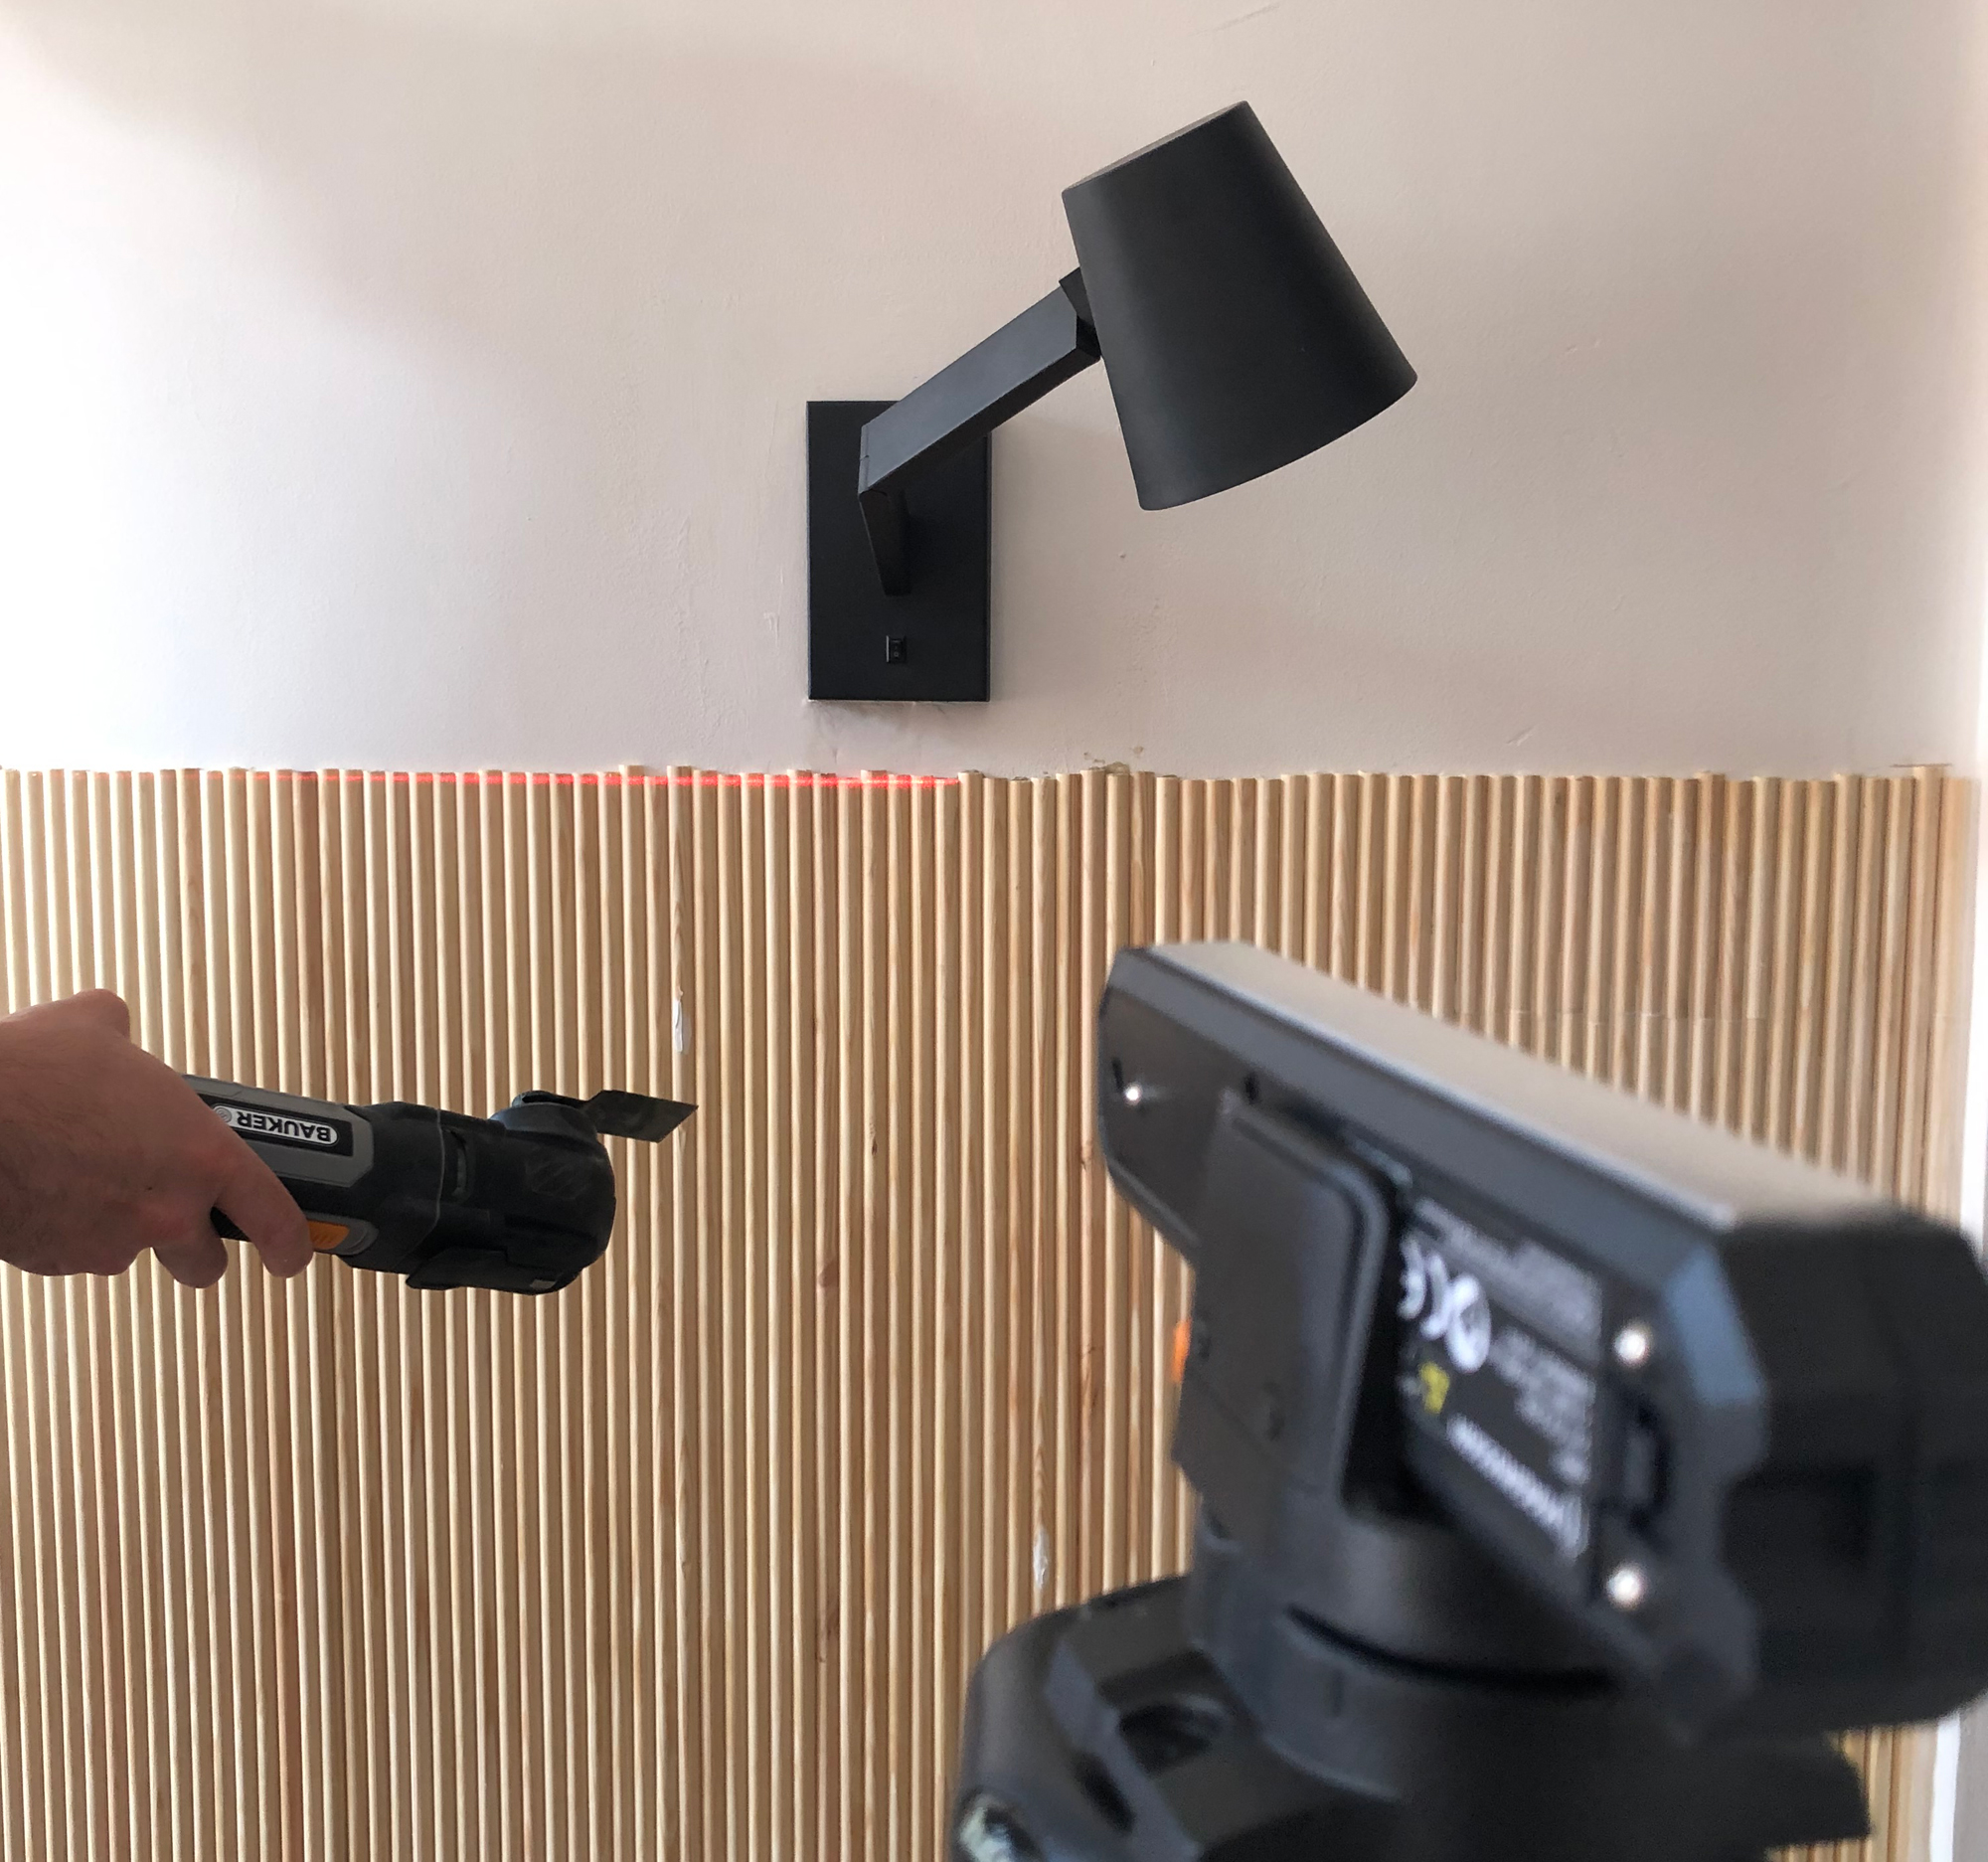
- Marking lines for wall decor, including DIY wall panelling, art and wall lighting
- Marking for worktops in a kitchen
- Creating a straight reference line for tiled walls using this best tiling tool
- Installing flooring joists and ceiling beams, especially when using a 360 degree laser that can produce a 90 degree angle
- Fitting dado rails and other mouldings

How do I check my laser level is accurate?
A self-levelling laser level shouldn't need to be calibrated regularly, if at all, but the way that it works means that if it's dropped or knocked severely, you may find it's not longer giving you a perfect level.
That means it's worth checking regularly to avoid any DIY or building disasters.
The method for this depends on the type of laser. A cross-line laser can be tested by marking the centre of the laser when shining on a wall, and then checking the far left and right edges by marking and seeing whether these lines are level.
For a 360 degree level, there is more planes that could be calibrated incorrectly, meaning more tests to undertake and compare, at least on four walls if you have a small room with a level floor you can test in.
Is a laser level worth it?
A laser level is a useful addition to your toolbox for a multitude of reasons, but if you own a spirit level (or two, it always pays to have a long and a short one), it's not essential by any means.
If you know that you're the sort of DIYer who cuts corners, it's likely you won't be bothered to get out and set up a laser level every time you need it. However, it may contribute to a better overall finish and helping to get straight lines first time, every time.
Get the Homebuilding & Renovating Newsletter
Bring your dream home to life with expert advice, how to guides and design inspiration. Sign up for our newsletter and get two free tickets to a Homebuilding & Renovating Show near you.
Luke Arthur Wells is an award-winning interiors blogger and stylist. His blog has been one of Vuelio's top 10 interior blogs for four years running, and he recently won the Best Creative Skill category at the Amara Interior Blog Awards. Luke has worked with some of the UK's biggest brands, from John Lewis and Made to Farrow & Ball and B&Q. He's a big DIYer, and loves coming up with creative woodwork projects for his home, a Victorian terrace renovation in Essex.

