How to trim a door to stop it sticking on floors and frames
Knowing how to trim a door will help ensure that you get a neat and snug fit inside a door frame so your door closes properly to help stop draughts and noise

A door not closing properly? Wondering how to trim a door so it does? There’s little more annoying than a door that doesn’t do its job. Is your new carpet making it difficult to open and close a door? Are you having new flooring installed that raises the height of the floor? If you are, that means you probably need to do a little work on your door.
Knowing how to trim a door and how to hang a door go hand in hand. You will need to remove a door to trim it and then you will need to hang it again. The same for new doors, you’ll need to trim and hang.
Here we look at how to measure up to trim a door, what tools you will need, how much you can trim off and how much a pro will charge.
How to trim a door in 4 quick steps
Before you start make sure you’ve got the right tools ready including a saw and a long straight edge like a long spirit level or a long piece of wood to help ensure you get neat straight lines where needed.
1. Measure or mark the door
The first step is to determine how much you need to trim. If trimming the bottom of a door because it won’t open properly because of new carpet you can simply mark where you want the door to be trimmed on both sides and use a pencil and a straight edge to draw a line.
If you are tiling a floor, measure the depth of the tile, add 5 mm and mark a straight line on the door. Or, place a tile on the floor and mark where the tile sits on the door. Then add 5-8 mm (for the adhesive) and draw a straight line.
If trimming one side because a door isn’t closing properly first check that the hinges are secure. Then mark the area (this may be a few inches at the top of the door) with a pencil and draw a straight line from the sticking point to the top/bottom of the door.
If trimming one side of a new door to fit the door frame, measure the doorway at the top, middle and bottom and take off 5 mm. Mark the measurements on the door and use a long straight edge, such as another door or piece of wood and draw a pencil line through all three measurement marks.
2. Remove the door and secure
To get a decent straight cut you need to remove and secure the door so it doesn’t move when cutting. First unscrew the hinges from the frame. If you have a workbench secure to this with clamps like these IRWIN Quick-Grip Clamps from Amazon.
If you don’t have a workbench you can use a table or a set of sawhorses like these Evolution Power Tools Saw Horse from Amazon.
3. Cut and finish
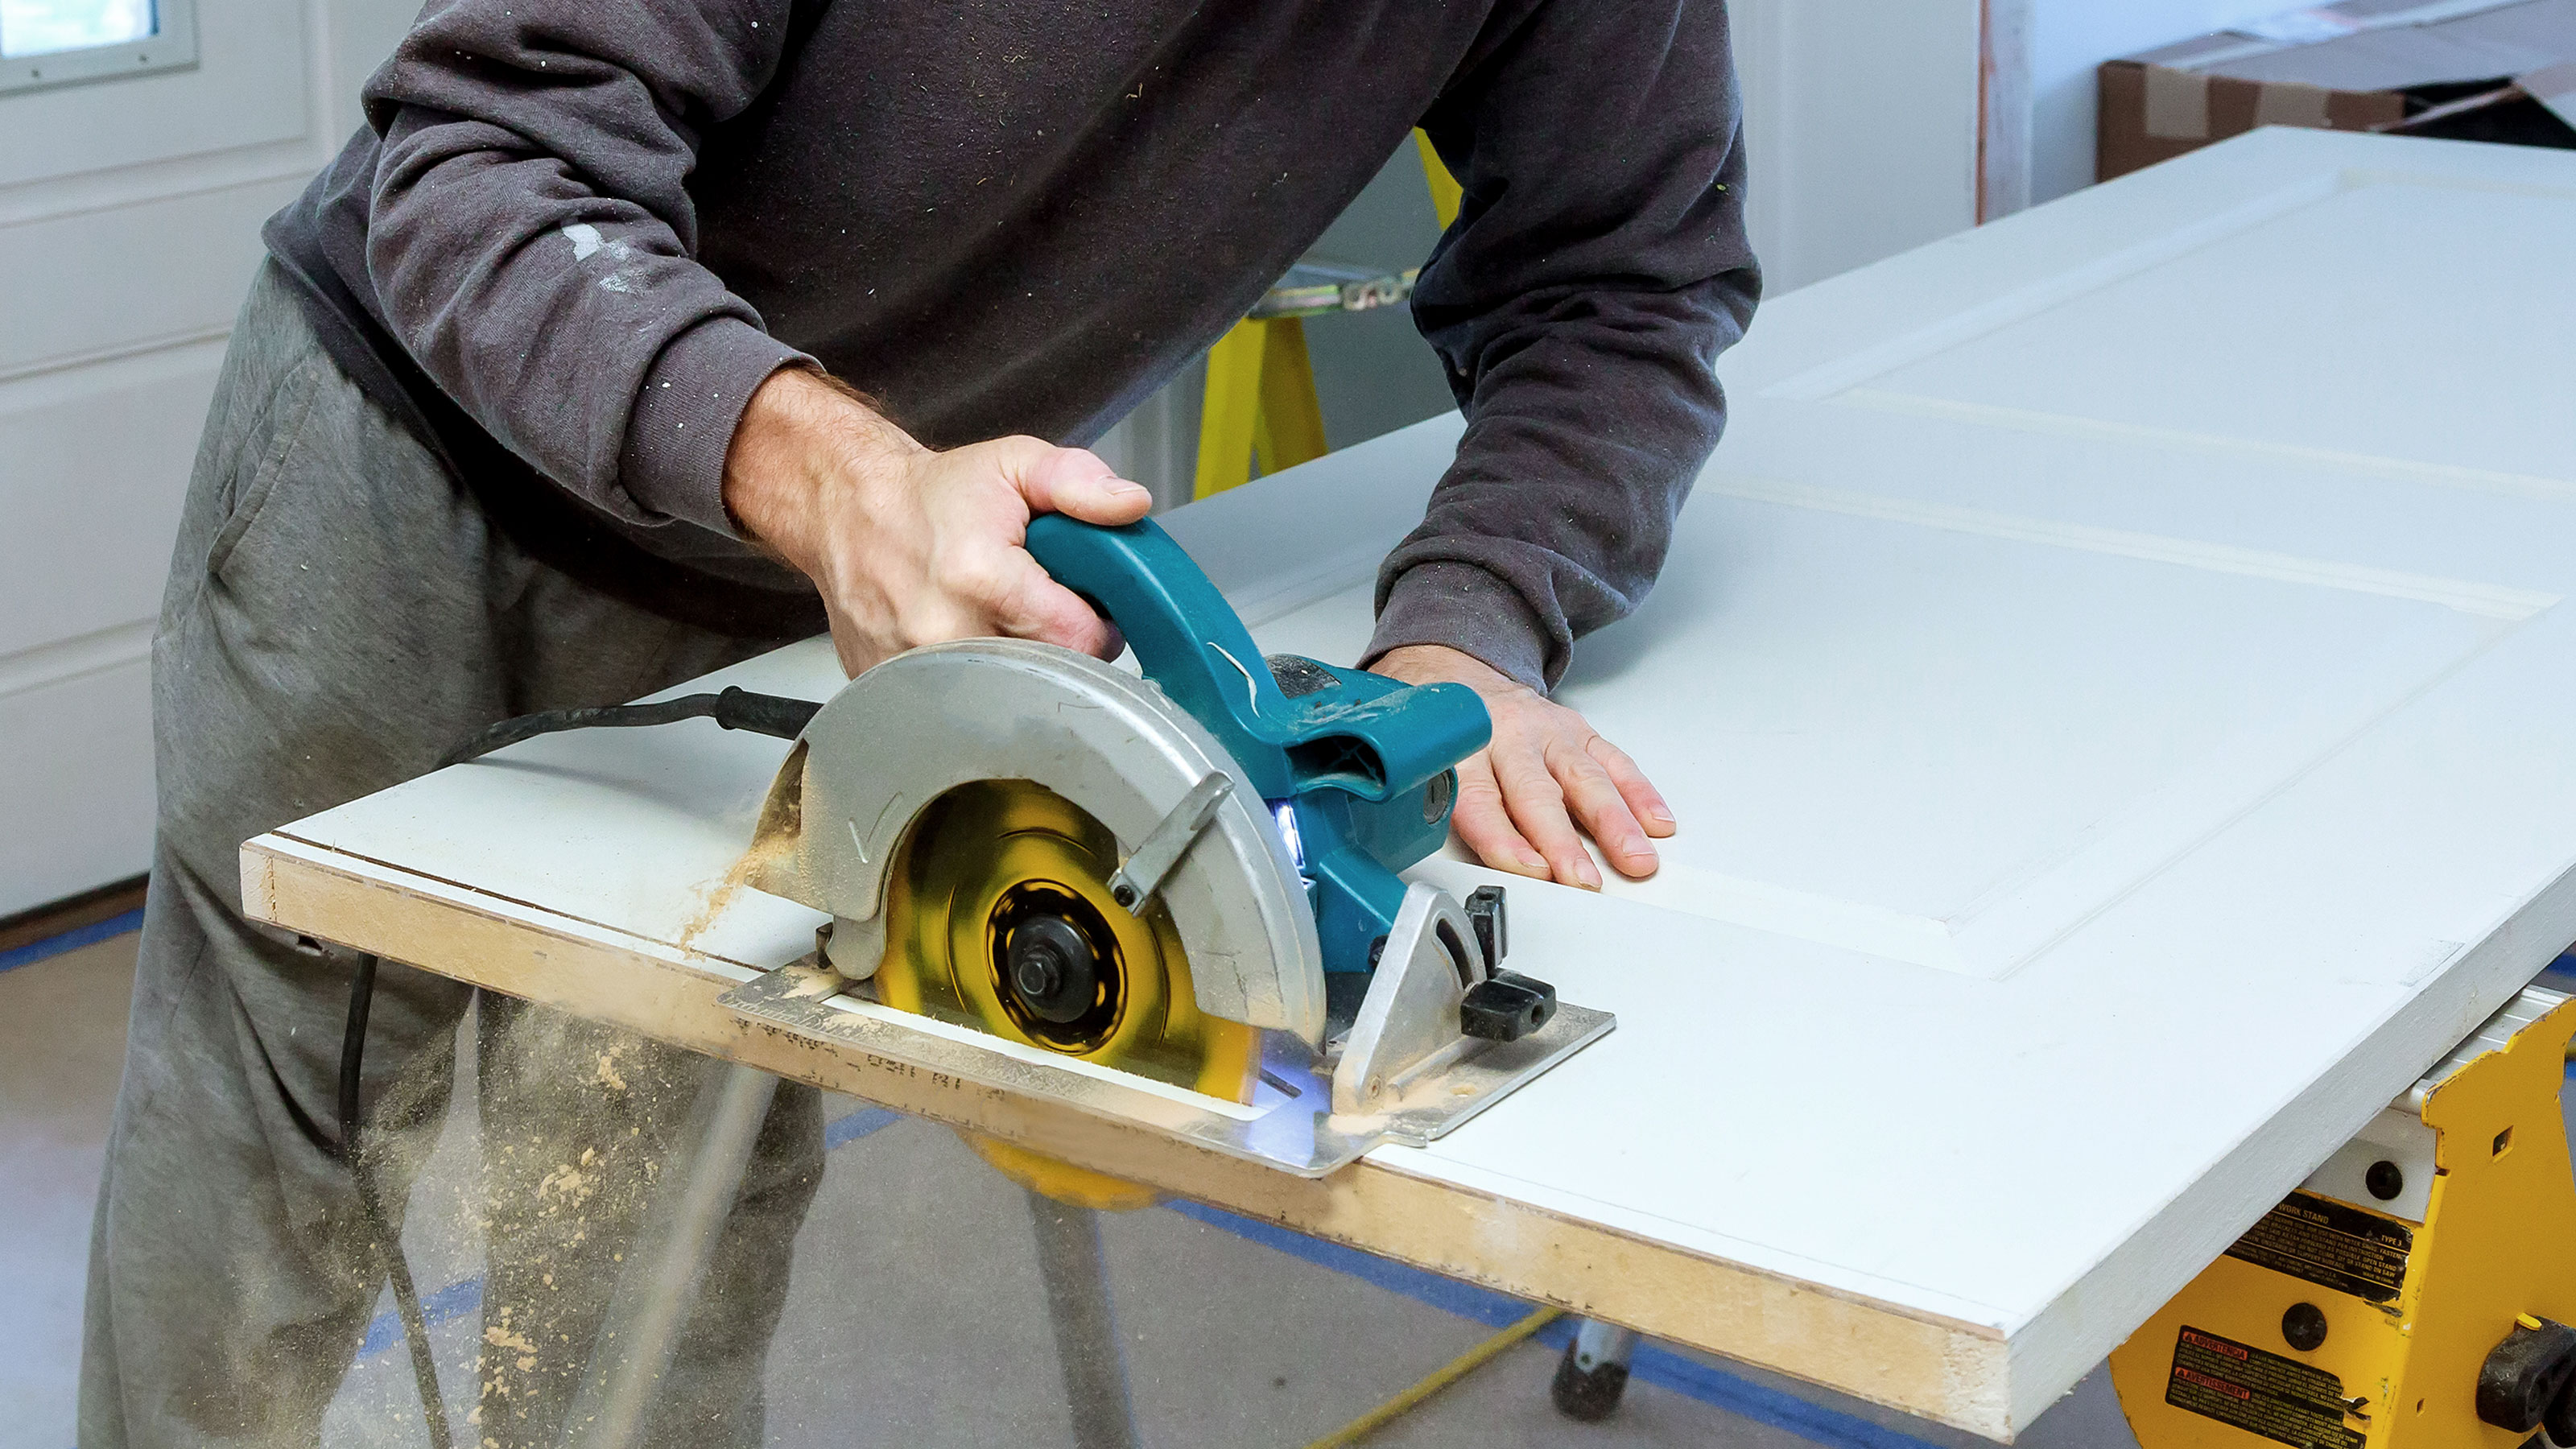
We recommend using a circular saw for larger cuts – 5mm+ – and an electric planer for smaller trims. If using a circular saw, set up the fence to the required depth. Make sure the blade starts on the side of the pencil line that you are cutting. Then simply start your saw and slowly move along the line. Use a crosscut blade with 60 teeth for a smooth finish.
If using an electric planer, set the depth of the blade to 0.5mm - 1mm. This will take off small amounts of wood each time and gives less room for error – you are less likely to take too much off.
4. Hang the door
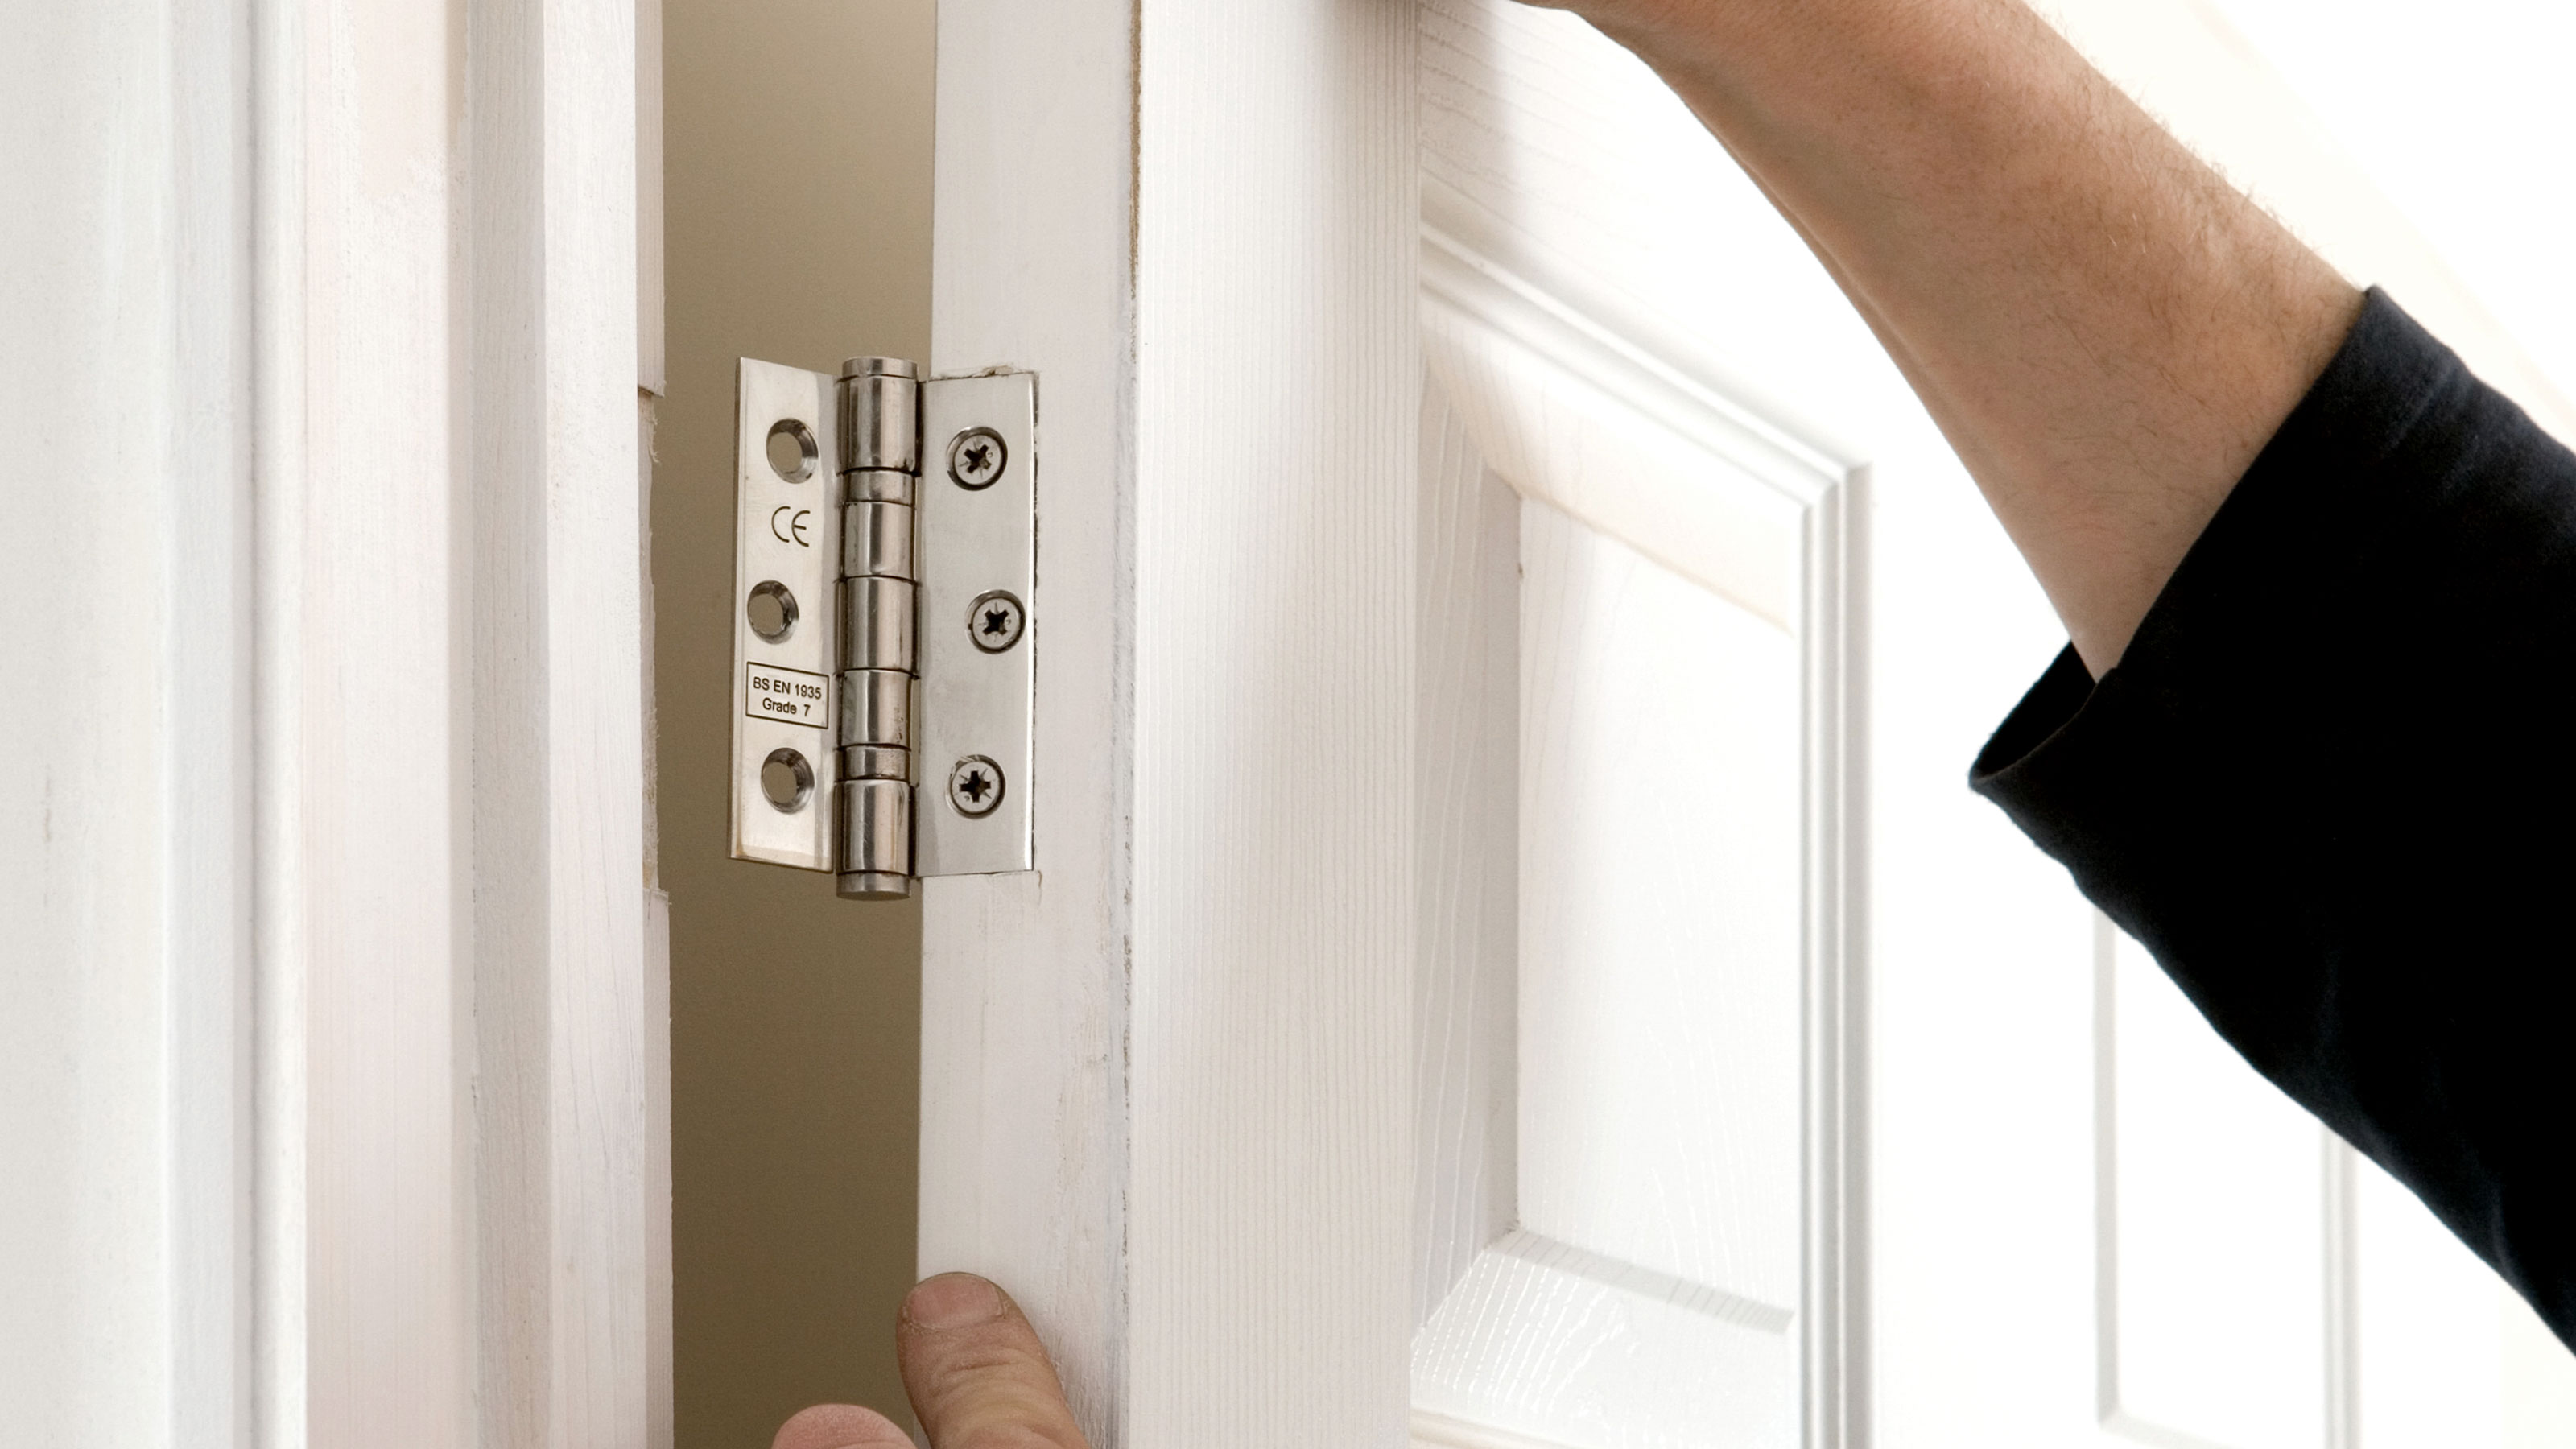
Finally, hold the door in the door frame, to get a quick rough fit. If all is good, line up the door hinges and add the screws. Start with the top hinge and use a wedge under the door to hold at the right height. Then finish by adding screws to the other hinges. Now test the door to make sure you got your cuts and trims right.

FAQs
What tool can I use to trim a door?
This depends on how much you need to trim off the door to make it fit. If it's only millimetres than an electric planer like this Bosch Home and Garden Electric Planer from Amazon is a good choice. You can cut off a millimetre or two on each pass and it will leave a smooth clean edge that will only need a very quick rub down to finish.
An alternative is to use a sheet sander like this Makita BO4556/2 Finishing Sander from Amazon. The flat square pad is ideal for getting rid of a millimetre or two. Alternatively, you can use an orbital sander like this VonHaus 350W Random Orbit Sander from B&Q if you don't own a sheet sander.
If you need to cut off more than 5 mm a saw is the best option. You can use a jigsaw or even a hand saw, but a circular saw like this DeWalt DWE560-GB, 240V 184mm 65mm Compact Circular Saw from Amazon is a better choice. It's easier to achieve a neat straight edge than the other saw options
How much can you cut off the bottom of a door?
Different doors will mean different depths, if you have a solid wooden door you can typically remove more than a hollow core door. But, the first thing you should check is the manufacturer's recommendation. These are commonly 5mm -10mm, so if you can’t find a recommendation stick with these measurements.
You can remove more material but the common design on wooden doors means that the top rail is not as deep as the bottom rail. If this is the type of wooden door you have we recommend up to 10-12mm off the top and a maximum of 25mm off the bottom.
If you cut off too much you may cut through the dowels that are helping hold together the various parts of the door. This will weaken the structure and may cause parts of the door to move and twist.
Can you trim hollow core doors?
Hollow core doors consist of a solid wood frame that sits at the top, bottom and sides. The frame is typically covered with a moulded plastic outer shell and filled with a cardboard honeycomb-like structure. This makes them lightweight and inexpensive like this 6 panel unglazed White Woodgrain effect Internal Door from B&Q.
However, you should only trim up to 25mm off the door. If you take off more it can affect the structural integrity of the door. When trimming the door work out how much you need to take off i.e. 20mm, and half, so you are cutting off 10mm from top and bottom. This is also a good idea if you have a paneled door, so the panels have even gaps top and bottom.

How do you trim a door without taking it off?
Realistically if you want to trim a door, you have to remove the door. Especially if you are looking to trim the bottom of the door, which will be millimetres from the floor. Easy access to the top and unhinged edge means you can plane or sand with little difficulty, though the top corner by the door frame won't be easy to get to.
One scenario where you can trim a door without taking it off is if the bottom of the door is catching on a wooden floor. Note where the door is catching the floor, tape down a sheet of sandpaper and pull the door towards you, making sure to feed the sandpaper under the door. Now pull the door back and forth over the sandpaper until it stops catching.
How much does a pro charge to trim a door?
If you don't have the tools or time, or aren’t confident in taking on the task yourself you can call in a professional to get the job done. It’s a relatively simple task for a joiner and shouldn’t take much more than a couple of hours.
But how long it will take will depend on how many sides need trimming as Craig Parkins, owner of Parkins Bespoke Building reveals, “The price typically includes a call out charge plus labour. And it will depend if the door has got to be trimmed on the bottom or the side. So expect to pay around £80.”
Prices will differ depending on where you live and whether or not a call out charge is applied. Get a quote from at least a couple of local tradesmen to give you an idea of the price in your area.
Get the Homebuilding & Renovating Newsletter
Bring your dream home to life with expert advice, how to guides and design inspiration. Sign up for our newsletter and get two free tickets to a Homebuilding & Renovating Show near you.
Steve Jenkins is a freelance content creator with over two decades of experience working in digital and print and was previously the DIY content editor for Homebuilding & Renovating.
He is a keen DIYer with over 20 years of experience in transforming and renovating the many homes he has lived in. He specialises in painting and decorating, but has a wide range of skills gleaned from working in the building trade for around 10 years and spending time at night school learning how to plaster and plumb.
He has fitted kitchens, tiled bathrooms and kitchens, laid many floors, built partition walls, plastered walls, plumbed in bathrooms, worked on loft conversions and much more. And when he's not sure how to tackle a DIY project he has a wide network of friends – including plumbers, gas engineers, tilers, carpenters, painters and decorators, electricians and builders – in the trade to call upon.

