How to Tile a Wall: The Step-by-Step Guide
Looking to learn how to tile a wall in your shower, bathroom or kitchen? This ultimate guide will help to get you started
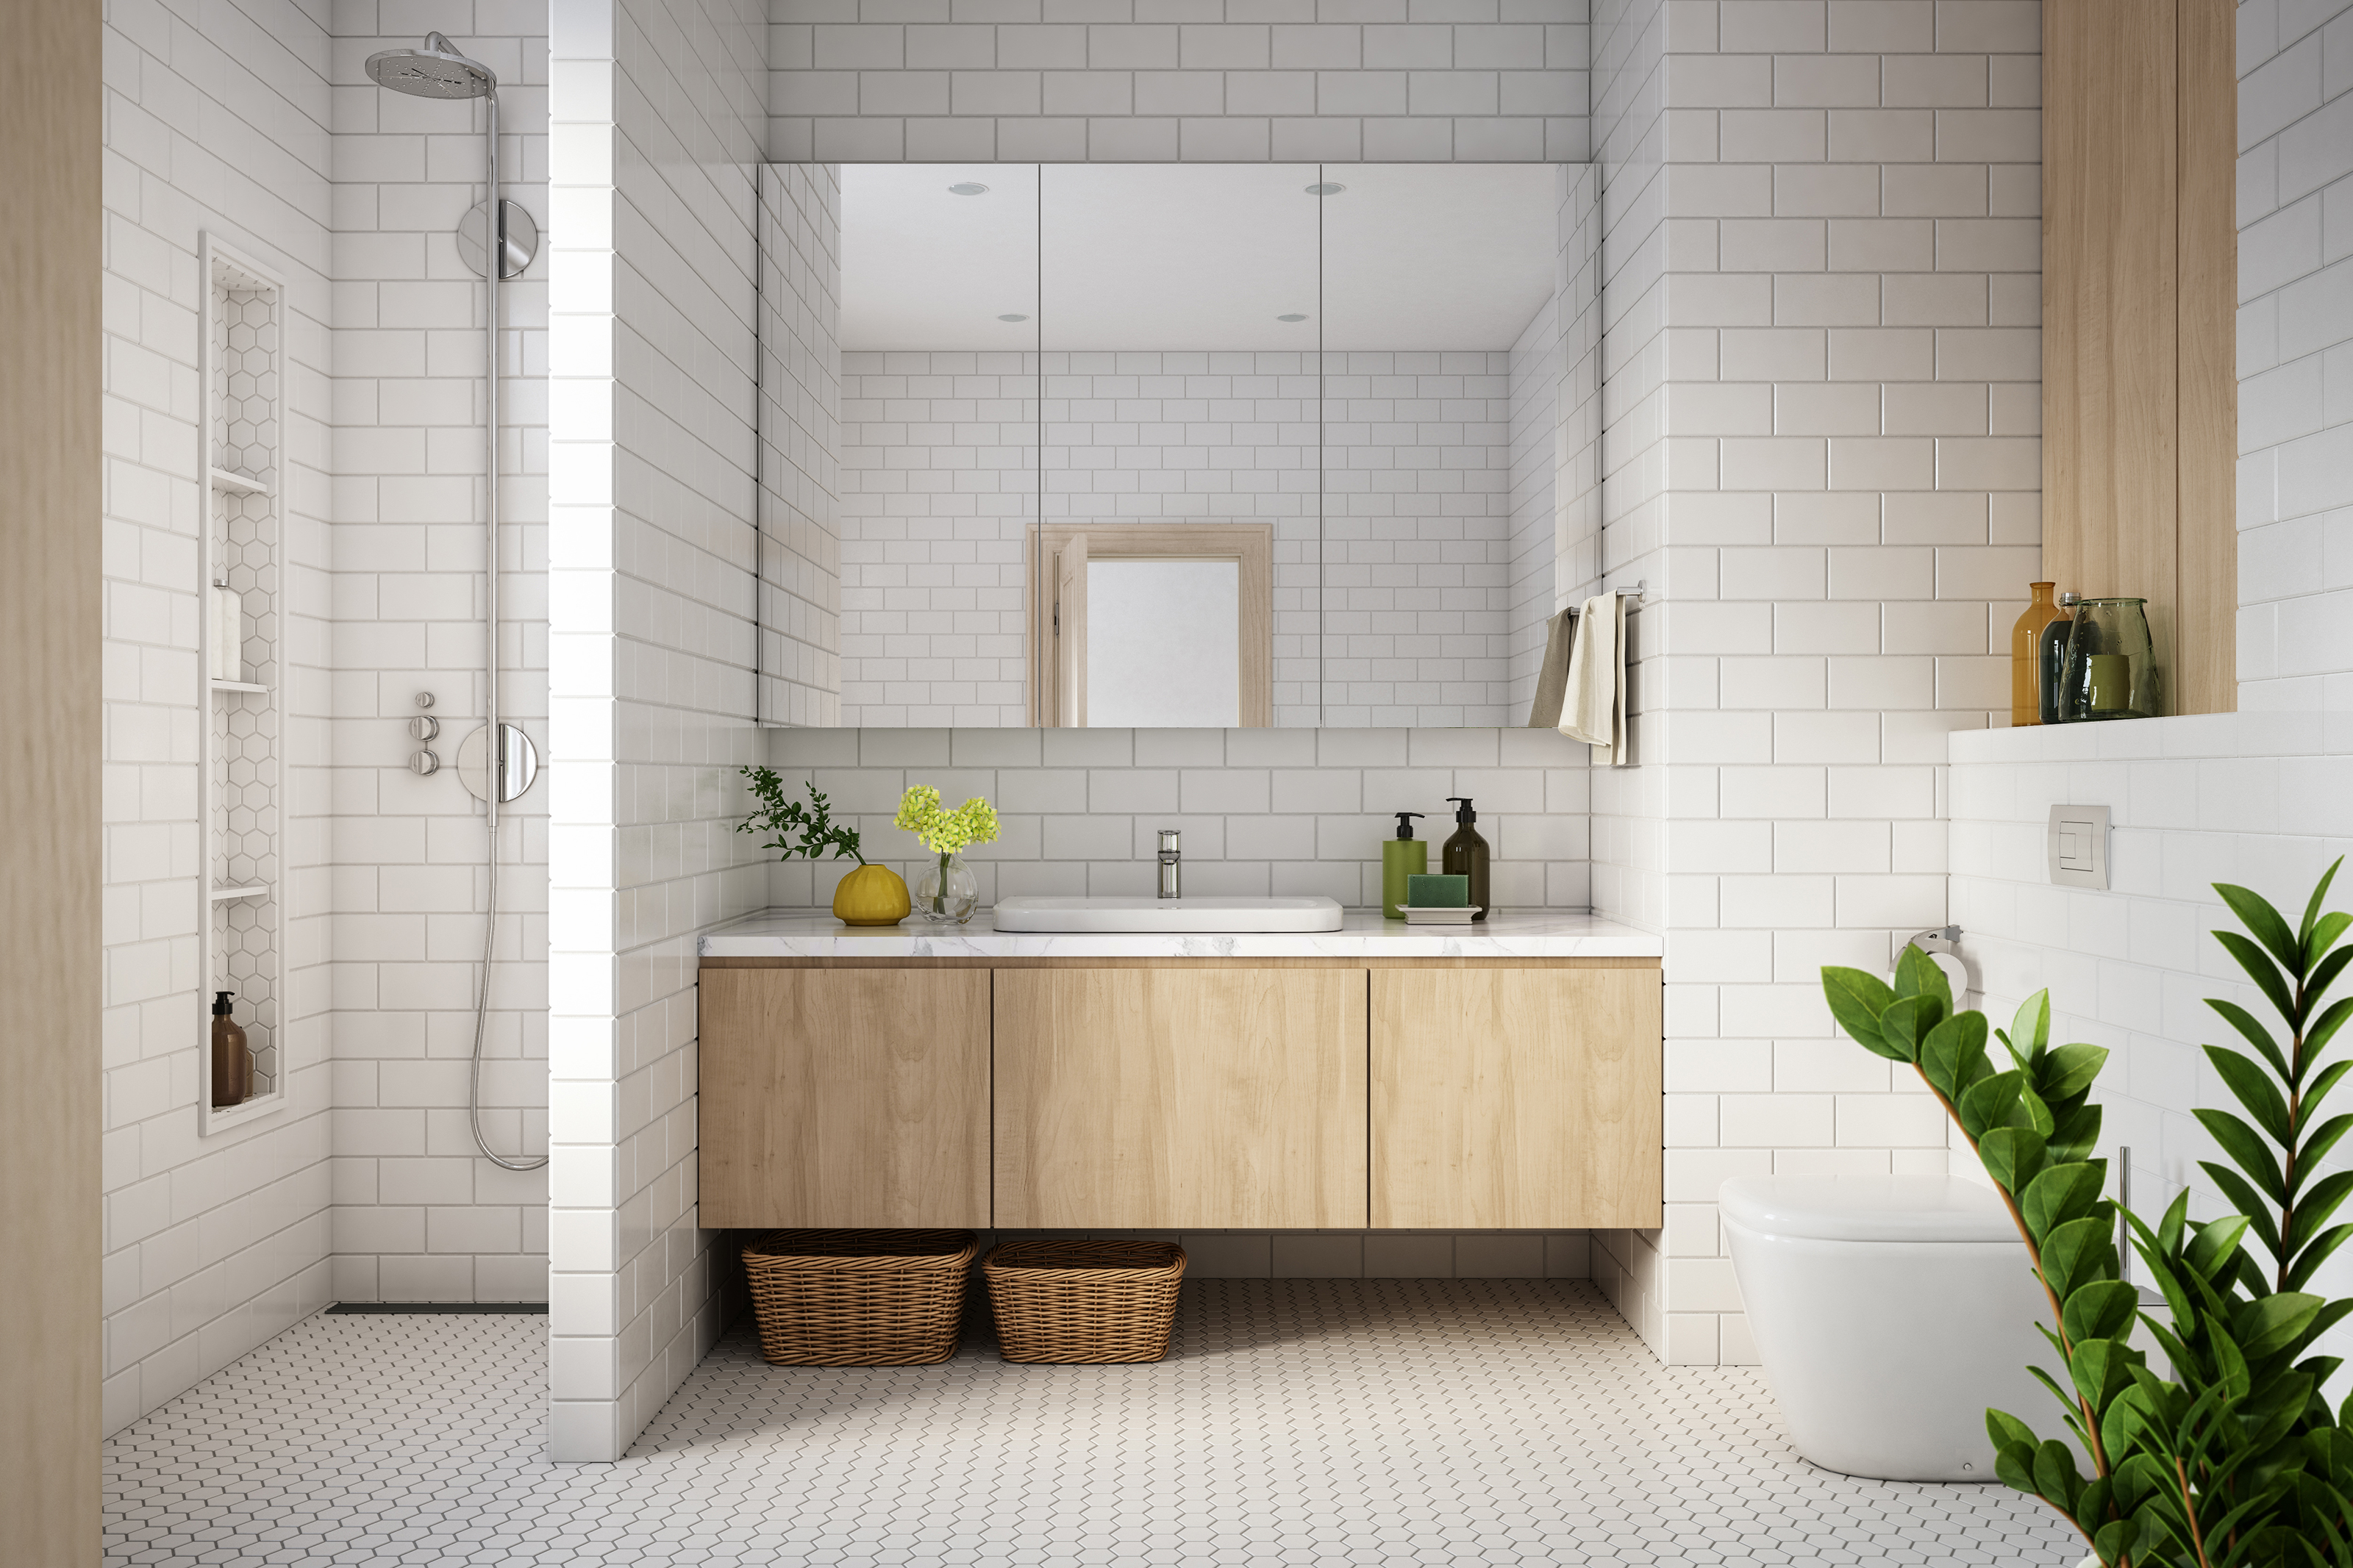
Learning how to tile a wall is something that can be done on a DIY basis, and needn’t be a stressful experience providing you have the right tools and know-how.
Whether you’ve been inspired by bathroom tile ideas and you’re working around your shower or bathroom basin, or you’re working in your kitchen, it’s important to prepare sufficiently and keep your patience throughout. It’s a slightly awkward job, but it can be very satisfying to do yourself if it saves you a fortune on labour costs.
Need to know where to start? This guide will take you through each step of the way to help you achieve professional results.
How to Tile a Wall: What You'll Need
Tools list
- Bucket
- A Mixing Paddle and Drill
- Laser Level/Spirit Level
- Tape Measure
- Pencil
- Notched Trowel
- Grout Spreader
- Sponge
- Tile Cutter
- File
- Roller and Tray
Materials
- Tile Adhesive and Grout
- Tiles
- Spacers
- Surface Primer
- Tile Edging/Silicon

Preparation
How Many Tiles do I Need?
It’s better to over-order and return what you don’t use. Even if you order the exact same tiles from the same supplier, they can be from different manufacturing batches and can come in a new shade, thickness or even pattern.
Use an online tile calculator like this one from Topps Tiles, and order about 10% extra for off-cuts or spares in case of future damage.
Step 1: How to Prepare Your Surface
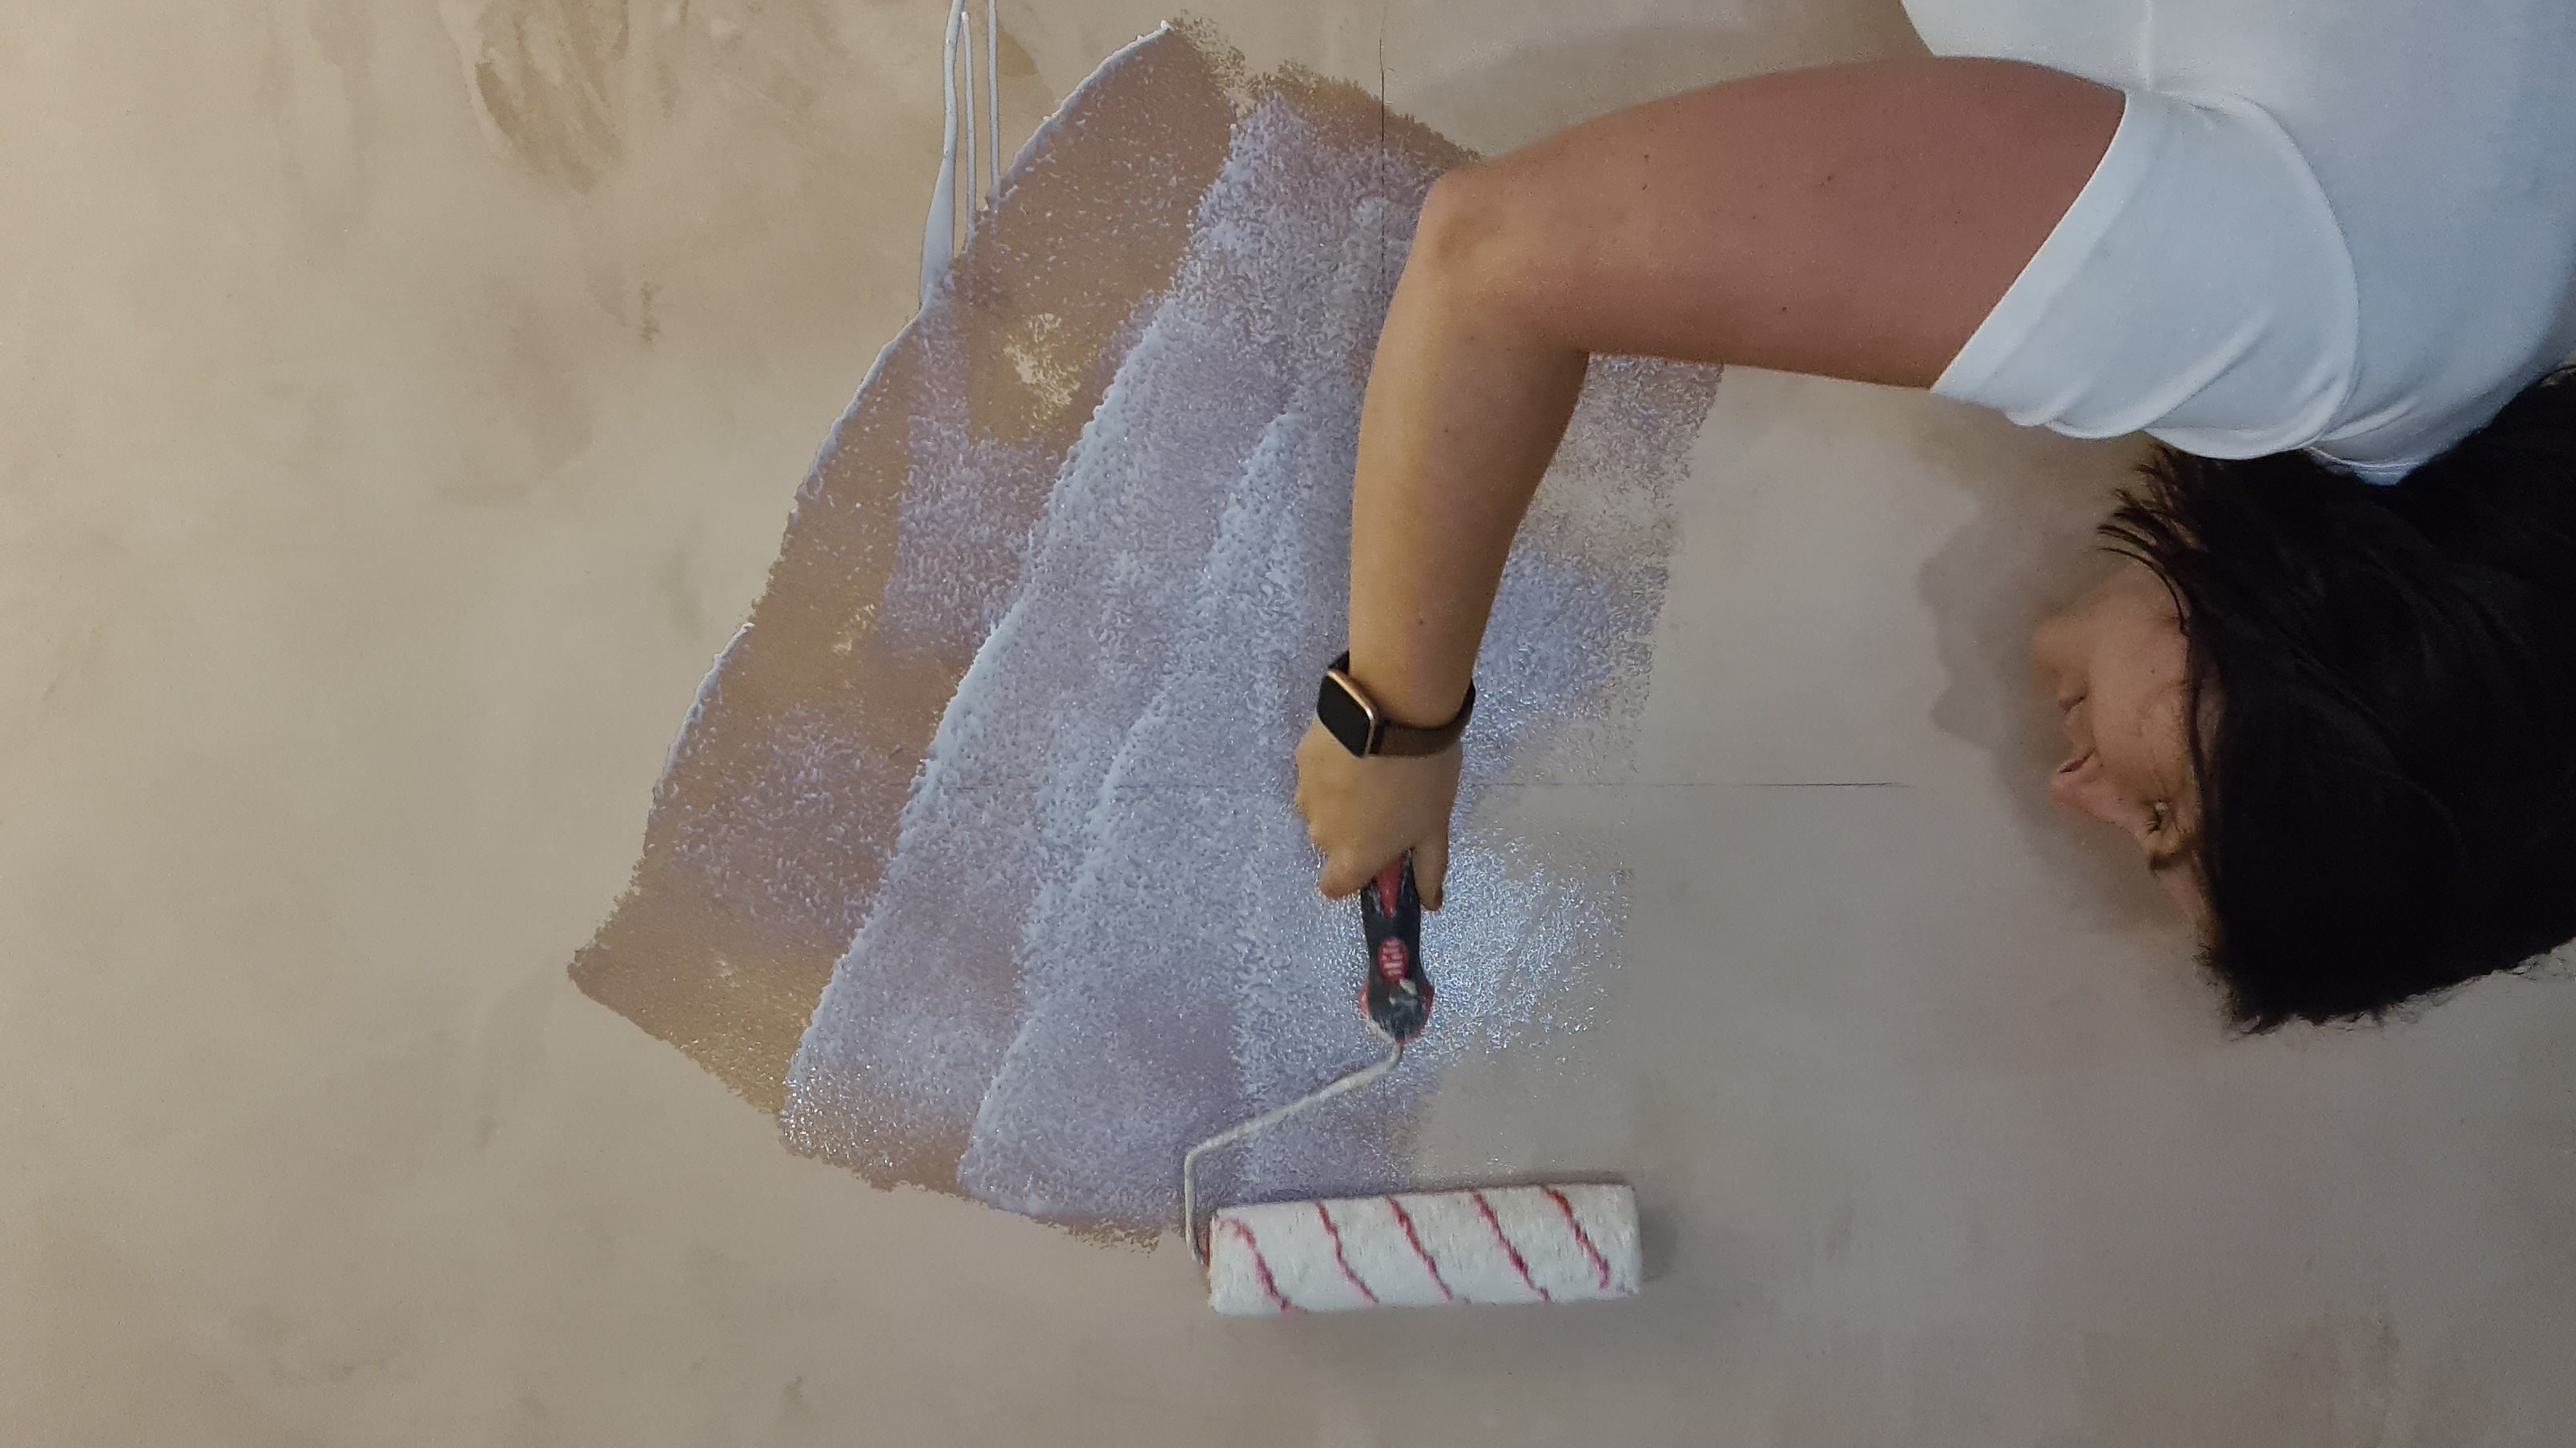
Surfaces must be fully clean, dry and dust-free before starting. So if your plaster is crumbling away, you’ll want to fix this first. Freshly plastered walls take 4-6 weeks to dry fully.
Fresh plaster or plasterboard will require a primer such as Everbuild 503 SBR. Without priming these surfaces can soak up too much moisture from the adhesive and prevent proper bonding.
Walls should be flat and level, so fill in any large holes and remove any old plugs, nails or fixings.
Step 2: Where to Start on the Wall?
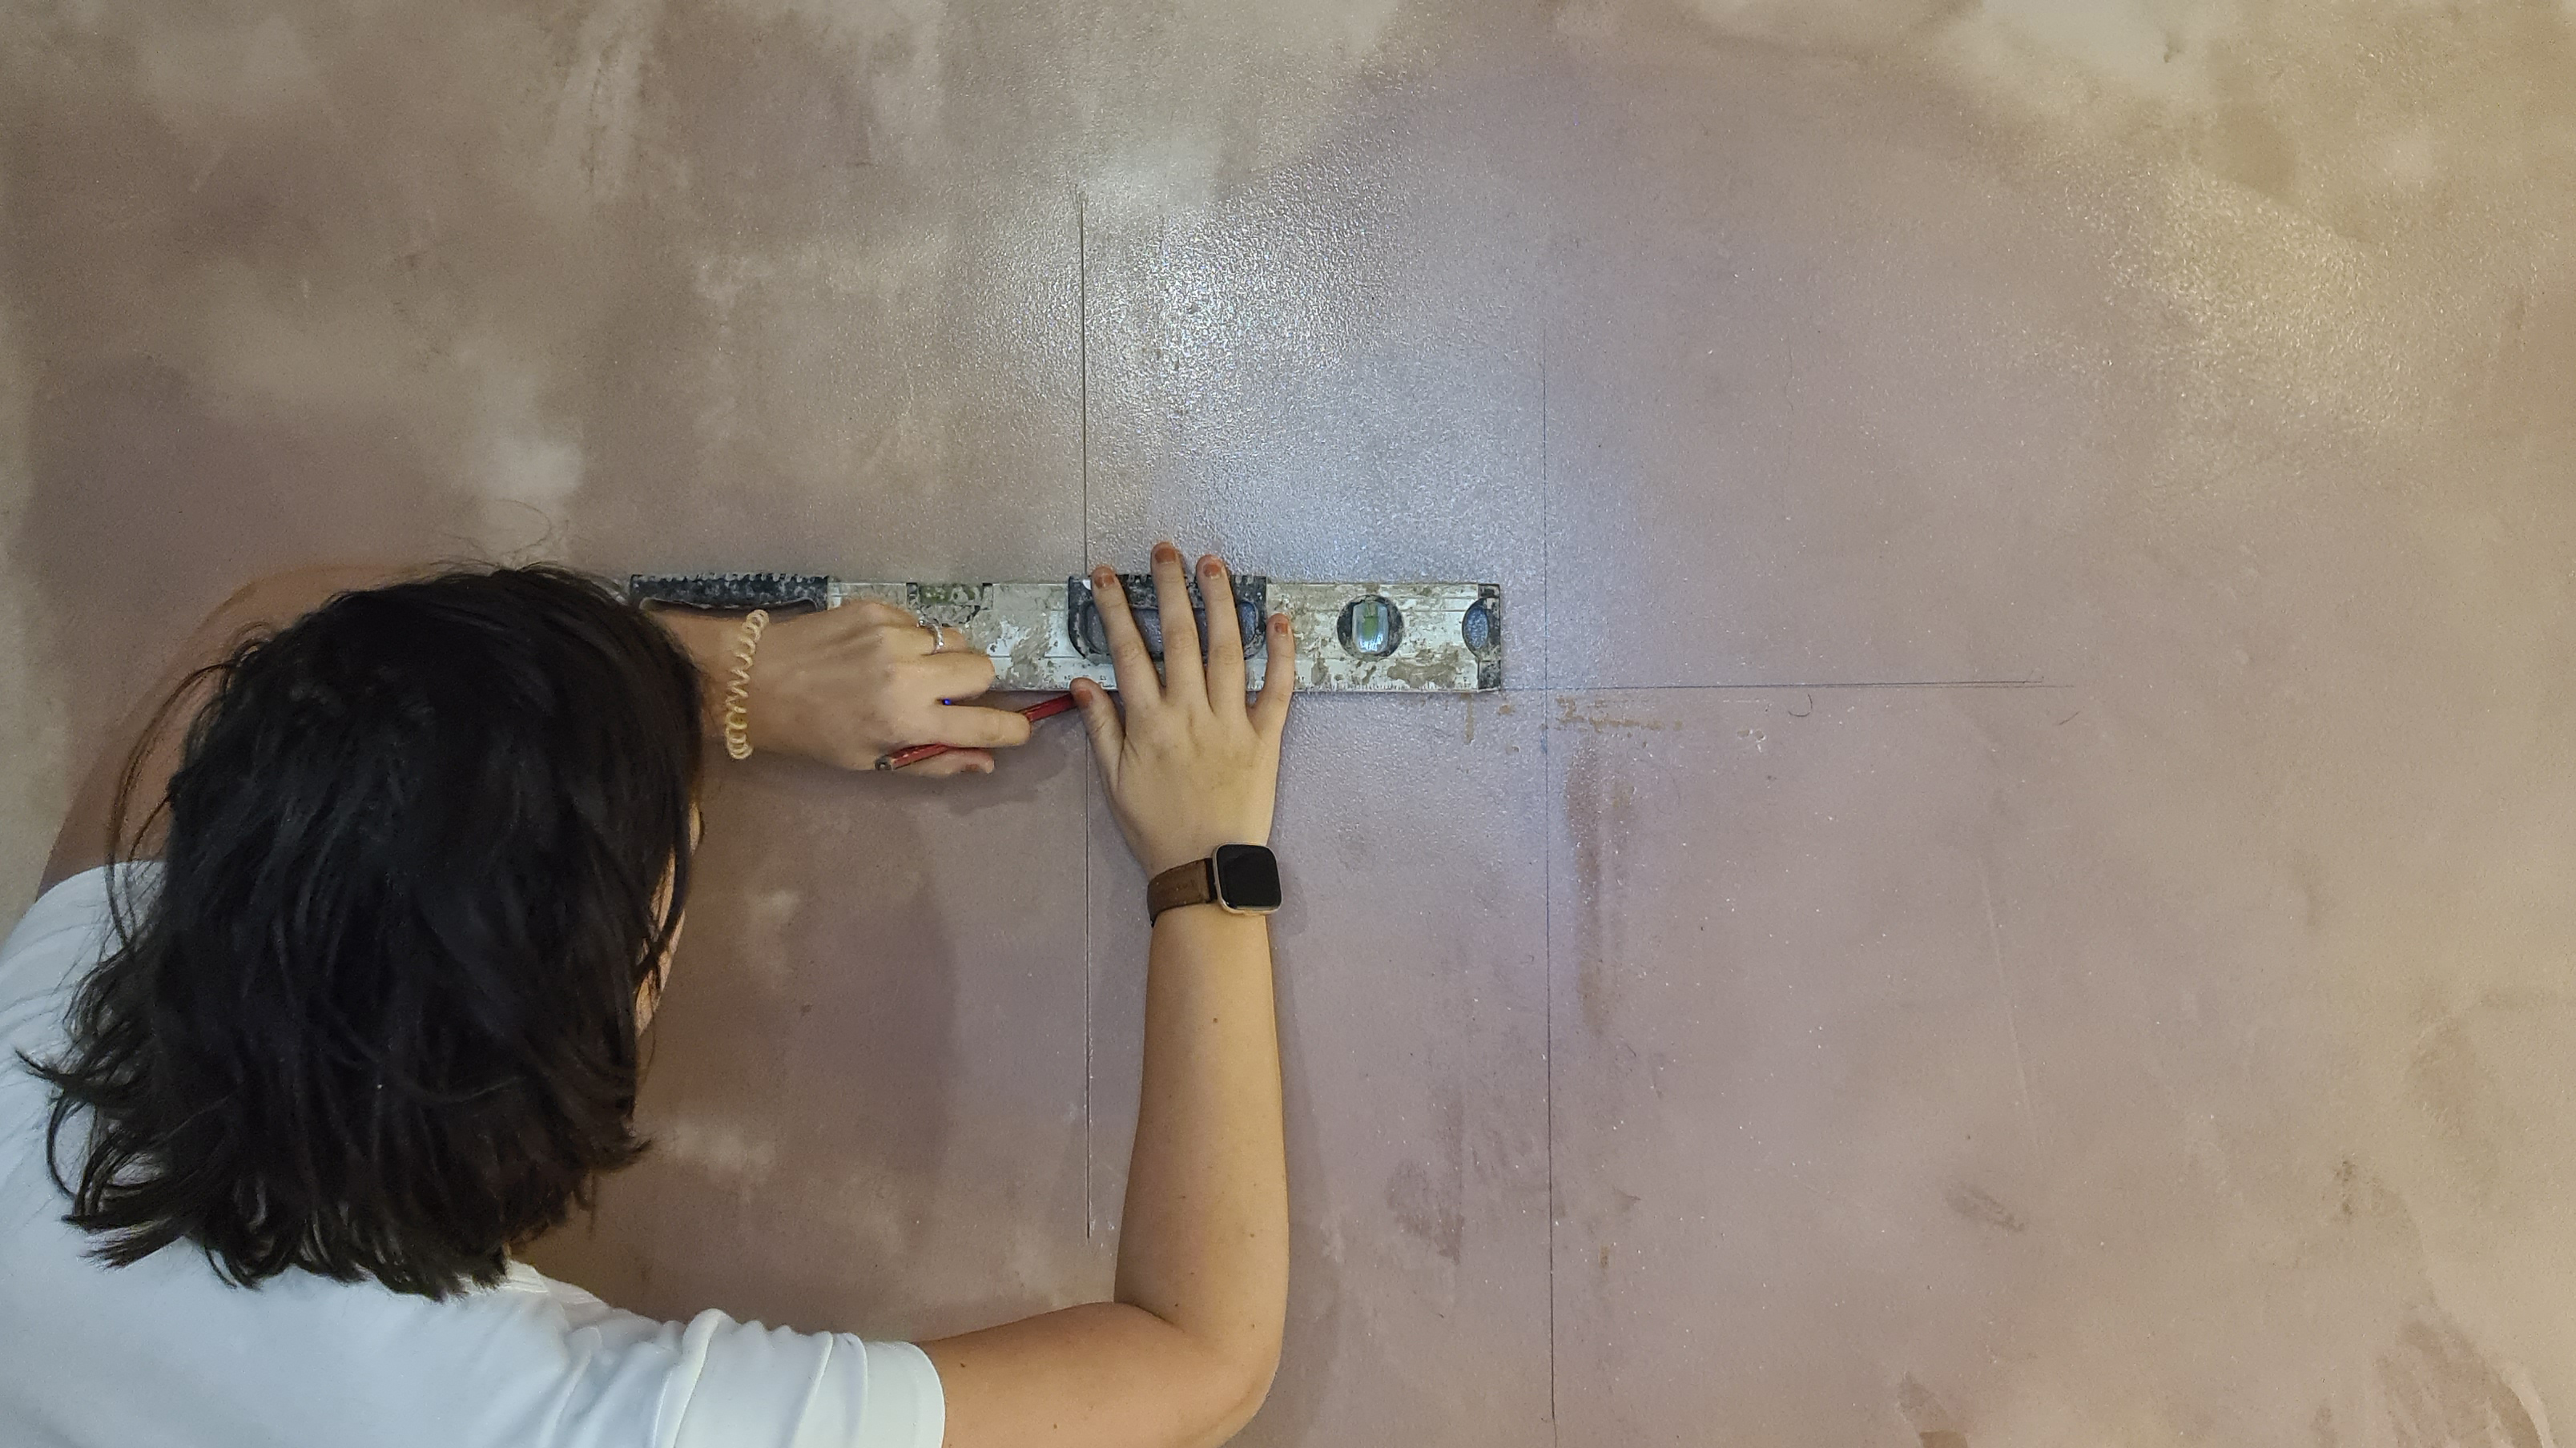
A good place to start is in the centre of the wall. Skirtings, ceilings and corners are rarely truly straight, so using these as a guide can result in very wonky tiling indeed.
Measure the length of the wall with a tape measure and mark the centre with a pencil. Do the same from the floor to the ceiling to get the true centre.
Using a laser or manual level, draw a cross in the centre of the wall. This will be your guide for placing your first tiles.
Before committing to this starting place, it can be useful to mark roughly on the wall where the tiles are due to finish. It can be tricky to cut very narrow slithers of tile, so choosing to start slightly off centre can help to avoid this eventuality.
Application
Step 3: Apply the Adhesive and Tile
Mix together the powdered adhesive with water, following the instructions on the pack. Use a drill with a mixing paddle for the best and smoothest consistency.
Choose a regular set adhesive over a fast-drying adhesive - this will give you more time to set your tiles and reposition them if needed.
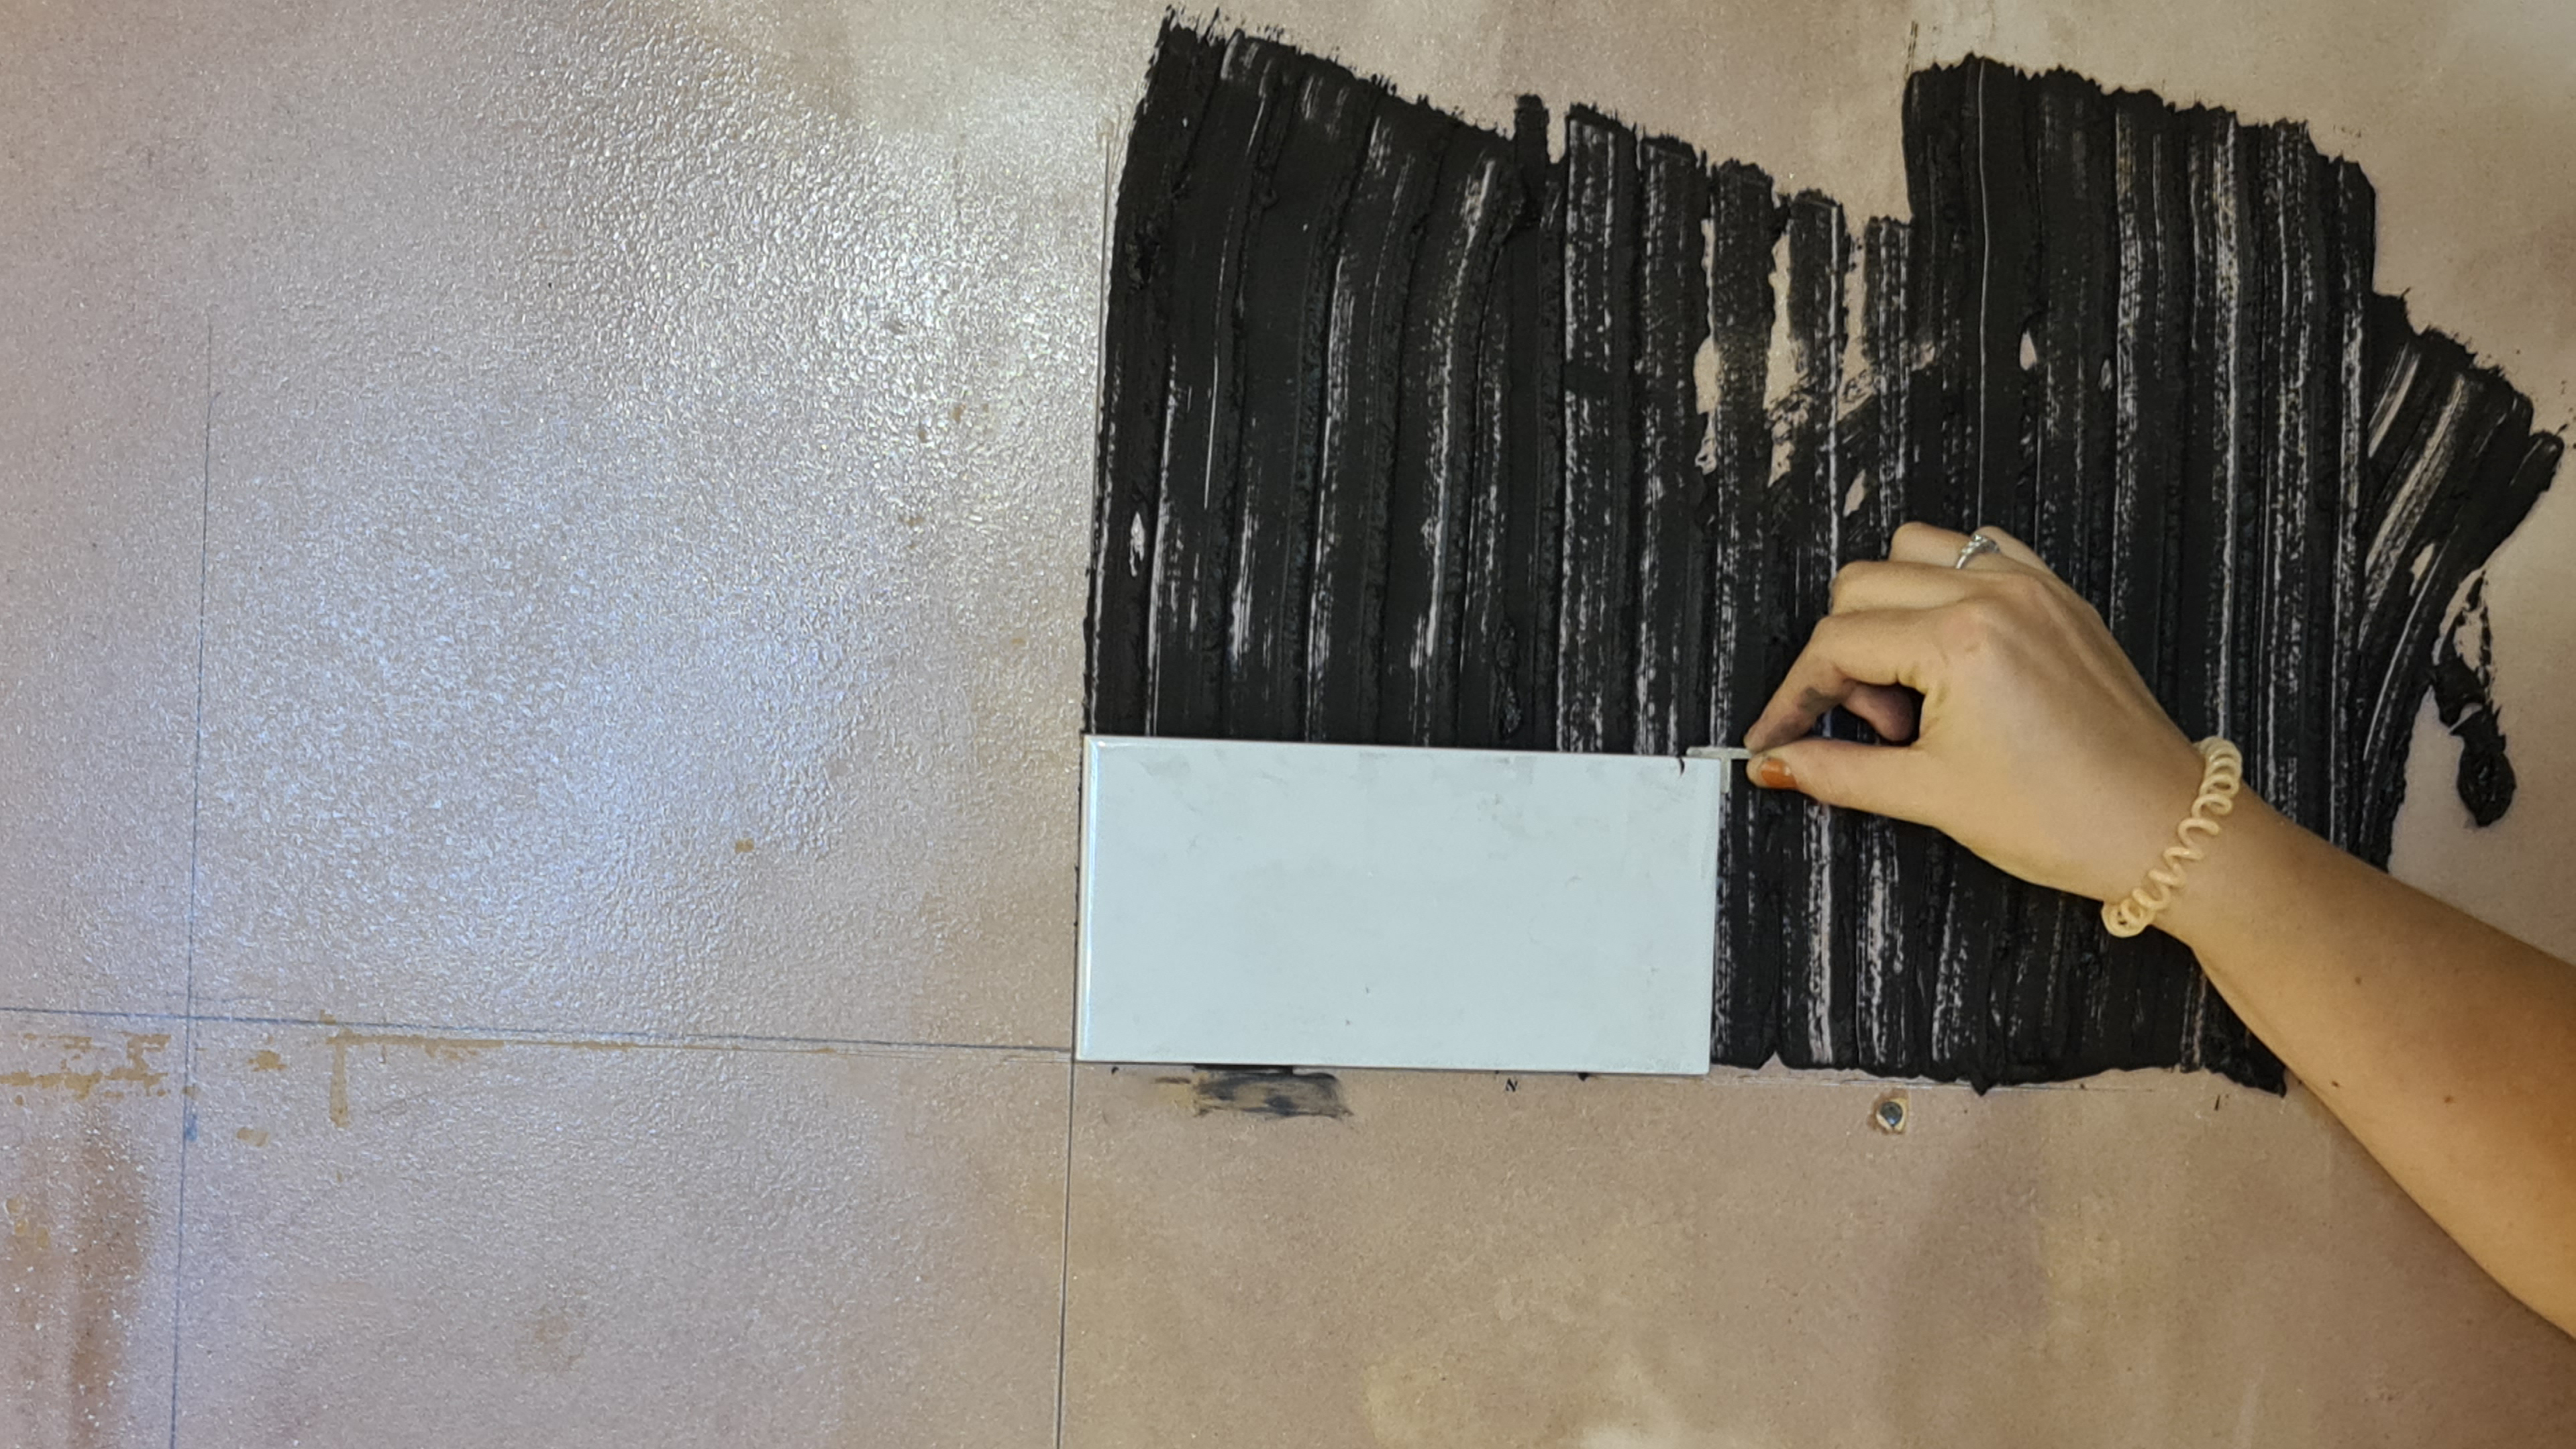
Start at the cross and apply the adhesive onto the wall using the notched edge of the trowel. Apply enough to complete a small area each time, before applying the next lot of adhesive, which will help to prevent the adhesive from drying out.
Press the first tile firmly onto the wall and place a tile spacer at the corner - this will keep them evenly distributed from one another.
You can place each tile directly above one another or in a staggered effect. To achieve the latter, find the centre of the tile and draw a line, use this to guide where to place the tile.
Step 4: How to Finish Edges
Edges can be finished with metal or plastic tile edging, or left raw and sealed with silicone to prevent moisture ingress.
Mark on the tile where the cut is required, making sure to allow a small gap for the spacer. Score along the line with a tile cutter and press down using the handle to snap the tile. Use a file on any visible cut edges for a smoother finish.
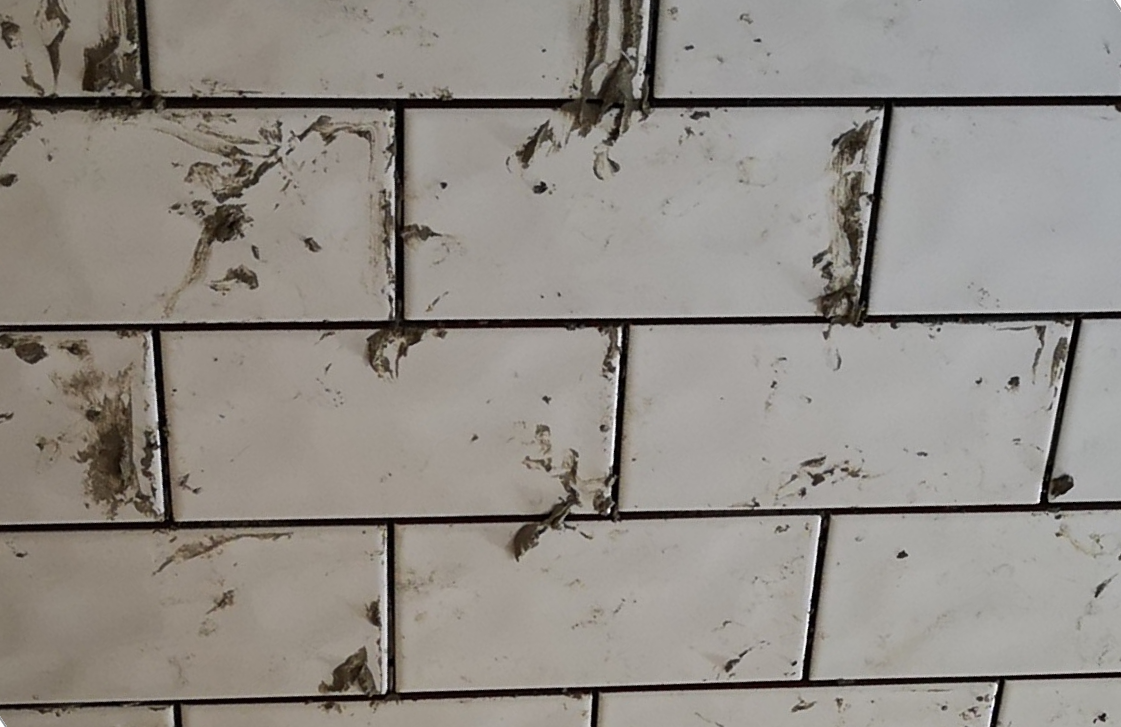
Wash off any excess on the tile with a sponge before it has a chance to dry. If it does dry, lie a wet towel over the adhesive to soften before trying to remove. Leave 24 hours for the adhesive to dry before returning to grout the gaps.
Use a grout spreader to push the compound into the gaps before washing down with a sponge. You can use an all-in-one tile adhesive and grout, or a separate grout if you want a specific colour.
Can I Tile Over Existing Tiles?
Yes. This can be an inexpensive way to update your space. You will need to prepare the existing tiles surface with a primer like Eco Prim Grip. Or you can sand down the tiles with a high grit sandpaper to make sure that the new tile has something to key to.
I have a Focal Point in my Room, can I Start Tiling There Instead?
Absolutely. It’s possible to start around any area of interest in the room, for example a tile recess in a shower space, or a prominent window.
Get the Homebuilding & Renovating Newsletter
Bring your dream home to life with expert advice, how to guides and design inspiration. Sign up for our newsletter and get two free tickets to a Homebuilding & Renovating Show near you.
Emma is a UK-based DIY educator and director of the social media brand DIY With Emma, whose primary mission is to help more people get into DIY through sharing DIY hacks and how-tos. The DIY influencer, whose videos have received millions of views, has recently renovated her 19th-century cottage on a tight budget, has also created DIY content for Homebuilding & Renovating.

