How to tile a bathroom floor: Our expert guide for all tile types
Do you want to know how to tile a bathroom floor? Here we reveal how to prep the floor, work out where to start, mix grout and how to lay the tiles

Learning how to tile a bathroom floor is a great DIY skill to add to your arsenal. It will save you a lot of money in trade fees and it’s a skill that is transferable to other areas in the home.
If you want to know how to tile a kitchen wall, you can use the same tools and skills. The same applies if you want to tile a bathroom. There are a few subtle differences but the basic principles are still the same.
Read on to embrace those skills and get a great looking, long lasting bathroom floor.
How to tile a bathroom floor: The tools you’ll need
- Tape measure
- Adhesive trowel
- Notched trowel
- Tile spacers
- Spirit level
- Tile cutter
- Protective wear
- Grout trowel
- Tile nipper
- Rubber mallet

How to prep and tile a bathroom floor
Tiling a bathroom floor is a four stage process that starts with the preparation and ends with grouting the floor tile. Here we look at the complete process.
1. Prep the floor
There are typically two types of floors when it comes tiling a bathroom floor, a concrete floor or wooden floor. Both need different preparation.
Concrete floor
Start by sweeping the floor to get rid of any dust and debris. Then mop the floor with clean warm water. If the floor has any grease stains use a scrubbing brush and warm water with a solution of sugar soap.
If the surface has any small cracks fill with a cement patching compound and trowel. Keep as level as possible. For larger cracks use a suitable levelling compound. When dry, finish the floor with a suitable concrete sealer like Polar Premium Dust Proof Concrete Sealer found at Amazon.
Wooden floor
Most bathroom floors will already be covered in board such as plywood or hardboard. If this is the case check for areas that might have lifted and nail down with panel pins or small screws, making sure you have an awareness that there may be pipes and wires underneath (you don't want to screw or nail through these).
If the floor is standard floorboards they will need to be covered with boards before you start. Measure and make sure you have enough to cover the floor. You can use 4mm or 6.5mm plywood or 3mm or 6mm hardboard.
Before you start, check for any creaky floorboards and screw down. Measure up and cut to size. Now screw down if using plywood or nail down with panel pins if using hardboard. Locate pipes or wires under the floorboards with a detector like the Bosch detector Truvo found at Amazon.
2. Decide where to start
Mark the middle of the room with a pencil and start to lay your tiles from the middle to the wall. If the last tile - by the wall - is less than half a tile width, adjust the start point until the last tile is around half a tile width or more. Now dry lay the tiles to the opposite wall. Adjust until you have an even finish on both sides. Mark with pencil so you don't forget the start position. You should already have decided on your tile pattern, obviously, for this stage.
Now dry lay the tiles in the opposite direction (if you have done the width, work out the length). The principle is the same, lay into both directions until you get an even match at both walls.
This might seem like a lot of work, but it is important that you get this right before you start. It will ensure that you get a good looking finish and pattern that you are happy with.
3. Spread adhesive and lay tiles
Prepare your tile adhesive in a bucket or use a ready mixed option like Mapei Ultimate Showerproof Ready Mixed Cream Tile Adhesive at B&Q to save time. The consistency of the adhesive is important, you don't want it too runny or too thick as this will be difficult to use, so if mixing it yourself make sure you understand how to achieve the consistency you need. Also, bear in mind that some natural stone can absorb the colour of the adhesive so make sure you do your research with this in advance. Don't use dark grey adhesive with your stunning, expensive buttery-white limestone!
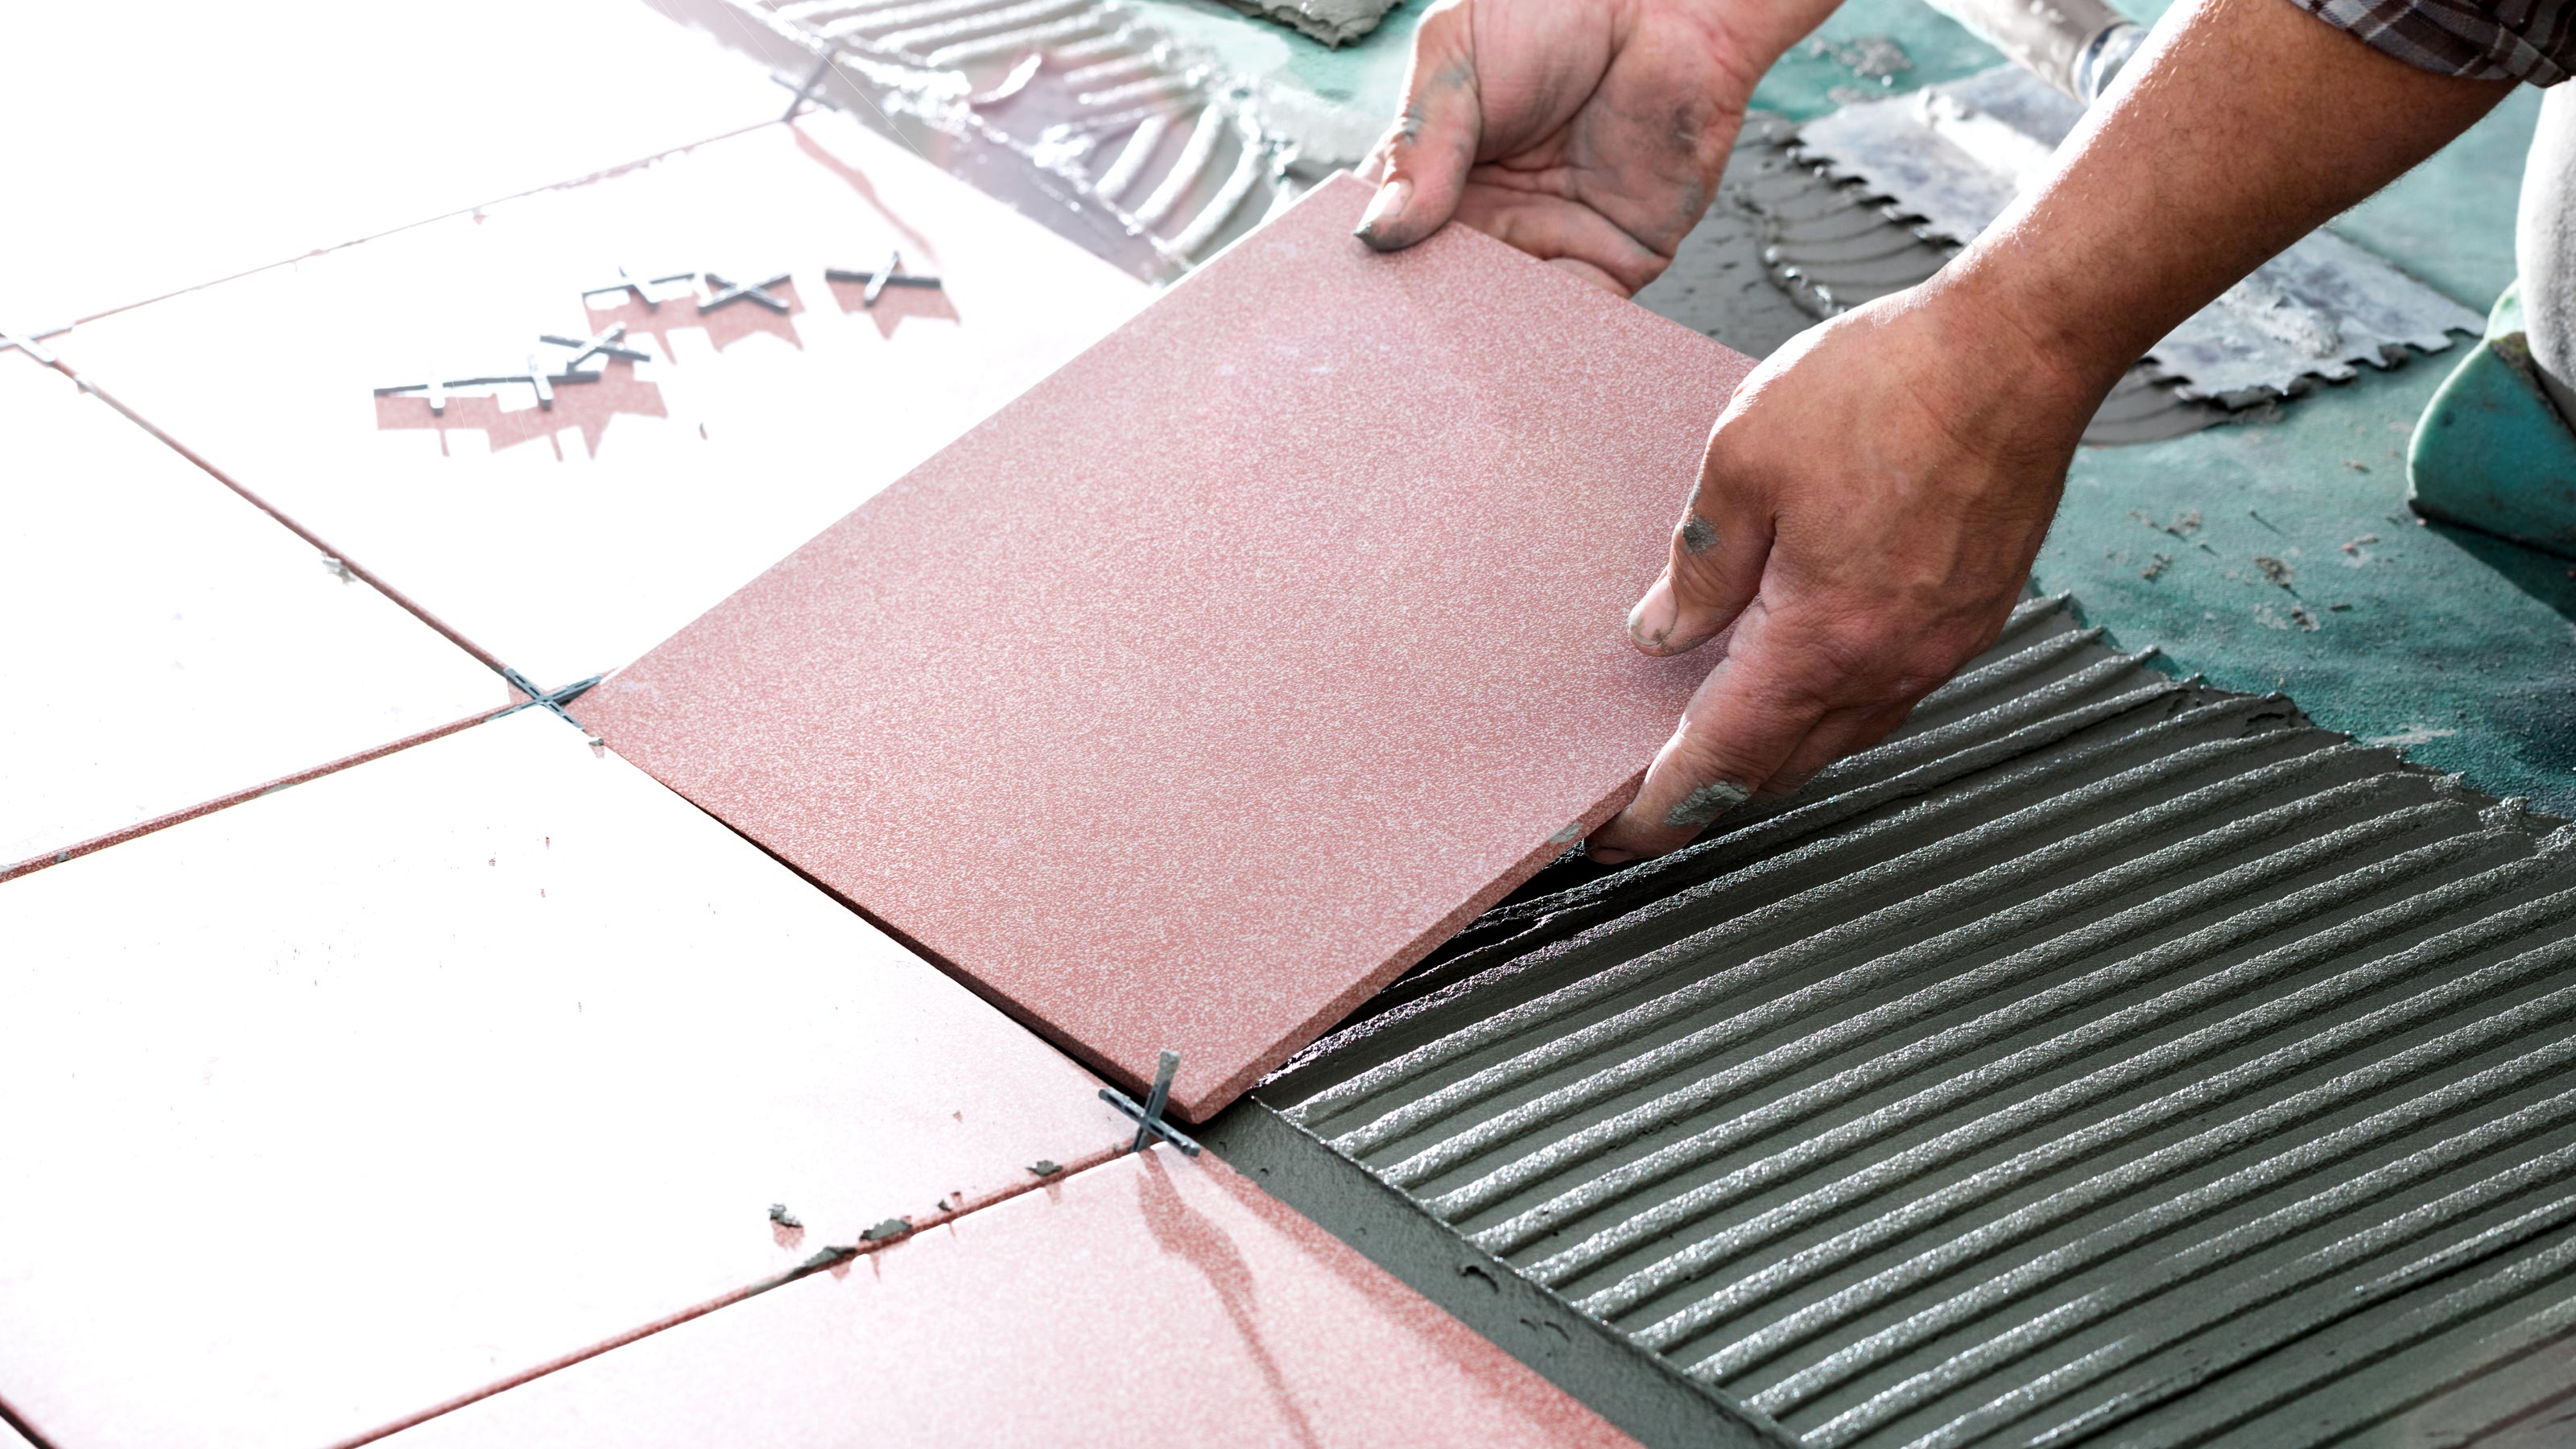
Now get a notched trowel with 10mm notches for most floor tiles. If using larger tiles get a notched trowel with larger grooves. Now start in the middle - where you marked on earlier - and evenly spread enough tile adhesive for the first tile. Butter the back of the tile and lay the tile and tap gently with the back of your fist or a rubber mallet to push on to the adhesive. Now get a spirit level to make sure it's level in all directions. Wipe any adhesive off the top of the tile with a wet cloth (this becomes tricky to remove once dry), being careful not to move the tile. Do not walk or put any weight on the tile until the adhesive is dry.
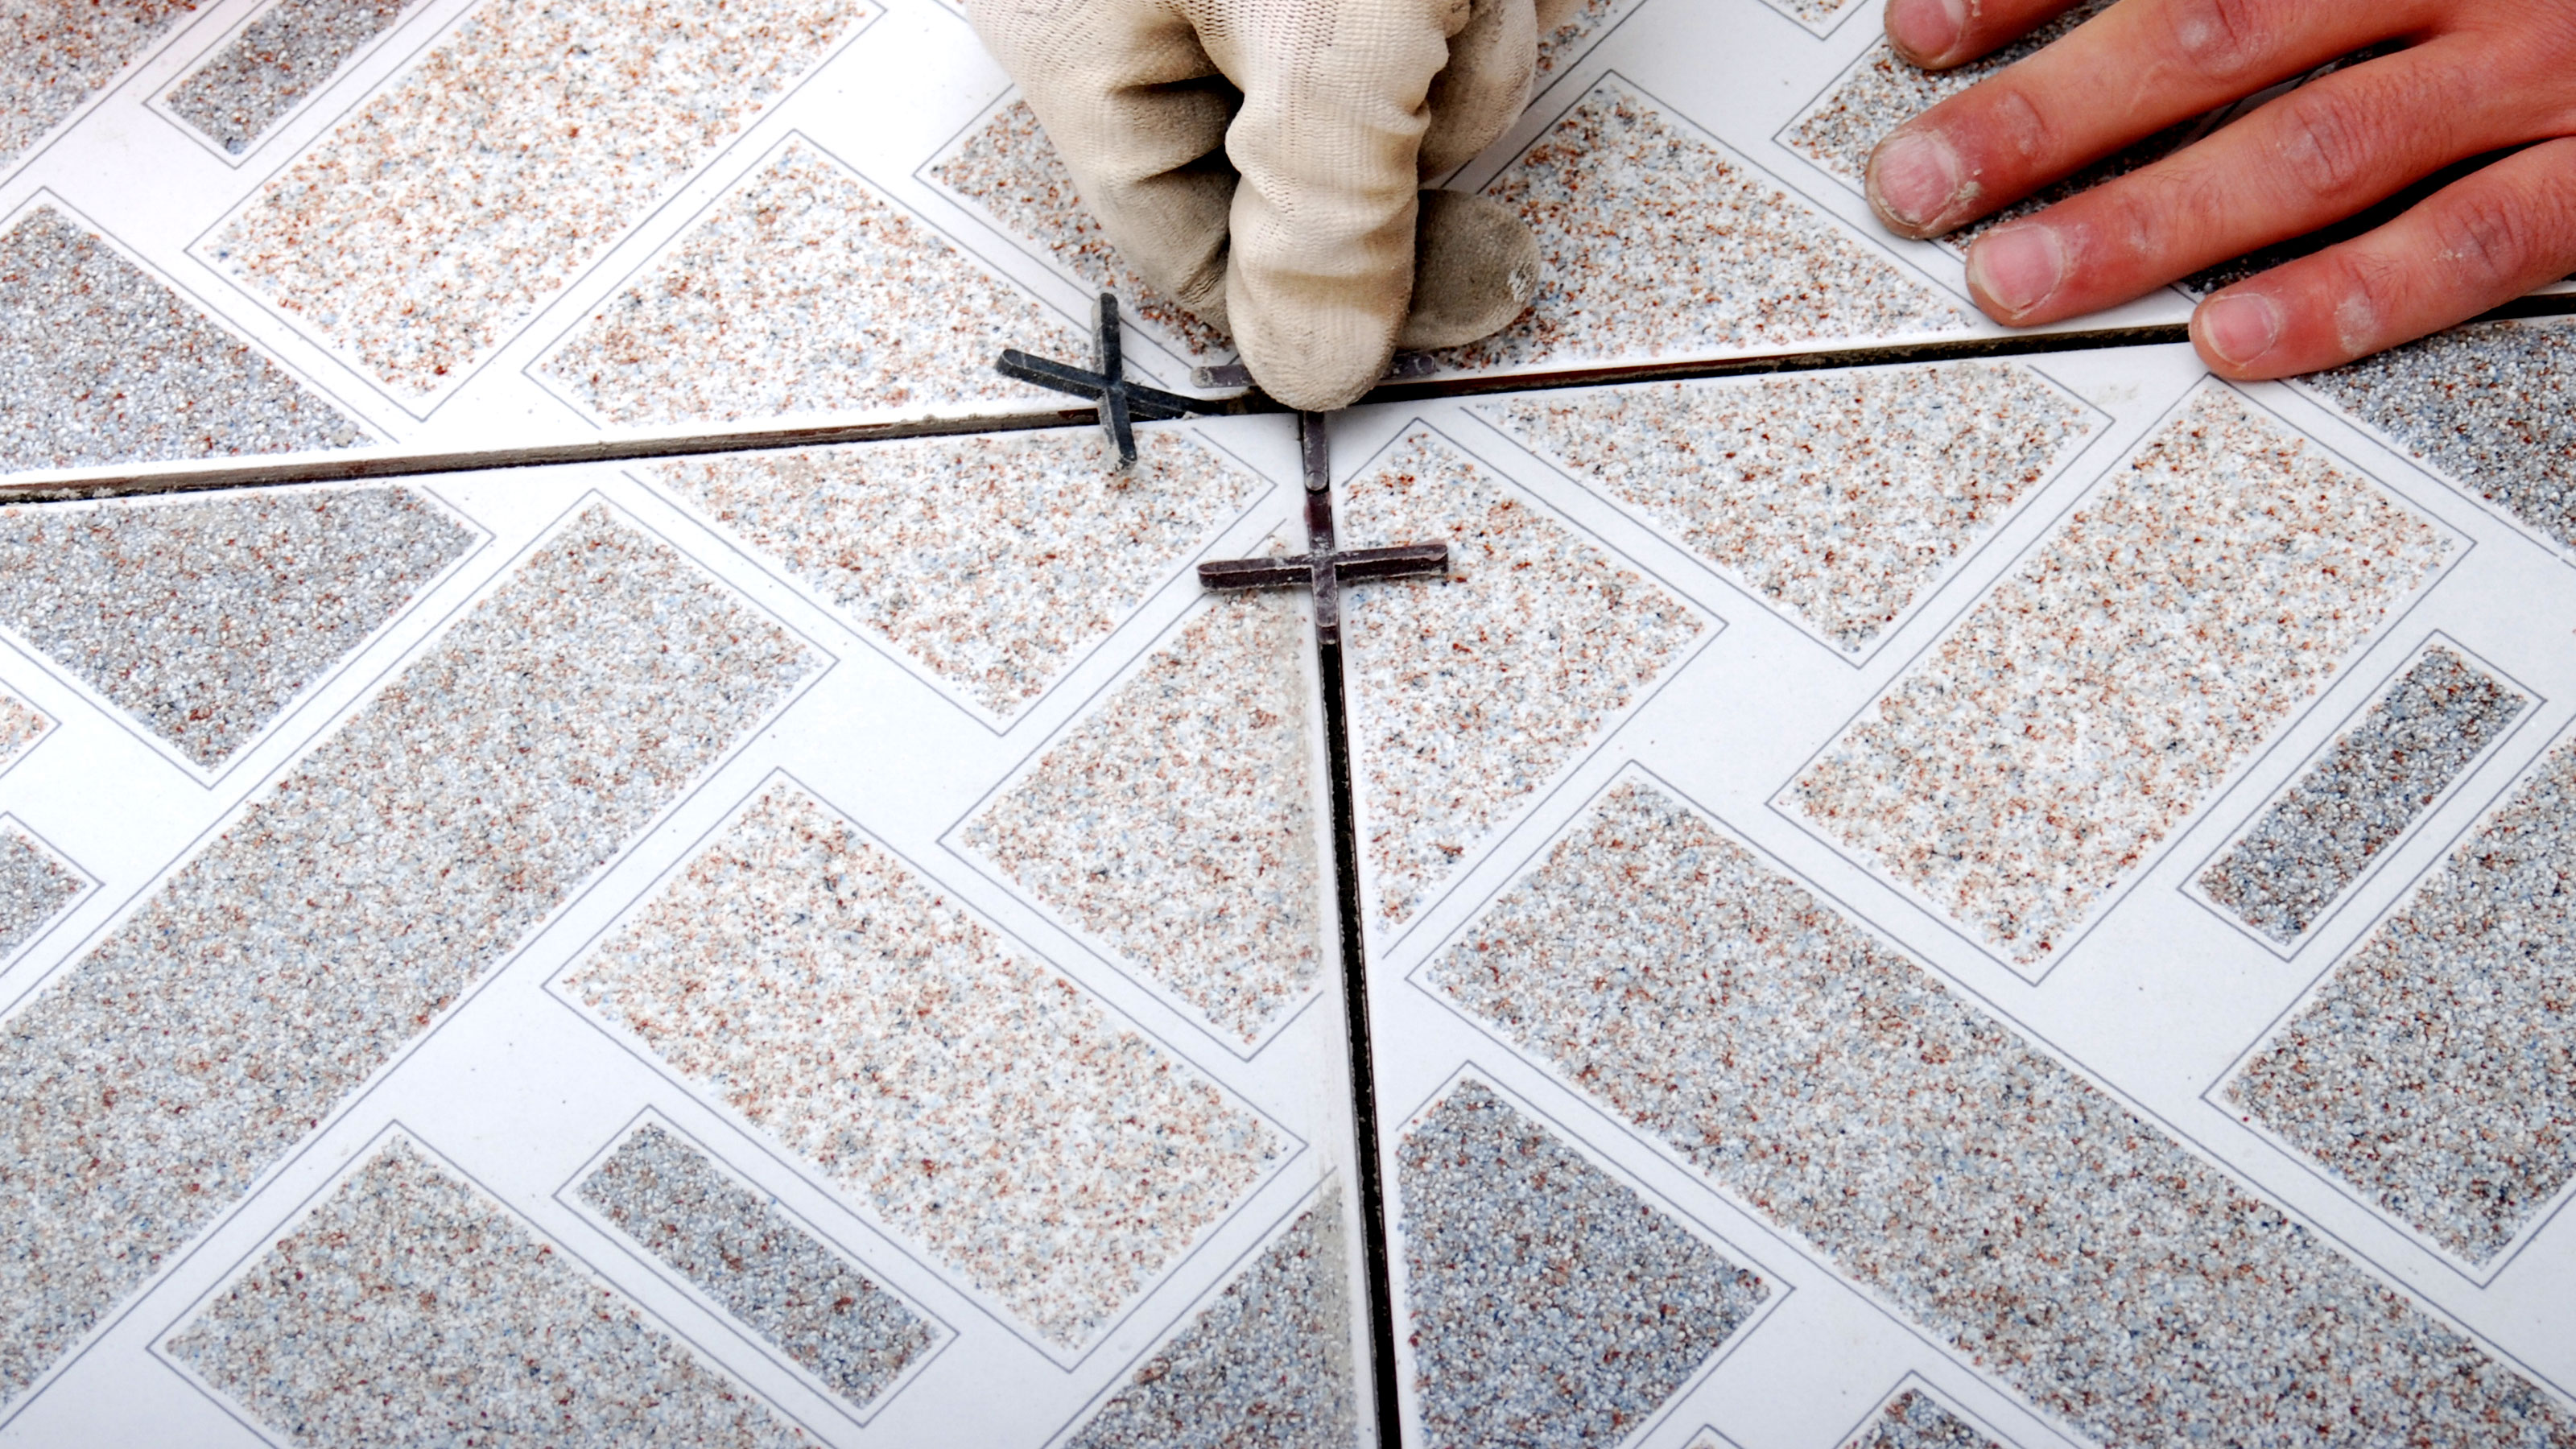
Now repeat the process for the remaining whole tiles, leaving cuts until the end. Use spacers to wedge in the gaps between tiles to maintain a consistent gap size, although these may be irrelevant if using a tile like flagstones with uneven edges. Remove these spacers before grouting.
For your cuts, make sure you have access to these areas without needing to put any weight on newly laid tiles. If you don't, wait until the adhesive under them has dried. For standard straight cuts a manual tile cutter like the Mac Allister 400mm Manual Tile cutter from B&Q is a good budget option. But for larger tiles or natural stones you may need to invest or hire a large tile cutter with diamond blade. Marble in particular is very difficult to cut without chipping, so make sure you have the appropriate cutting tool and research it beforehand. Measure and mark with a felt tip, place the tile under the cutter, line up the mark and pull the cutter across the tile and push down. The tile will crack with a neat straight line. For curves use a pair of tile nippers.
4. Seal natural stone tiles
Depending on what type of tile you have chosen, you may need to apply sealant before grouting.
Limestone and other natural stones often need washing down, drying and then sealing before and after grout is applied. The LTP Mattstone sealer, which you can buy on Amazon, is very good and a small bottle will go a fairly long way. To seal your tiles, simply apply the sealant with a clean paint brush and leave to dry. LTP also do a heavy-duty grout remover and LTP Grimex tile cleaning product for washing down but make sure you follow the manufacturer instructions and do a tester as some stones can react to the chemicals in it and become discoloured.
5. Grout your tiles
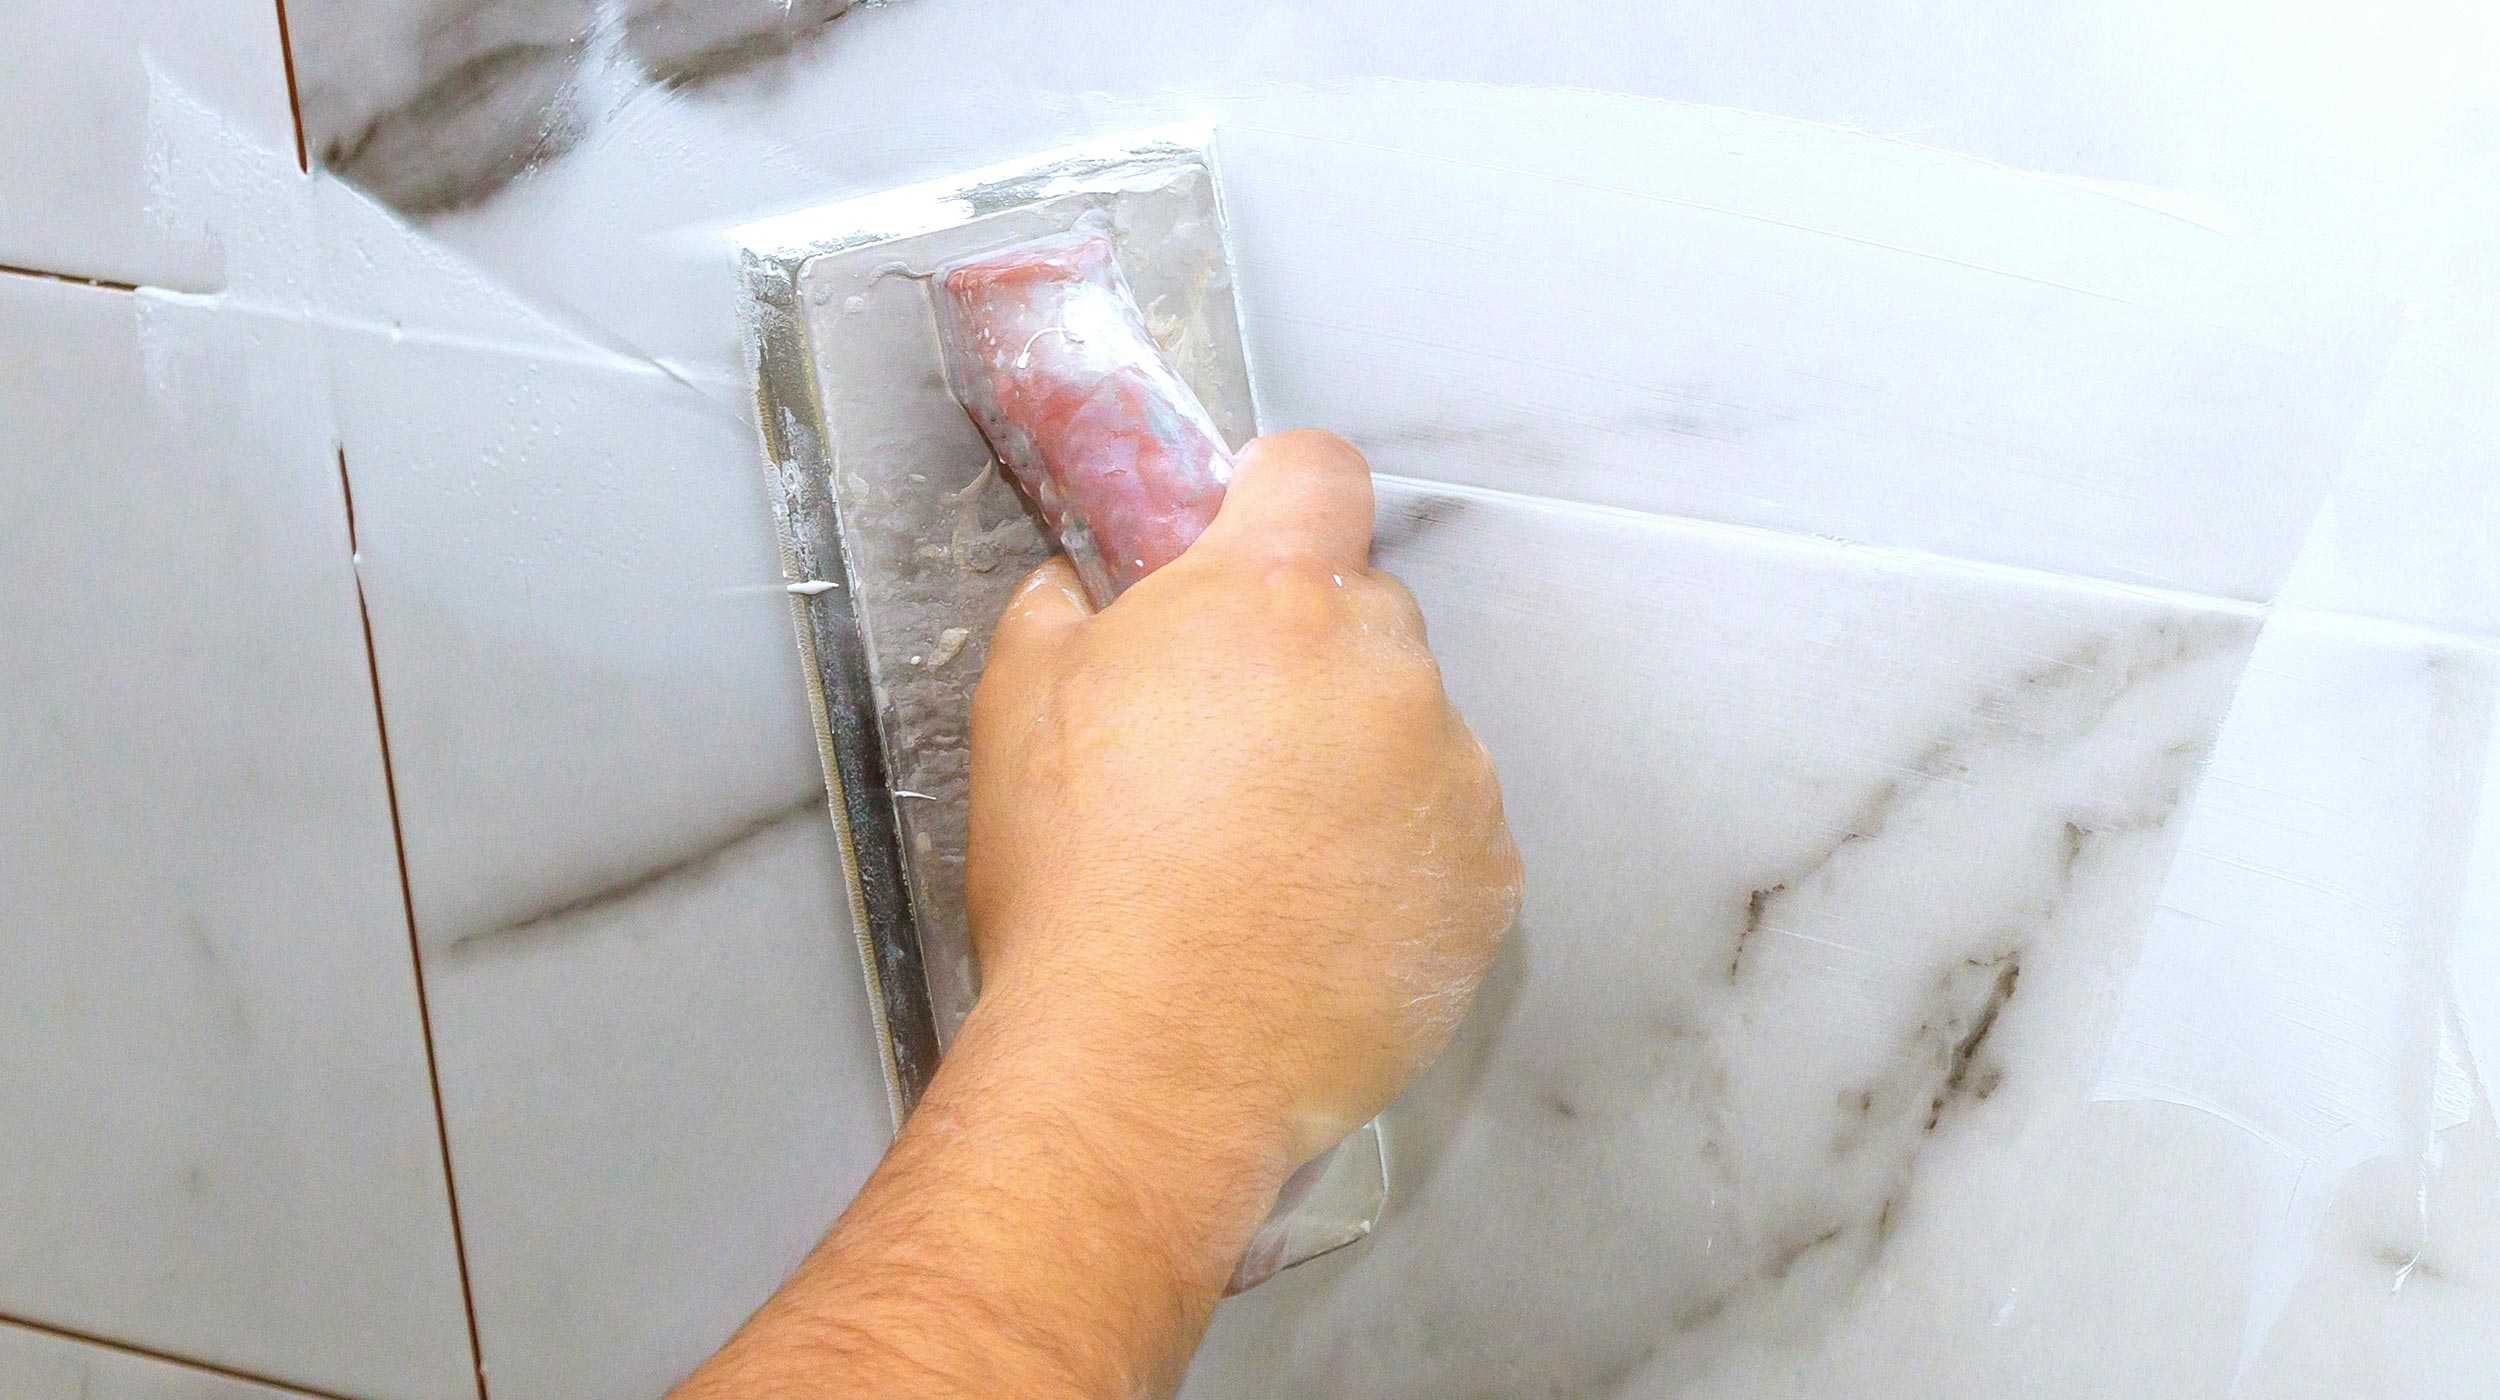
Grouting floor tiles is the finishing touch for a newly tiled floor. Knowing how to mix grout is a straightforward task, but make sure you follow the manufacturer's instructions to get it right. Grout tends to be a firmer mix, otherwise it won't hold. Only mix up enough for 3 or 4 square metres - or how much you can use in 15-20 minutes. As the grout will start to dry out and be hard to apply.
When grouting floor tiles you will need a grout towel to apply the grout. Push the grout into the gap from all directions to make sure that it is worked in properly. Now put on rubber gloves and get a large sponge and wipe over the grout. Repeat until the grout has been removed. Wait for the grout to dry and then wipe off the grout film with a clean dry cloth.
6. Seal your grout and tile
Once the grout has dried you can wash the tile over again and seal the tile and grout to prevent discolouration.
Oh and for all this work on your knees on a cold, hard floor, it's well worth investing in some knee pads or a knee board.

What size tile spacers should I use for floor tiles?
The common choice for tiled floors is 5mm spacers like these Vitrex 5mm Floor Tile Spacers found at Amazon. The minimum size to use is 3mm spacers which are typically used on walls. The maximum size to use is 10mm tile spacers.
Spacer commonly come in packs of 100 or 250, a 250 pack should be enough for any floor tiling job. Instead of placing flat and covering with grout, place vertically - two on each side - so they can be reused once tile adhesive is dry.
How do I remove old floor tiles?
Before you start make sure to put on protective goggles to stop any shards or splinters getting in your eyes. Now get a claw hammer and start to break up the first tile starting in the middle.
Once the tile starts to break up, hook up the loose bits and throw them into an empty bucket. Now get a wide masonry chisel like the Estwing 4-Inch Wide Hex Shaft Masonry Chisel from Amazon and place it under the edge of a tile and hit with the hammer to push out. Repeat this until all the tiles have been removed.
For larger stone tiles, you will probably need a crowbar to lever them up instead.
How many tiles will I need for a floor?
If you're lucky you will have a neat square or triangular room with no recesses that is easy to measure. Simply multiply the width by the length to get the square meterage. If your bathroom has a number of recesses (which it probably will do) then you will need to divide the room into smaller squares and rectangles and add together.
Check out our How many tiles do I need? guide for a more in-depth guide to working out what you’ll need. Remember to add a good buffer (10% often) so you have enough tiles to do all the cuts at the room's sides.
Get the Homebuilding & Renovating Newsletter
Bring your dream home to life with expert advice, how to guides and design inspiration. Sign up for our newsletter and get two free tickets to a Homebuilding & Renovating Show near you.
Steve Jenkins is a freelance content creator with over two decades of experience working in digital and print and was previously the DIY content editor for Homebuilding & Renovating.
He is a keen DIYer with over 20 years of experience in transforming and renovating the many homes he has lived in. He specialises in painting and decorating, but has a wide range of skills gleaned from working in the building trade for around 10 years and spending time at night school learning how to plaster and plumb.
He has fitted kitchens, tiled bathrooms and kitchens, laid many floors, built partition walls, plastered walls, plumbed in bathrooms, worked on loft conversions and much more. And when he's not sure how to tackle a DIY project he has a wide network of friends – including plumbers, gas engineers, tilers, carpenters, painters and decorators, electricians and builders – in the trade to call upon.

