Skimming Plasterboard: A Step-by-Step Guide
Learn the art of skimming plasterboard walls with this easy to follow guide from British Gypsum
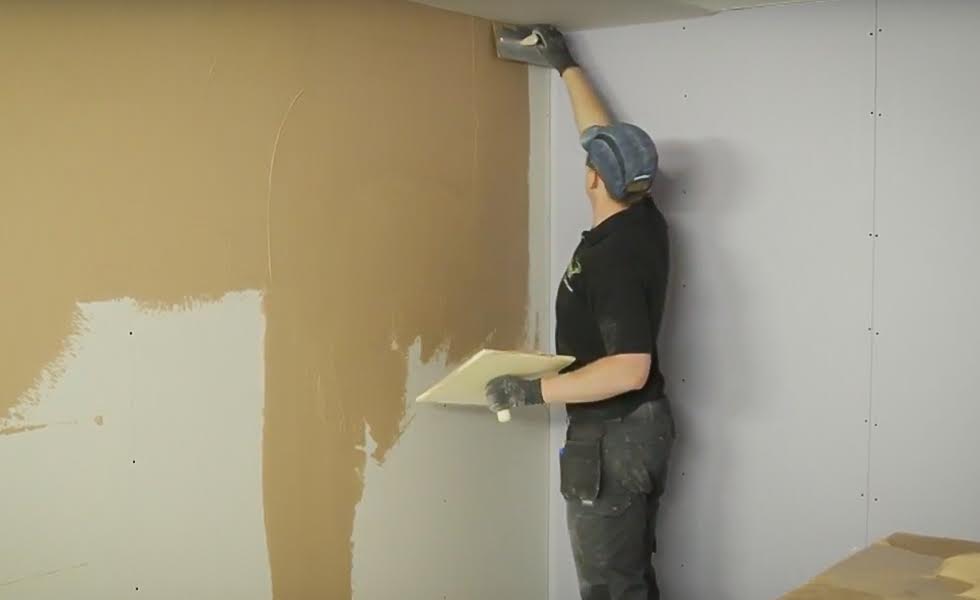
Skimming plasterboard walls creates a smooth base finish ready for the next steps of your home renovation, whether that is painting, wallpapering or tiling.
Once your room is plasterboarded, you can start this process — however, it is time-sensitive, so take a moment to get to grips with the process and have all the tools you need at hand.
Important details, including the recommended thickness of skim layer and the plaster to water ratio, will be printed on the packaging of the plaster.
Toolkit for Skimming Plasterboard
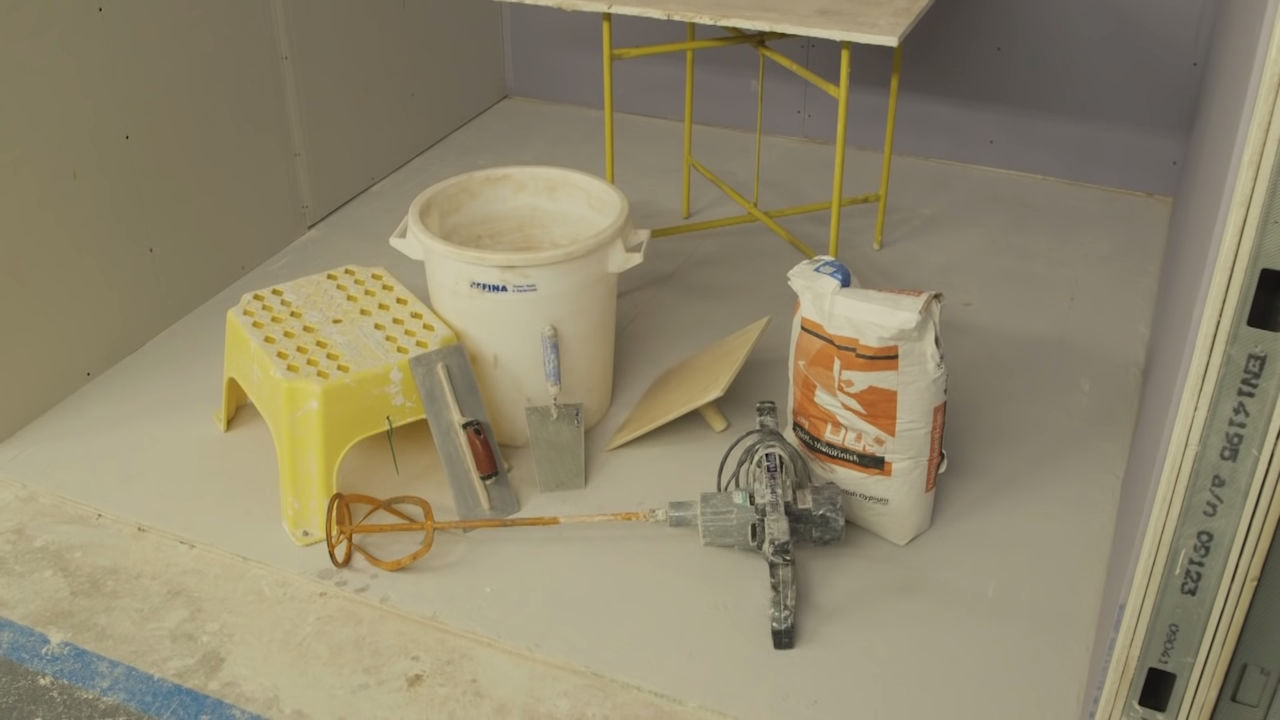
- Plaster
- Large bucket
- Clean water
- Electric mixer
- Stainless steel trowel
- Hawk
- Float
- Hop-up/portable step
- Spot and stand
- Large paintbrush
How to Skim a Plasterboard Wall
1. Measure your wall (height x width) to calculate how much plaster you require to cover the entire surface. The instructions on the bag of plaster will guide you to the correct amount of plaster for this job.
2. Add the correct amount of water to the large bucket first, and then slowly add the plaster, stirring with the trowel as you go.
3. Mix the plaster and water using the electric mixer. The finished consistency should be smooth and about the thickness of double cream.
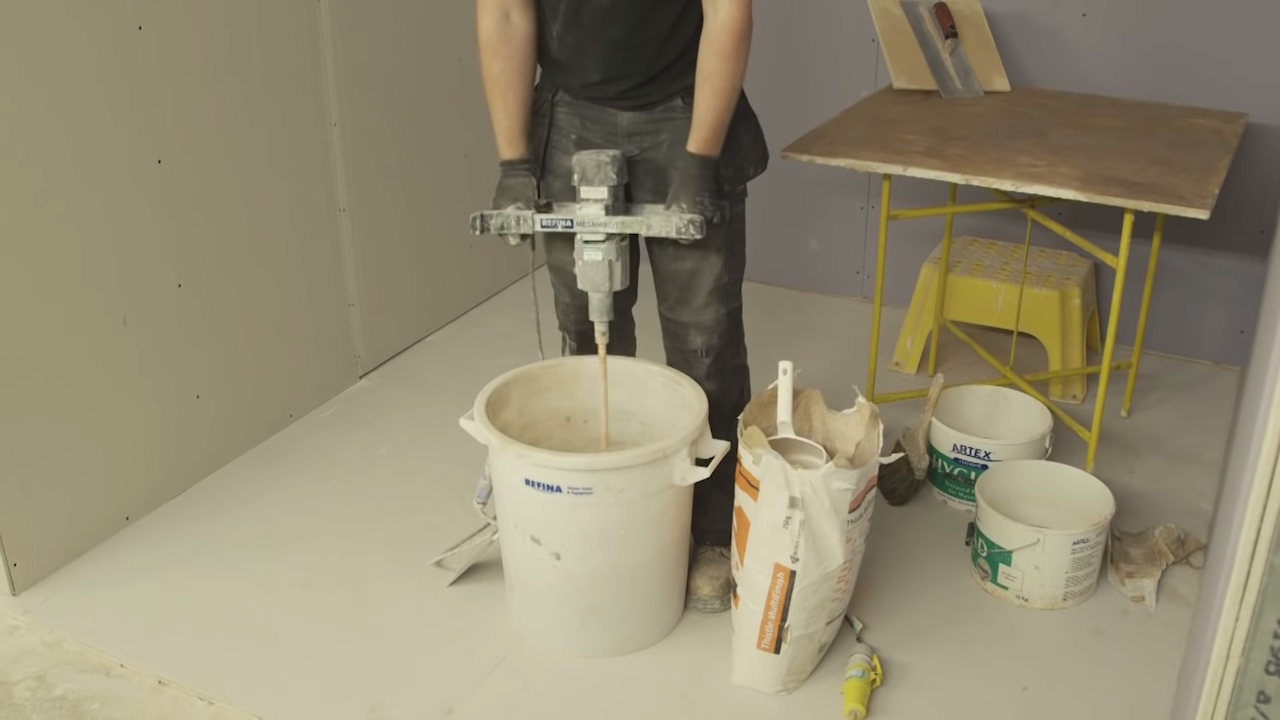
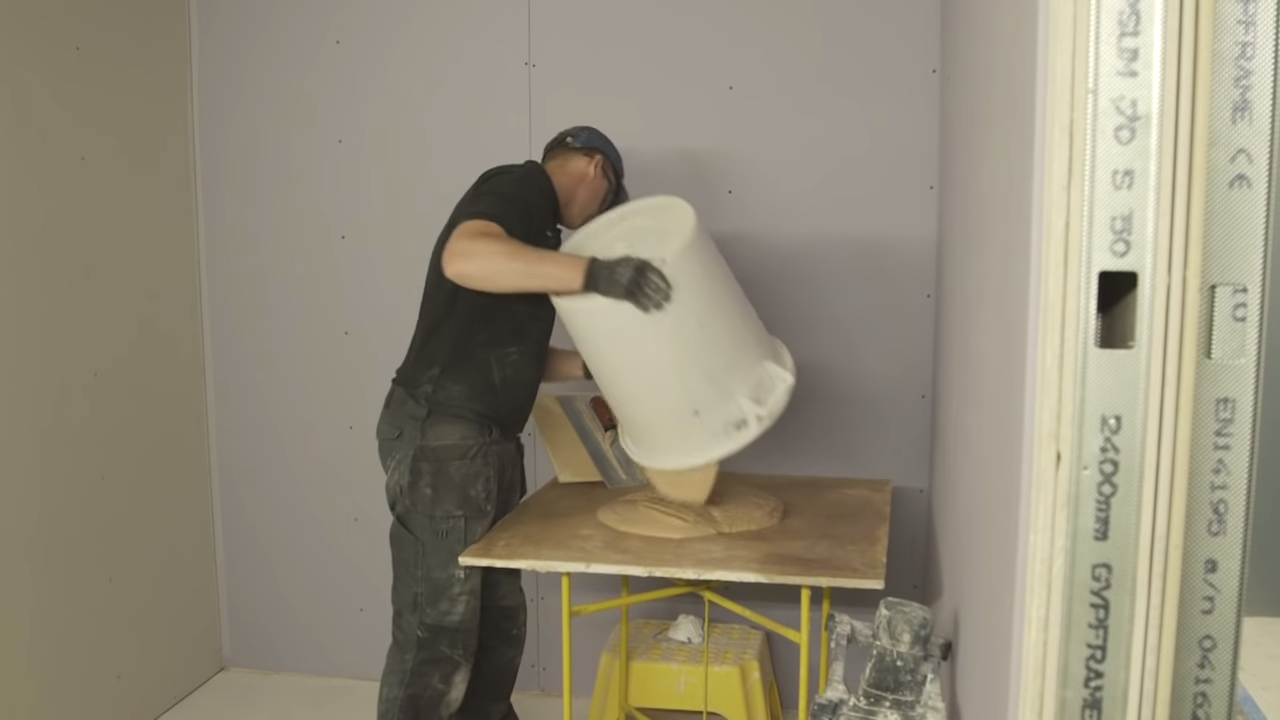
4. Transfer the plaster mix to your spot and stand.
5. Brush some water over your hawk to moisten the surface
6. Using your float, scrape a thin layer of plaster over your hawk as this will make the hawk slightly tacky, and better able to hold your mixture. Once a lump of the plaster mix is on the hawk, it should stick when held upside down — if it doesn’t the mixture may not be thick enough.
7. With a portion of plaster on your hawk, start applying the plaster to the wall with your float. Hold the float at a 20 degree angle to the wall. If you are right handed, start at the top left of the wall and work across to the right. If you’re left handed, start at the top left and work your way across to the right. You should aim for a thickness of around 1–2mm. The plaster you have mixed should last around 40 minutes before starting to set.
8. Cover the entire surface in one go — don’t stop halfway. Ensure you go right to the edges, top and bottom. Don’t worry too much about lines or small imperfections in the plaster at this stage — just ensure there are no large lumps or bumps.
9. Once completed, wait 10–15 minutes and do a gentle touch test. Your finger should leave a very slight mark on the wall, but not a full fingerprint. If it does leave a print, wait a little longer.
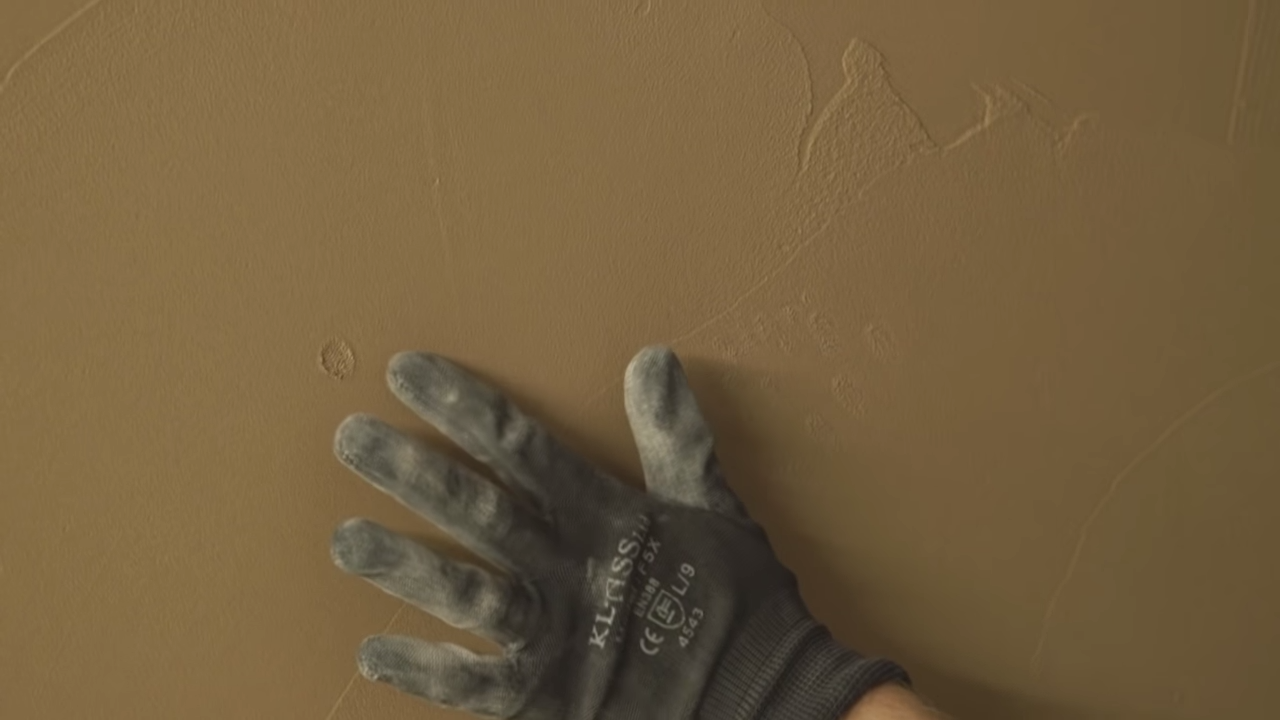
10. With a clean float, go quite firmly over the plaster to smooth out any lines or imperfections before you add your second coat of plaster.
11. Following the same steps as before, measure, mix and apply a second layer of plaster to the wall, at around the same thickness as before.
12. Once the second coat is beginning to dry (touch test again), you can start ‘closing in’ the wall, running your metal float over the wall to smooth out any imperfections.
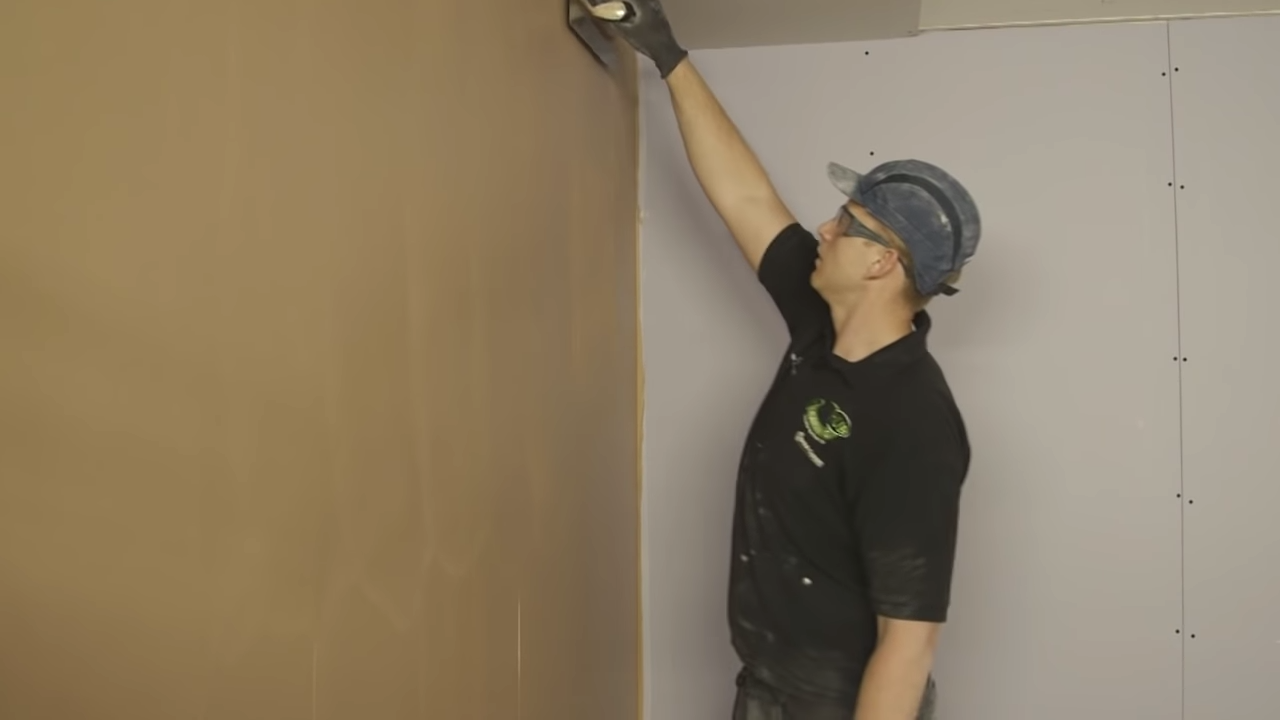
13. You should repeat this stage three or four times, at 10–15 minute intervals to ensure the plaster is as smooth as possible.
14. On the final round of closing in, you should use a clean, dry paint brush to wipe the plaster from the edges and corners between wall and ceiling, and any adjoining walls.
15. Leave to dry, and clean your tools off for the next job.
Get the Homebuilding & Renovating Newsletter
Bring your dream home to life with expert advice, how to guides and design inspiration. Sign up for our newsletter and get two free tickets to a Homebuilding & Renovating Show near you.
Matt is Homebuilding & Renovating’s Video Producer. Having worked in video & TV since 2004, Matt joined the Homebuilding & Renovating team in 2016, and is the man behind the videos on Homebuilding & Renovating’s and Real Homes’ YouTube channels. With a strong interest in architecture and interior design, Matt’s a keen DIY-er, and has been growing his knowledge and skillset by filming self-builders, architects and homebuilding experts and following their lead.

