How To Scribe Skirting Boards: Get The Perfect Corner Cut
Want to know how to scribe skirting boards? We show you how to get a flawless fit and tell you why they can be better than mitre joints

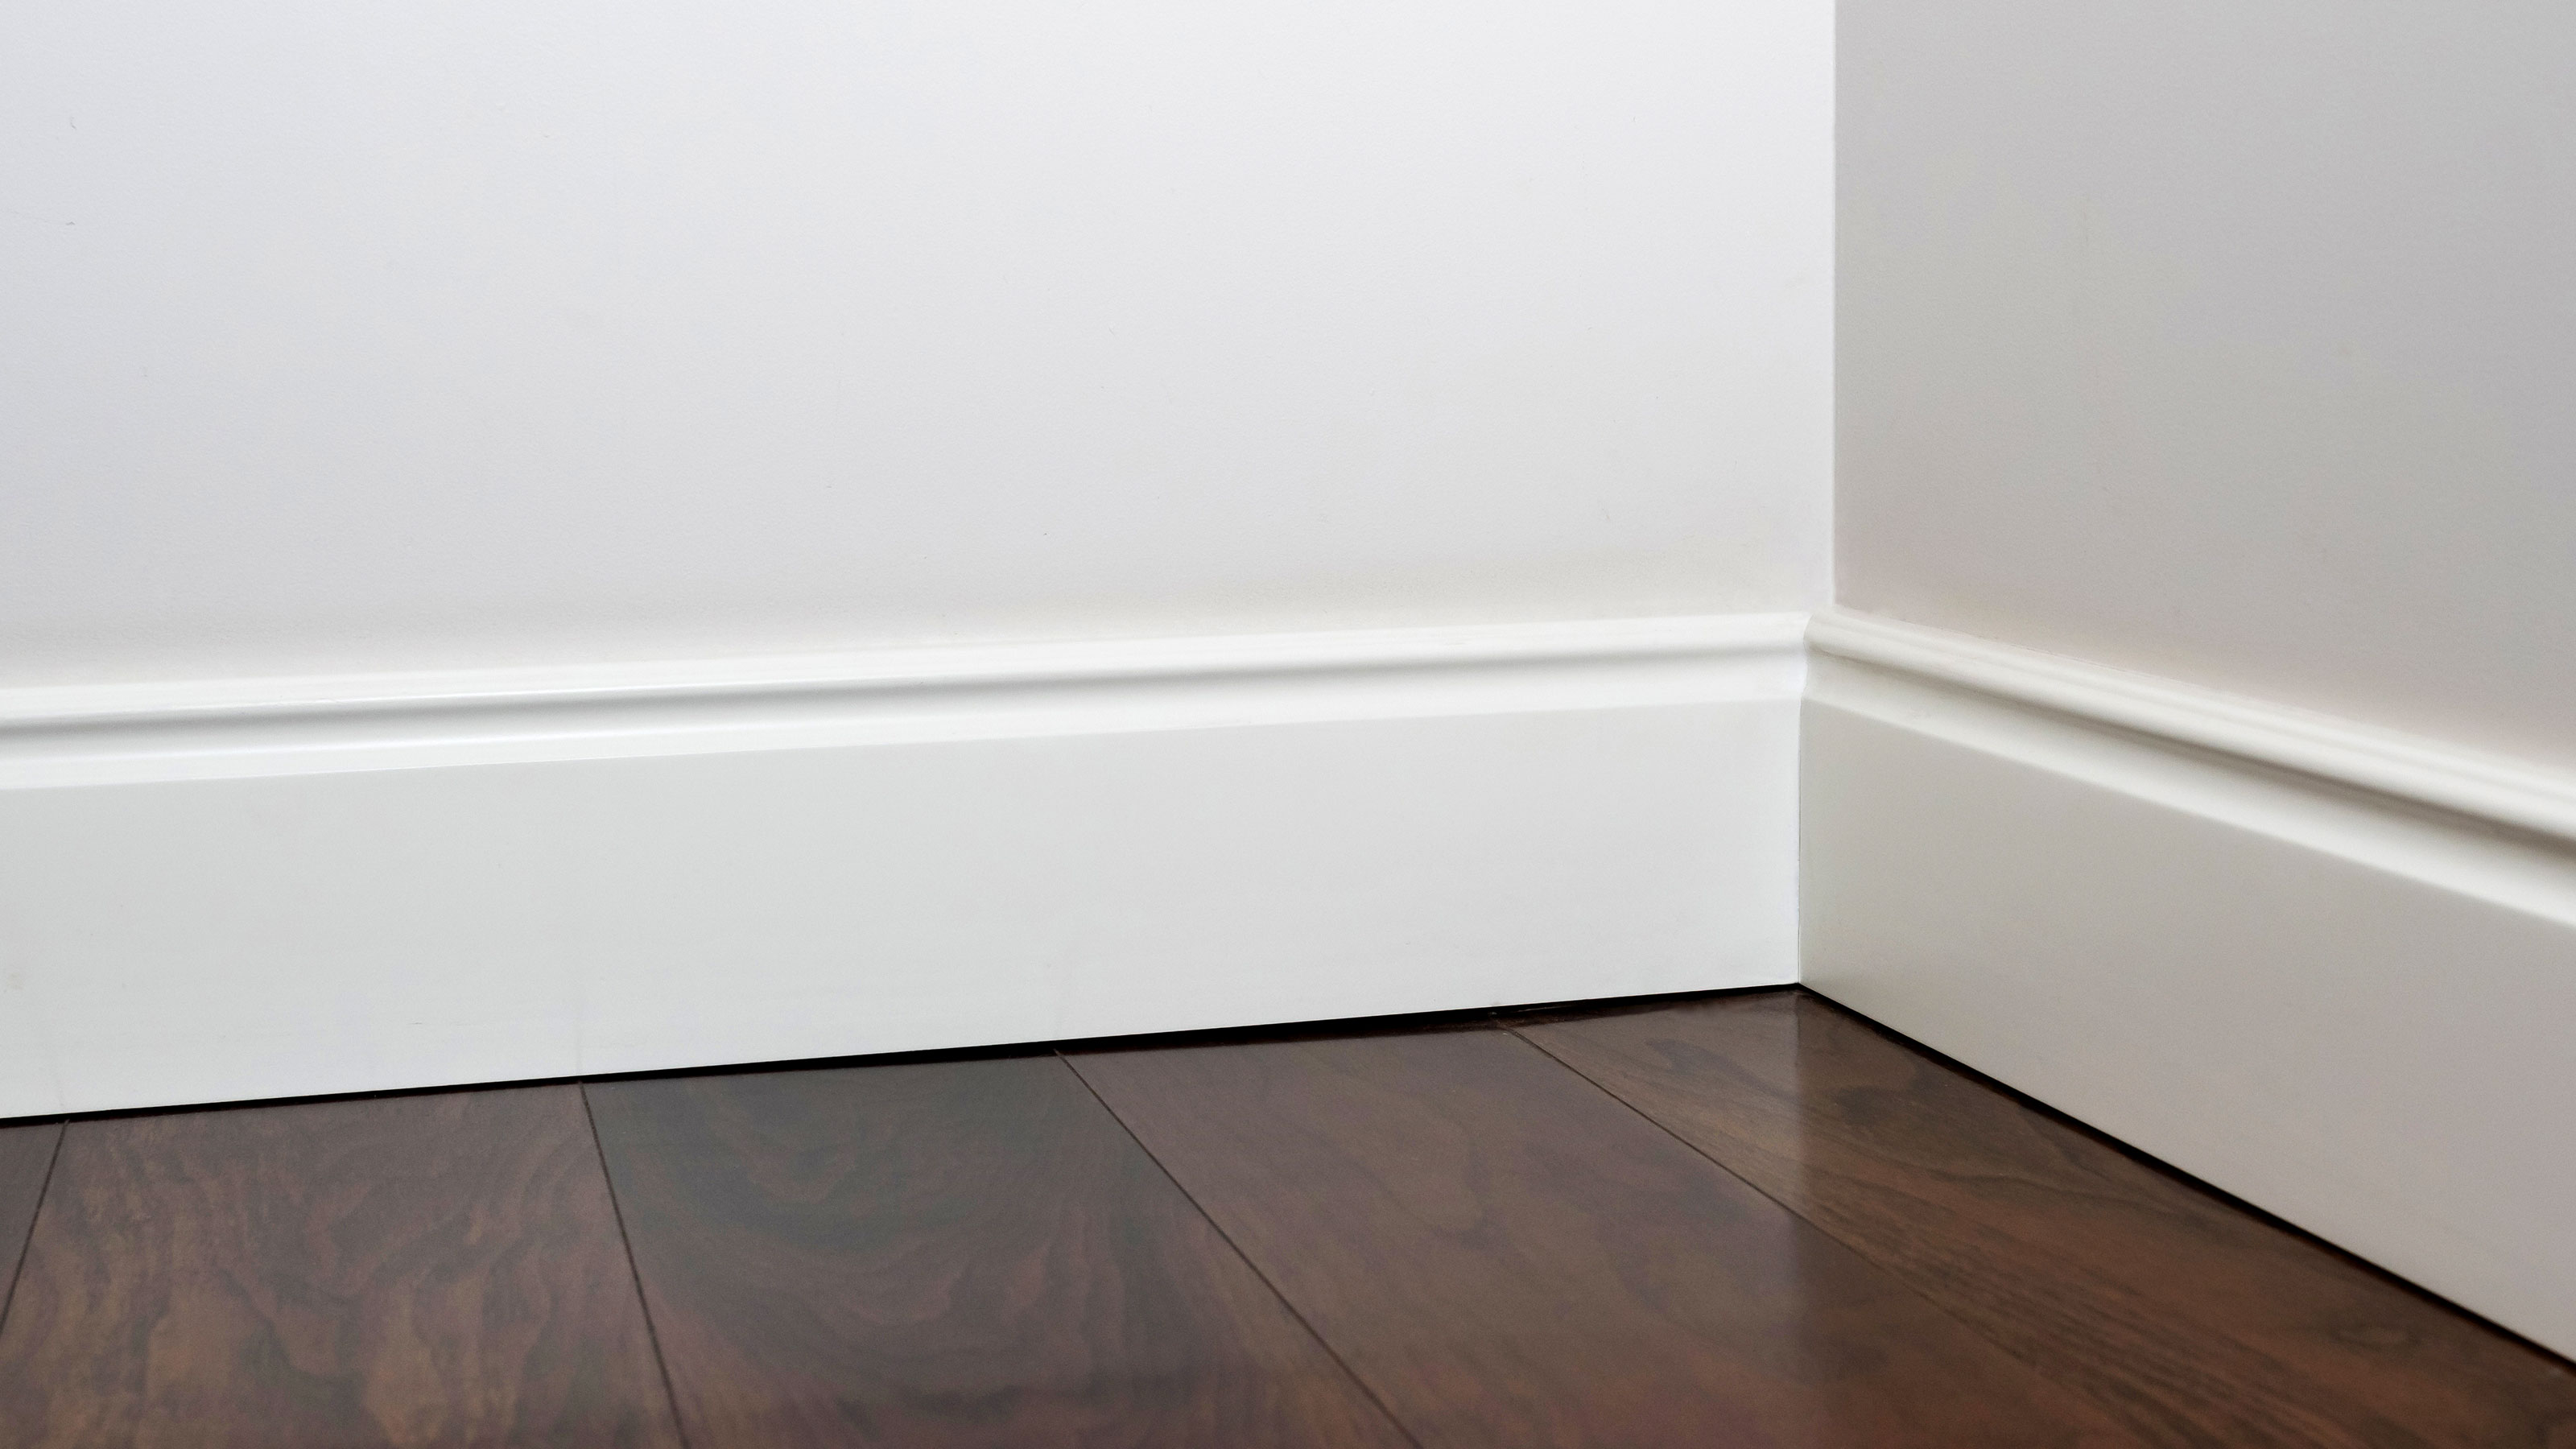
Want to know how to scribe skirting boards, but have never been quite sure what it actually means? In a nutshell it's an alternative option to mitre joints for creating internal joins on skirting boards.
Scribe skirting joins only involves one cut which recreates the profile of the skirting board it’s going to be joined to. Which in turn creates a flexible, but tight fit that leaves fewer gaps than mitre joints. Ideal if painting skirting boards. You won’t need to worry about filling and fixing before you add a coat of paint.
Here we give you the lowdown on how to scribe simple and intricate skirting board types for a flawless finish.
How To Scribe Skirting Boards: A Quick and Easy DIY Guide
1. Cut the first angle
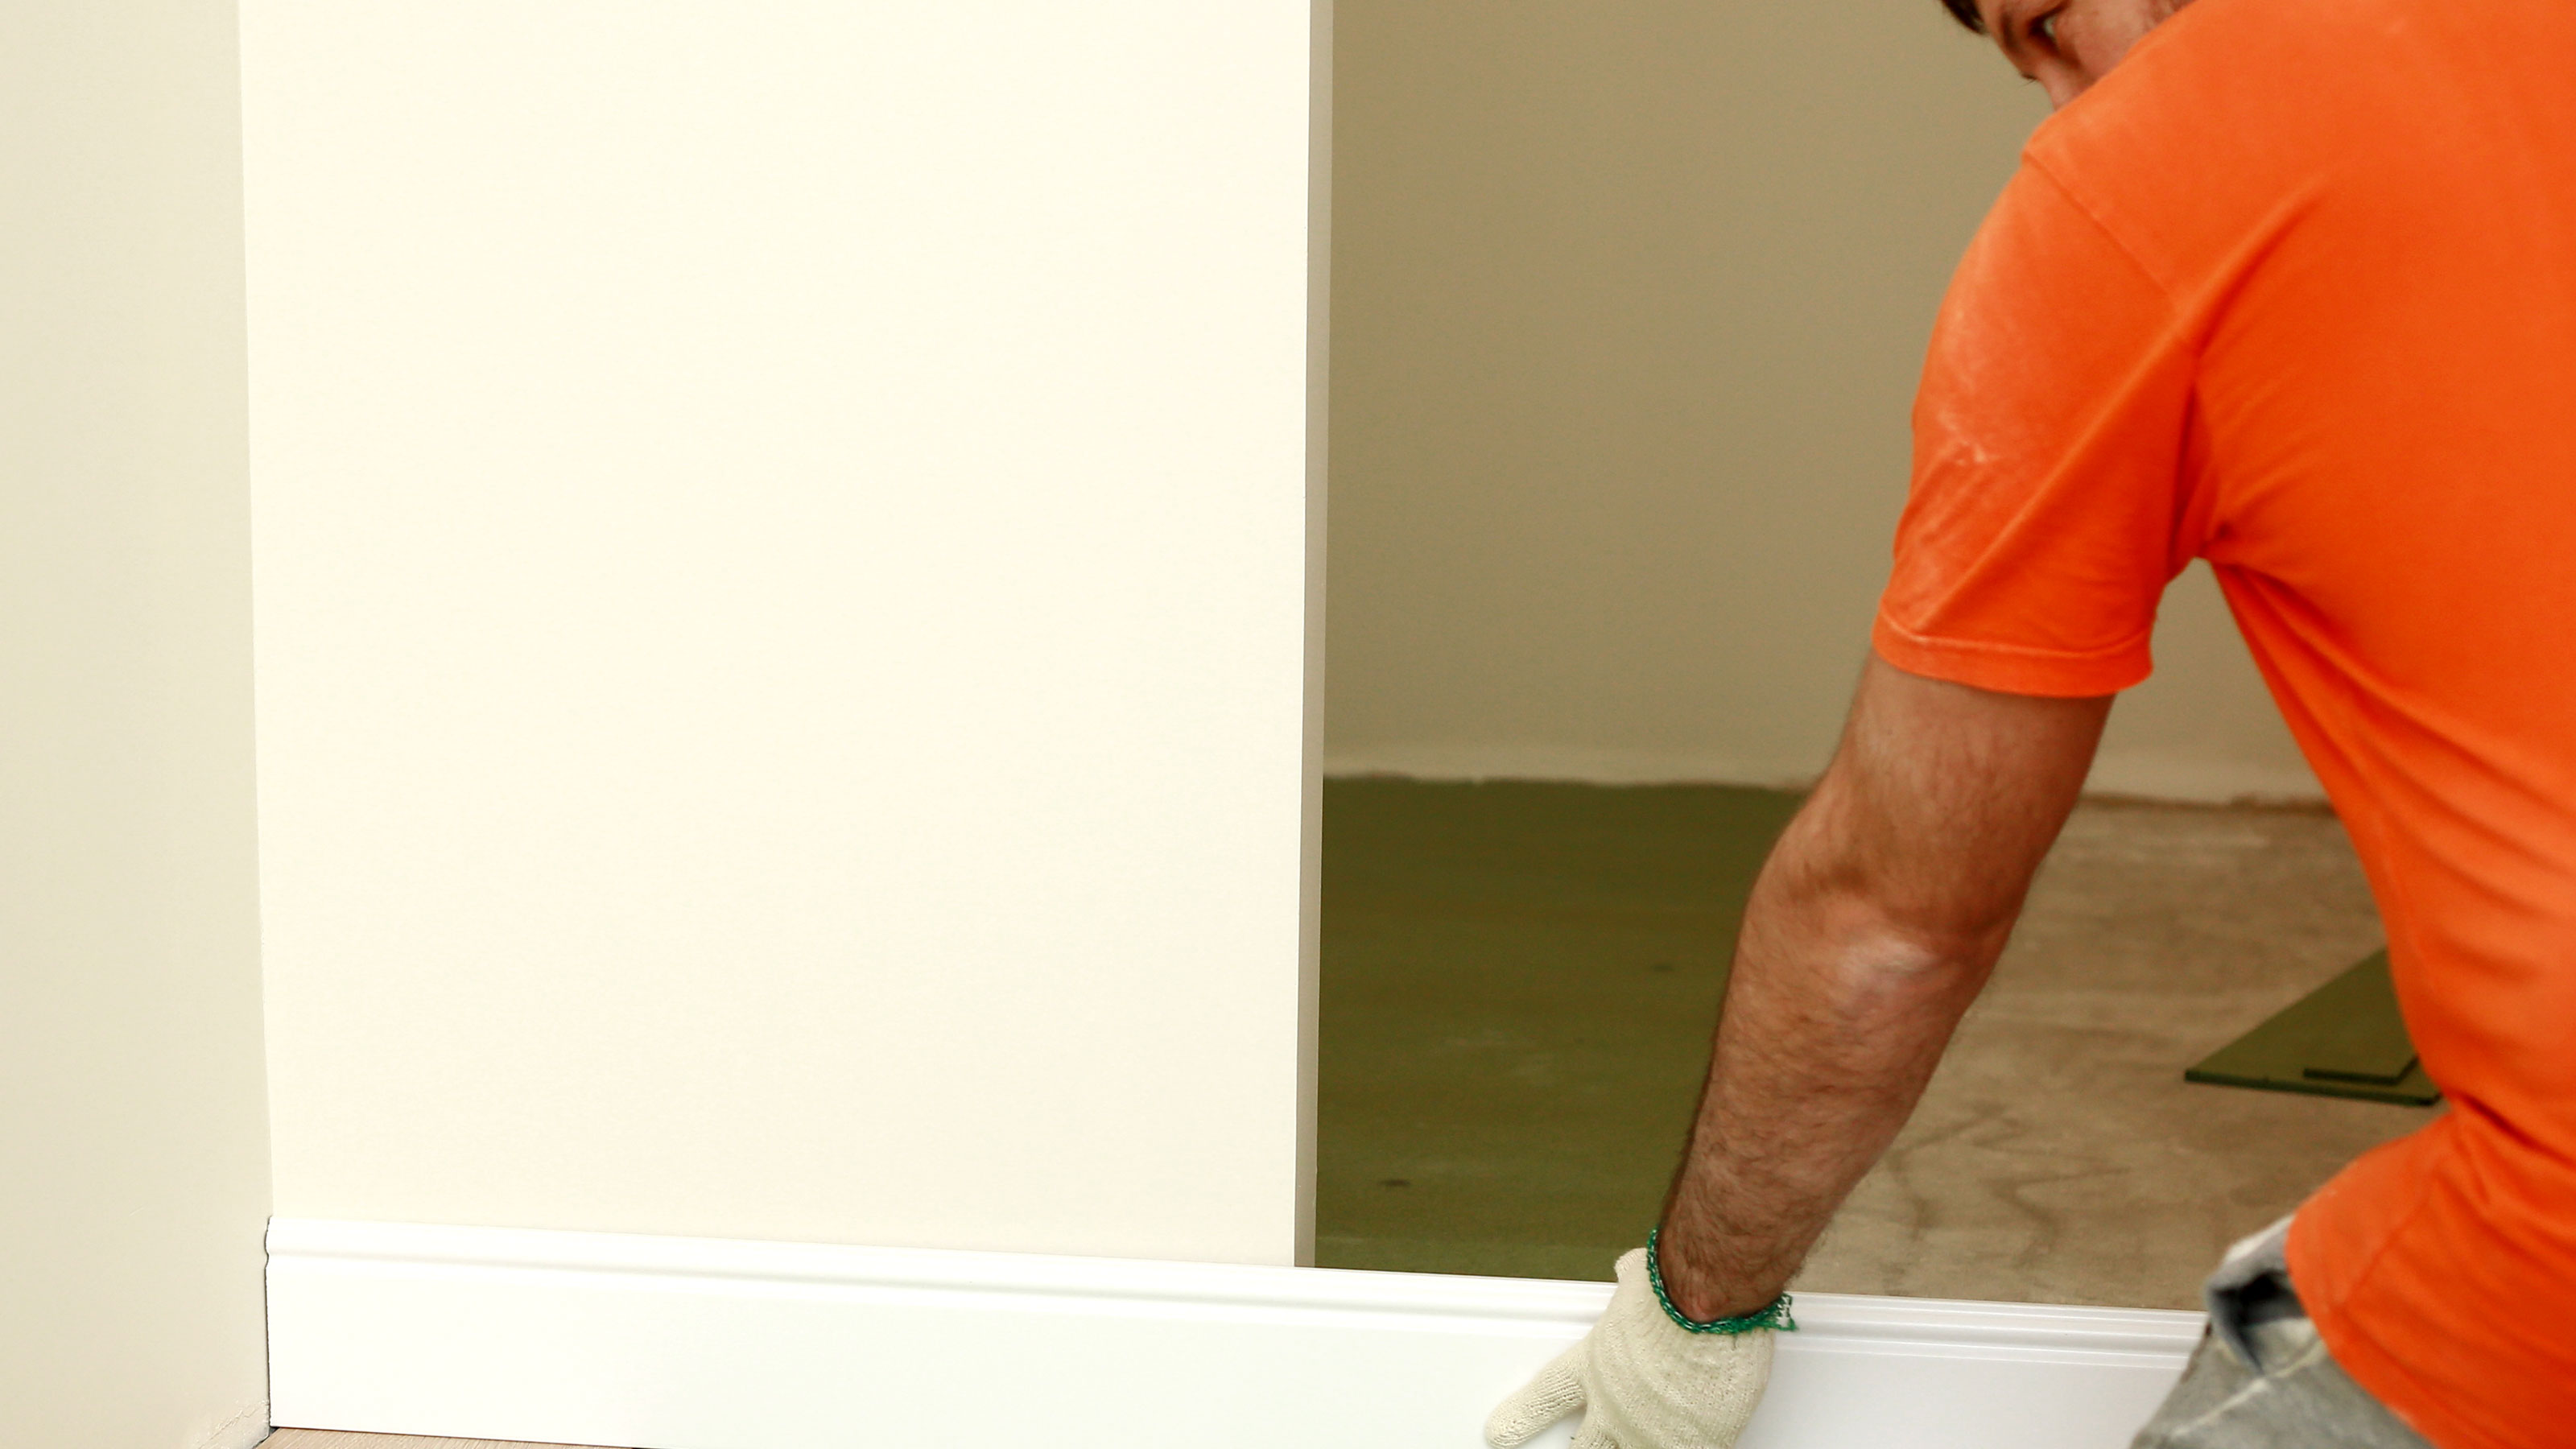
Fix the first piece of skirting board into place. This will have straight flat ends, so there is no need for any angles, just cut to the right length.
Now get the next length of skirting board that is going to fit against the first piece to create the internal join. Mark on the end you are going to cut. This will roughly be the width of the skirting board.
If using 18mm skirting, mark back 18mm from the edge and use a combination square to draw a straight line. Now get a hand saw and a mitre block to cut a 45 degree angle away from you. This means you can see the angled cut when looking at the skirting board.
2. Mark the profile
Use a pencil to highlight the edge of the profile at the front of the skirting board. This is where you are going to make the cut so that it fits neatly into the other skirting board.
3. Cut the profile edge
The next step is to start cutting out the shape/profile. Use a handsaw and start at the bottom of the skirting and cut along the profile pencil mark at an angle – approximately 20-30 degrees – towards the back of the skirting board.
This effectively creates an edge that matches the outline of the other skirting for a clean tight fit and the angled back allows for a bit of movement.
4. Intricate angles
If you have a more intricate style of skirting board – you might have had some interesting skirting board ideas – then you will need a coping saw to cut around the angles.
Start at the top of the intricate angles and slowly work around the profile. If needed, change the angle of the coping saw blade to make it easier when cutting skirting boards. You don't have to do the cut all in one continuous saw, you can do small sections at a time to ensure accuracy.

When Should I Scribe Skirting Board?
Some professionals consider scribing skirting as the proper way to fit internal skirting joints whatever type of skirting board you are using. Scribing is commonly used on walls that are out of square, typically found in older homes.
As they only involve one cut, the length of skirting board being fitted can be moved a few degrees forward or backwards without losing a tight fit and this leaves minimal gaps. Also, if there is any movement, the gap will be minimal as only one joint will be susceptible to movement.
What Are the Advantages Of Scribing Over Mitre Joints?
If you know how to fit skirting boards properly you are less likely to get gaps especially when it comes to internal skirting board joints — where skirting meets in a corner. A scribed joint will give you more flexibility and a tighter and better looking fit than a mitre joint.
It’s easier to do a scribe cut as you will need to do one cut and it is even easier if cutting more straightforward skirting types such as square edge, pencil round, chamfered and bullnose.
There's a little more work involved when it comes to more intricate designs such as ogee and torus, but it's still only one cut.
Should Skirting Boards Touch The Floor?
The easy answer is no. But it's not quite as straightforward as the answer suggests. It can depend on what type of flooring you are laying. For example, if putting down laminate flooring or tiles you want to leave a 2mm or 3mm expansion gap in case of any movement. Ideally you will lay the flooring first then install the skirting board.
If laying down carpet you can leave the same size gap or introduce a slightly bigger 5mm gap. The carpet will hide the gap and the larger gap will make it easier when painting skirting boards with carpet already laid down.
Get the Homebuilding & Renovating Newsletter
Bring your dream home to life with expert advice, how to guides and design inspiration. Sign up for our newsletter and get two free tickets to a Homebuilding & Renovating Show near you.
Steve Jenkins is a freelance content creator with over two decades of experience working in digital and print and was previously the DIY content editor for Homebuilding & Renovating.
He is a keen DIYer with over 20 years of experience in transforming and renovating the many homes he has lived in. He specialises in painting and decorating, but has a wide range of skills gleaned from working in the building trade for around 10 years and spending time at night school learning how to plaster and plumb.
He has fitted kitchens, tiled bathrooms and kitchens, laid many floors, built partition walls, plastered walls, plumbed in bathrooms, worked on loft conversions and much more. And when he's not sure how to tackle a DIY project he has a wide network of friends – including plumbers, gas engineers, tilers, carpenters, painters and decorators, electricians and builders – in the trade to call upon.

