Pros reveal how to replace kitchen flooring without moving cabinets and still get a professional finish
Get expert advice on how to replace your kitchen flooring without the hassle of having to move cabinets, saving time and money

If you love your kitchen layout, knowing how to replace kitchen flooring without moving cabinets means you get to keep it, with the added bonus of a new look floor. But this isn’t the only benefit it brings.
Not having to move cabinets can be a real time saver and it means much less work for you. This will leave you with just the current floor space to contend with. You won't have to think about how to remodel a kitchen – unless you want to.
Here the experts run through the reasons, the why’s and the process to replace your old flooring without moving your kitchen cabinets.

Matthew is the Director of Thomas Matthew Kitchens & Furniture and has a background in carpentry and joinery and has trained as a fitter for high-end kitchen companies. He has over six years of experience in home improvement and remodeling projects.
Why replace kitchen flooring without moving cabinets?
When it comes to replacing kitchen flooring you effectively have two options, clear out the kitchen and start from scratch, or replace the visible flooring.
Here Matthew O'Grady, Director at Thomas Matthew Kitchens & Furniture reveals the reasons to take up the second option, “It can save time and money to replace kitchen flooring without having to move cabinetry. Restricting materials to visible places will speed up installation and mean less work by ditching the time and energy-consuming process of cabinet removal."
He adds, “It's not wise to break the bank for a design that will be hidden behind cabinets.” And as an added bonus this method, “Reduces the chances of damaging cabinetry or other parts of the kitchen during the removal and reinstallation.”
What is the easiest kitchen flooring to replace?
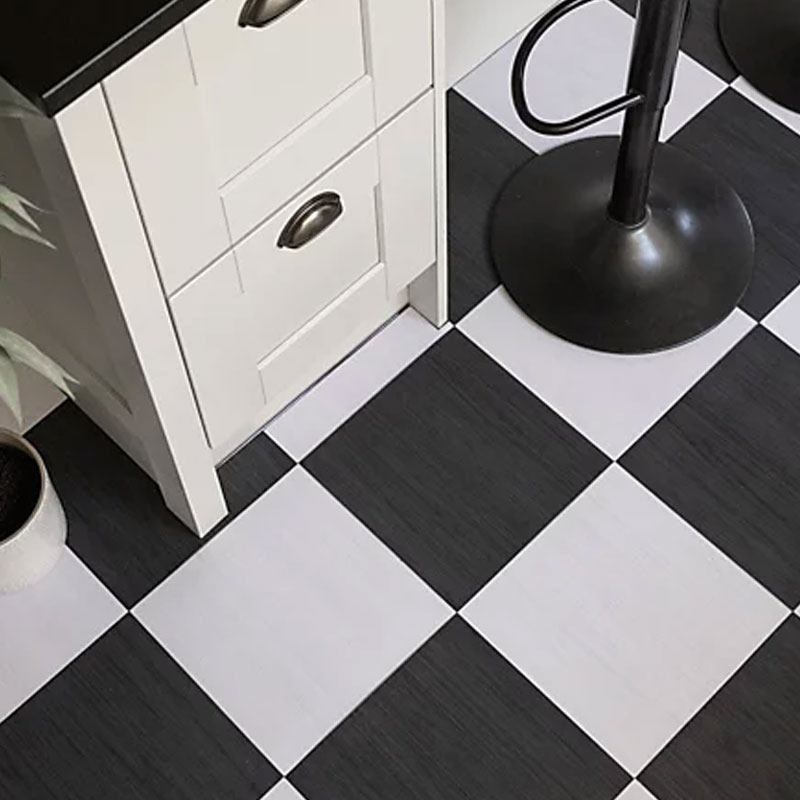
Kitchen flooring comes in many variations from self adhesive vinyl tiles right through to real wood. Some flooring is easier to replace than others as O’Grady explains, “Vinyl flooring is the easiest to replace, whether it's peel-and-stick, sheet or individual tiles, because you can just peel it off, lift or cut and replace it one by one.” Check out our how to lay vinyl tiles guides for more tips.
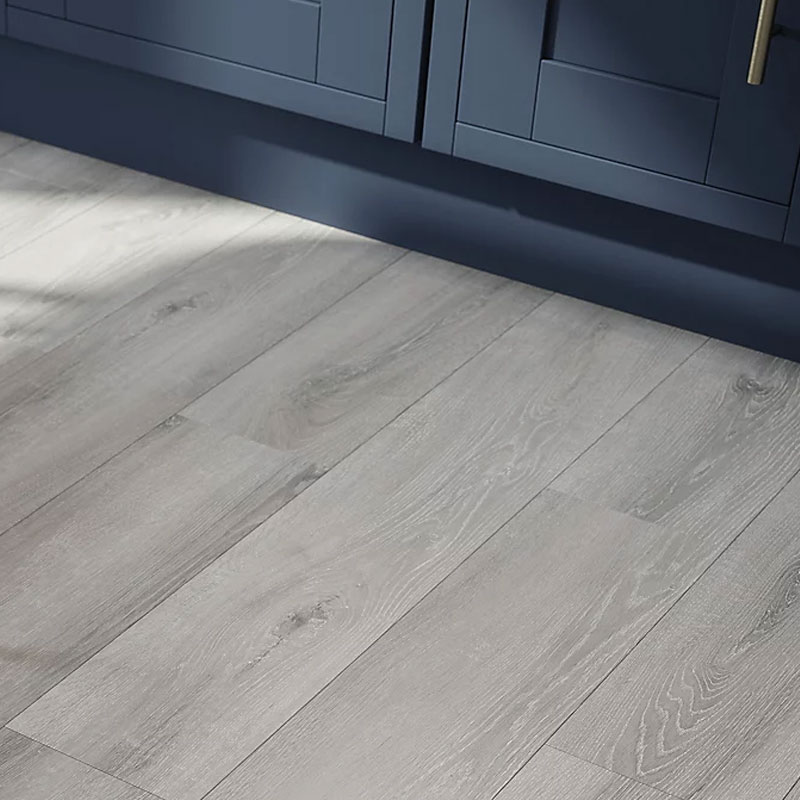
He adds, “Laminate flooring tails closely as it uses a click-lock system that can function without the need for adhesives or nails, which makes it easy to replace.”
If you have tiled floors they can be easy to replace especially if they are older as O’Grady shares, “Ceramic or porcelain tiles come next as they're easily replaceable when cracked, but can be time-consuming if they're newer because they're generally harder to remove.” Check out our tiling a floor guide if you decide to DIY.
Try these for great looking kitchen flooring

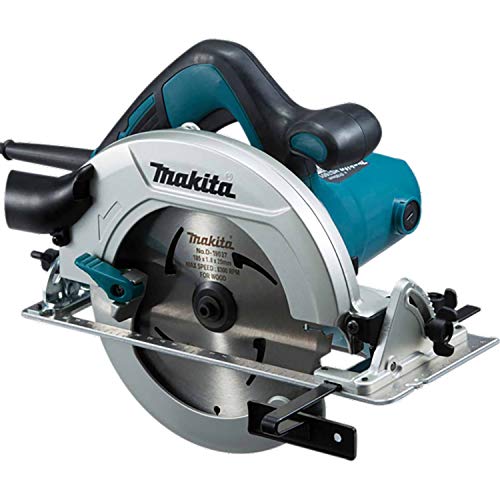
A high-quality corded circular saw with a 190mm blade and a maximum cut depth of at 66mm. Includes a rear dust exhaust port.

Chaunceys Timber Flooring is a family-run company based in Bristol with Ian becoming the Managing Director in 2012. They have been supplying sustainable, high-quality timber flooring to homeowners, award-winning architects, design and build companies, and renowned interior designers since 1988.
How to replace kitchen flooring without moving cabinets
1. Clear and clean
O’Grady says, “Start by removing all movable items in the kitchen area, from small appliances to rugs, and mop after sweeping off dirt on the floor.” This helps ensure that less dirt and debris falls onto the subfloor.
2. Remove old flooring
O’Grady says start by, “Checking whether the previous flooring was fastened down or floating.” He adds, “You can pull the boards up from the edges by using a scraper to cut glue-down flooring into tiny pieces. In this case, prying up can be easily achieved.”
If you have wooden flooring that runs under cabinets Ian Tomlinson, MD at Chaunceys Timber Flooring says, “Use a circular saw or plunge saw set to the correct depth, to cut the old flooring close to the cabinet edges, leaving a small gap (usually hidden by the kickboard or new trim).” He adds, “A multi-tool or pry bar can help remove flooring from hard-to-reach areas.”
3. Sort the subfloor
The next step is to check your subfloor as O’Grady shares, “Check for signs of water damage or rot in the subfloor. Replace damaged parts as necessary and if appropriate use a leveling compound if it's uneven.”
Tomlinson adds, “Ensure the subfloor is clean, dry, and level before installing the wood flooring. This is crucial for a smooth and durable installation.”
4. Measure and cut
The next step is to measure up the area for the new flooring as O’Grady shares, “Measure the area that will be covered by the new flooring and start cutting the new flooring material appropriately.” He adds, “Use spacers to leave an expansion gap around the edges to accommodate the material's contraction.”
Tomlison says , “Make sure to protect cabinets and appliances.” He adds, “Use painter's tape and protective coverings to avoid scratches or dust build-up.”
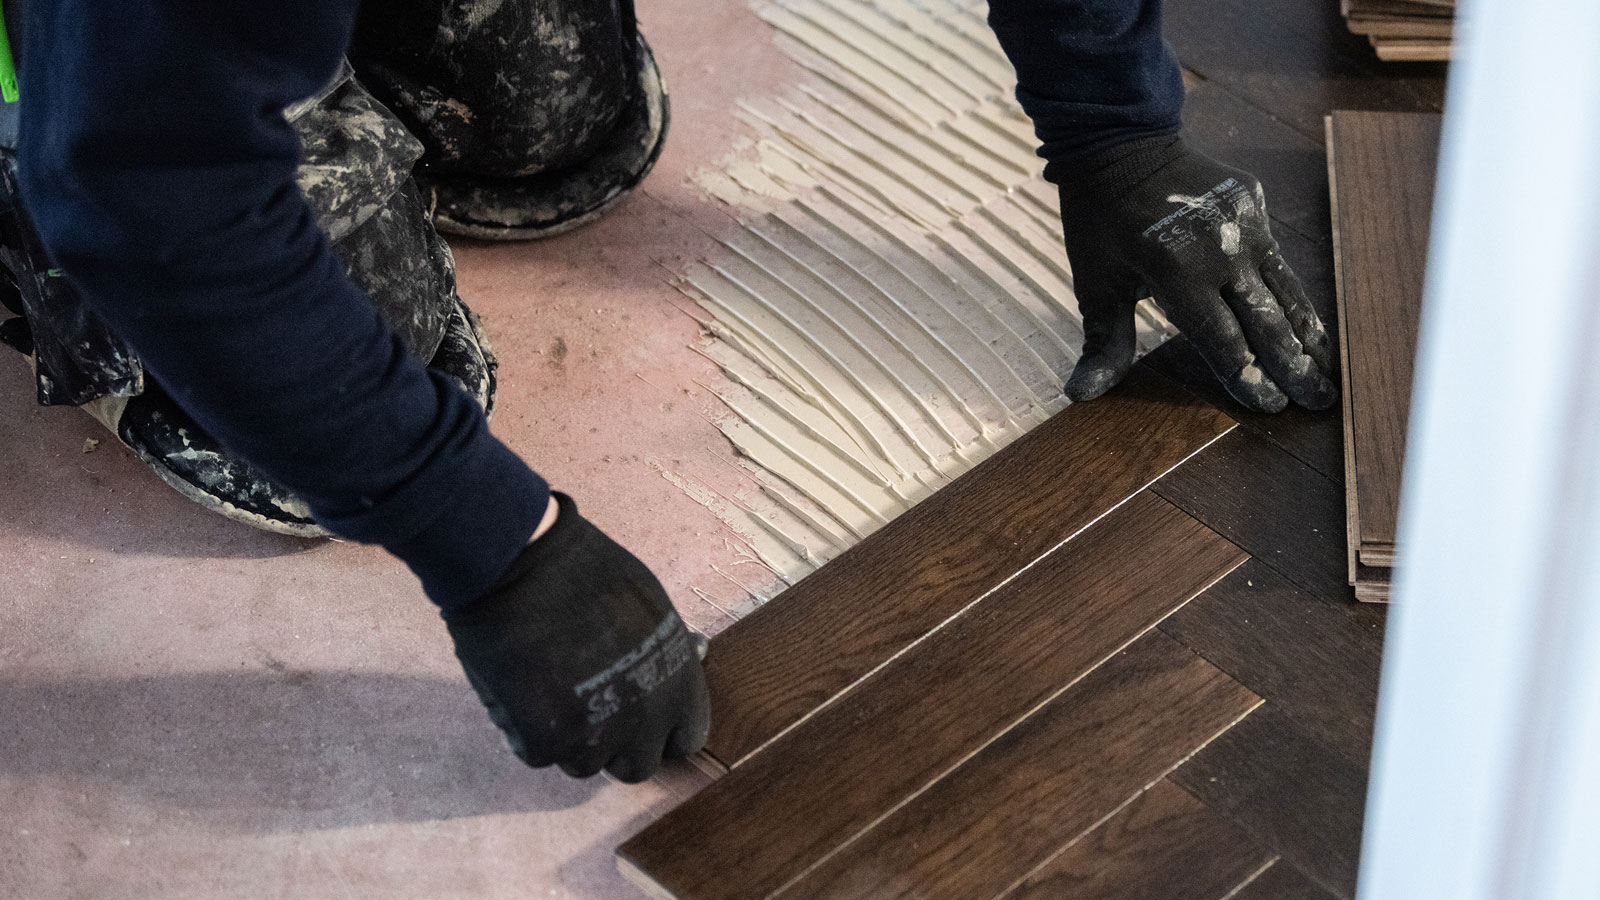
5. Install flooring
Installing flooring will differ for different types. Here O’Grady gives a quick overview of what needs to be done for the common types, “Apply adhesive for glued-down choices, or click-lock devices for floating floors.”
He adds, “When installing vinyl or linoleum, use a trowel to apply glue then carefully push the flooring into position. You can also use a seam roller if necessary.” If choosing the popular option of laminate or hardwood he says, “Start in the corner and work your way out to lock the pieces together.”
Tomlinson suggests, “Slide flooring boards under the cabinet kickboards to create a seamless look. If the space is too tight, you may need to trim the tongue-and-groove joints of the boards to fit up to the counters.”
And don’t forget, “Leave an expansion gap (usually 10–12 mm), and cover or fill as attractively as possible.” O’Grady adds, “Trim any baseboards and caulk any joints where the flooring sticks to the wall for a professional look."
Check out our How to fit an engineered wood floor guide for more detail.
Tips for getting a decent cut and finish around cabinets
When fitting a new floor it's important to get a neat and tidy finish on the flooring to get a good fit that won’t leave ugly gaps and leave a professional looking end product. Here Matthew O'Grady offers up a selection of tips to help.
1. Invest in quality tools
Use a high-quality jigsaw or a circular saw with a fine-tooth blade to get a precise cut and make sure the blade is sharp to prevent splintering. To help hide any flaws, always take precise measurements of the area and, if at all feasible, cut from the back or underside of the flooring material.
2. Choose the right finish
The easiest way to finish flooring around cabinets is to use a mix of trim and caulk. Trim or baseboards may help hide any flaws and give a polished effect, while caulk is perfect for gaps since it offers a paintable seal that can tolerate movement.
3. Tuck under cabinets
It’s best to leave the cabinetry in place when installing new flooring. If you're set on tucking the flooring under the cabinets, you can raise them slightly using a cabinet jack or wooden shims.
O’Grady finishes with smart general advice, "Once the flooring is installed, fill any gaps with caulk or trim, and finish off the edges with new kickboards or toe kicks for a seamless look. To get a clean cut and finish around the cabinets, be meticulous and pay attention to detail during both the cutting and finishing stages."
FAQs
How much does new kitchen flooring cost?
This depends very much on the type and quality of kitchen flooring you are using to replace your old flooring. Vinyl flooring and laminate are usually the lowest priced. Prices typically range from around £10m2 at the lower end of the scale, like these Self Adhesive Floor Planks from B&Q, to £30m2. But higher quality vinyl and laminate can easily cost £40-£50m2.
Ceramic tiles are slightly higher in price, expect to pay around £20m2 - £40m2. Engineered wood flooring and solid wood flooring are commonly the most costly. Expect to pay around £30m2 - £60m2, while solid wood flooring like this GoodHome Skanor Natural Dark Brown Oak Solid wood flooring from B&Q starts at around £50m2. But prices can drop if choosing a cheaper wood like pine or bamboo.
How much does a pro charge to install new flooring?
An experienced DIYer should be able to tackle laying self-adhesive vinyl tiles or even a floating floor system, but you will need the right tools and know-how. If you don’t have the time or are not confident in your floor laying skills then you should call in a professional.
The labour costs will depend on what flooring is being used, how large the area is and how experienced the professional is. As a general guideline expect to pay around £100 to £200 a day plus the cost of materials. An average sized kitchen will take one to two days. But, if the fitter has to take up the old floor this will be an additional cost.
If you’re going to lay a new floor it’s a good time to think about the rest of your kitchen. Check out our modern kitchen design ideas and painted kitchen ideas for inspiration. And on a more practical level take a look at our best kitchen extractor fan guide.
Get the Homebuilding & Renovating Newsletter
Bring your dream home to life with expert advice, how to guides and design inspiration. Sign up for our newsletter and get two free tickets to a Homebuilding & Renovating Show near you.
Steve Jenkins is a freelance content creator with over two decades of experience working in digital and print and was previously the DIY content editor for Homebuilding & Renovating.
He is a keen DIYer with over 20 years of experience in transforming and renovating the many homes he has lived in. He specialises in painting and decorating, but has a wide range of skills gleaned from working in the building trade for around 10 years and spending time at night school learning how to plaster and plumb.
He has fitted kitchens, tiled bathrooms and kitchens, laid many floors, built partition walls, plastered walls, plumbed in bathrooms, worked on loft conversions and much more. And when he's not sure how to tackle a DIY project he has a wide network of friends – including plumbers, gas engineers, tilers, carpenters, painters and decorators, electricians and builders – in the trade to call upon.


