How to replace a tap — change an old faucet for a new fitting
We reveal the know-how you need to replace a tap to upgrade your sink or stop an annoying drip

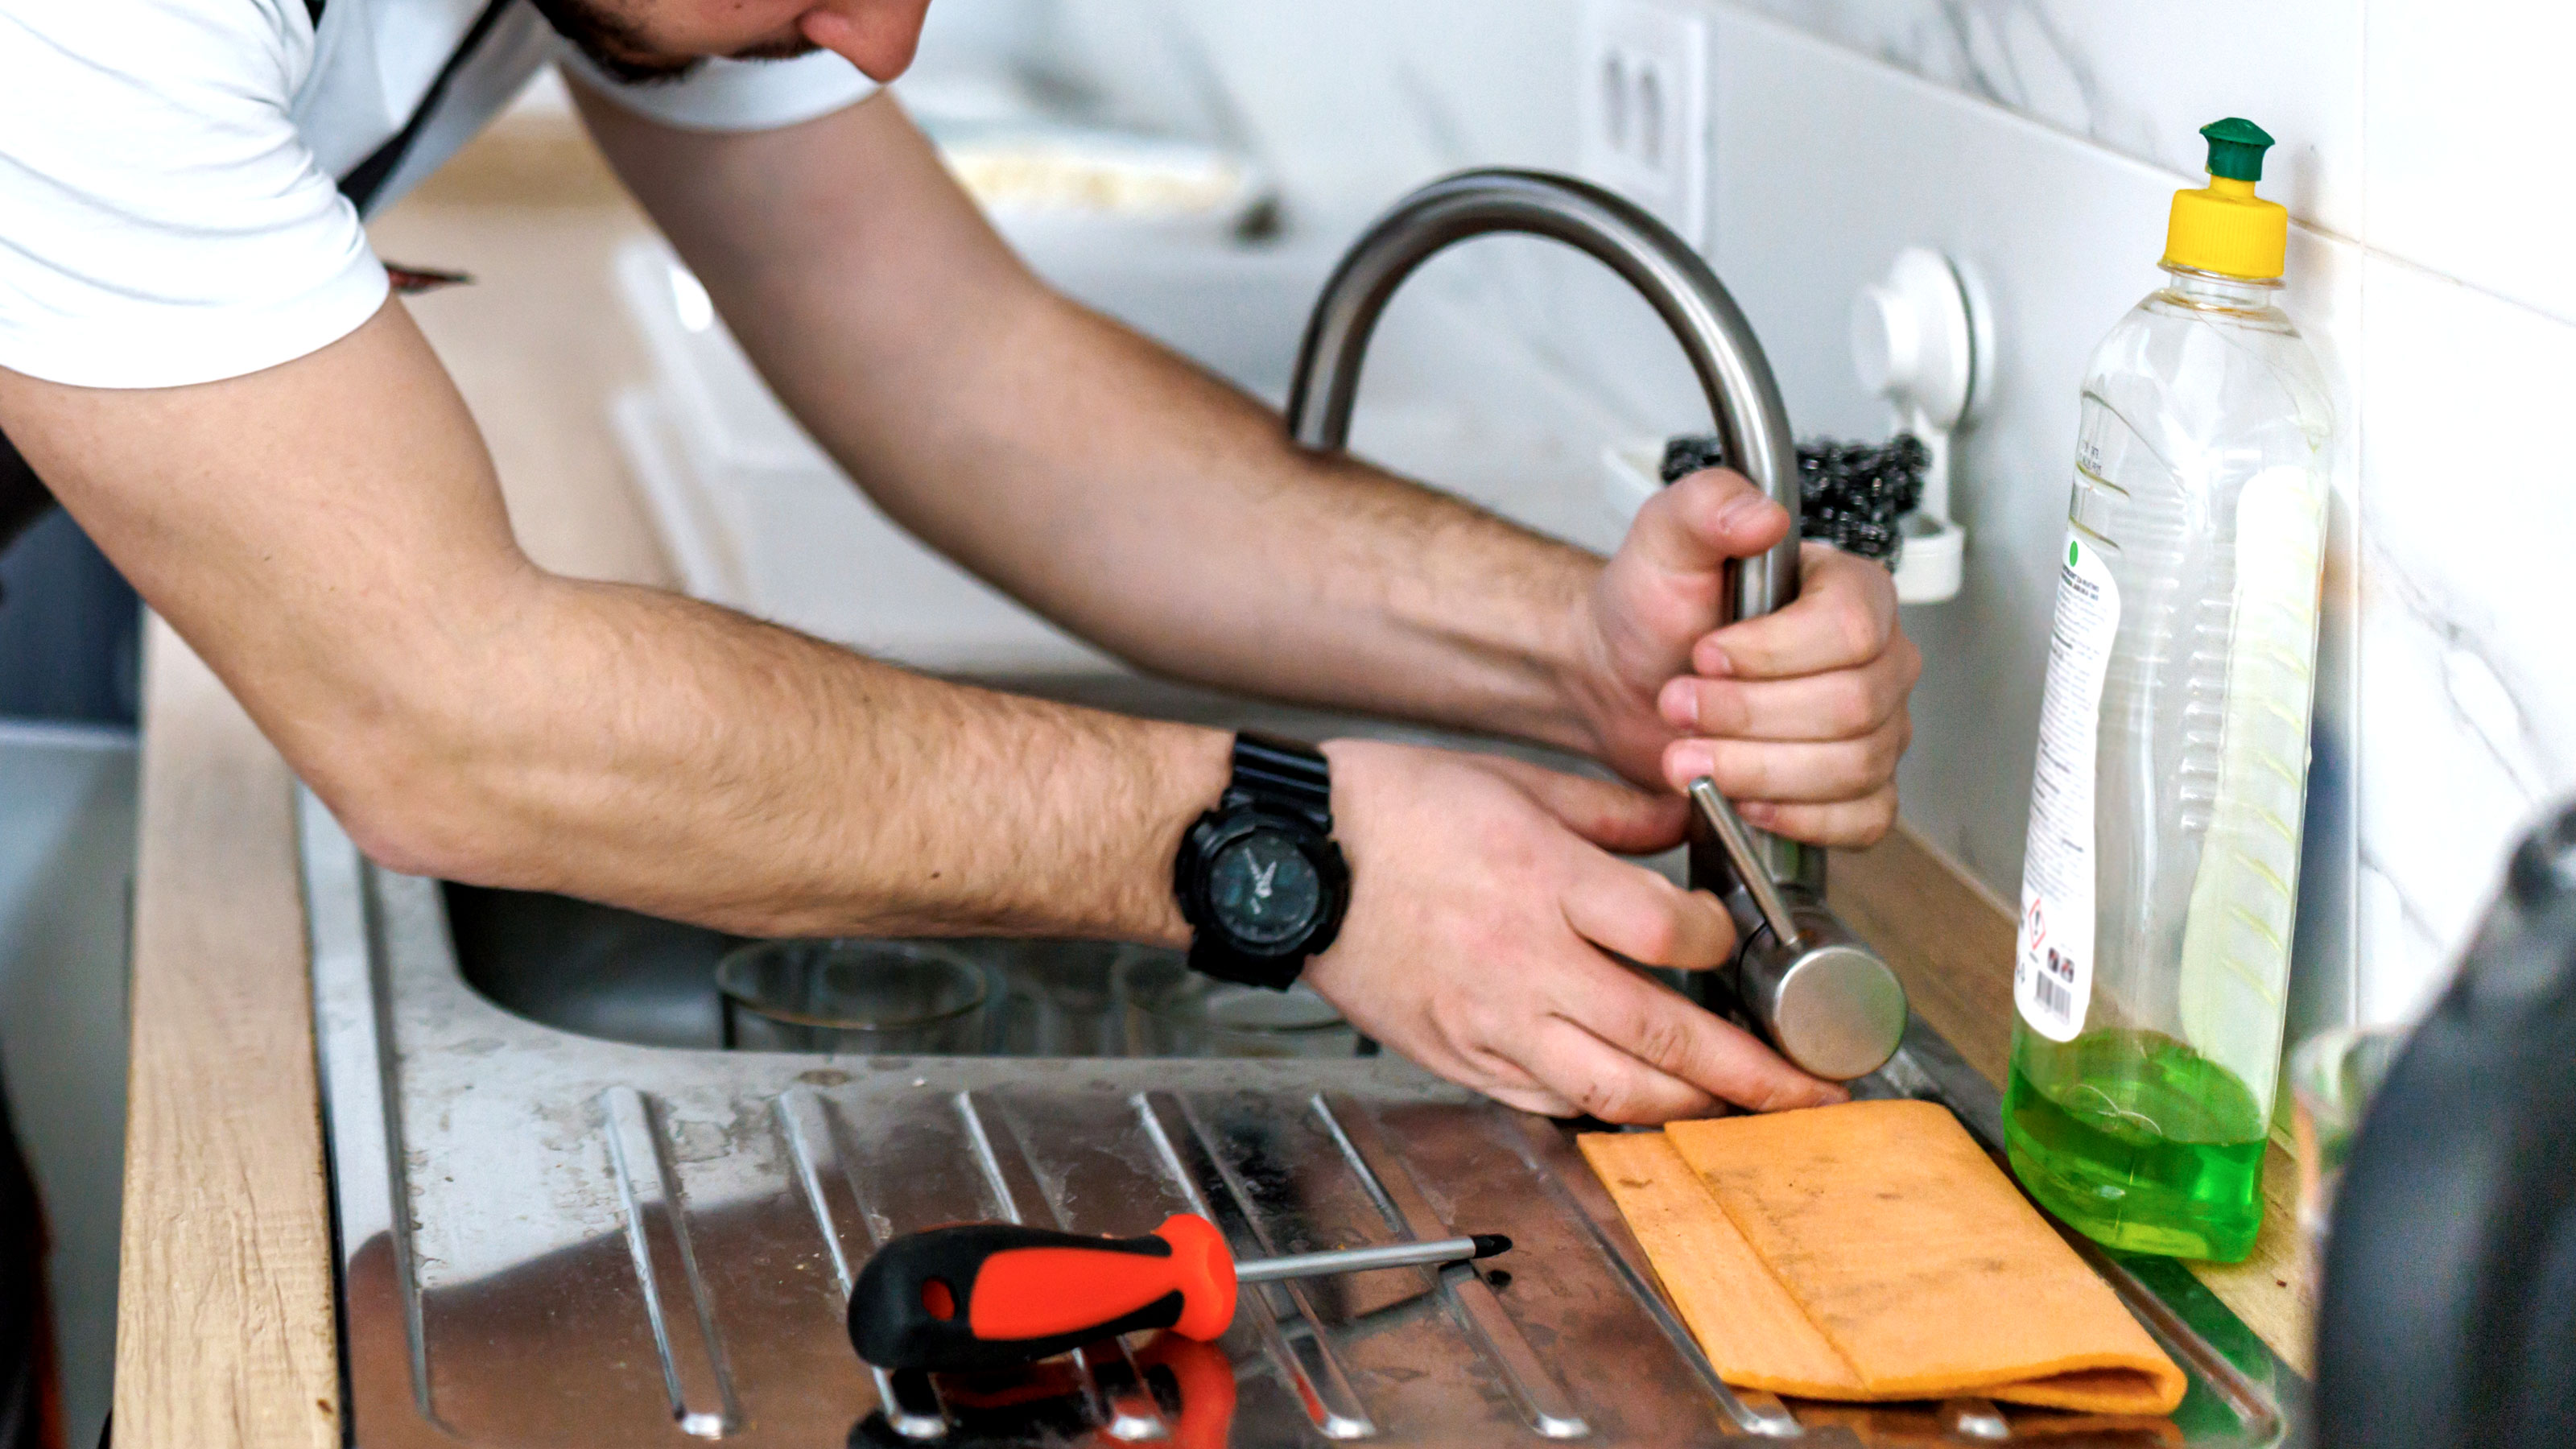
Knowing how to replace tap can be a handy skill to have as a DIYer, enabling you to update your older fittings for more contemporary models, or fix a dripping faucet that is otherwise in good working order.
Understanding how to fix a dripping tap can increase the life of your fitting for a while, but ultimately you will may need to change it anyway if the problem keeps reoccurring. Replacing a tap is not a difficult task for any competent DIYer, but you will need a few essential tools and the right know-how which you can find in this guide.
How to replace a tap in 3 easy steps and the tools you’ll need
Before you start you will need your new tap and a few tools to help remove the old tap. You will need a bucket, towel and an adjustable spanner like this MAXPOWER Adjustable Spanner Set from Amazon.
1. Switch off the water
There are two options here, find your mains water supply stop valve or stopcock and switch it off, or locate the appropriate isolation valve and stop the water flow to the tap.
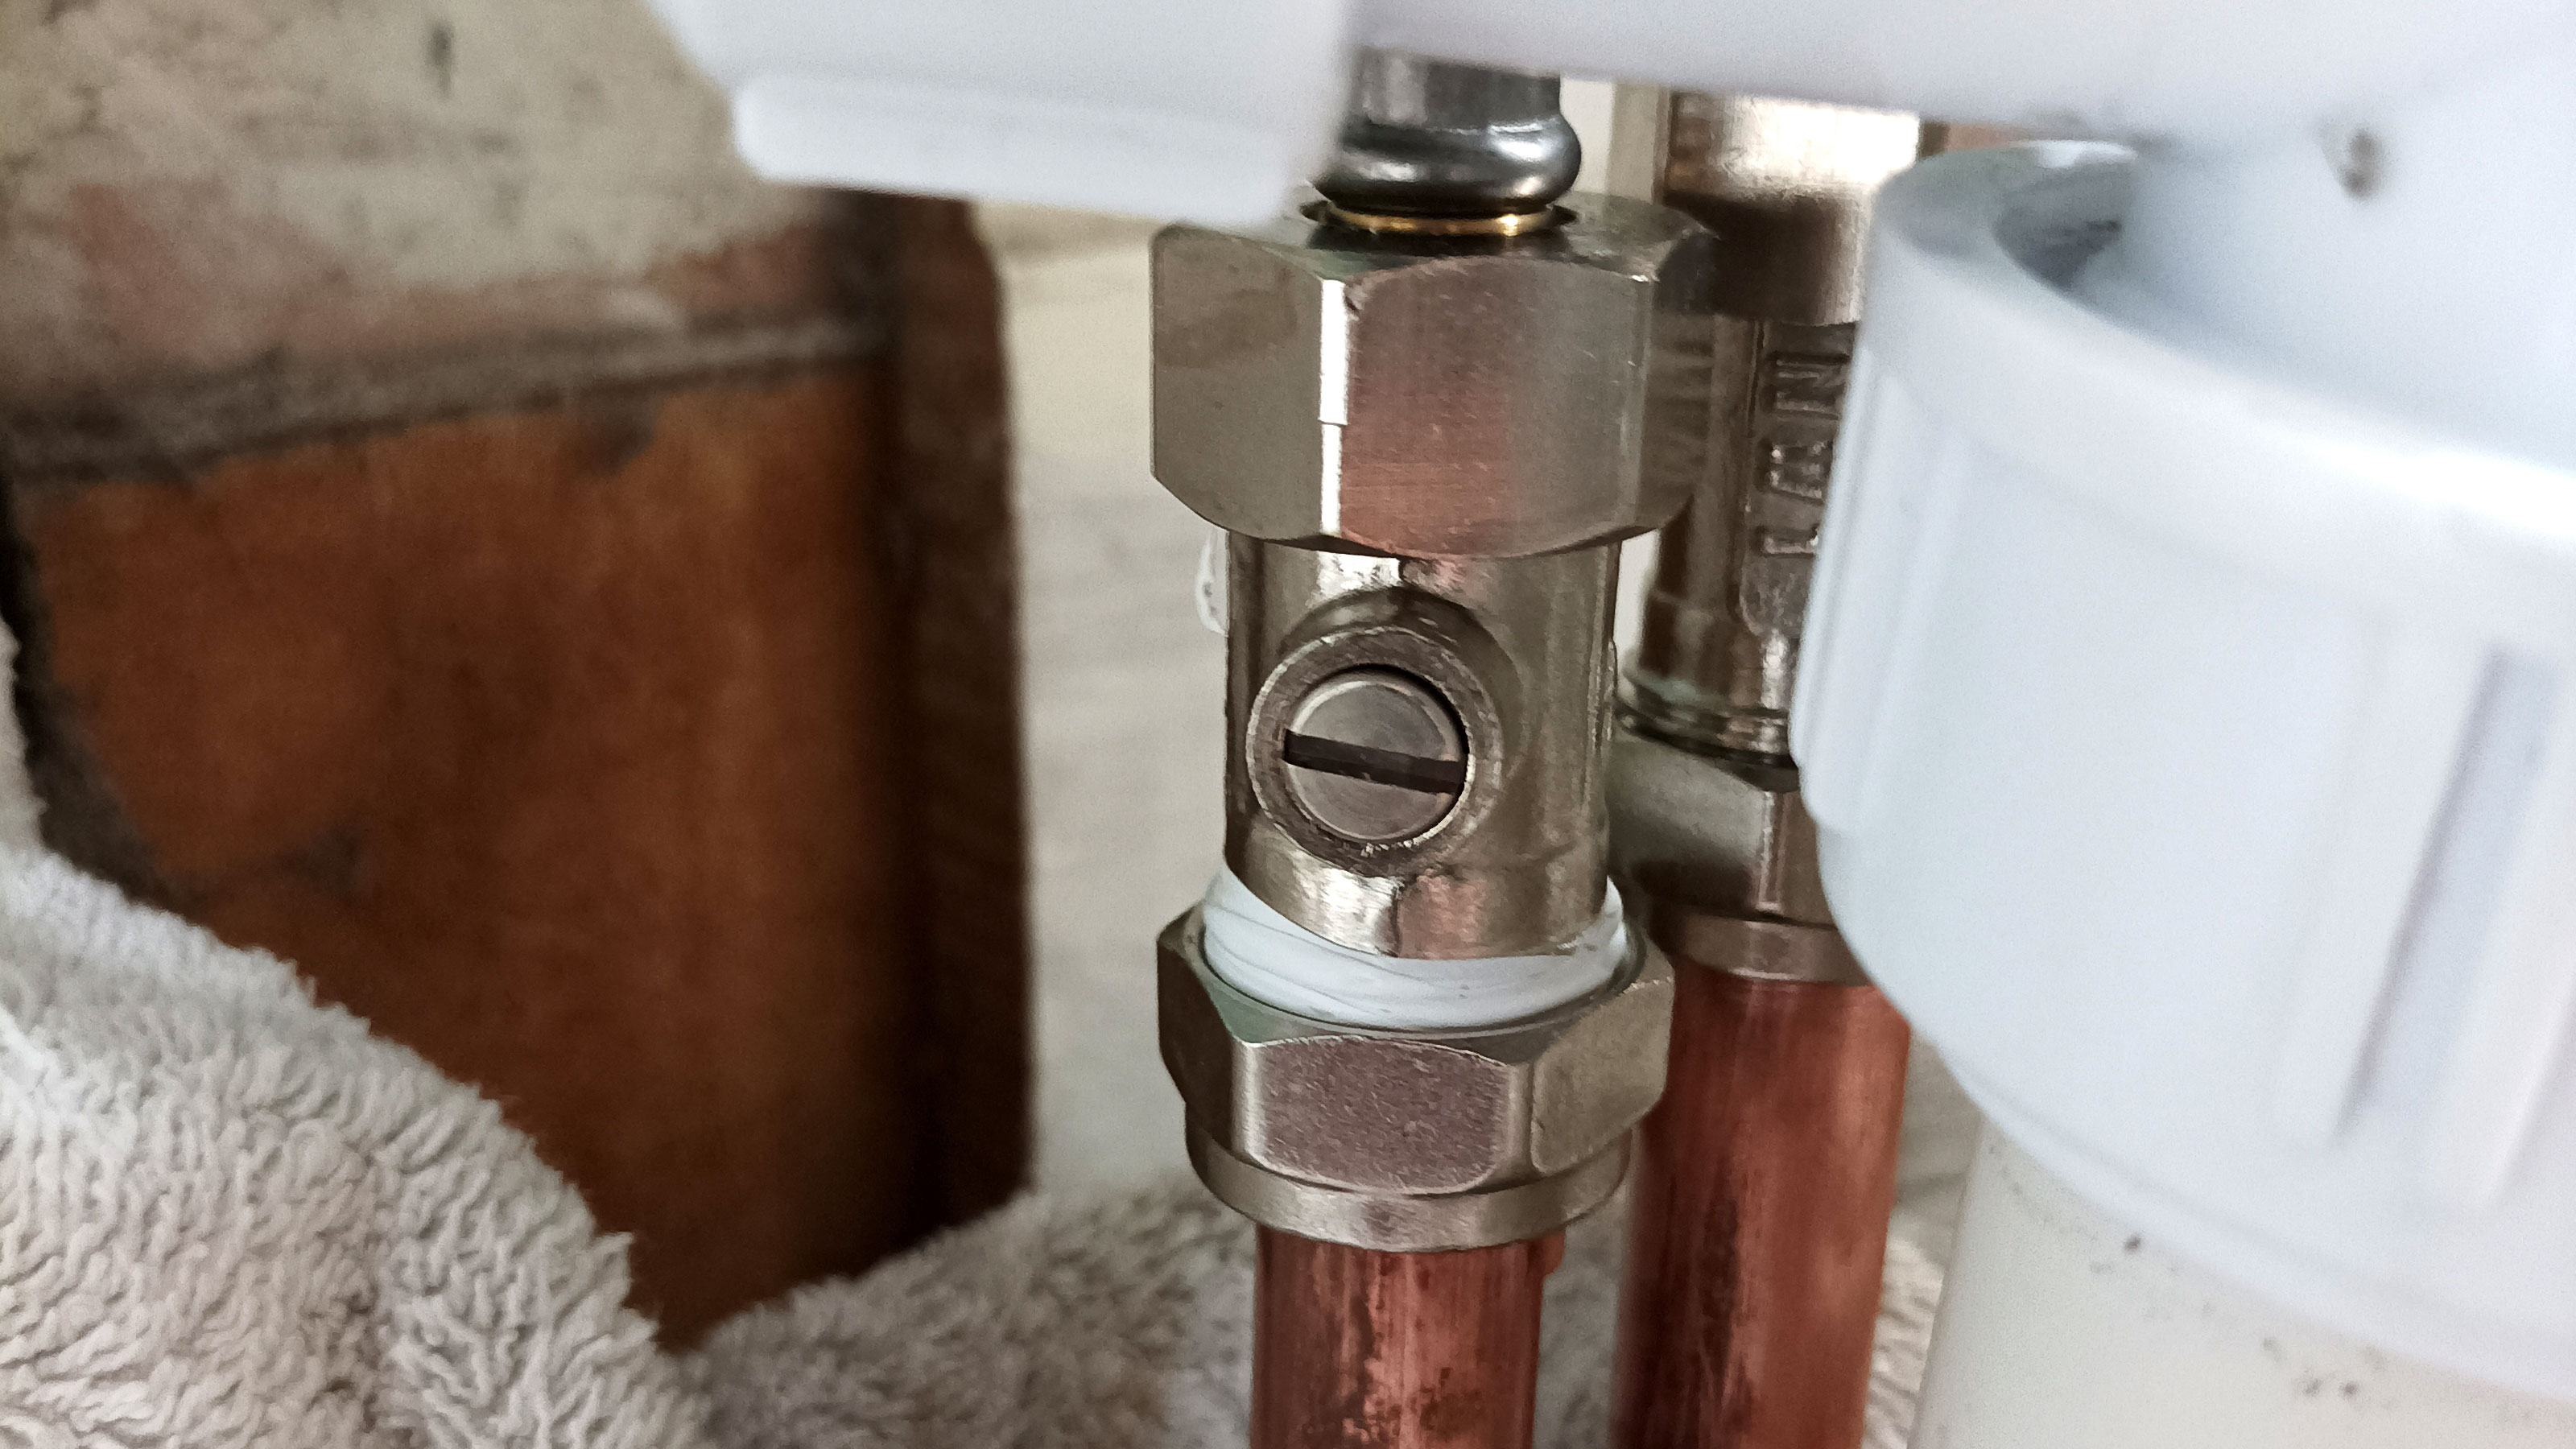
Switching off the stopcock will stop the water supply to the whole property, meaning you will be without water until the tap is replaced and the mains water supply is switched back on. A more convenient option is to locate the isolation valve, they look like this Pipestation 15mm Flat Faced Isolating Valve from Amazon that leads to the tap or taps you are replacing.
The screw on the isolation valve will be in a vertical position. Get a flat head screwdriver and turn the screw so that it's in a horizontal position. This will stop the water flow. Now run the tap until the water stops flowing

2. Remove the old tap
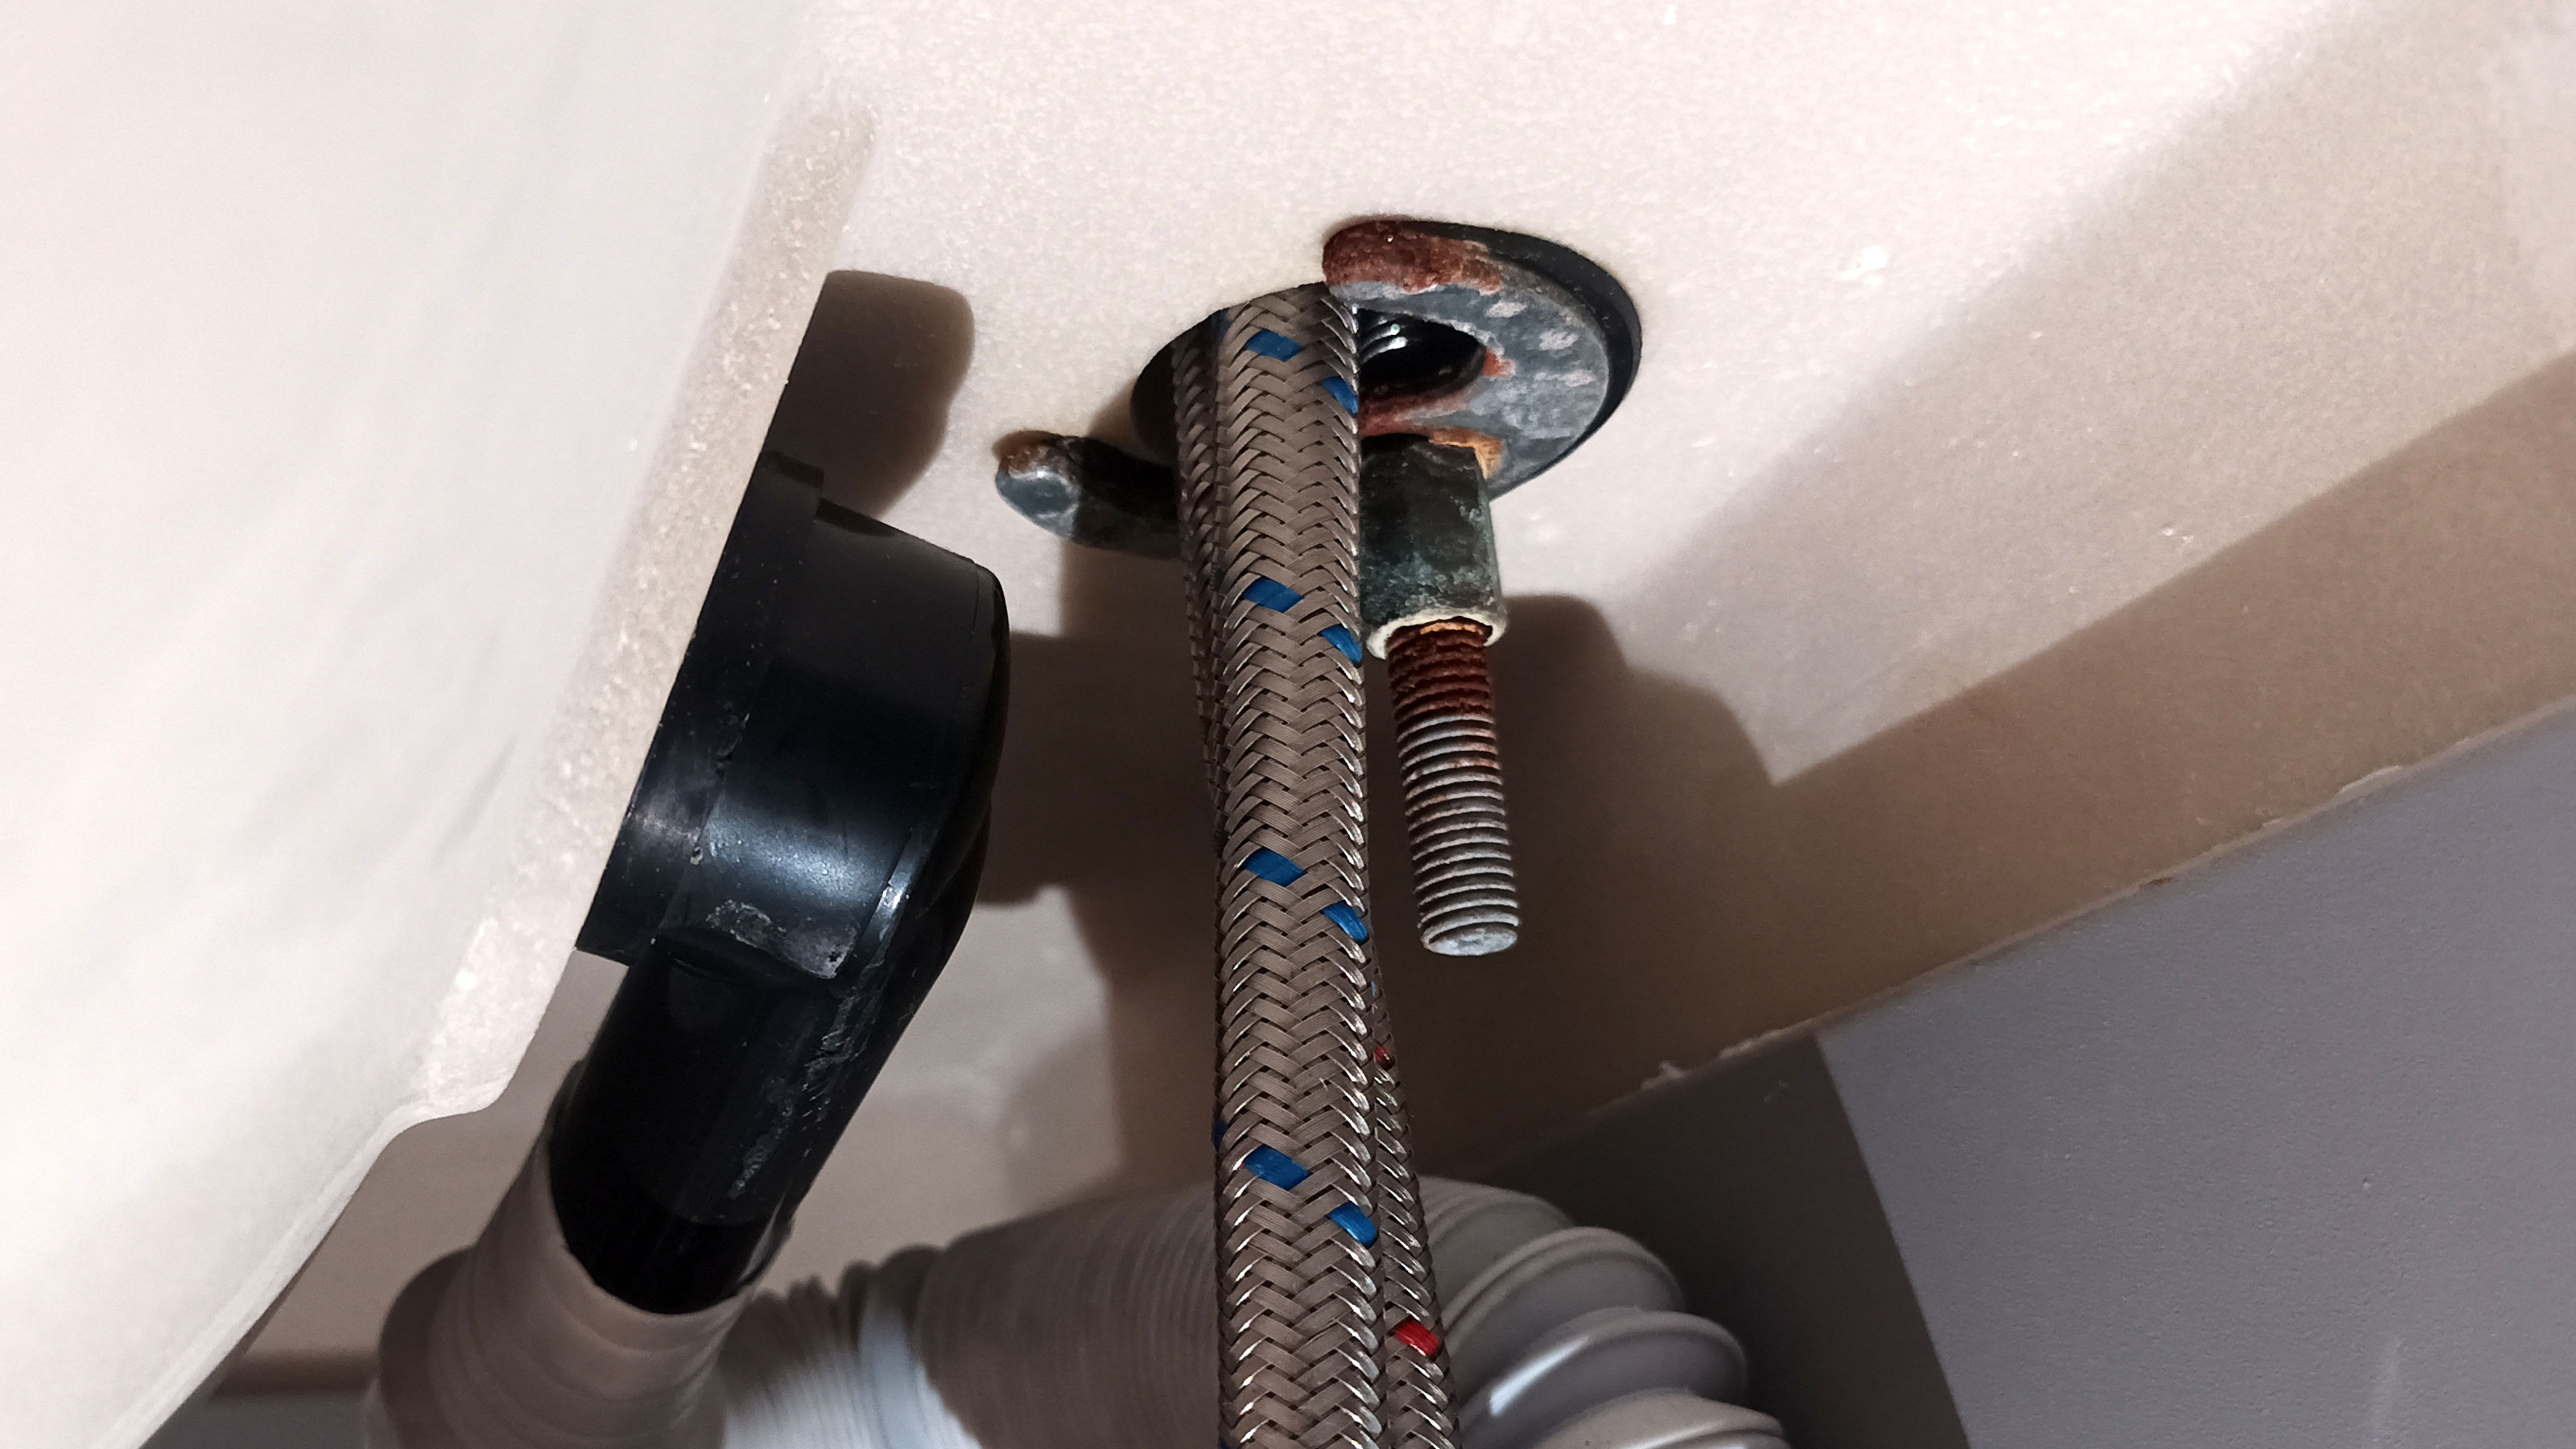
The first thing to do is get a bucket (or container) and towel and place directly under the tap to catch any water that might be left in the pipe. Now you need to disconnect the water supply pipe or pipes from the tap you are replacing. These are typically copper pipe or flexi tails like these Xcel Home Flexible Tap Connectors from Amazon, which are attached to the tap thread.
A large adjustable spanner should be fine to loosen the nut from the tap thread. To remove the tap you will need to remove the retaining nut. These can be in difficult to reach areas where an adjustable spanner will struggle to fit in to. If this is the case you will need a specialist tool. An adjustable basin/sink wrench like this OX Pro Adjustable Basin Wrench will do the job.
If you are replacing a mixer or monobloc tap the process is slightly different. Typically, there are two flexi tails screwed into the tap. First remove the retaining nut holding the tap – you may need the right size monobloc tap spanner like this Rothenberger Monoblock Tap Spanner Set from Amazon as the retaining nut will be much smaller than a standard tap. Once removed pull up the tap and unscrew the tails by hand or with a spanner if needed.

3. Install new tap and switch on the water
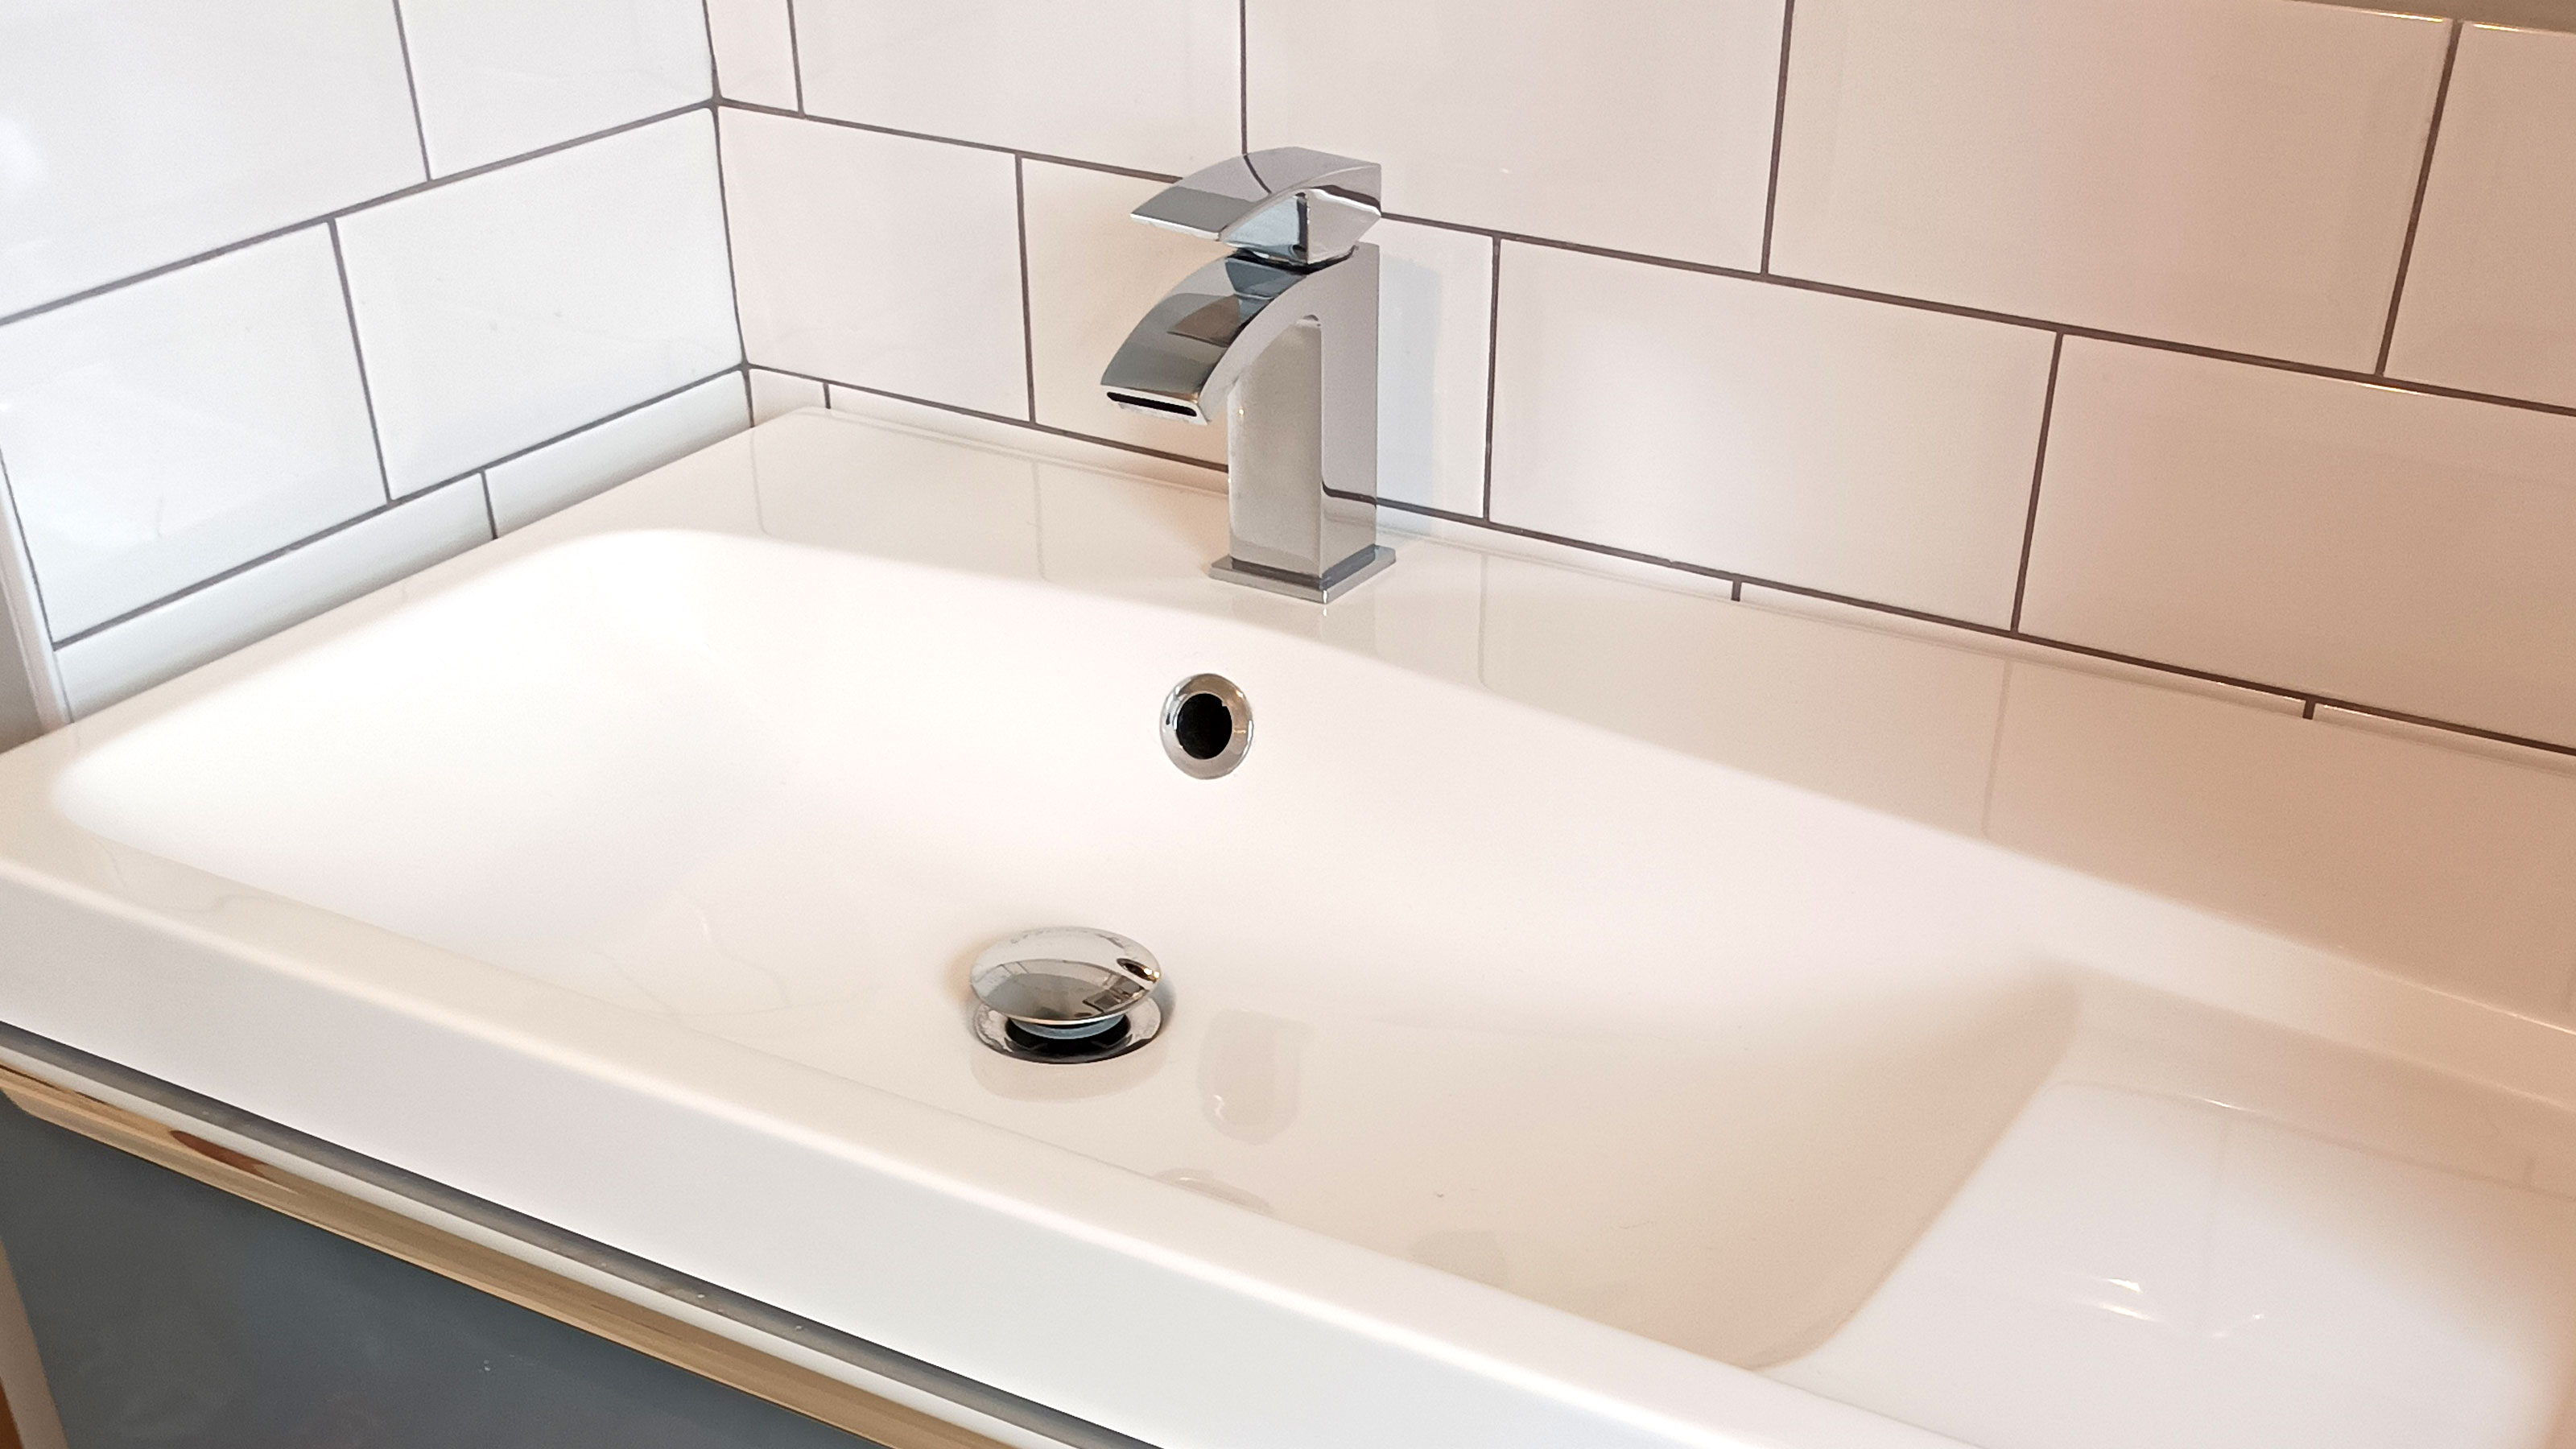
Before installing the new tap give the tap hole a quick clean with a kitchen sponge scourer and wipe clean. Now place the tap in the tap hole and tighten up the retaining nut so the tap is securely in place. Now reconnect the water supply and make sure the connection is tight and secure.
If fitting a new mixer or monobloc tap with two flexi tails, it's easier to pull the flexi tail pipes up through the tap hole and attach to the tap. Then place the tap in the hole and tighten the retaining nut from underneath.
Finally, open the isolation valve or switch the mains supply water back on and run the tap for a minute or two to get rid of any air bubbles (if there are any). Job done.

How to replace a tap FAQs
How do I know what size tap to buy?
The first thing you need to establish is whether you are purchasing taps for a sink or bath. These typically have different size holes, a standard size tap hole for a sink is 22mm, while its 28mm for a bath tap. These will fit most standard size sink and bath taps respectively, but check when purchasing your new tap.
Also note the size of the tap thread, again sinks and baths have different sizes. Sink pipework is typically 15mm, while bath pipework is 22mm. But, it is worth noting that sizes are mostly standardised and will fit with no trouble. If unsure, check with the retailer you are buying from.
What’s the difference between a tap and a mixer tap?
Standard pillar taps come in pairs, one hot, one cold, and will be connected to a hot water pipe and a cold water pipe. Mixer taps are typically a single tap which is fed by a hot and cold water supply that mixes inside the tap and comes out a single spout.
Do I need to turn off the water to change a tap?
Ideally you want to switch off the main water supply into your home when looking to replace a tap. You will need to locate the stop valve (also known as stop cock) and switch off to stop water flowing through pipes.
If you cannot locate the main supply stop valve, or it has seized and won’t shut down – this often happens in older homes – you can switch off the stop valve from the street outside your home. These will differ but commonly will have a cover with the word water on them. You will need to lift the cover and use a stopcock key like this Silverline Combination Stopcock Key from Amazon.
If the stop valve inside your home has seized or won’t turn for any reason you need to call in a plumber to replace it with a new stop valve.
Is it easy to fit an isolation valve?
Most homes will have isolation valves already installed on pipework. But if yours doesn’t, installing a new one is pretty straightforward. First you will need to switch off the main water supply and put down towels.
If replacing an old isolation valve, unscrew by holding the valve with a pair of pliers, or a spanner and then get a spanner to undo the nut. Once removed, clean the pipe with wire wool and wipe clean with a cloth.
Now add a couple wraps of PTFE tape – like this VCELINK PTFE Tape Plumbers Tape from Amazon – around the thread, place the new isolation valve on the pipe ensuring the olive is in place and tighten. Make sure to use pliers/spanner to hold the valve in place when tightening. Tighten the other end and move the screw so it's horizontal and switch the water back on.
Get the Homebuilding & Renovating Newsletter
Bring your dream home to life with expert advice, how to guides and design inspiration. Sign up for our newsletter and get two free tickets to a Homebuilding & Renovating Show near you.
Steve Jenkins is a freelance content creator with over two decades of experience working in digital and print and was previously the DIY content editor for Homebuilding & Renovating.
He is a keen DIYer with over 20 years of experience in transforming and renovating the many homes he has lived in. He specialises in painting and decorating, but has a wide range of skills gleaned from working in the building trade for around 10 years and spending time at night school learning how to plaster and plumb.
He has fitted kitchens, tiled bathrooms and kitchens, laid many floors, built partition walls, plastered walls, plumbed in bathrooms, worked on loft conversions and much more. And when he's not sure how to tackle a DIY project he has a wide network of friends – including plumbers, gas engineers, tilers, carpenters, painters and decorators, electricians and builders – in the trade to call upon.

