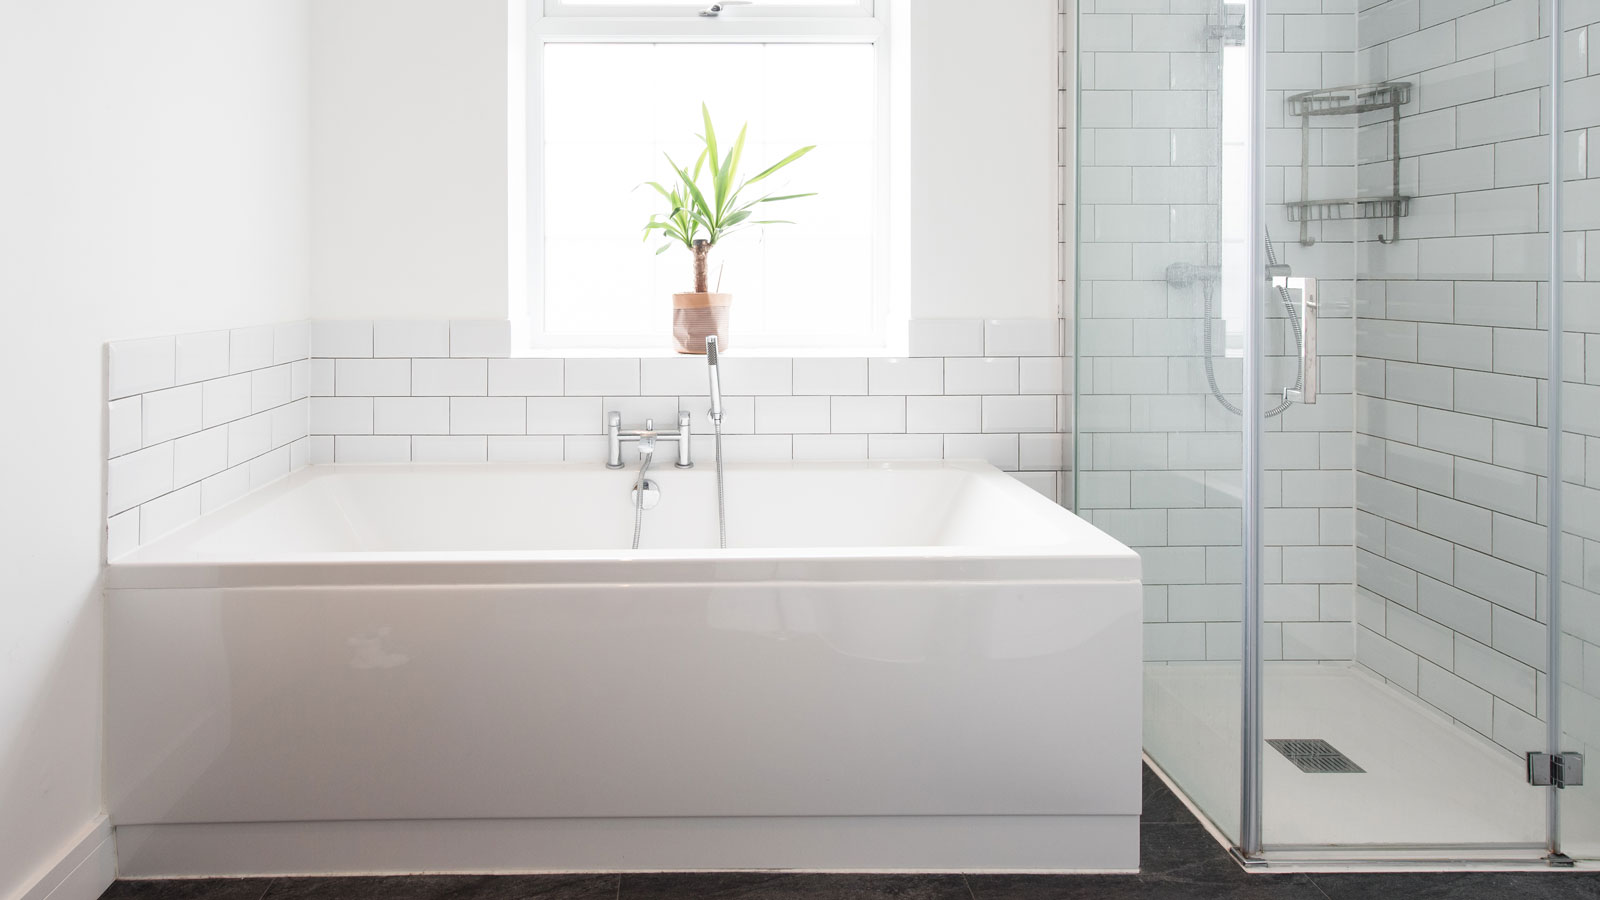
Knowing how to replace a bath panel is a quick way to give your bathroom a smart new look
Get expert advice on how to replace a bath panel and make sure it's a precise fit

If you want to know how to replace a bath panel you’ve come to the right place. It's a task that a DIYer can take on without worrying too much about what can go wrong. And, in this guide you’ll find expert advice to guide you along the way.
You’ll need a few basic tools to make sure that you get a great finish that matches up with your bathroom design ideas. Whether you are going for a simple plastic bath panel, or something more designer, this guide is here to help make sure you do it right.
Tools to replace a bath panel
Before you start to remove the old panel to fit the new make sure that you have all the tools you’ll need for the job nearby. Alex Woods, bathroom expert at Victorian Plumbing says you will need a screwdriver, tape measure (like this Komelon 5M Metric Self-Lock Tape Measure from Amazon), saw, sandpaper, caulk gun, silicone sealant (like this Everbuild FOREVERWH Forever White Sealant from Amazon), spirit level, drill and cleaning materials.

Alex is a marketing manager at Victorian Plumbing, a major online bathroom and kitchen retailer based in Merseyside, UK.
Try these tools to help replace a bath panel

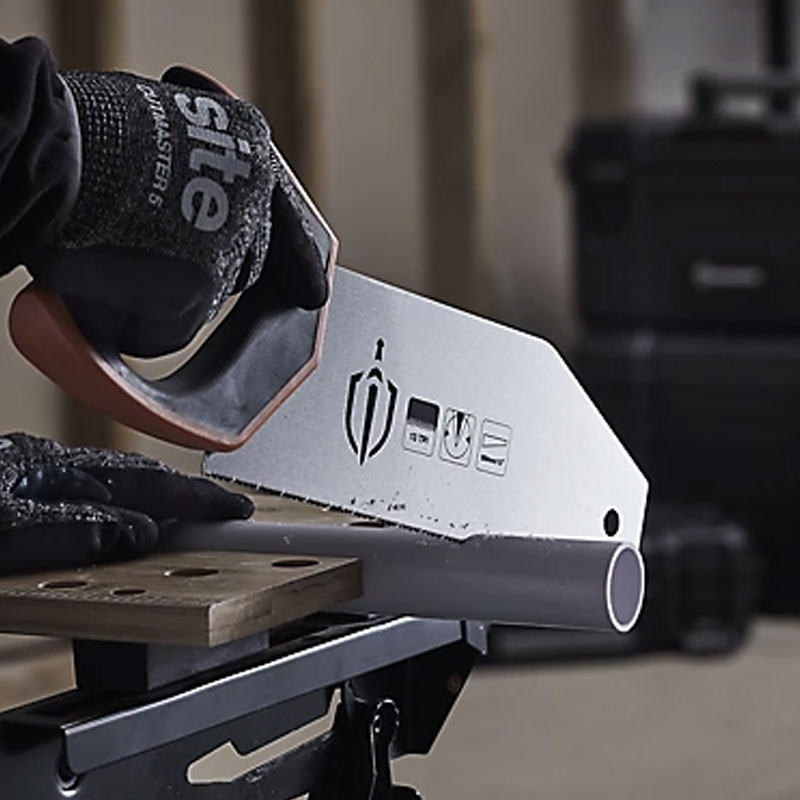
This saw is compact and sturdy with a soft grip for ease of use. It boasts 13 TPI (teeth per inch) to get a smooth, clean, straight cut on plastic panels.

Kieren is a skilled plumbing and heating tradesman with 14 years of experience. Dedicated to quality workmanship, he specializes in installations, repairs, and maintenance, ensuring reliable and efficient solutions for every job.
4 steps to replace a bath panel
Replacing a bath panel is a job that's within the capabilities of most DIYers. Make it part of your bathroom design and make sure that you have your tools ready to hand.
1. Remove the bath panel
Start by removing the old panel. Kieren Connaghan from Connaghan Plumbing & Heating says, “Look along the edges of the panel for screws or clips holding it in place.”
He adds, “Use a screwdriver to remove any screws or gently unclip the panel. Be careful not to damage the surrounding bath frame."
2. Measure the panel
Before fitting the bath panel you will need to recheck measurements. Connaghan says, “Use a measuring tape to confirm the size of your old panel.” He adds, “Start by measuring the distance from the rim of your bath to the floor. This measurement will determine the height needed for your bath panel."
"Next, measure the length of your bath to determine the appropriate panel length.” Write down your measurements so you don’t forget and need to measure again.
3. Trim the panel
To get a precise fit you may need to trim the bath panel. Connaghan says, “Simply mark up the panel and use a hacksaw or suitable saw to carefully make the cuts.”. To finish the cut he adds, “Use fine grit sandpaper to smooth over any rough edges you've created."
4. Fit the bath panel
With the panel trimmed to size it's time to fit. First you need to align the panel, Connaghan says, “Position the new panel under the bath lip and against the bath frame or supports.”
Now check the fit. “Hold it up against the bath to test the fit. Then, use a spirit level to ensure that it's straight. Additionally, check if any adjustments need to be made around pipes or skirting boards, which may require you to cut the panel.
Now secure the panel. Connaghan says, “Attach the panel using screws or clips provided with the new panel. If no fittings are provided, use wood screws or self-tapping screws for wooden or plastic panels.”
Now add sealant where needed, typically along the bottom of the panel. To finish, check that the panel is secure and give the panel a clean.
Do all bath panels fit all baths?
Bath panels are not one size fits all, but there are typical sizes as Woods explains, “Not all bath panels fit all baths, as sizes and designs vary.” He adds, “The standard bath panel size is typically between 1500mm-1800mm for front panels, with heights ranging from 450mm-550mm.” Most panels can be trimmed to ensure a precise fit.
Connaghan adds, “Most manufacturers only sell the standard sizes which are 1500mm, 1600mm, 1700mm, 1800mm and 1900m.” He adds, “These sizes fit most installations and the standard 1700mm is the UK’s most common size.”
FAQs
Are bath panels fixed or removable?
Bath panels can be both. They can be screwed into a wooden frame to hold them in place. Alternatively, they can be fixed with a sealant for an invisible fix, so no screw heads are visible.
But this isn’t the only option as Woods shares, “Some panels can be attached using magnets, allowing for easy removal and installation without screws or clips.” He adds, “Sliding panels are also fairly common, but are typically seen in contemporary or higher-end designs, especially in bathrooms with bespoke layouts.”
How long does it take to fit a bath panel?
Fitting a bath panel isn’t a time-consuming project as Woods shares, “Replacing a bath panel shouldn’t take longer than two hours.” He adds, “Getting the job done in 30 minutes is doable, but it is dependent on the type of panel, any adjustments needed, and your experience.”
A wooden panel or tiled panel will typically take longer to install than a plastic panel which just needs to be trimmed to size to fit. Tiling a panel is like tiling a wall, so expect to add a good few hours onto your schedule.
Do you silicone around a bath panel?
This will depend on what type of panel and how it is fitted, but as a general rule you don't need to silicone a bath panel unlike sealing a bath. The bath panel should fit under the lip of the edge of the bath, so water will run down the panel to the floor. The only area you will need to seal will be the bottom of the bath panels where it meets the floor, so water doesn’t run under the bath.
However, if you have a bath panel that doesn’t sit under the edge of the bath it's a good idea to seal before replacing the bath panel.
Can I use MDF as a bath panel?
You can buy bath panels that are made from MDF, like these SunDaze Bath Panel Bathroom Moisture Resistant Wood MDF Front Bath Panels from B&Q, which are typically covered with a waterproof coating to stop water ingress damaging the bath panel.
If you want to make your own bespoke bath panels MDF and plywood are cost effective materials. But you will need to seal and paint to make sure that they are water resistant.
Replacing a bath panel can be a one-off or part of a whole bathroom makeover. If looking to go the whole way and remodel a bathroom you’ll need to know new bathroom costs. Check out our bathroom trends for inspiration.
Get the Homebuilding & Renovating Newsletter
Bring your dream home to life with expert advice, how to guides and design inspiration. Sign up for our newsletter and get two free tickets to a Homebuilding & Renovating Show near you.
Steve Jenkins is a freelance content creator with over two decades of experience working in digital and print and was previously the DIY content editor for Homebuilding & Renovating.
He is a keen DIYer with over 20 years of experience in transforming and renovating the many homes he has lived in. He specialises in painting and decorating, but has a wide range of skills gleaned from working in the building trade for around 10 years and spending time at night school learning how to plaster and plumb.
He has fitted kitchens, tiled bathrooms and kitchens, laid many floors, built partition walls, plastered walls, plumbed in bathrooms, worked on loft conversions and much more. And when he's not sure how to tackle a DIY project he has a wide network of friends – including plumbers, gas engineers, tilers, carpenters, painters and decorators, electricians and builders – in the trade to call upon.

