How to repair laminate flooring and get it looking like new
Knowing how to repair laminate flooring can restore it to its former glory and get it looking as good as new for a fraction of the price of replacing the floor

If you‘ve got scratches, nicks and gaps it's time to learn how to repair your laminate flooring. No one wants to see their lovely laminate flooring become a shadow of its former self. So what should you do? Regular cleaning and maintenance is one simple way to look after your laminate flooring.
A more drastic alternative is to splash out on brand new laminate flooring, but the cost to lay laminate flooring makes this a prohibitive choice. And, if most of your laminate is still in good condition why replace the entire floor? It doesn’t make sense, and with this guide you won't need to as we show you how to fix your flooring and get it back to its best.
How to repair laminate flooring: Common issues
Here we look at the common problems you typically encounter with laminate flooring and reveal what you can do to sort them out. But if you think it's time for change you can also paint laminate flooring for a quick refresh.
1. How to repair chips and scratches
Scratches, nicks, chips and gouges are the common issues that can leave your laminate looking a little less than perfect. But these are also the easiest problems to deal with. For surface or light scratches you can get a furniture marker pen like these Furniture Repair Kit Wood Markers from Amazon.
These are very much like permanent markers but in a range of wood colours Choose a pen that matches the colour of your laminate flooring and draw over the scratch. Use your finger or cloth to blend in the colour. Repeat if necessary.
Wax sticks – often found in laminate repair kits – are ideal for slightly deeper scratches or nicks that need to be filled. Both of these aren't permanent solutions and will need to be reapplied every 6-12 months.
For deeper gouges you can use a decent wood filler, use your finger to mould to the shape of the surface of the plank, leave to dry and use the marker or wax sticks to finish.
2. How to get rid of gaps
Laminate flooring can start to separate along the joins, especially in rooms where there are fluctuating temperatures. There are a couple of options here to solve the problem. A quick mess free option is to use suction pads like these Welsberg Set of 2 Dual Cup Suction Lifters from Amazon.
If closing an end gap, place the suction pads near the end of the plank and gently tap with a rubber mallet in the direction that closes the gap. If closing a long gap, start at one end and work along the plank length.
This will create gaps in other planks, so you will need to repeat the process until the gaps in all the other planks have been closed.
An alternative option is to use a block of wood – narrower than the plank and about a third of the length – and double sided tape. Attach the block with the tape to the plank and use a hammer to tap in the direction of the gap.
3. How to replace a damaged laminate plank
If you have laminate flooring that is beyond repair then the best option is to replace the plank – or planks – with new. Typically you should have a few leftover planks from when the floor was originally laid. Get these out and see which matches best with your current laminate flooring.
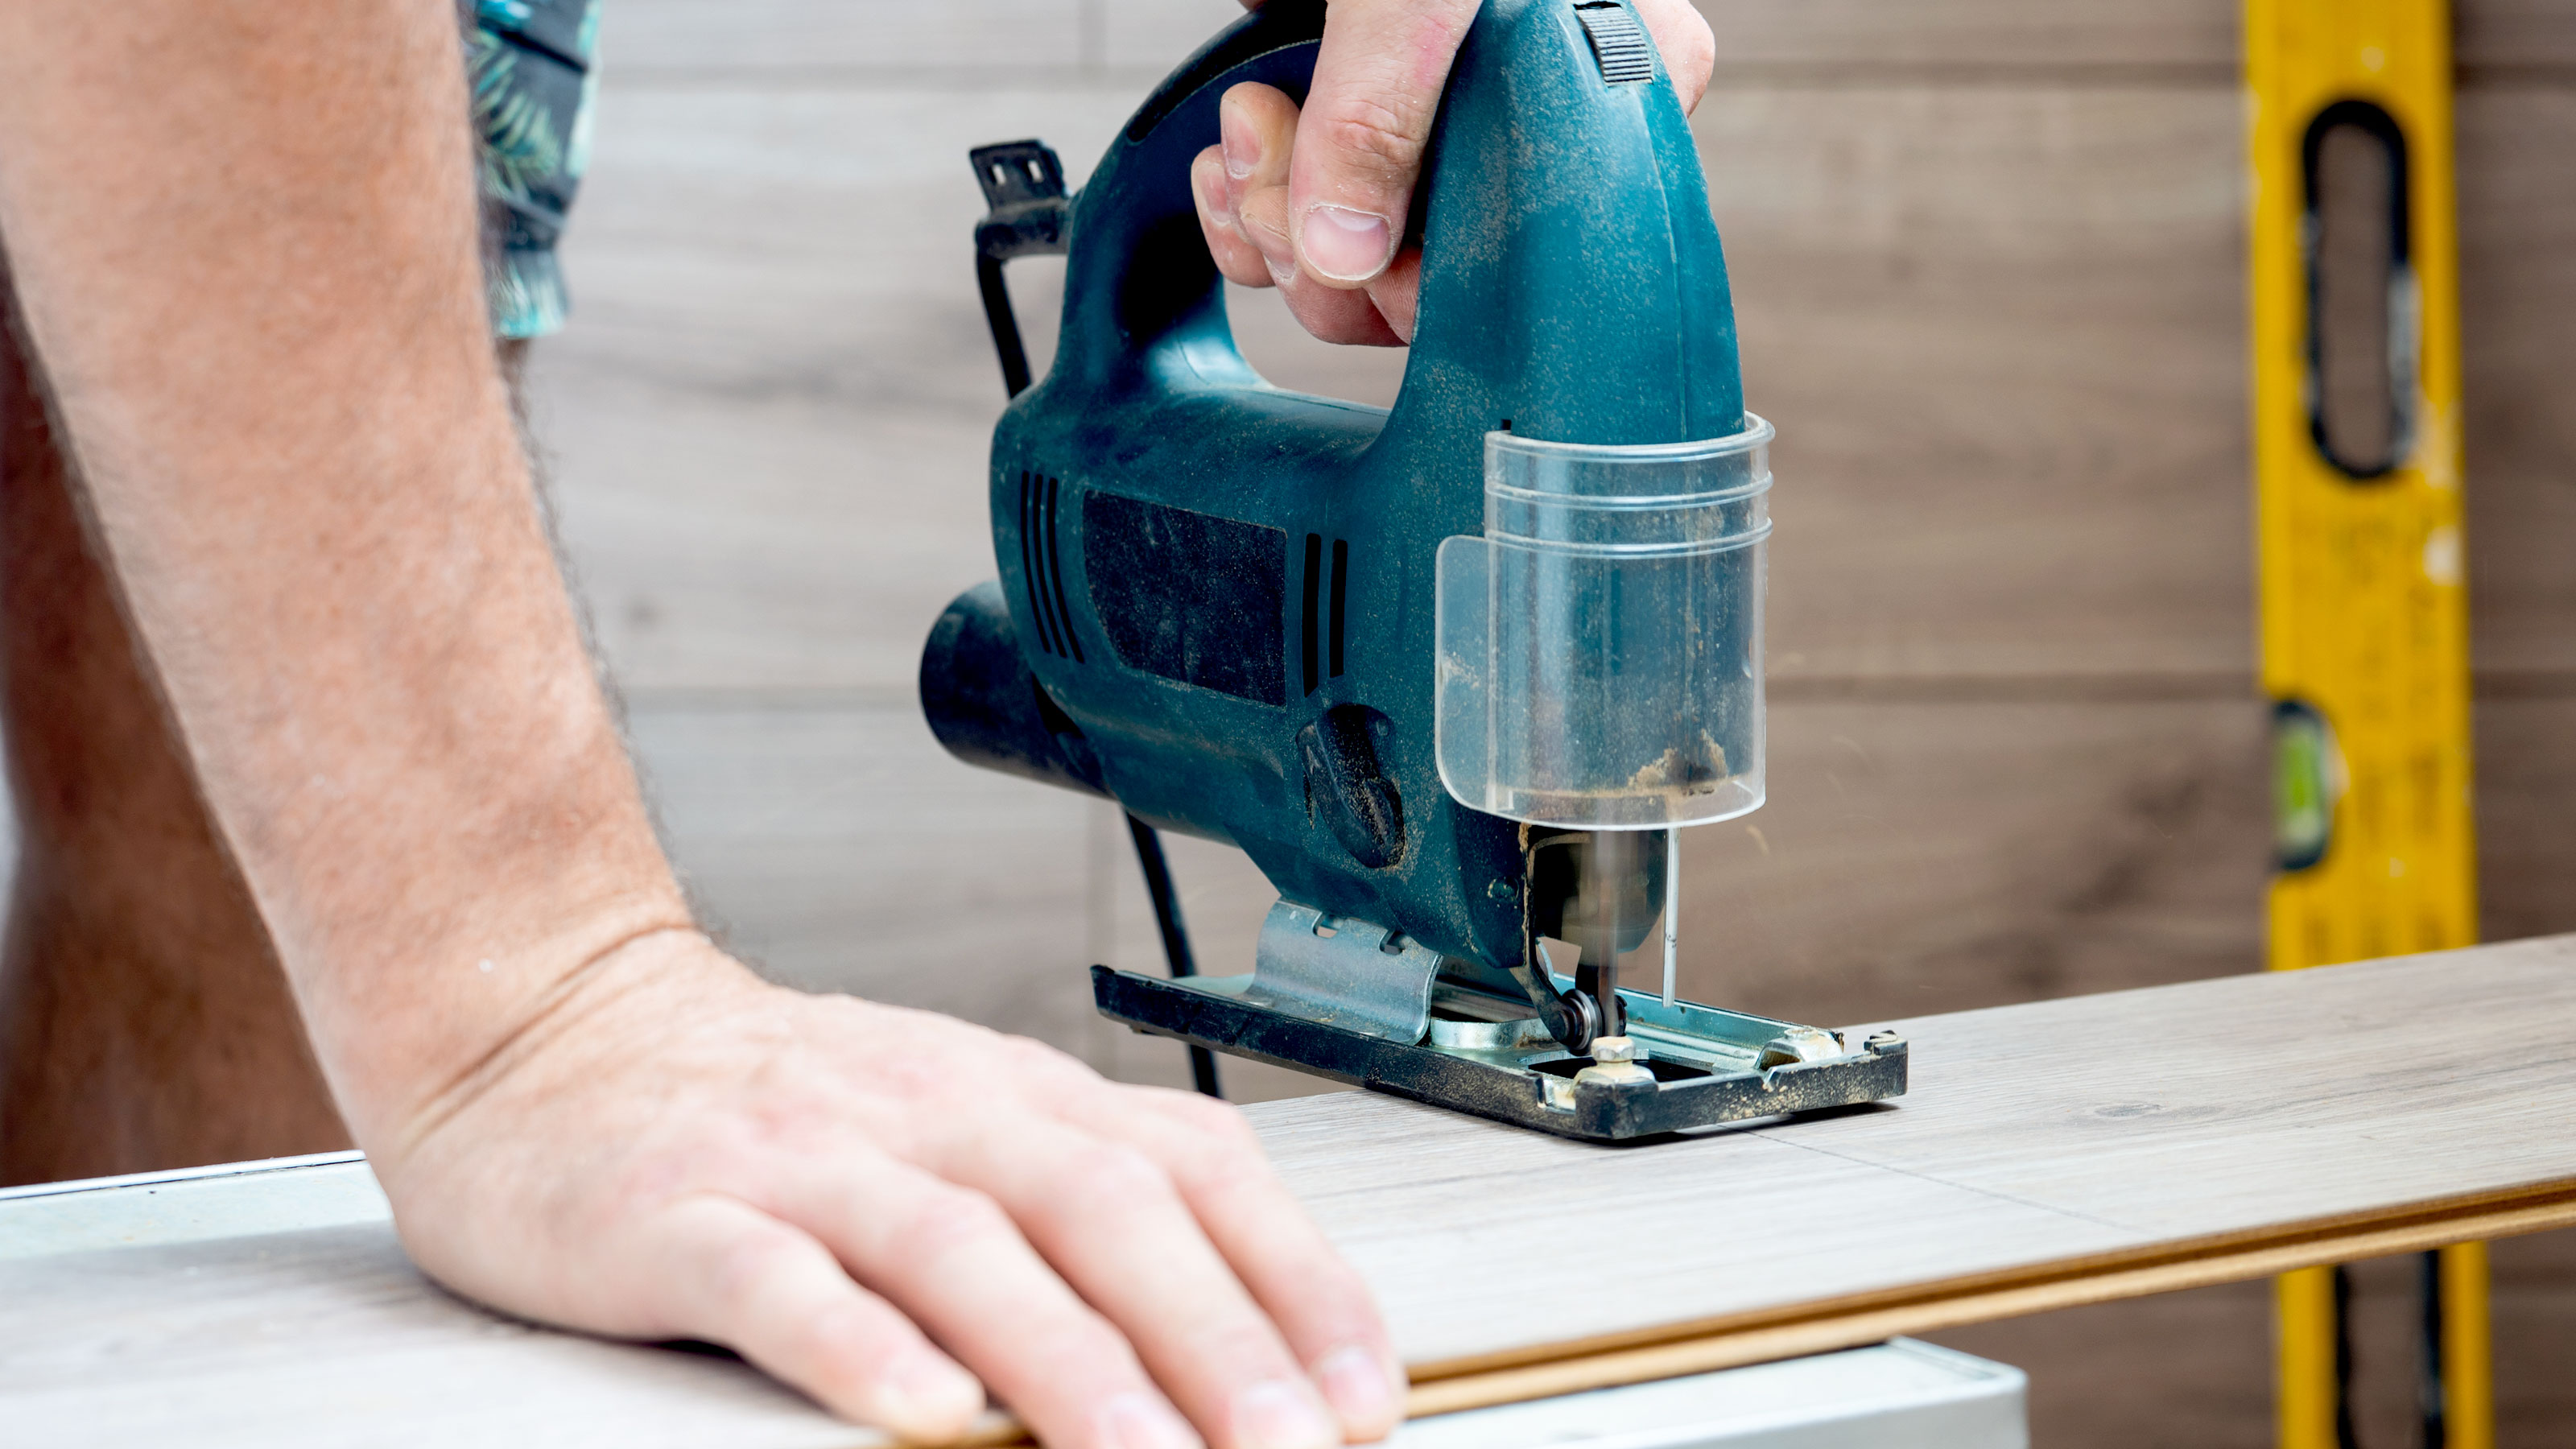
To remove the laminate plank first drill or cut a hole in the middle of the plank. Use a hole saw like this Hole Saw Drill Bit from Amazon to cut a decent size hole to get started. Now use a circular saw set to the right depth to cut from the hole to the ends and edges of the plank. Do at least four cuts. Be careful not to damage adjacent planks. Now get a screwdriver or chisel to lift out the damaged plank and vacuum to clean up.
Laminate floor typically uses tongue and groove to join together. This means you will need to cut the tongue off one end and one length to get a perfect fit. Use a sharp knife or saw to remove the tongue. Now apply a strong wood glue like this Gorilla Wood Glue from Amazon to the tongues you can see on the surrounding planks.
Now get your new laminate plank and fit the non-sawn edge and then lay the plank down to fit. You will need a few tools which you will find in this Kamtop Laminate Wood Flooring Installation Tools Kit from Amazon to fit the planks. Once in place, wipe off any excess glue and protect the new plank with a spare plank or towel and add some heavy weight until the glue is fully dry.
FAQs
What should I do if I don't have a replacement laminate plank?
The first step is to see if the laminate flooring is still available, either at your local hardware store or online. Ideally you want to buy in store as this allows you to take your damaged plank and make sure its a good match. Different batches don’t always have consistency of colour, so it's worth checking against your plank, but typically this won’t be a problem.
If you can't find your original laminate flooring in stock anywhere, you can take your damaged plank and see if you can find a close match. Though this can be a problem if the plank to be replaced is in a noticeable spot. One alternative is to take a plank from an out of the way area i.e under furniture, near a wall – so easier to remove – and use this to replace the damaged plank.
Once you have a match you need to make sure that you know how to cut laminate flooring, especially around doorways and awkward areas. You don’t really want to be looking for another match again.
What can I do to maintain my laminate flooring?
There's a few preventative measures that you should introduce as soon as a laminate floor is laid. One is to make sure that any furniture has felt pads like these Scotch Surface Protection Felt from Amazon attached to the bottom of furniture legs.
This will help stop scratches and marks appearing on the floor. Another is to lay down rugs in heavy traffic areas, try to get everyone to remove their shoes indoors and if you have a dog keep their claws trimmed.
Cleaning is a must if you want to keep your floor looking good. Regular sweeping and vacuuming is essential to stop dirt and debris being trod into the floor. Don’t let stains sit on the floor, tackle them immediately.
Use kitchen roll to soak up as much liquid as possible and if needed use a damp sponge or cloth to wipe clean. Dry immediately with kitchen roll or a dry cloth to finish. Try not to use an abrasive pad to clean the stain as this can scratch the laminate.
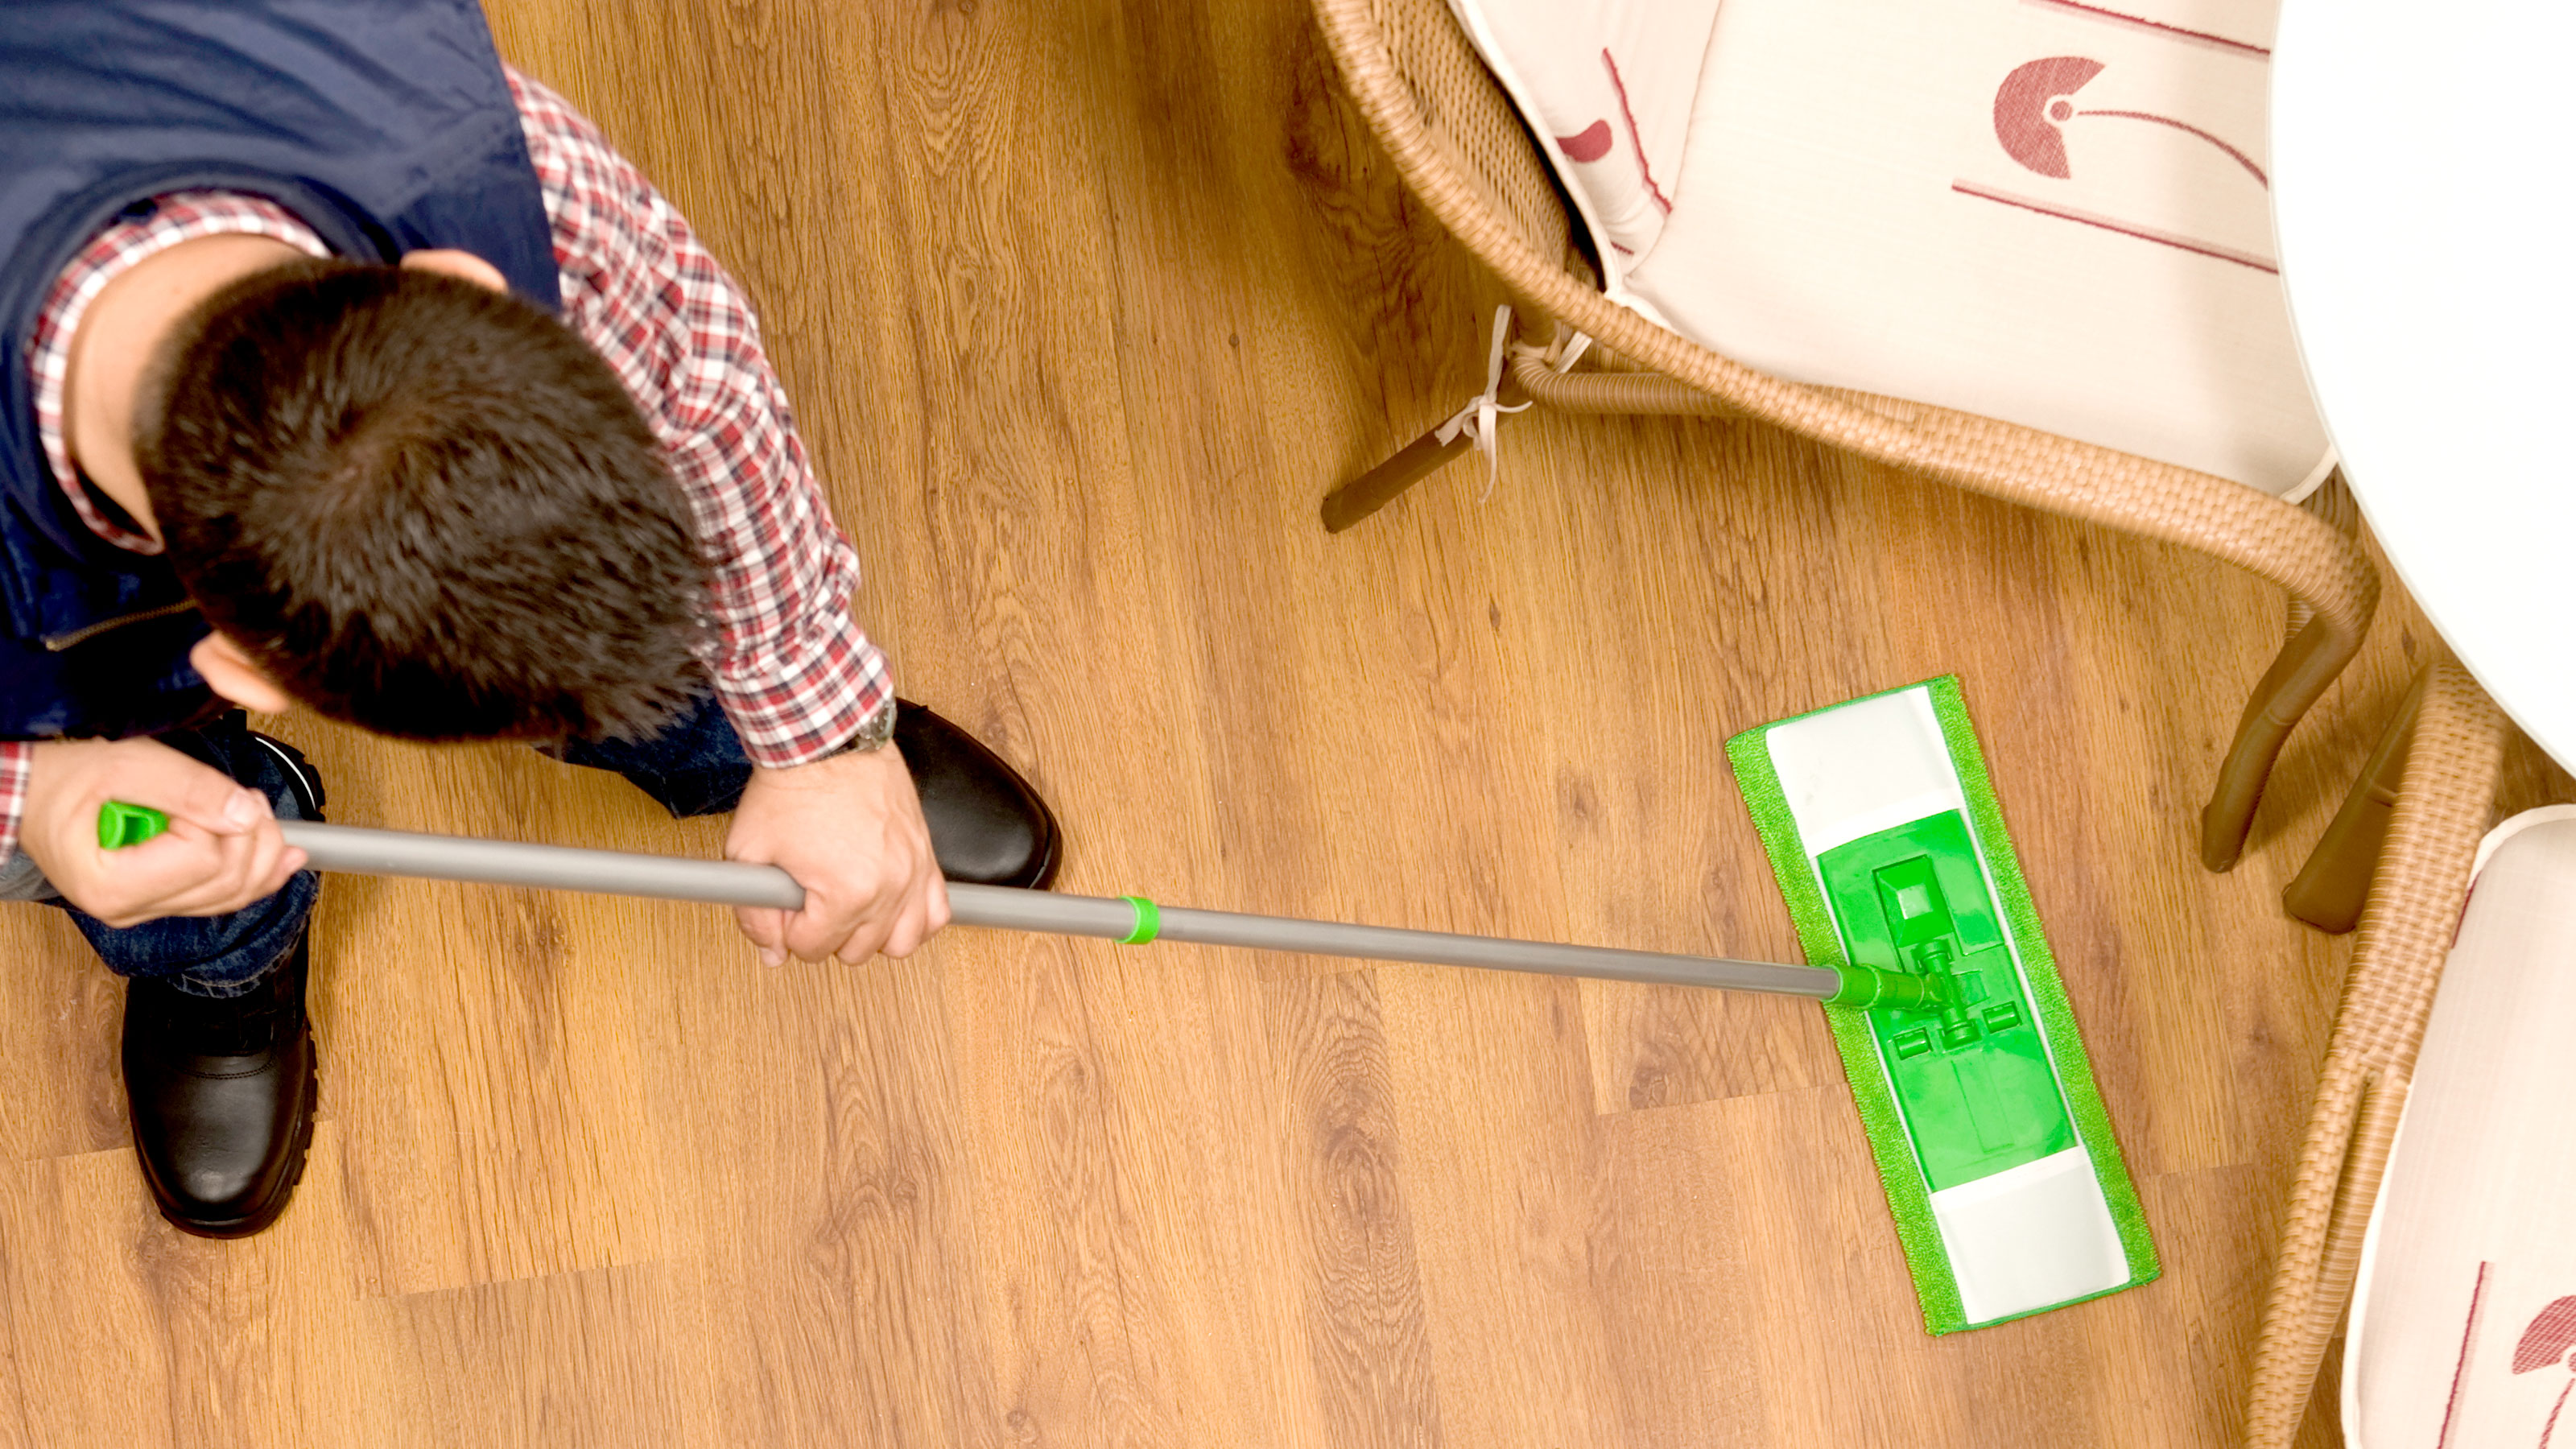
Finally, mop the floor every few months – or more often if it gets a lot of traffic – with a microfiber mop like this Turbo Microfiber Mop from Amazon that is suitable for laminate floors. If using a cleaner, make sure it’s compatible with laminate floors.

Get the Homebuilding & Renovating Newsletter
Bring your dream home to life with expert advice, how to guides and design inspiration. Sign up for our newsletter and get two free tickets to a Homebuilding & Renovating Show near you.
Steve Jenkins is a freelance content creator with over two decades of experience working in digital and print and was previously the DIY content editor for Homebuilding & Renovating.
He is a keen DIYer with over 20 years of experience in transforming and renovating the many homes he has lived in. He specialises in painting and decorating, but has a wide range of skills gleaned from working in the building trade for around 10 years and spending time at night school learning how to plaster and plumb.
He has fitted kitchens, tiled bathrooms and kitchens, laid many floors, built partition walls, plastered walls, plumbed in bathrooms, worked on loft conversions and much more. And when he's not sure how to tackle a DIY project he has a wide network of friends – including plumbers, gas engineers, tilers, carpenters, painters and decorators, electricians and builders – in the trade to call upon.

