If you’ve drilled a spotlight hole in the wrong location, you‘ll need to follow this guide on how to repair a hole in a ceiling. Here we discuss how to quickly address ceiling holes that cannot be repaired with just a little bit of filler.
Repairing old ceilings – and new ones – involves using the right tools and kit to ensure that it stays looking good for longer. Some quick fixes simply won’t cut it. They may look good when you finish, but it won’t be long before they need repairing again. Follow the pro tips in this guide and your ceilings will look like new for years to come.
Tom Hall
Tom Hall is a Category Executive at Kingfisher Direct. Tom's expertise spans a wide range of DIY-related topics, and he enjoys sharing his knowledge with those seeking guidance on home improvement and maintenance projects.
Options to repair a hole in a ceiling
There is no one-size-fits-all solution for repairing a hole in a ceiling. How you fix it will depend on various factors, such as depth, size, and extent of damage. Kevin Keen, owner of Keen's Buildings, says, “Ceiling holes, especially those resulting from water damage or electrical work like removed spotlights, are common in residential structures.”
For smaller to medium holes, Keen says, “For anything under 50mm, you can usually get away with a strong filler.” But be aware, Keen continues, “Anything over 50mm, you're pushing it. Fillers don’t hold well long-term if they’re applied thick.” He adds, “The most common mistake I see is people trying to patch something the size of a softball (around 90-100mm) with filler, and it starts cracking or sagging in no time.”
Tom Hall, category executive at Kingfisher Direct, suggests, “You can use a drywall patch, made from mesh joint tape and joint compound.” This will give a strong finish for smaller holes and blend well with the current ceiling.
For larger holes, Hall continues, you will need additional support: “For larger holes, it will require the use of wooden cleats to provide structural support, before finishing with jointing compound.”
In some cases, i.e. holes larger than 100mm, new plasterboard is a much better and quicker option. Hall says, “You can cut out the plasterboard around the hole and replace it with a new section of plasterboard, before covering with joint compound.” He adds, “This typically works better for larger holes to provide more stability.”
Kevin Keen
Kevin has been in the industry for 25 years and handles everything, from the distribution and installation of portable structures to financing and manufacturing. He can speak with authority on every aspect of construction.
Try these to help repair a hole in a ceiling
Palace Langlow Patching Plaster
Shrink-resistant, fast drying patching plaster that dries white. It's easy to sand and is good for larger holes when used with joint tape.
Axus Decor Stainless Steel Flexible Filling Knife
A premium stainless steel blade and chunky handle make this knife ideal for adding filler. Available in four size from 25mm-200mm.
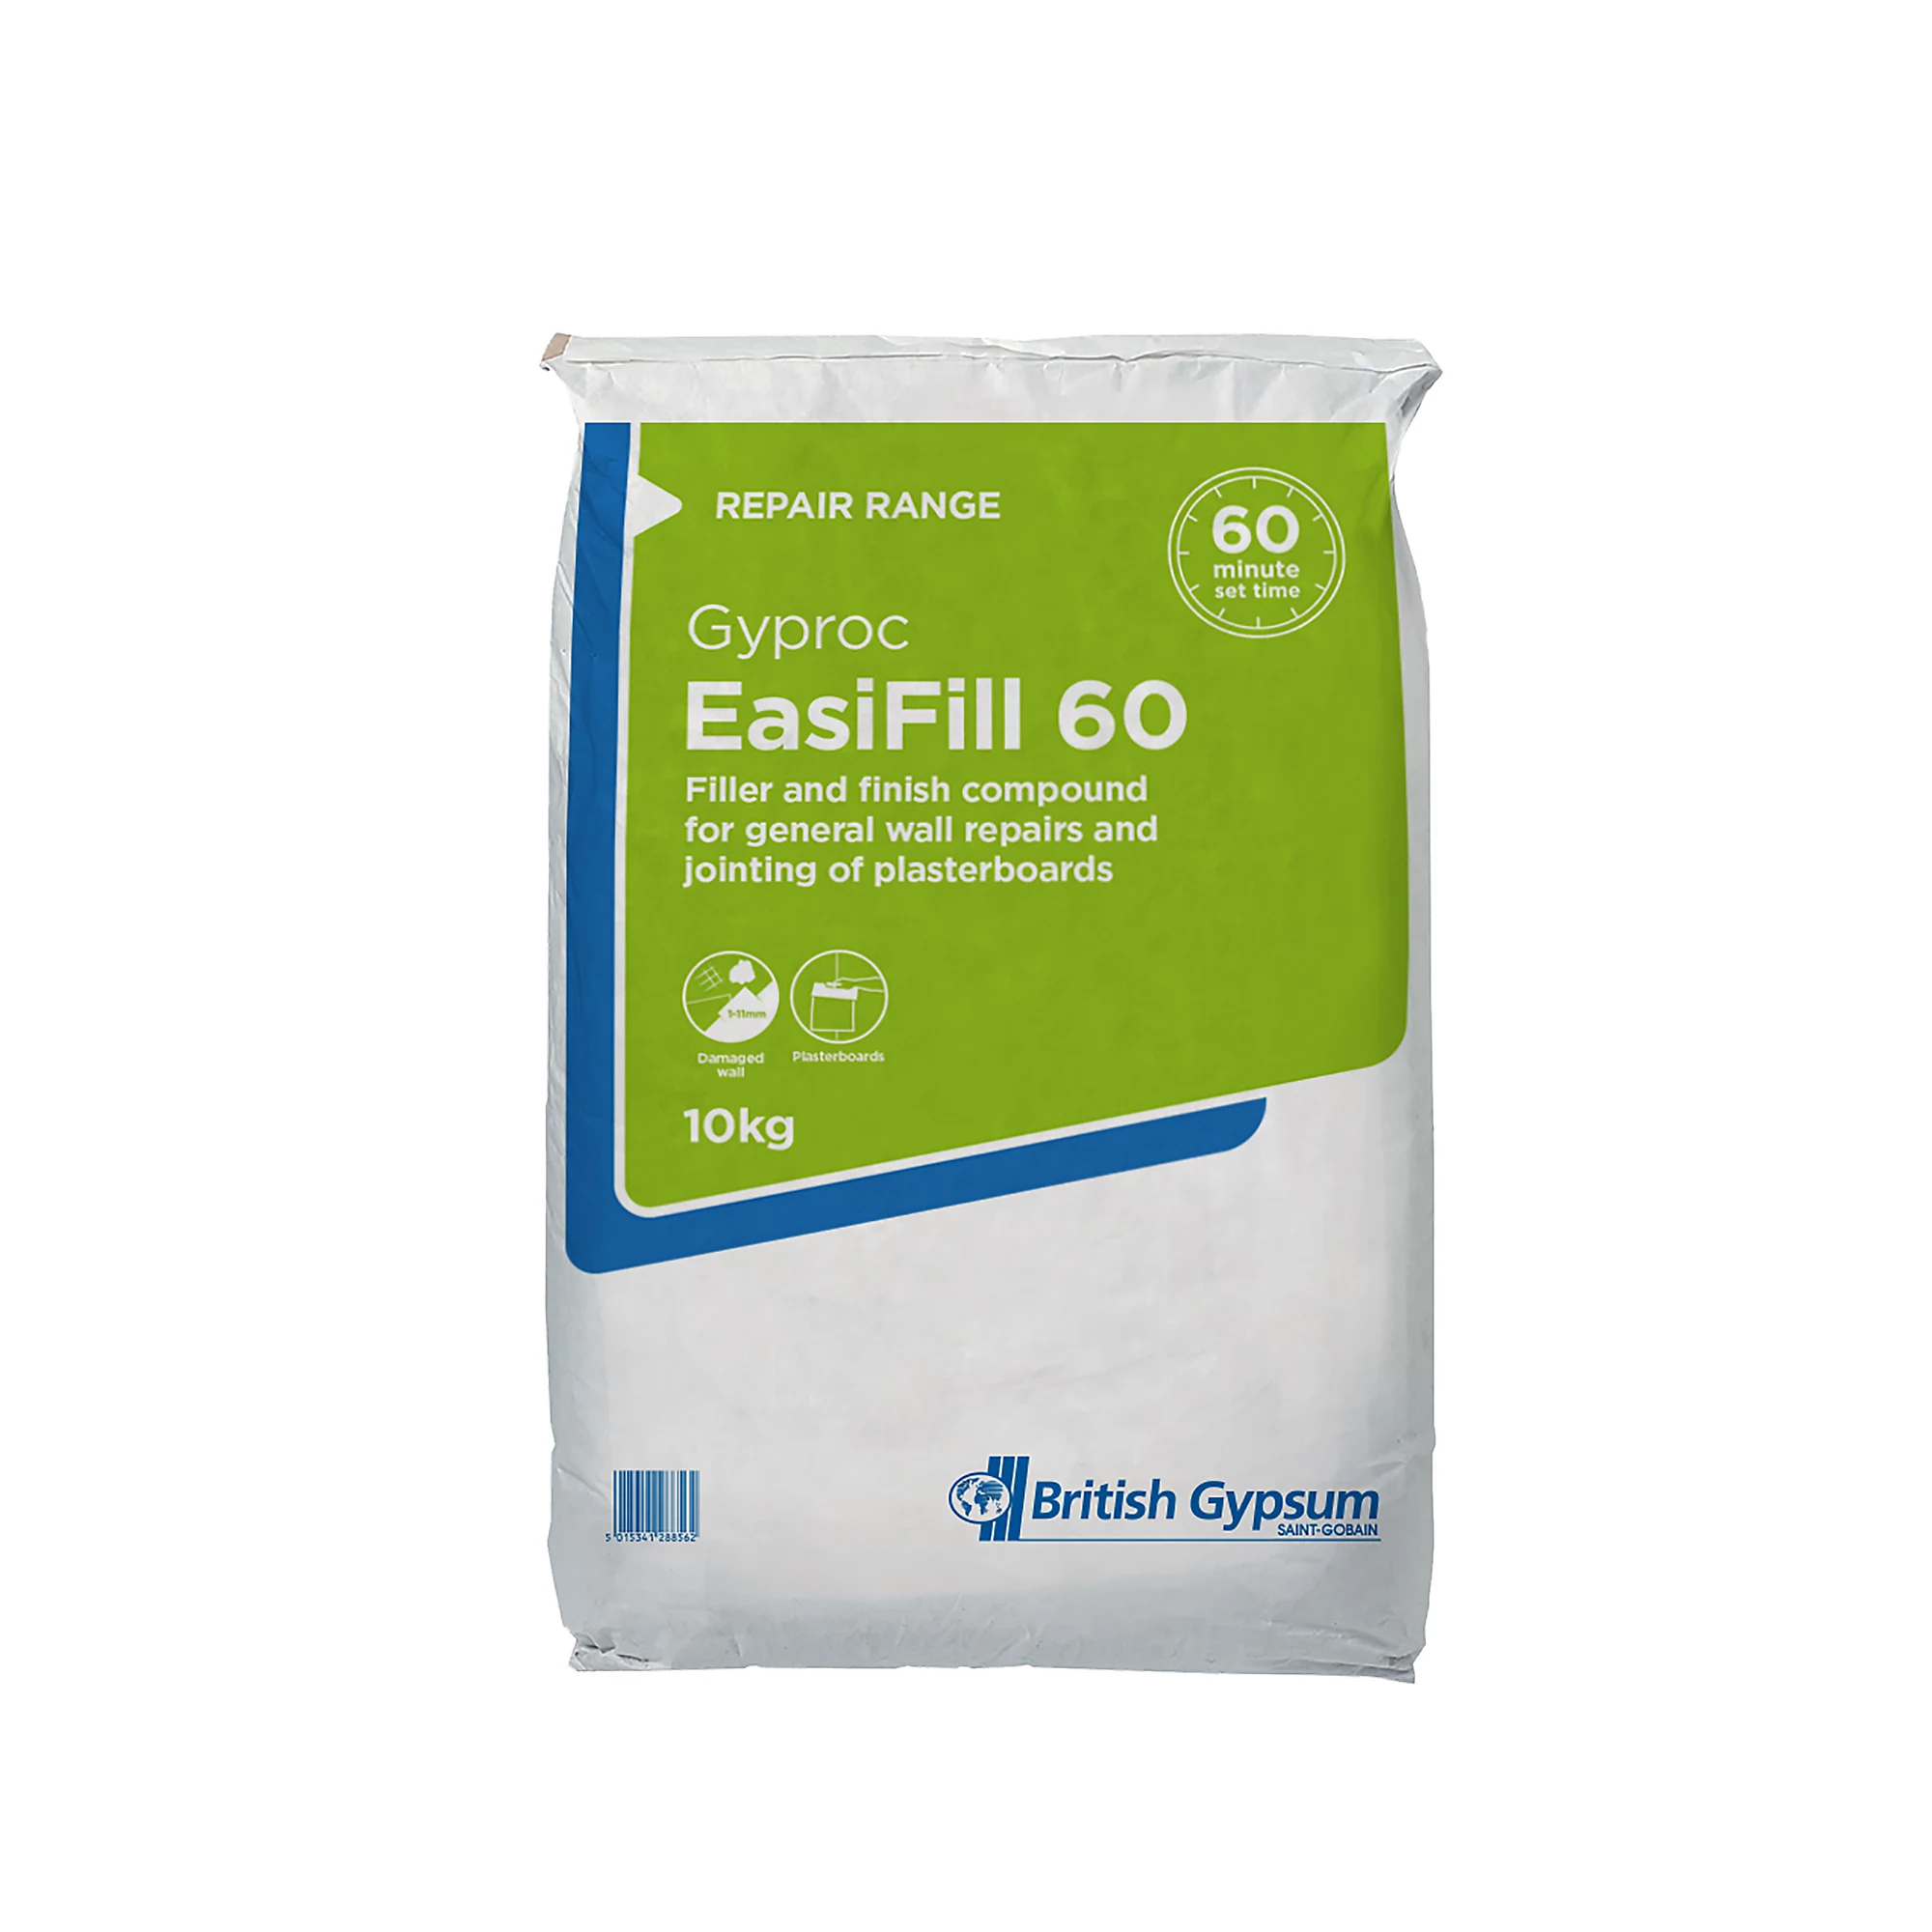
This Gyproc Easi-Fill joint filler is good for general wall and ceiling repairs. Use to cover plasterboard jointing and taping for a smooth easy to sand finish.
Tools to repair a hole in a ceiling
What you need to repair a hole in the ceiling depends on the size and depth, but the following are essential:
If filling a small hole, you should only need filler, as Hall explains, “Start by assessing the hole in your ceiling, if it’s smaller than 50mm in width and depth, then it can simply be filled using a wall filler and putty knife.” He adds, “After 24 hours, the wall filler should have dried and you can sand down the edges and paint over the area for a seamless finish.”
For larger holes - anything bigger than 50mm - the quick and easy option is to cut out and replace the plasterboard. Hall says, “Start by using a drywall saw to cut a clean rectangular shape around the hole. Then, place wooden cleats across the inside of the hole and attach them using plasterboard screws, this will provide a secure backing for the new section of plasterboard.”
Next, measure up the hole and cut a piece of plasterboard to fit the hole. Halls says, “Place the plasterboard into the hole and fix it to the wooden cleats by drilling in more drywall screws.”
To finish, he adds, “Take your joint tape and apply it around the edges of the plasterboard, making sure that it’s as smooth as possible.” The next step is to use a filling knife to apply joint compound across the plasterboard.
Hall adds, “Make sure to smooth it out at the edges for a seamless finish. Apply multiple thin layers of jointing compound and once dry, use sandpaper to sand the surface, finishing with a fresh coat of paint”.
Hall adds one final tip: “If your ceiling is textured, you will have to finish by using a textured spray to ensure that it seamlessly blends with the rest of the ceiling.”
FAQs
Can you use joint tape to patch holes?
Joint tape, like this Fibreglass Plasterboard Repair & Jointing Tape from Wickes, is a great option for adding support to smaller ceiling holes, and it's easy to use, as Hall shares, “Joint tape is self-adhesive, which allows easy and quick application.”
He adds, “If the hole is large, then you may need to use a section of plasterboard before using joint tape to provide added support.”
Can I use patching plaster to fill holes?
Patching plaster can be used to fill holes, small and large. Hall says, “Patching plaster is typically used for larger and deeper holes as it offers a more durable finish than regular wall filler”.
However, to fill large holes it will need to be layered to be fully effective. Keen says, “Use with mesh jointing tape and joint compound to get a much smoother and long-lasting result."
If your ceiling proves to be beyond repair, you’ll need to remove it and start again. Check out our how to plasterboard a ceiling guide to get a neat, clean finish. To finish the new ceiling, follow our how to paper a ceiling and painting a ceiling guides.
Get the Homebuilding & Renovating Newsletter
Bring your dream home to life with expert advice, how to guides and design inspiration. Sign up for our newsletter and get two free tickets to a Homebuilding & Renovating Show near you.
Steve Jenkins is a freelance content creator with over two decades of experience working in digital and print and was previously the DIY content editor for Homebuilding & Renovating.
He is a keen DIYer with over 20 years of experience in transforming and renovating the many homes he has lived in. He specialises in painting and decorating, but has a wide range of skills gleaned from working in the building trade for around 10 years and spending time at night school learning how to plaster and plumb.
He has fitted kitchens, tiled bathrooms and kitchens, laid many floors, built partition walls, plastered walls, plumbed in bathrooms, worked on loft conversions and much more. And when he's not sure how to tackle a DIY project he has a wide network of friends – including plumbers, gas engineers, tilers, carpenters, painters and decorators, electricians and builders – in the trade to call upon.