How to remove skirting boards quickly and easily with the right tools
Knowing how to remove skirting boards properly means you can reuse or replace them and leave the plaster on the wall undamaged. Here we tell you how it’s done

If you’re replacing your old skirting boards you’ll need to know how to remove skirting boards the right way to make sure you don’t do too much damage to the walls. You don't want to be filling holes, replastering or replacing plasterboard if you can help it.
The less time you spend repairing walls the more time you will have to fit the new skirting board, and make sure that you're painting skirting boards to a professional finish. Here you can find out what tools and techniques you’ll need to do a pro job.
How to remove skirting boards in three easy steps
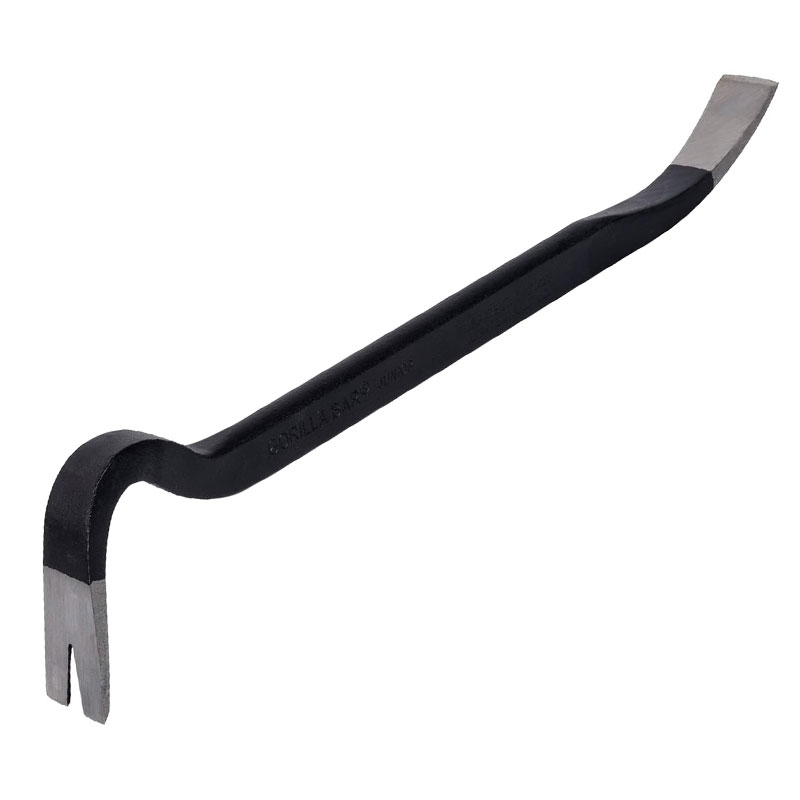
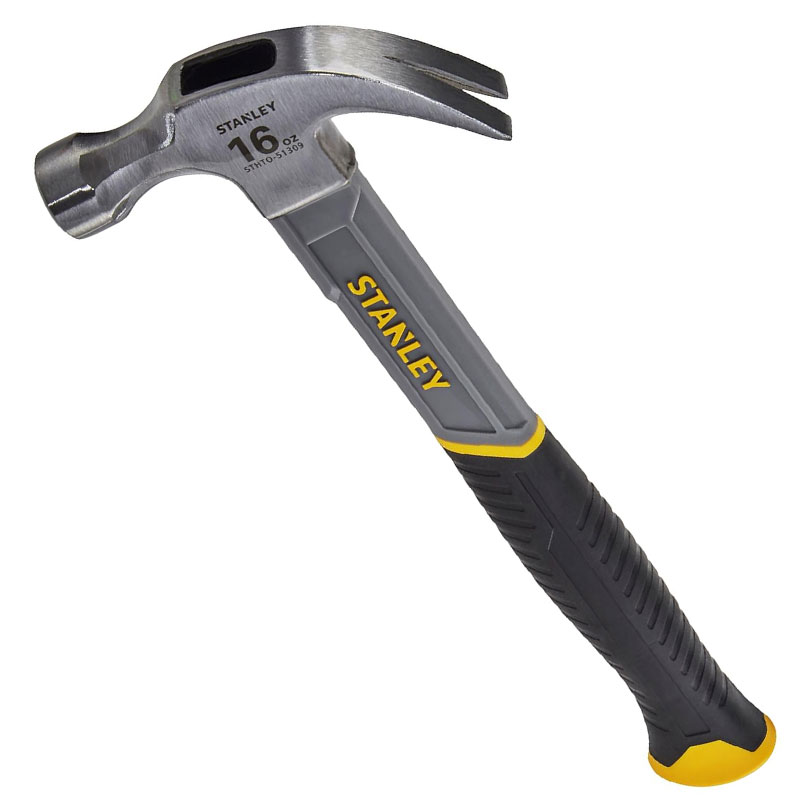
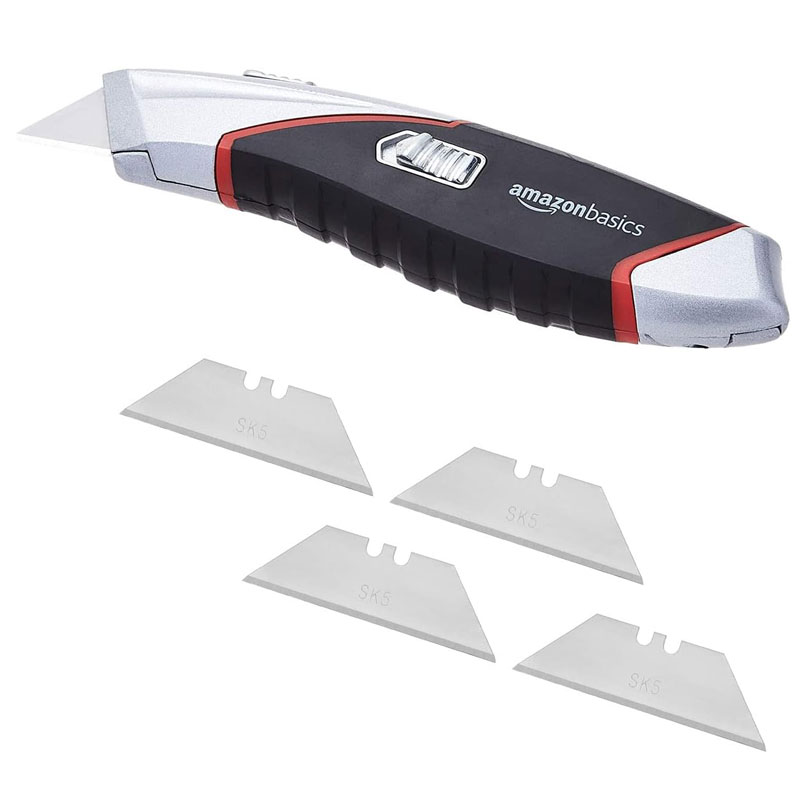
Removing skirting boards isn't difficult, but it does need patience and a few tools to complete the job, including a claw hammer, crowbar and Stanley knife.
1. Prepare skirting for removal
If you have any cables attached to the skirting board remove the cable clips with a pair of pliers. Grip the nail in the clip and pull; if difficult to remove gently twist and pull. If decorators' caulk has been used to fill any gaps, get a Stanley knife and carefully run the blade between the skirting and the wall to cut through the caulk.
2. Remove the skirting board
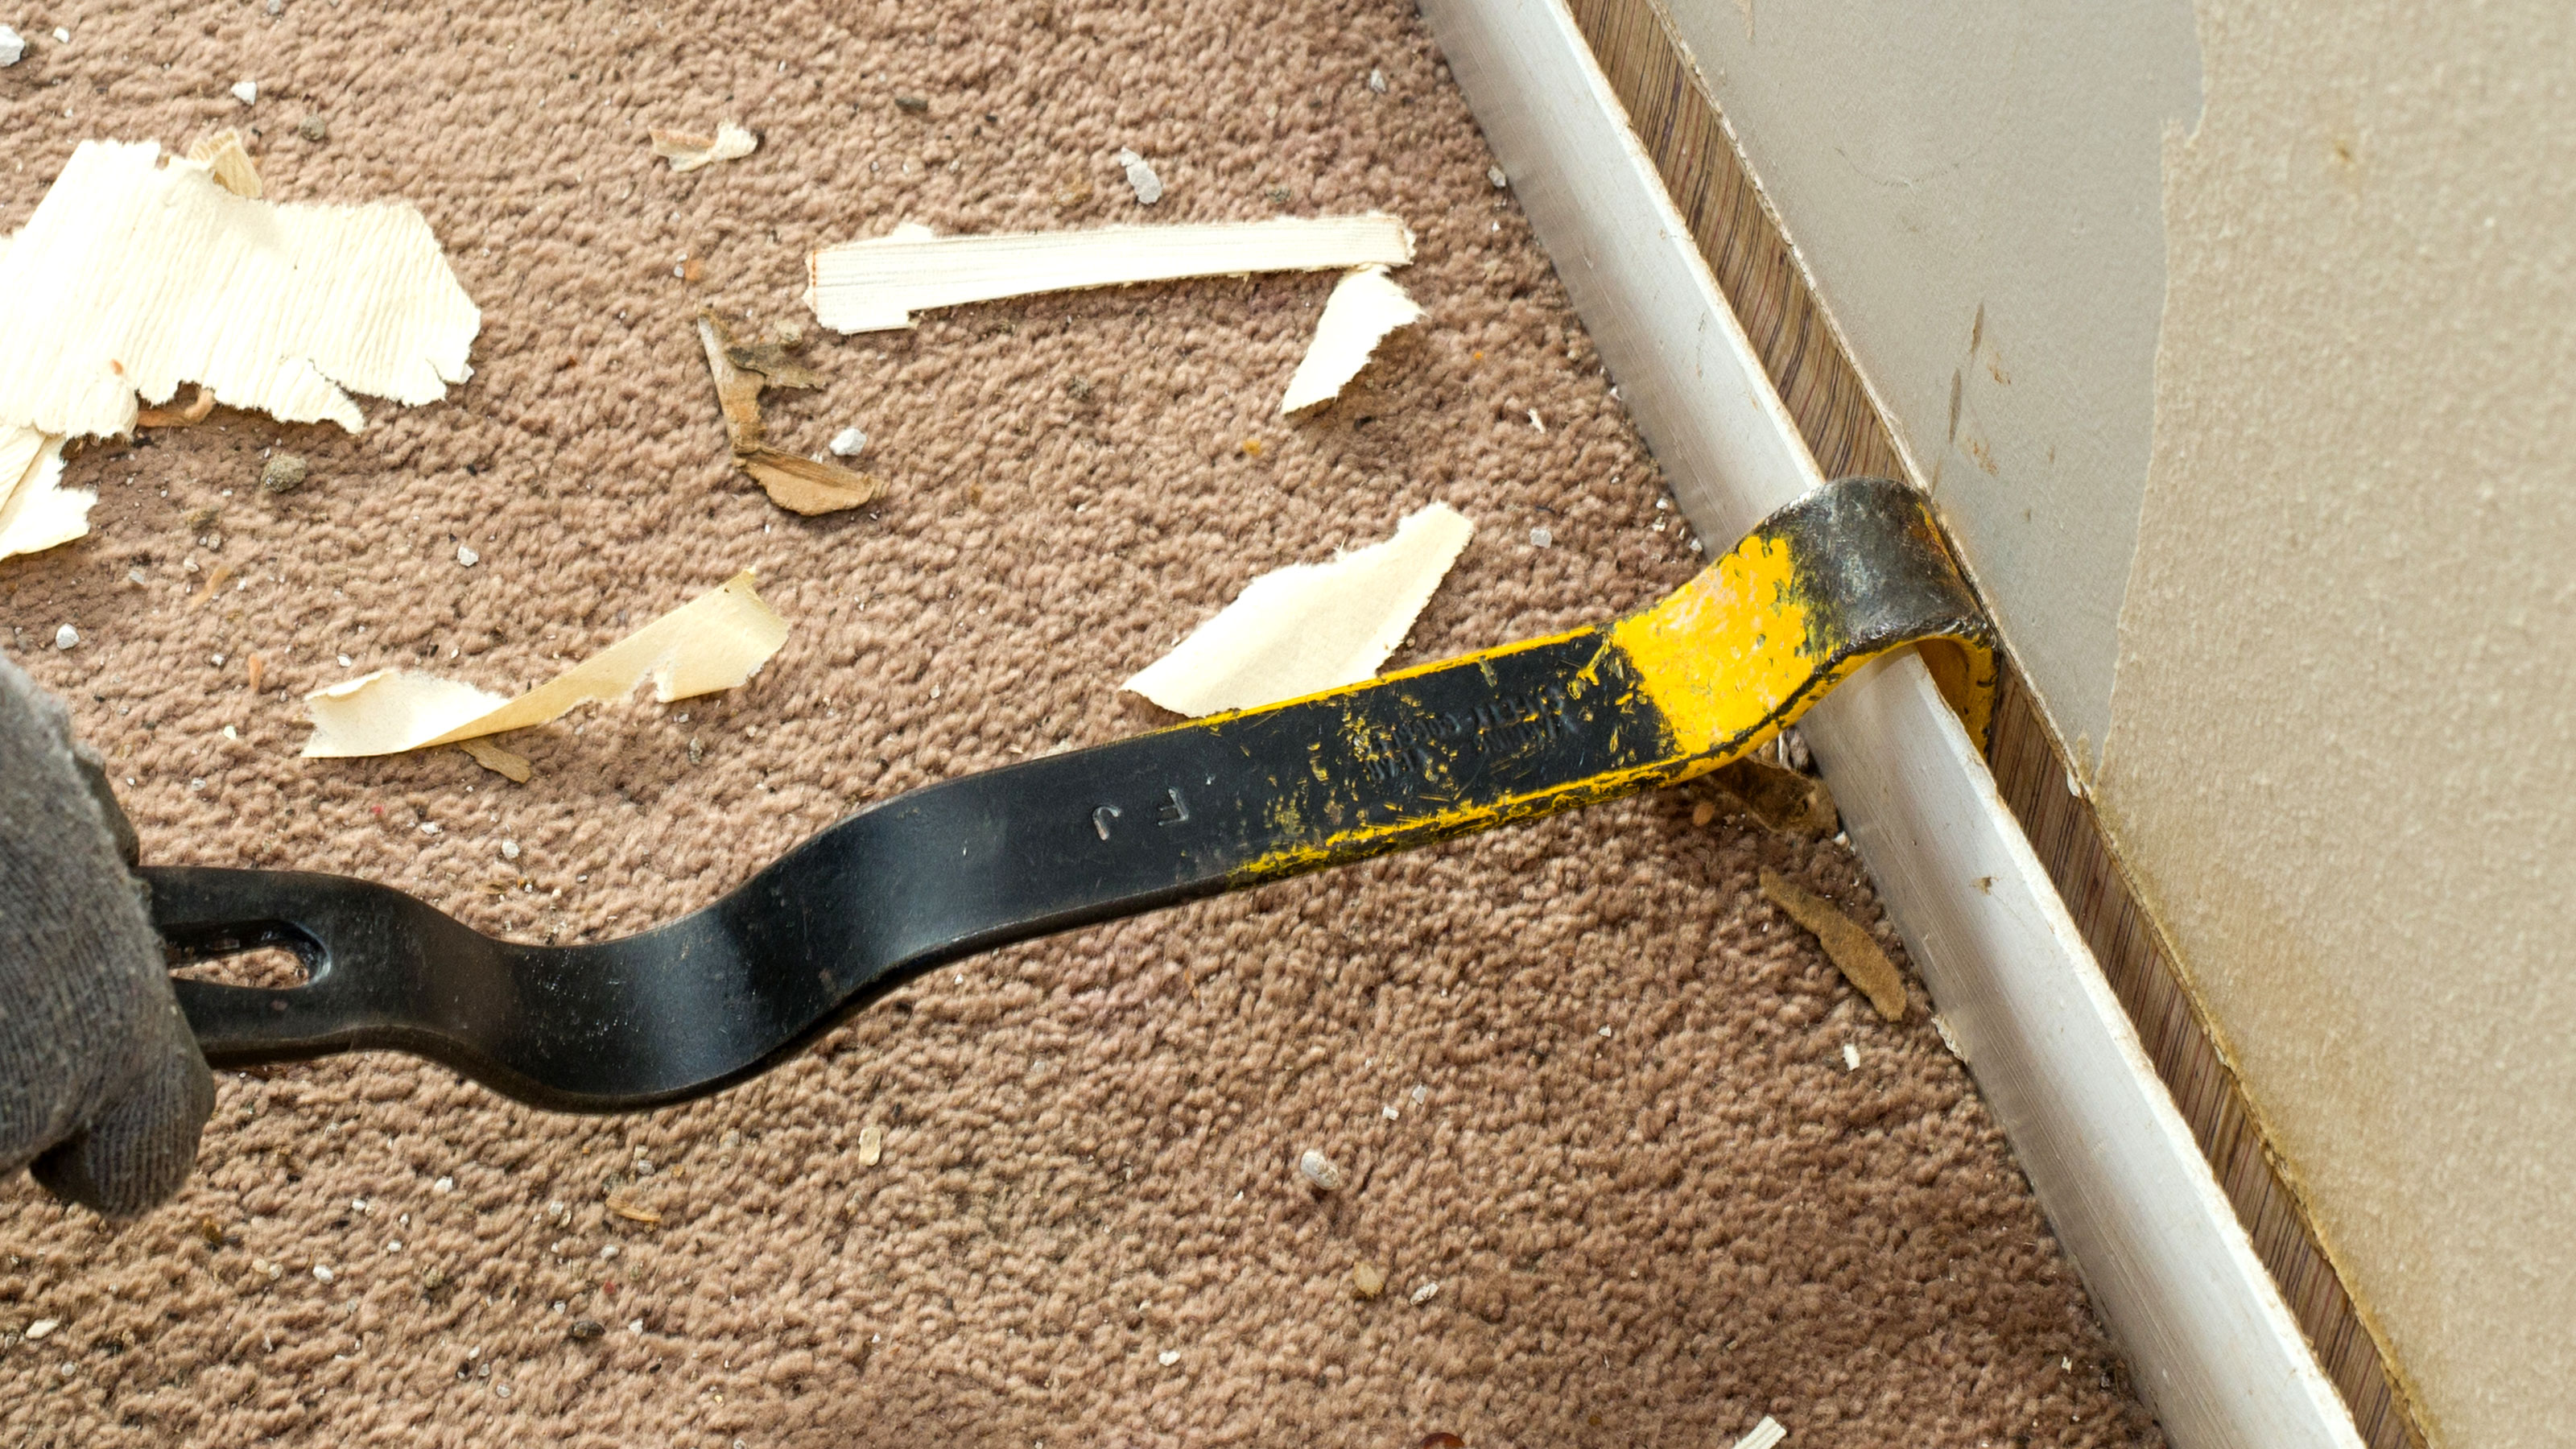
Start near a join – typically this will be a corner – and put the sharp end of a crowbar, like the Roughneck Gorilla Bar, between the skirting and wall and tap with a hammer to get underneath the skirting. Do be gentle against the wall.
Once a gap starts to appear, get a piece of wood – around the same thickness as the skirting board and at least six inches long – and place behind the crowbar as you ease out the skirting board. This helps spread the load and protect the plaster and/or plasterboard behind. Use this method along the whole length of the skirting board at gaps of around 12 inches.
3. Tidy up
Skirting boards are typically nailed into the wall and after removal you may be left with nails sticking out of the wall. Use a claw hammer to ease out the nails, again put wood behind the hammer to help protect the plaster. Alternatively, if this is proving difficult bang the nails into the wall. Use a nail punch so the nails flush with the skirting board.
Tools to remove skirting boards
FAQs
Is it worth replacing skirting boards?
This depends very much on the condition and style of the present skirting boards. If they are in poor condition it might be a simple matter of painting the skirting boards to restore them back to their prime.
But if the skirting boards have been damaged and need a lot of repair, which can be time-consuming, then it's best to replace them. That said, if they are an original feature in an old house they might be hard to replace due to sizing so you will need to put in the time and effort to fix.
Style is subjective and if you don't like the current skirting boards you can take a look at skirting board ideas to fit in with the aesthetic you are trying to create. This might include more ornate skirting with an intricate style, or perhaps something a little more contemporary.
These need to be cut and fitted properly to get a matching hard to spot fit. Learn how to scribe skirting boards to get the perfect internal join.
How can I remove skirting board nails?
Once you have removed the skirting board you can often be left with nails sticking out of them. If you want to keep the skirting boards you will need to remove the nails. There are a few options here. You can use a standard pair of pliers and grip, twist and pull.
If this doesn’t work get a pair of tongue and groove pliers and bend the nail 90 degrees about half way down. Then grip the nail at the bend with the back of the head of the pliers against the skirting board. Now push gently and this should ease the nail out.
For really stubborn nails use an angle grinder or multi-tool to cut the nail tight against the skirting.
However, if you are looking to replace the skirting boards the common choices are MDF or pine skirting boards. Both come in a range of styles and sizes so you can replace like for like in most cases.
How do you remove skirting boards behind radiators?
Assuming that the skirting boards have been nailed into the wall there are a few options that will get the job, but you will need some extra tools.
One option to try is a nail punch if you know where the nails are. With a hammer you can simple knock these through the skirting board so they are loose and can be pulled from behind the radiator.
If you have a hole saw you can simply cut the wood around the nail, again if you have located the nails in the board. You can then use a screwdriver and pliers to pull out. Another option is to use a multi tool with a small saw blade and cut through the skirting board both sides of the radiator pipes. Then you can gently prise away the skirting with a crowbar.
Alternatively, you can wait until it's time to replace a radiator and replace the skirting board at the same time. Or, remove the radiator for easy access to remove the skirting board the standard way.
If you’re removing old skirting boards you need to think about what you're going to replace them with and how to fix them. Read our Types of skirting boards, Skirting board sizes explained and Caulking skirting boards guides to get the right type and get a good finish.
Get the Homebuilding & Renovating Newsletter
Bring your dream home to life with expert advice, how to guides and design inspiration. Sign up for our newsletter and get two free tickets to a Homebuilding & Renovating Show near you.
Steve Jenkins is a freelance content creator with over two decades of experience working in digital and print and was previously the DIY content editor for Homebuilding & Renovating.
He is a keen DIYer with over 20 years of experience in transforming and renovating the many homes he has lived in. He specialises in painting and decorating, but has a wide range of skills gleaned from working in the building trade for around 10 years and spending time at night school learning how to plaster and plumb.
He has fitted kitchens, tiled bathrooms and kitchens, laid many floors, built partition walls, plastered walls, plumbed in bathrooms, worked on loft conversions and much more. And when he's not sure how to tackle a DIY project he has a wide network of friends – including plumbers, gas engineers, tilers, carpenters, painters and decorators, electricians and builders – in the trade to call upon.


