How to paint stripes on a wall for a striking focal point in a room
Want to know how to paint stripes on a wall? We reveal the tools and techniques that every DIYer should know to get sharp, smart stripes

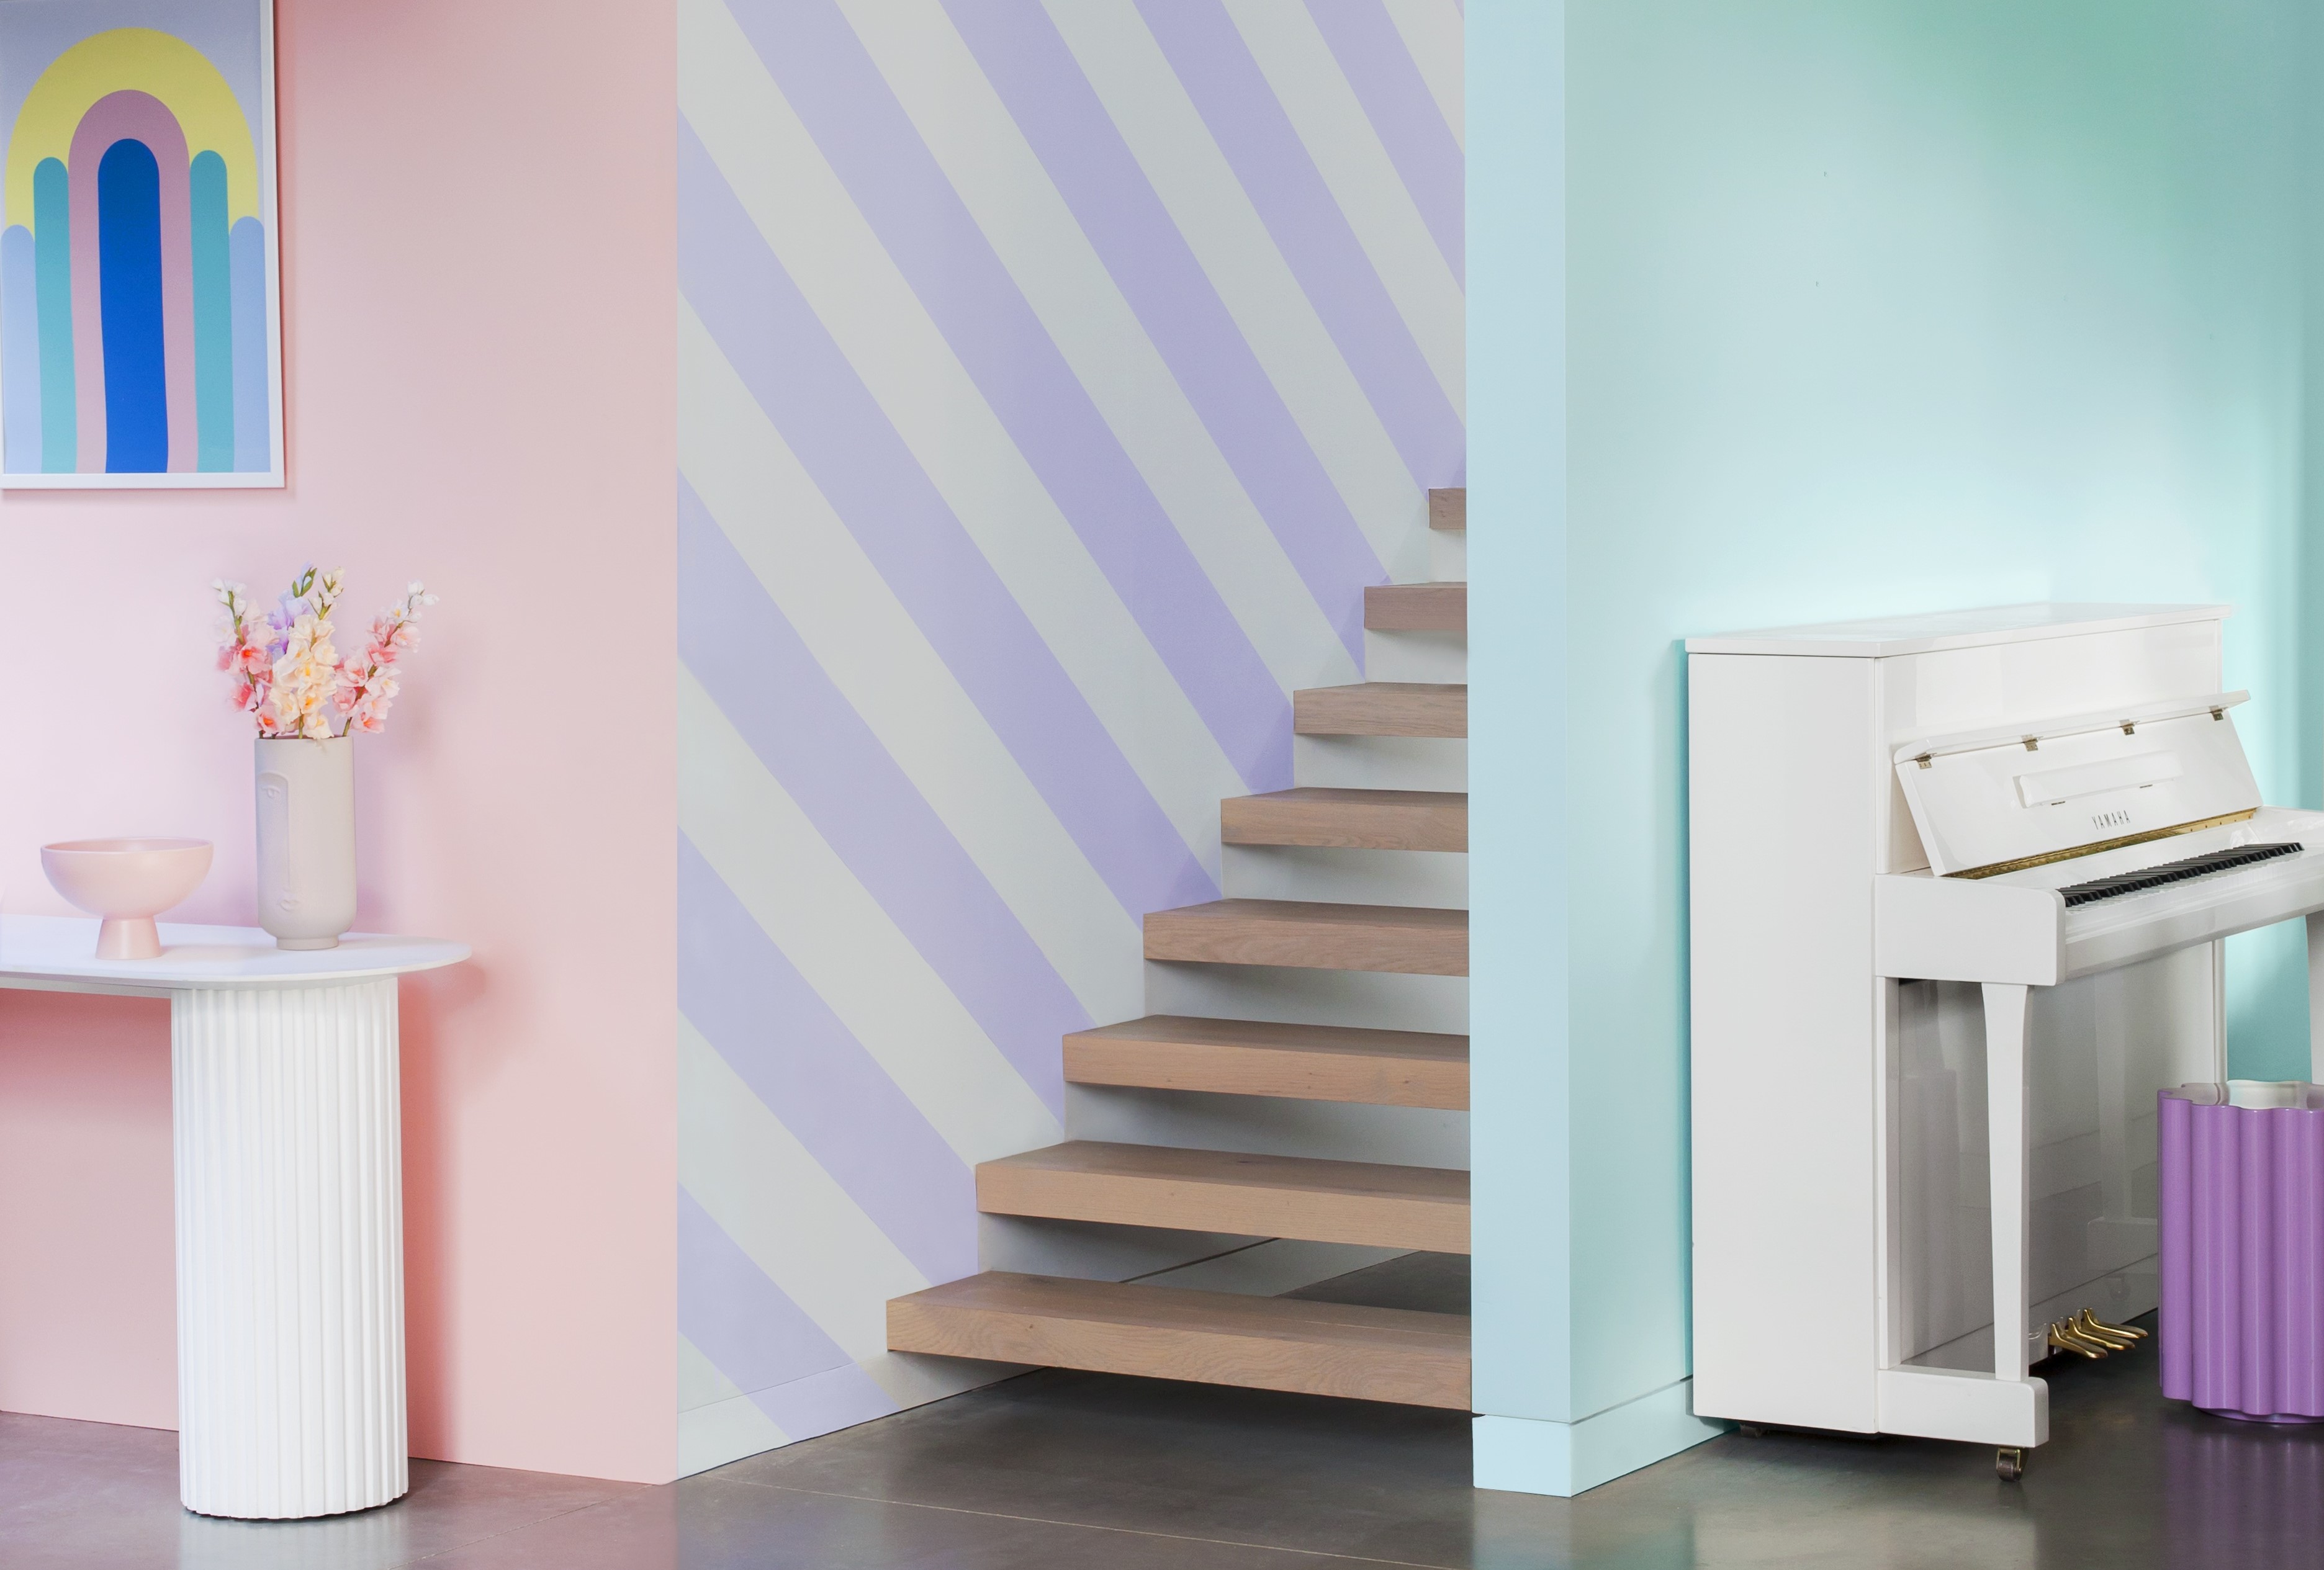
Why learn how to paint stripes on a wall? If you want to make a statement, create a focal point or add an illusion of space, introducing stripes on a wall can make this happen. And adding stripes gives you the option to add more than a single colour. Why not go technicolour, but be careful on your palette, there’s a fine line between creative and calamity.
Typically when painting a wall a steady hand is needed to create crisp straight lines, and if you’re feeling brave enough you can go for freehand stripes. But, most DIYers will want a little help from a roll of painter's tape to help achieve super straight lines.
Here we look at the tools and techniques needed to make sure your stripes stand out.
How to paint stripes on a wall: a step-by-step guide
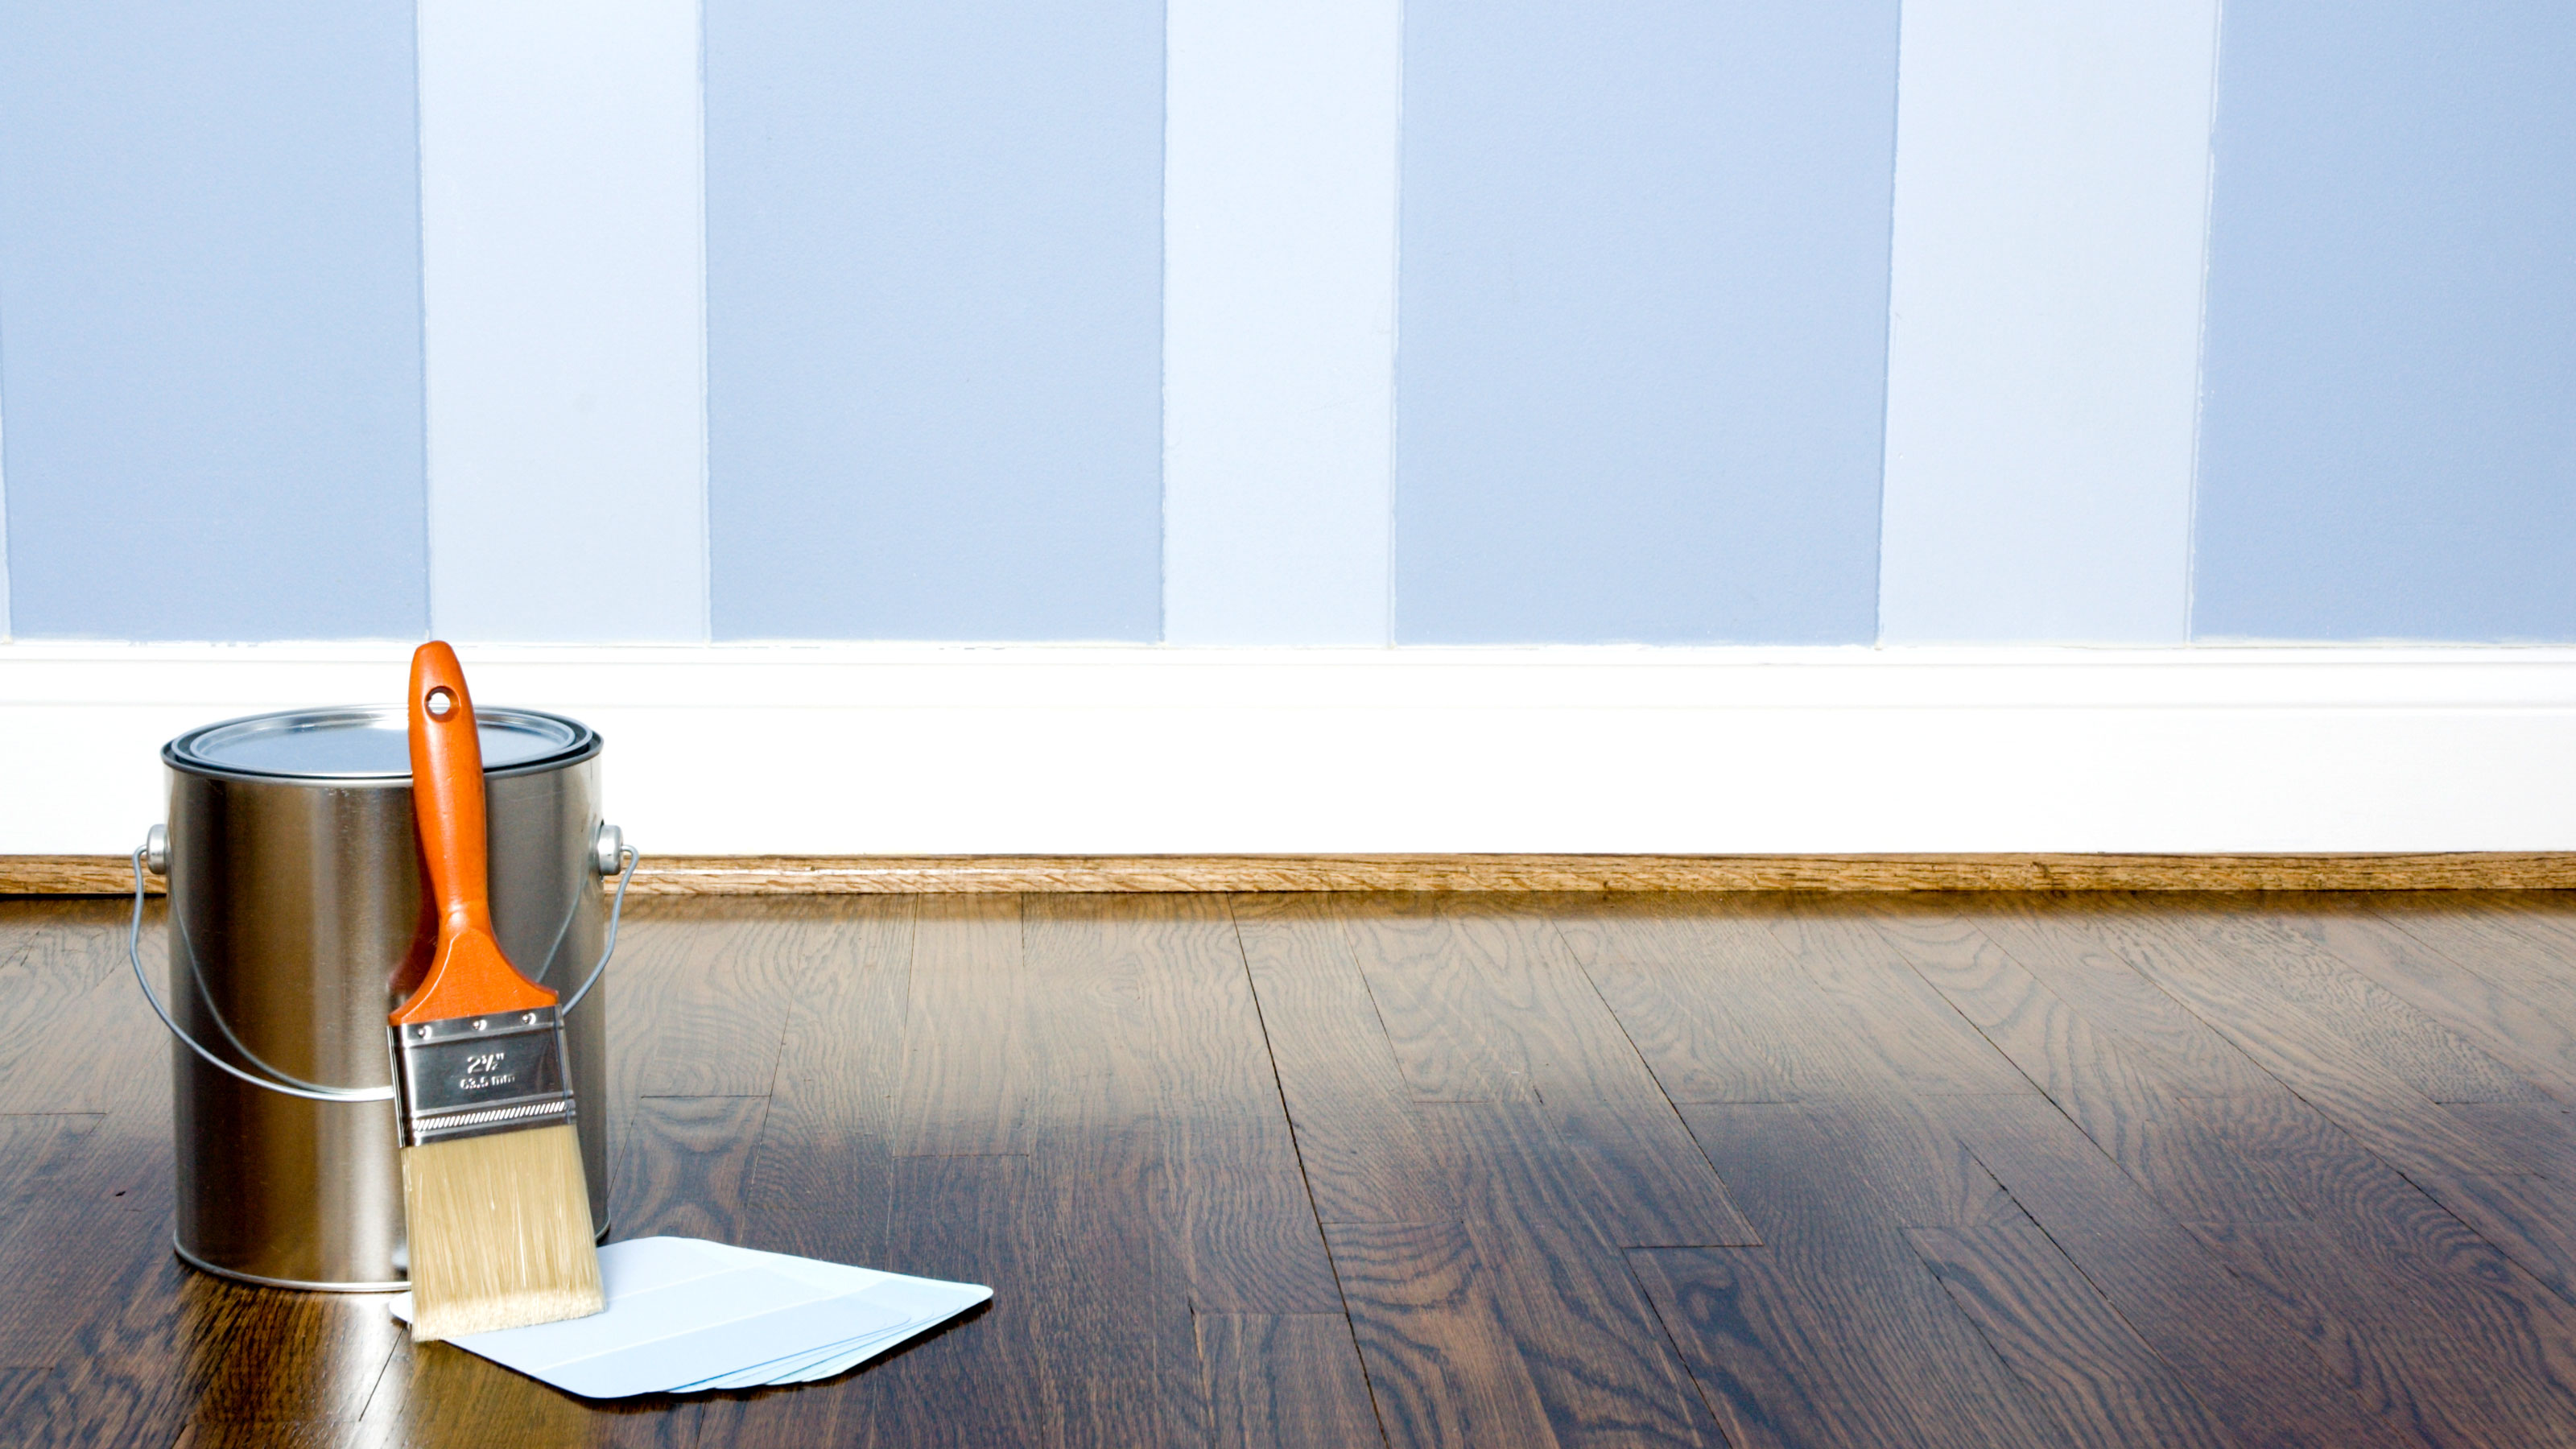
Before you start there are a few essentials that you will need aside from your chosen paint. Blue painters tape like this ScotchBlue Sharp Lines Advanced Masking Tape from Amazon, a two or three paint brush and a short or medium pile roller.

1. Prepare you working area and walls
Start off by moving furniture and laying down dust sheets so the area is clear and covered. The next step is preparing the walls for painting. Wash down the walls with sugar soap if needed, fill any cracks or holes, leave to dry and and rub down the whole wall with a fine grit sandpaper to improve adhesion and help create a flat surface.
Try a pole sander like this GoodHome Sander head from B&Q for a quick ladder free rub down. Finally, wipe down the wall with a damp cloth, leave to dry and vacuum up any dust.
2. Appy base colour
The base colour will be the lightest colour of your chosen colours for your striped wall. Start in a top corner with a two or three inch brush and work across and down and along the skirting board creating a three inch border. Now get out your roller, a nine inch short or medium pile roller and apply the first coat.
Leave to dry as instructed and then apply a second and leave to dry for at least 24 hours. If you don't leave the base coat to dry properly, the painters tape may pull off the base colour after you have painted the stripes.
3. Measure and mark out stripes
First measure the wall – from corner to corner for vertical stripes and ceiling to floor for horizontal stripes – and divide this by the number of stripes you want. For example, 3.3m / 11 = 0.3m (30cm). This will give you even sized stripes across the wall. Use an odd number to get painted stripes at both ends of the wall.
Start in one corner, measure the first measurement and mark with chalk or a faint pencil line and continue until finished. Now get a long spirit level to mark out the stripes from ceiling to floor/corner to corner. A laser level like this Laser Level from Amazon and a long straight edge makes marking out the stripes easier.
4. Tape and paint stripes
Now get your painters/masking tape and start adding. Start by taping the short edges – top and bottom on vertical stripes and corner and corner on horizontal stripes. Now tape the long side remembering to place the tape on the outside of the line. Press down the edges with a seam roller, or a flat edge that won’t mark the paint such as a paint scraper with a cloth over the end.
Start by applying the stripe paint along the edges of the tape and finish with a mini roller. Make sure that you have an even coat across the whole stripe. Repeat for all stripes and leave to dry as recommended - at least 4 hours. Then repeat the process and add a second coat. After painting the last stripe, go back and start removing the tape. Gently pull the tape at an angle away from the stripe and dispose of.
How to paint stripes on a wall FAQs
Should I paint vertical or horizontal stripes on my wall?
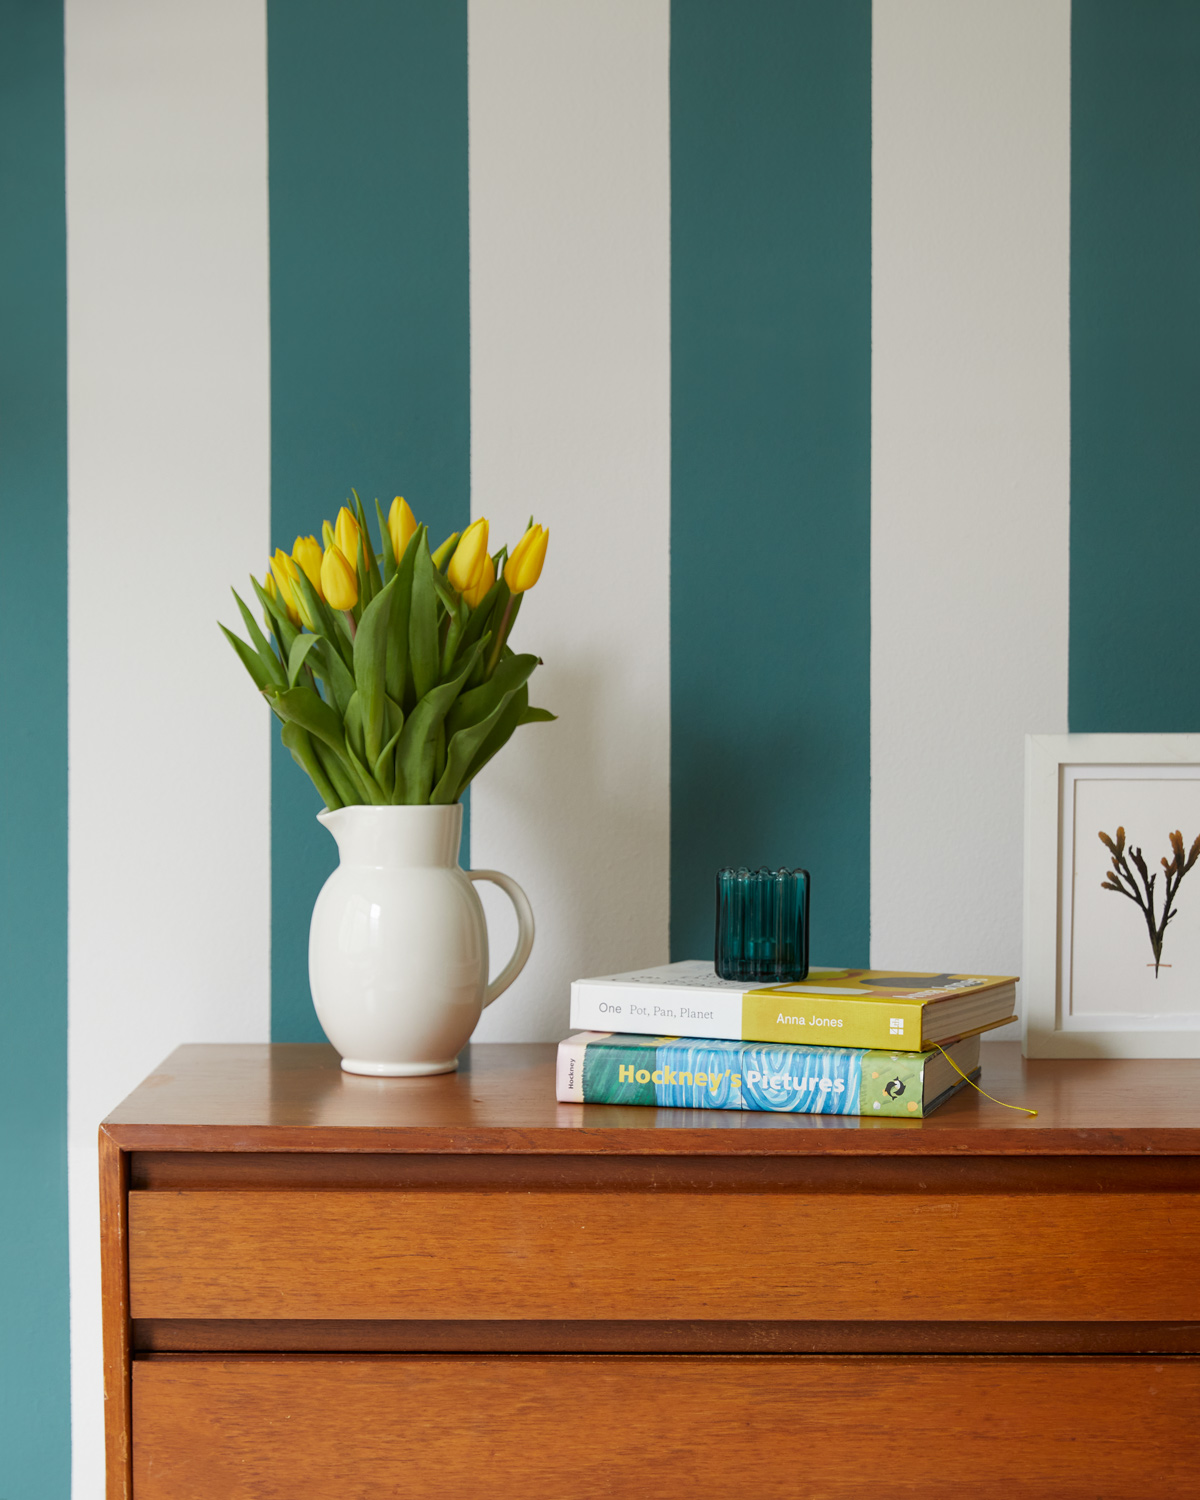
The choice is yours but both offer something different. Adding vertical stripes will add the illusion of height, while horizontal stripes will give the illusion of space. Once you have decided which you are going to use you need to decide on whether you are going to paint one wall to create a feature wall, or two walls or all walls in a room.
However, stripes can be overpowering if used in abundance, so we suggest that you use them sparingly. Ideally on one or two walls and combine with some smart living room ideas to create a designer finish. If you do decide to go all out try using subtle colour combinations and use artwork to break up the stripe extravaganza.

How wide should stripes on a wall be?
There’s a lot of variations and options here, but as a general rule you want to keep your stripes somewhere between 10 cm and 30 cm. If you make them too small they are more difficult to paint and lack impact. And, if you make them too wide they lose their impact and purpose and just end up looking like a large block of painted wall. However, the choice is yours, just make sure to plan ahead and sketch out your ideas to give you an idea of what you are going to get.
A tip if you want uniformity to your stripes is to plan for an odd number of stripes. This will give you the same colour stripes at both ends of a wall. This is the ideal choice if you are painting a single wall with stripes. However, if you are continuing the stripes on all walls use an even number of stripes.
How do you paint stripes on walls without bleeding?
If you have nice new flat recently plastered walls then it is very much a matter of making sure that your masking/painters tape is securely stuck to the wall. Use a seam roller like this Stainless Steel Wallpaper Edge Seam Roller from Amazon to make sure the edges are nice and flat to the wall. Note, when painting new plaster, you first need to apply a mist coat. Do this before adding any tape or paint.
For textured wallpaper it's not quite so simple. First, put up your painters tape and secure the edges to the wall. Run your thumb or your nail down the edge of the tape to get a tight fit. Now paint the stripe the same colour as the base colour and leave to dry. This will fill any gaps on the tape edge so when you add the stripe colour onto the wall it won’t bleed.
How do I pick colours for a striped wall?
Picking a colour scheme for your stripes is a critical part of the process if you want to get a professional looking designer finish. Are you going for something simple to match your white wall? Or, do you want a couple of complementary colours, or even a third colour.
To help choose the right colour combination and give you some inspiration a colour wheel like this easy to use tool from Canva is a good choice. Simply choose a colour close to what you want and then choose a color combination to produce the colours. Paletton is another good colour wheel option.

Get the Homebuilding & Renovating Newsletter
Bring your dream home to life with expert advice, how to guides and design inspiration. Sign up for our newsletter and get two free tickets to a Homebuilding & Renovating Show near you.
Steve Jenkins is a freelance content creator with over two decades of experience working in digital and print and was previously the DIY content editor for Homebuilding & Renovating.
He is a keen DIYer with over 20 years of experience in transforming and renovating the many homes he has lived in. He specialises in painting and decorating, but has a wide range of skills gleaned from working in the building trade for around 10 years and spending time at night school learning how to plaster and plumb.
He has fitted kitchens, tiled bathrooms and kitchens, laid many floors, built partition walls, plastered walls, plumbed in bathrooms, worked on loft conversions and much more. And when he's not sure how to tackle a DIY project he has a wide network of friends – including plumbers, gas engineers, tilers, carpenters, painters and decorators, electricians and builders – in the trade to call upon.

