How to Paint Stairs Quickly and Easily
Knowing how to paint stairs can be a handy skill - this guide explains the process of painting stairs, step by step
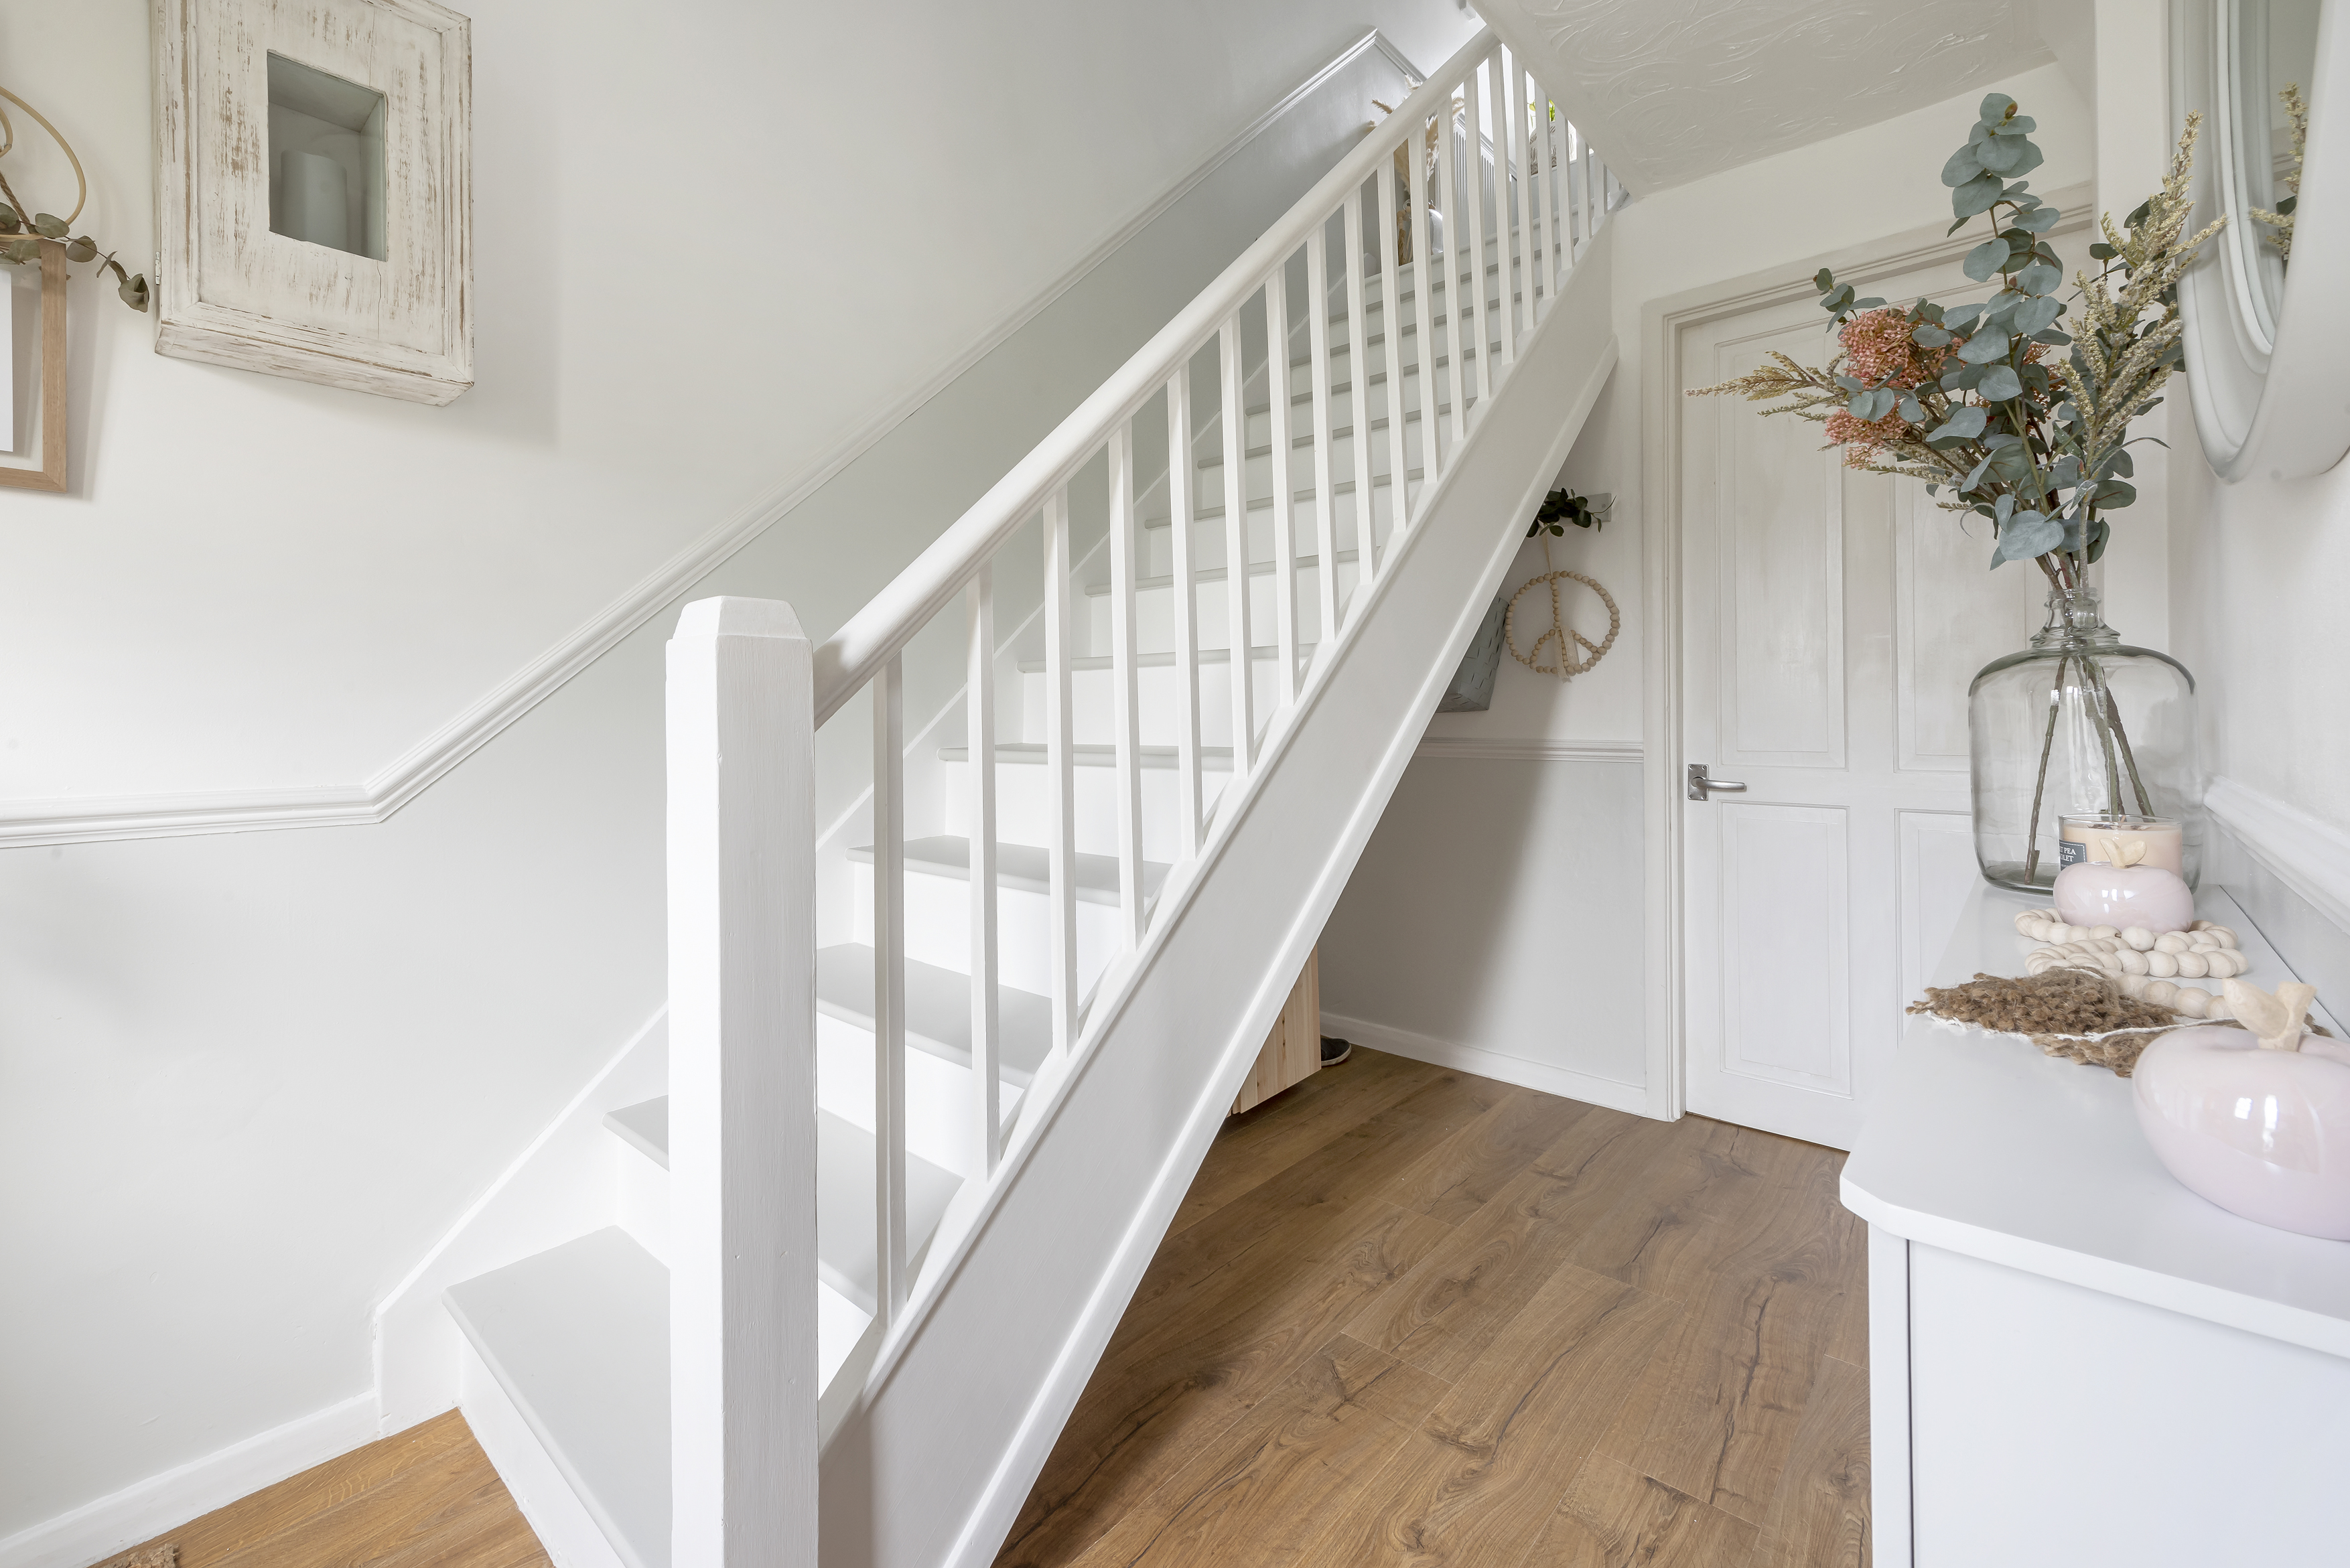
Want to give your stairs a fresh new look? Knowing how to paint stairs can achieve this for a fraction of the cost of replacing carpet, or even the staircase itself.
All you need to do is a little prep and the right paint for a hard-wearing refresh. Do it right and your stairs will be looking good for years. Follow our step-by-step guide to the perfect paint job.
What's the Best Paint to Use When Painting Stairs?
To get the best finish on your wooden stairs you want to kick off with a wood primer. Try Dulux Trade Quick Dry Wood Primer Undercoat Paint. This is water-based and will seal your stairs and stop any stains from seeping through. It also acts as an undercoat so you won’t need to purchase a separate undercoat.
To finish use specialist floor paint such as Ronseal Diamond Hard Floor Paint. This gives a tough finish but has a limited colour range. As an alternative try Rust-Oleum Chalky Finish Floor Paint.
Tool List
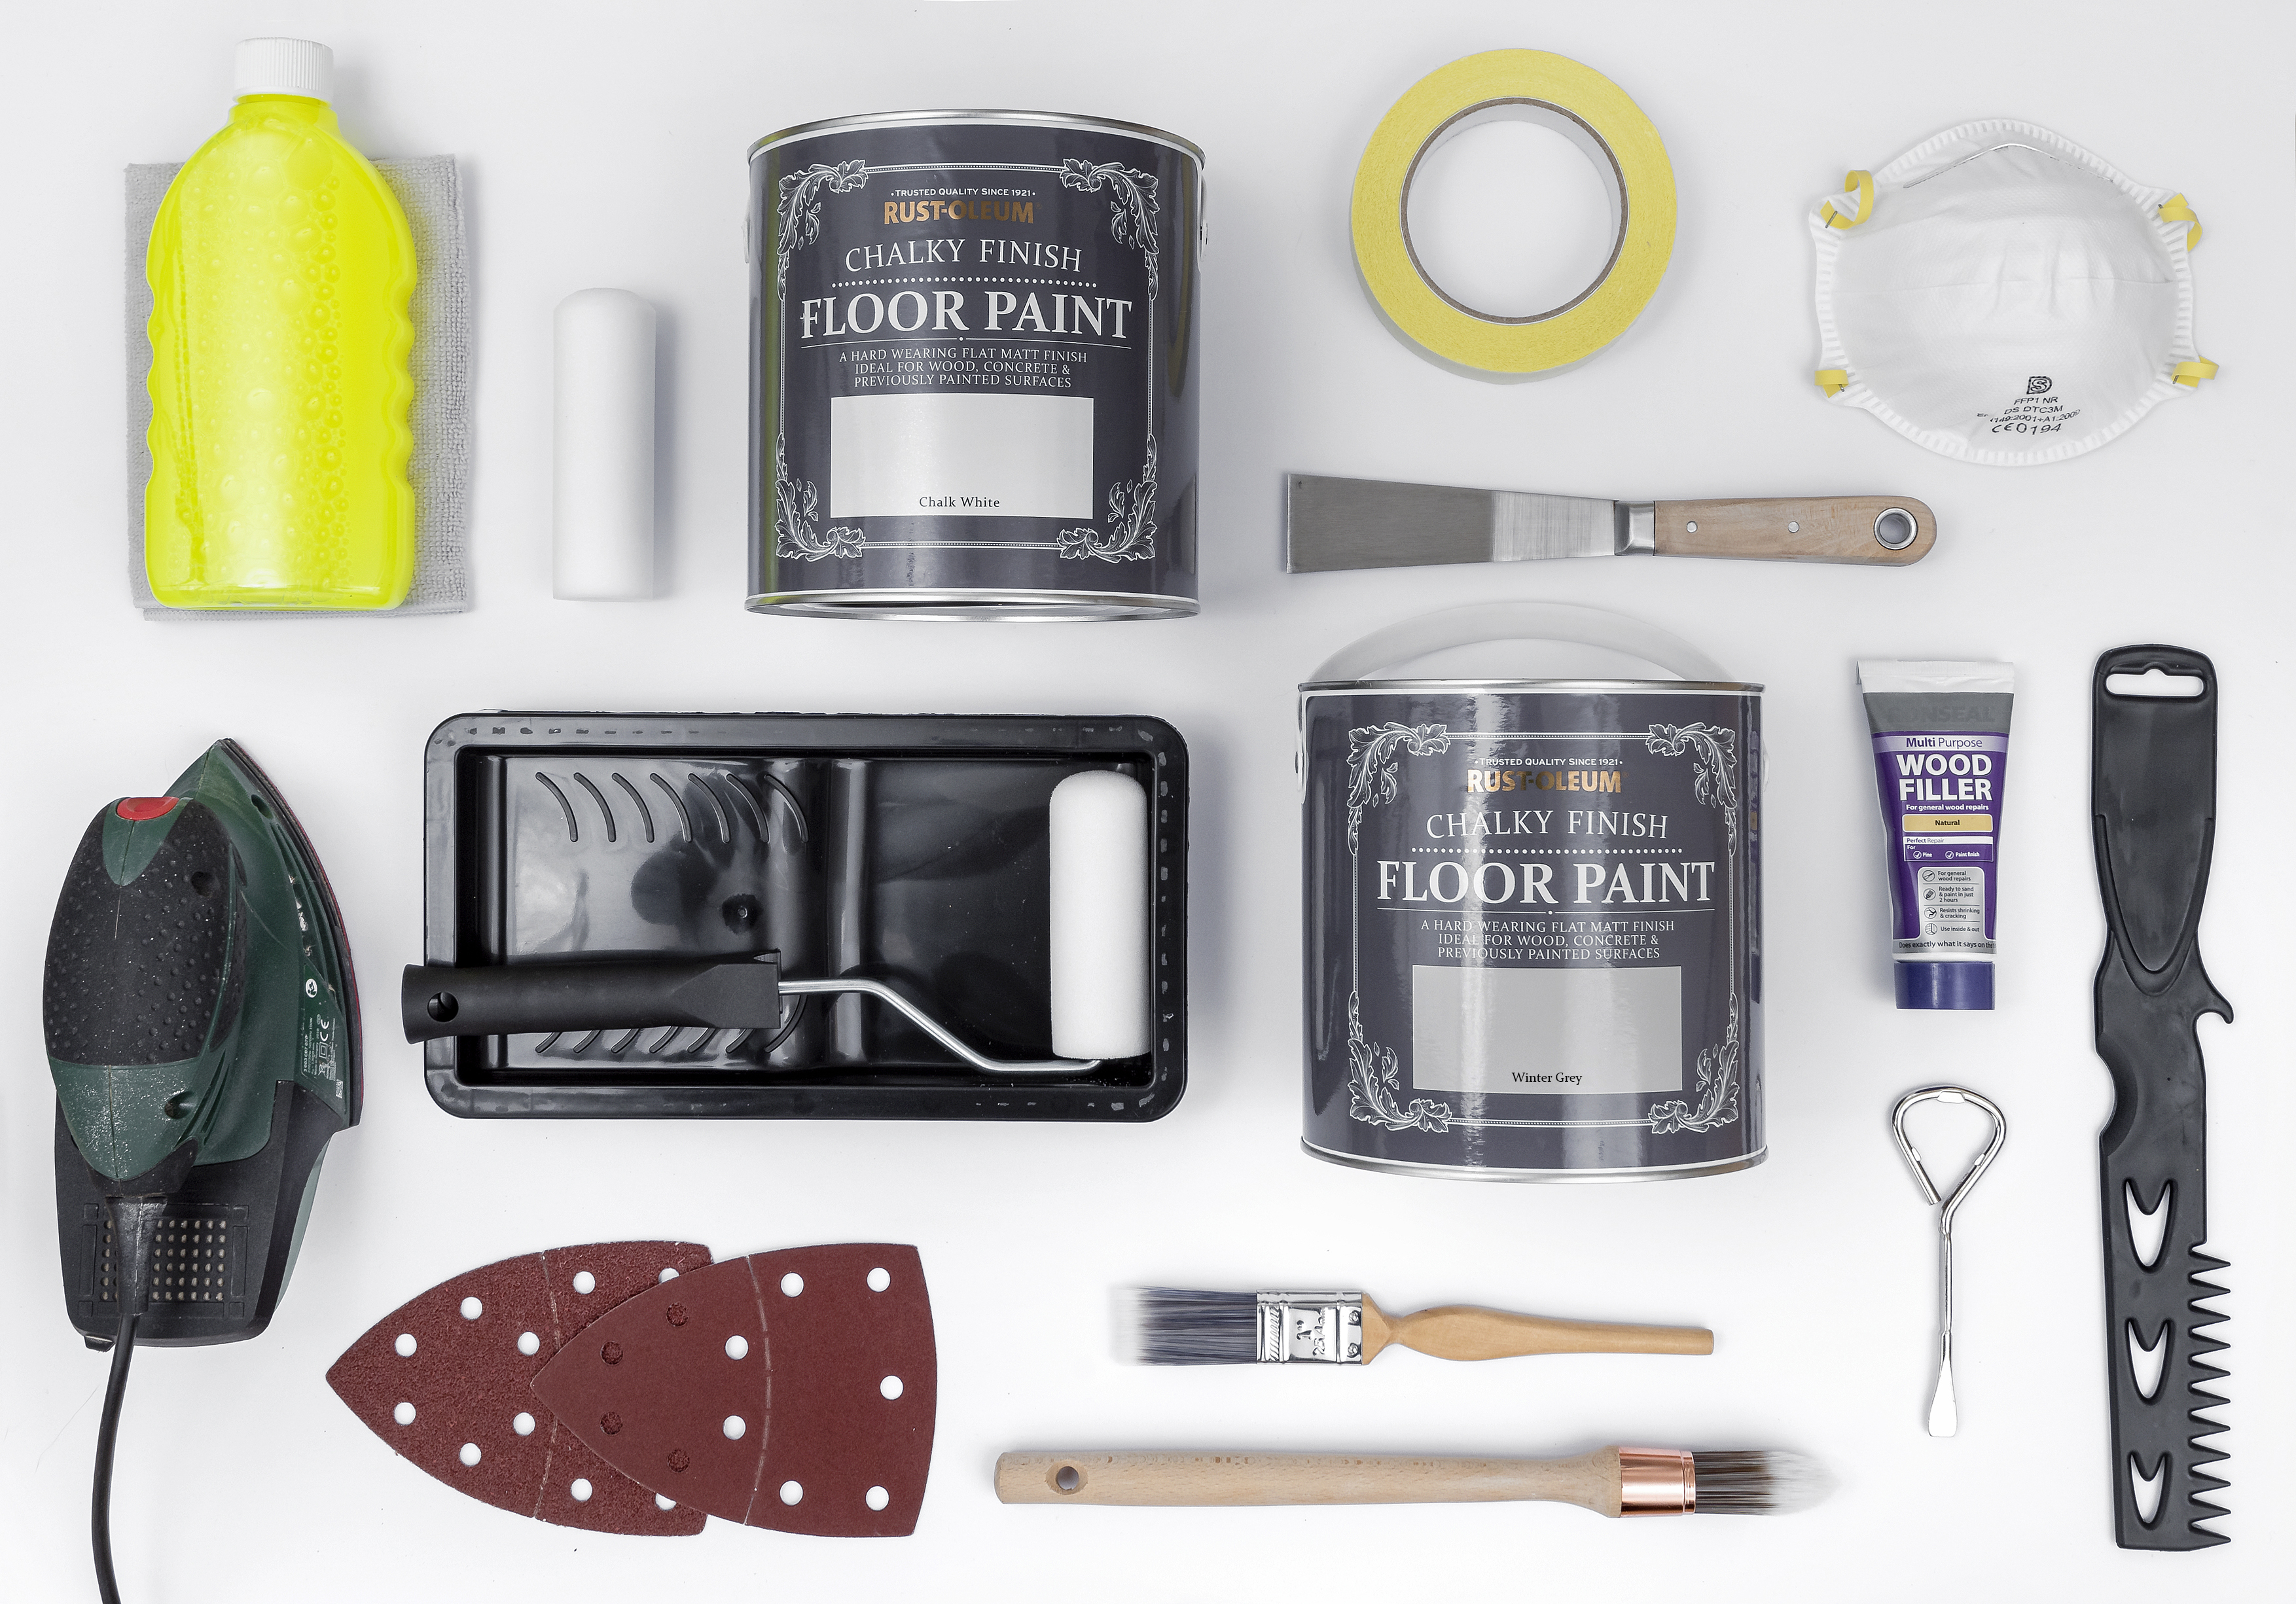
- Dust sheets
- Sandpaper
- Wood filler
- Filler knife
- Paint brush
- Primer/undercoat
- Floor paint.
How to Prepare Stairs for Painting
Step 1: Check for Nails and Lay Dust Sheets
Before you start any work on your stairs protect any surrounding areas by covering them with dust sheets.
If you are painting your stairs for the first time and previously had carpet, first check for any nails or staples and remove them.
Next, remove any loose paint with a paint scraper and sweep the stairs.
Step 2: Sand the Stairs
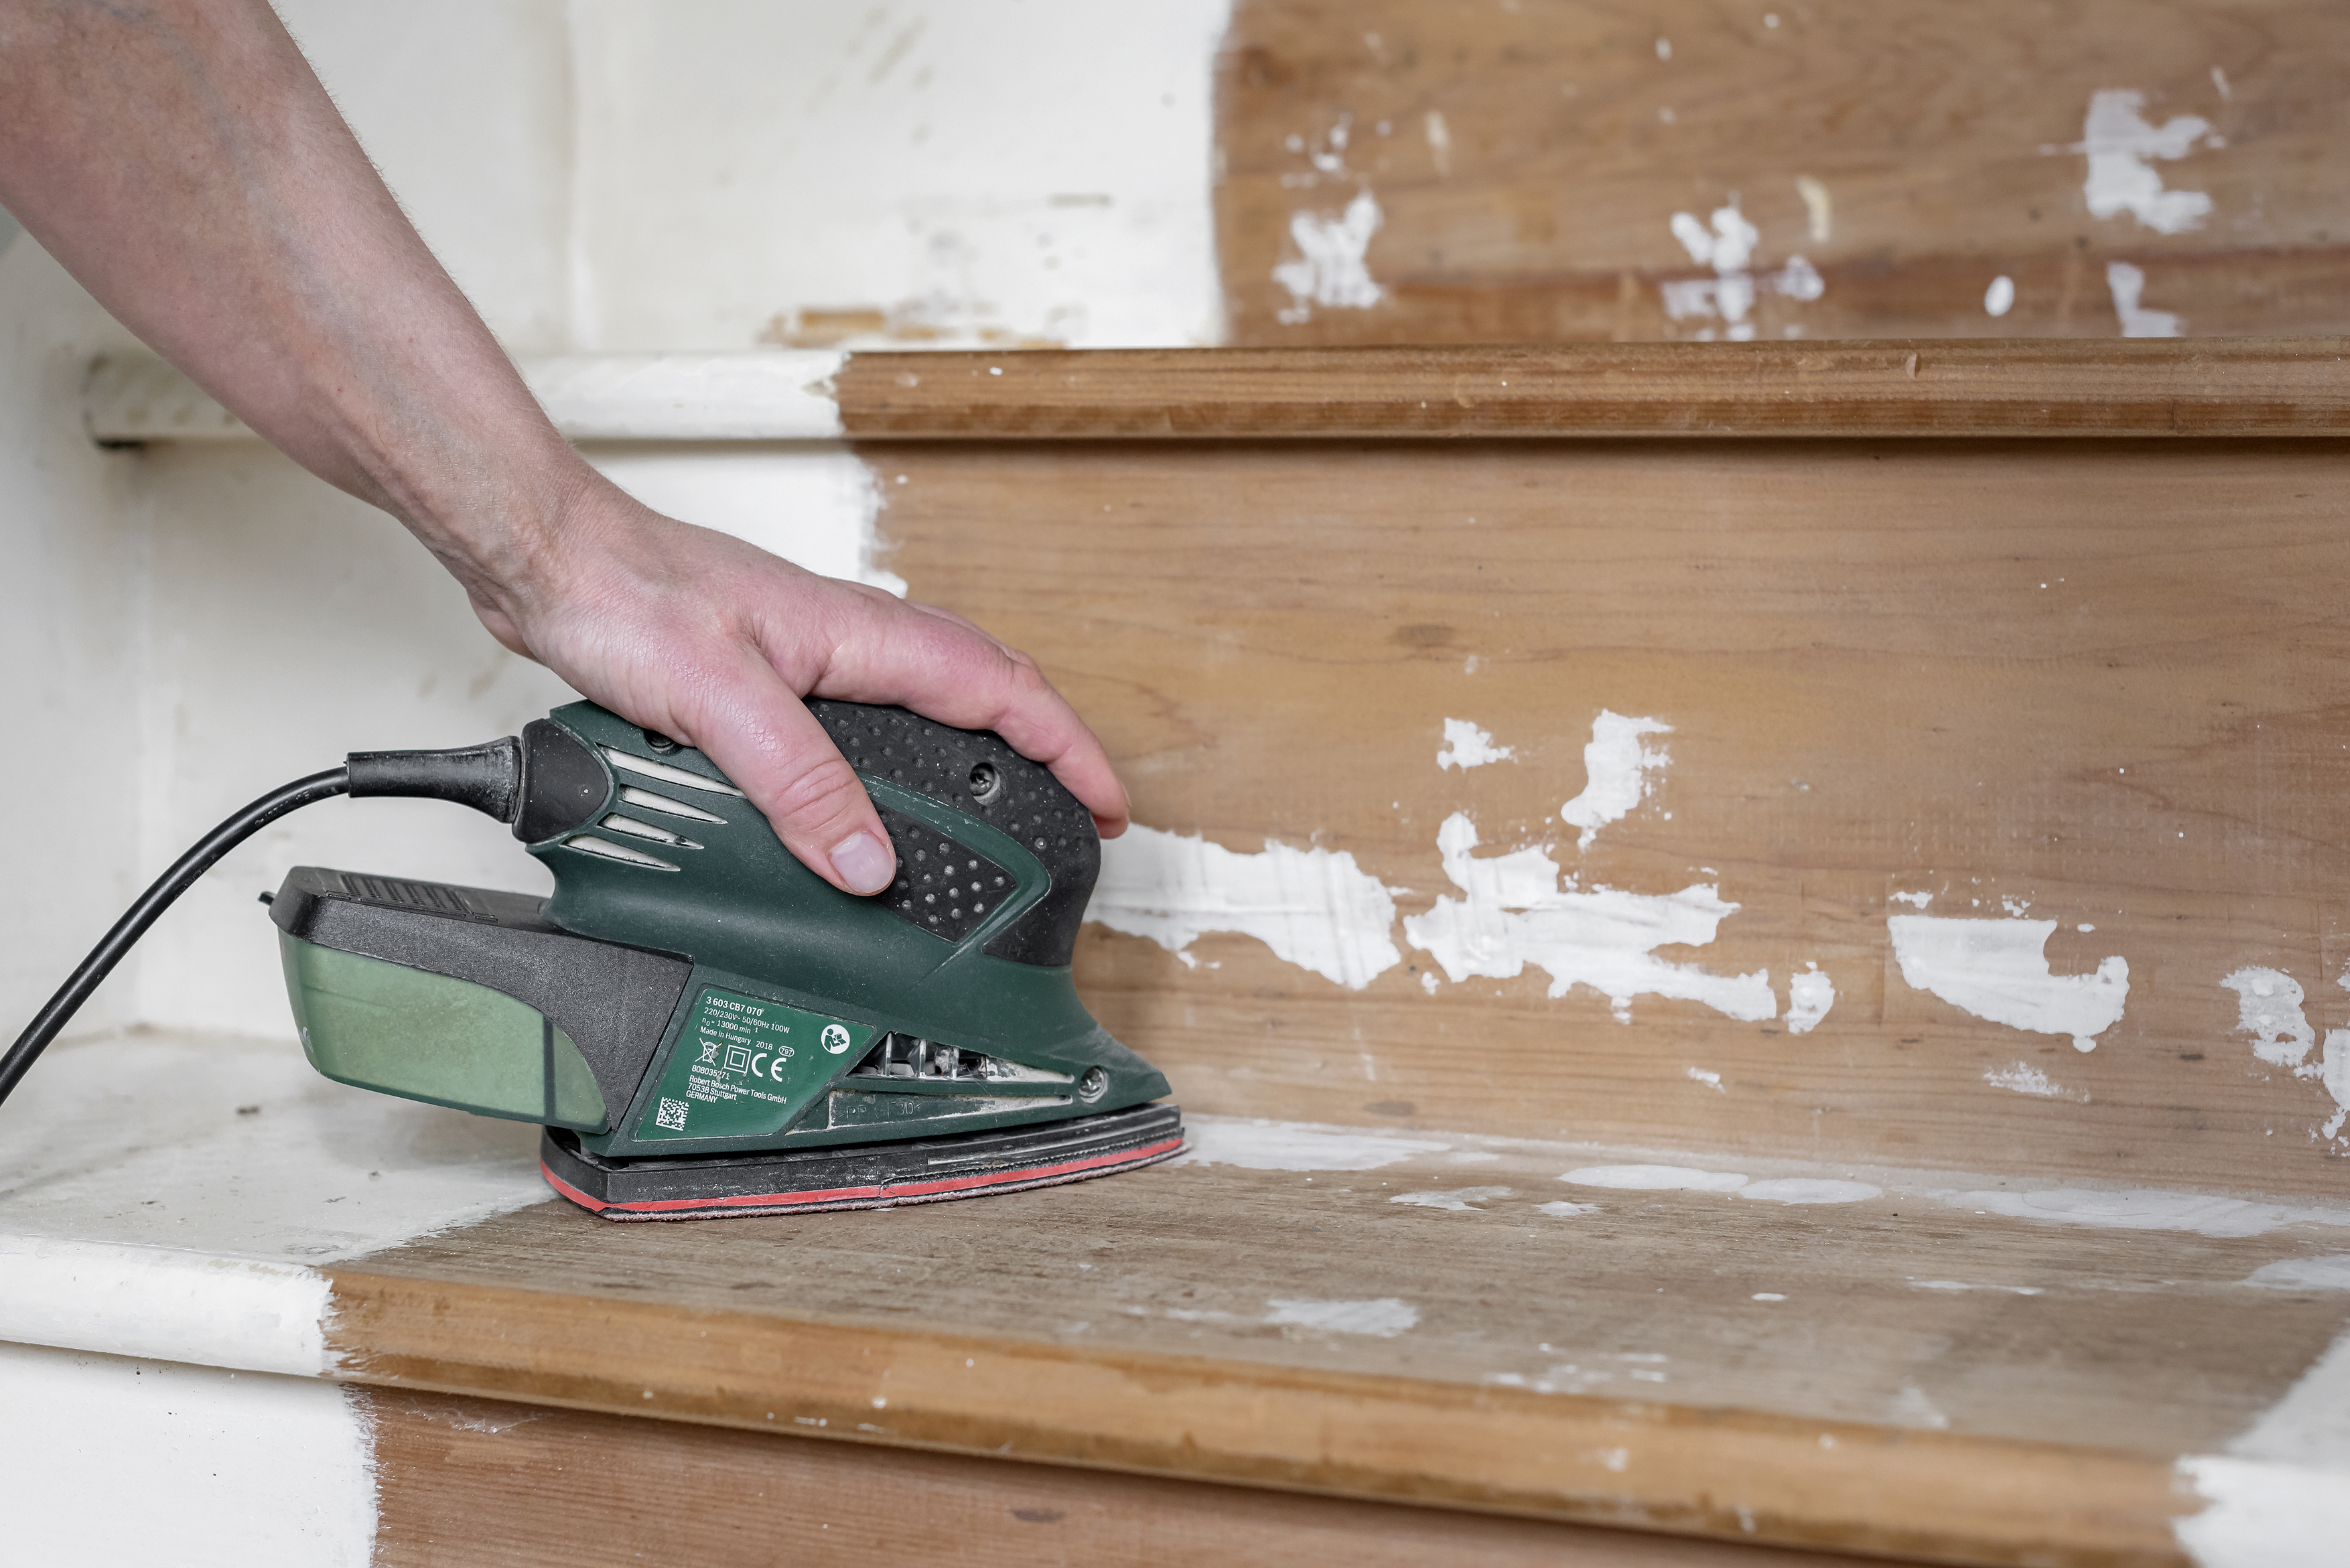
To get the best finish you will need to sand your stairs.
Typically the stringers - or the sides - will already be painted. If this is the case you can sand these with medium to fine sandpaper depending on their condition. A 120 grit sandpaper should do the job.
If the treads and risers - the steps - are unpainted they will need to be sanded with a coarse - 80 grit - sandpaper. Using an electric hand sander will make the job quicker and easier.
When finished sweep or vacuum the stairs to get rid of any dust.
Step 3: Fill Holes
Now check for holes or areas that need filling and fill with a good quality wood filler such as Ronseal High-Performance Wood Filler.
On older stairs, it’s not uncommon to see small gaps between the treads and risers. Fill these to get a complete finish.
Once the filler is dry rub down all parts of the stairs with fine grit sandpaper - 180-220 will do - to get a smooth finish.
Rub your fingers along the sanded areas to check if smooth enough. If not, do it again.
Step 4: Ensure Stairs are Free of Debris and Dust
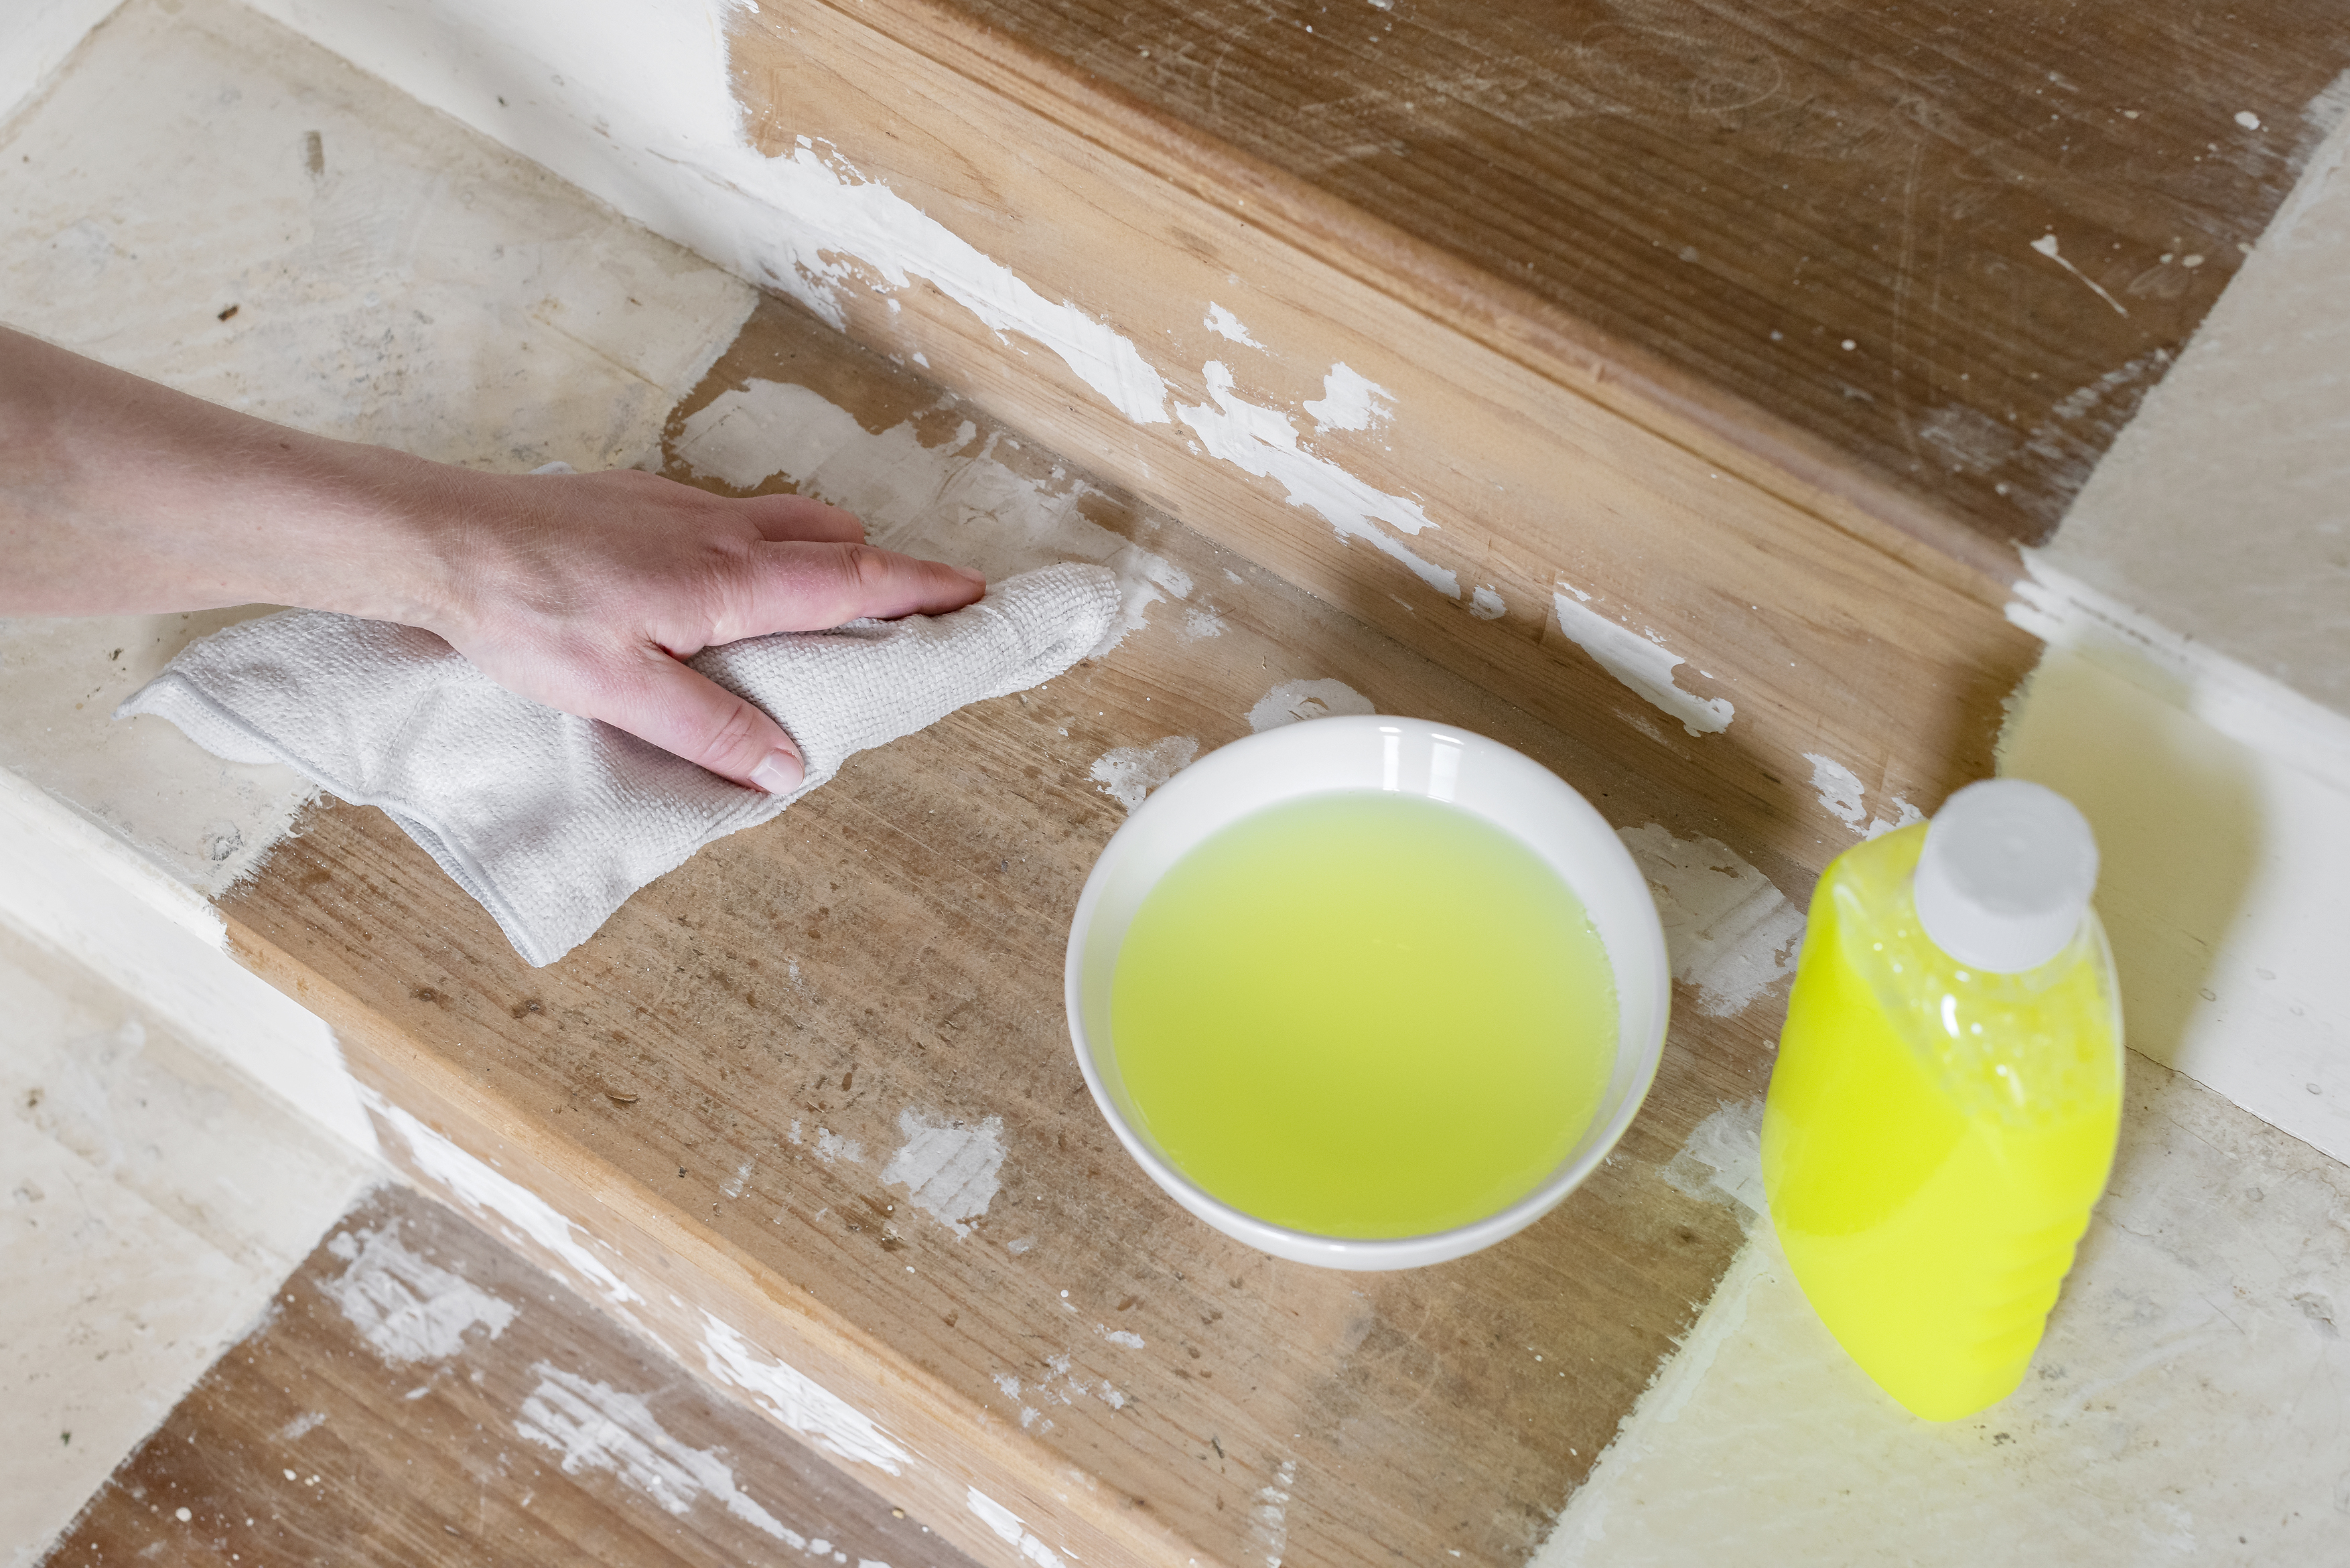
To finish first brush or vacuum the stairs to remove any dust.
Now use warm water, a mild cleaning detergent - washing up liquid will do - and a clean cloth to get rid of any debris and dust (you can also use sugar soap). After washing let the stairs dry completely. Leave for at least 24 hours.
Application
Step 5: Painting Stairs With Primer
Ideally, paint when the stairs won’t be used i.e when everyone has gone to bed or first thing in the morning when everyone has left the house. Do one coat each morning/evening. This will give plenty of time for the paint to dry and harden. And don’t allow any shoes on the stairs until complete, or ever.
The first step is to add a primer to any bare wood stairs - typically this will be the treads and risers.
Start at the top and work your way down using a 2-inch brush. Do not overload the brush and dab into the difficult areas - under the tread - and brush to even out. Now paint the front edge of the tread, then the edges of the riser and the next tread down. With even brushstrokes go from one side to the other - left to right if right-handed - to complete the tread and riser. Repeat down the rest of the stairs.
Once the primer is dry - see manufacturer’s instructions - lightly rub down with a fine grade sandpaper. 320 grit is good for this. Now clean the stairs ready for the next coat of paint.
Step 6: Undercoat Treads, Rises and Sides
With a base coat in place, it’s time to add an undercoat. Start at the top of the stairs and paint the sides first. Do not overload the brush as thin coats are better than thick coats.
Start at the top of the sides and work down. Do two or three steps at a time. Then go back and paint the treads and risers as mentioned before. Repeat the process until finished. Let the paint dry and give it a quick rub down and clean. Make a judgment call on whether to add another coat of undercoat.
Step 7: How to Paint Stairs With a Top Coat
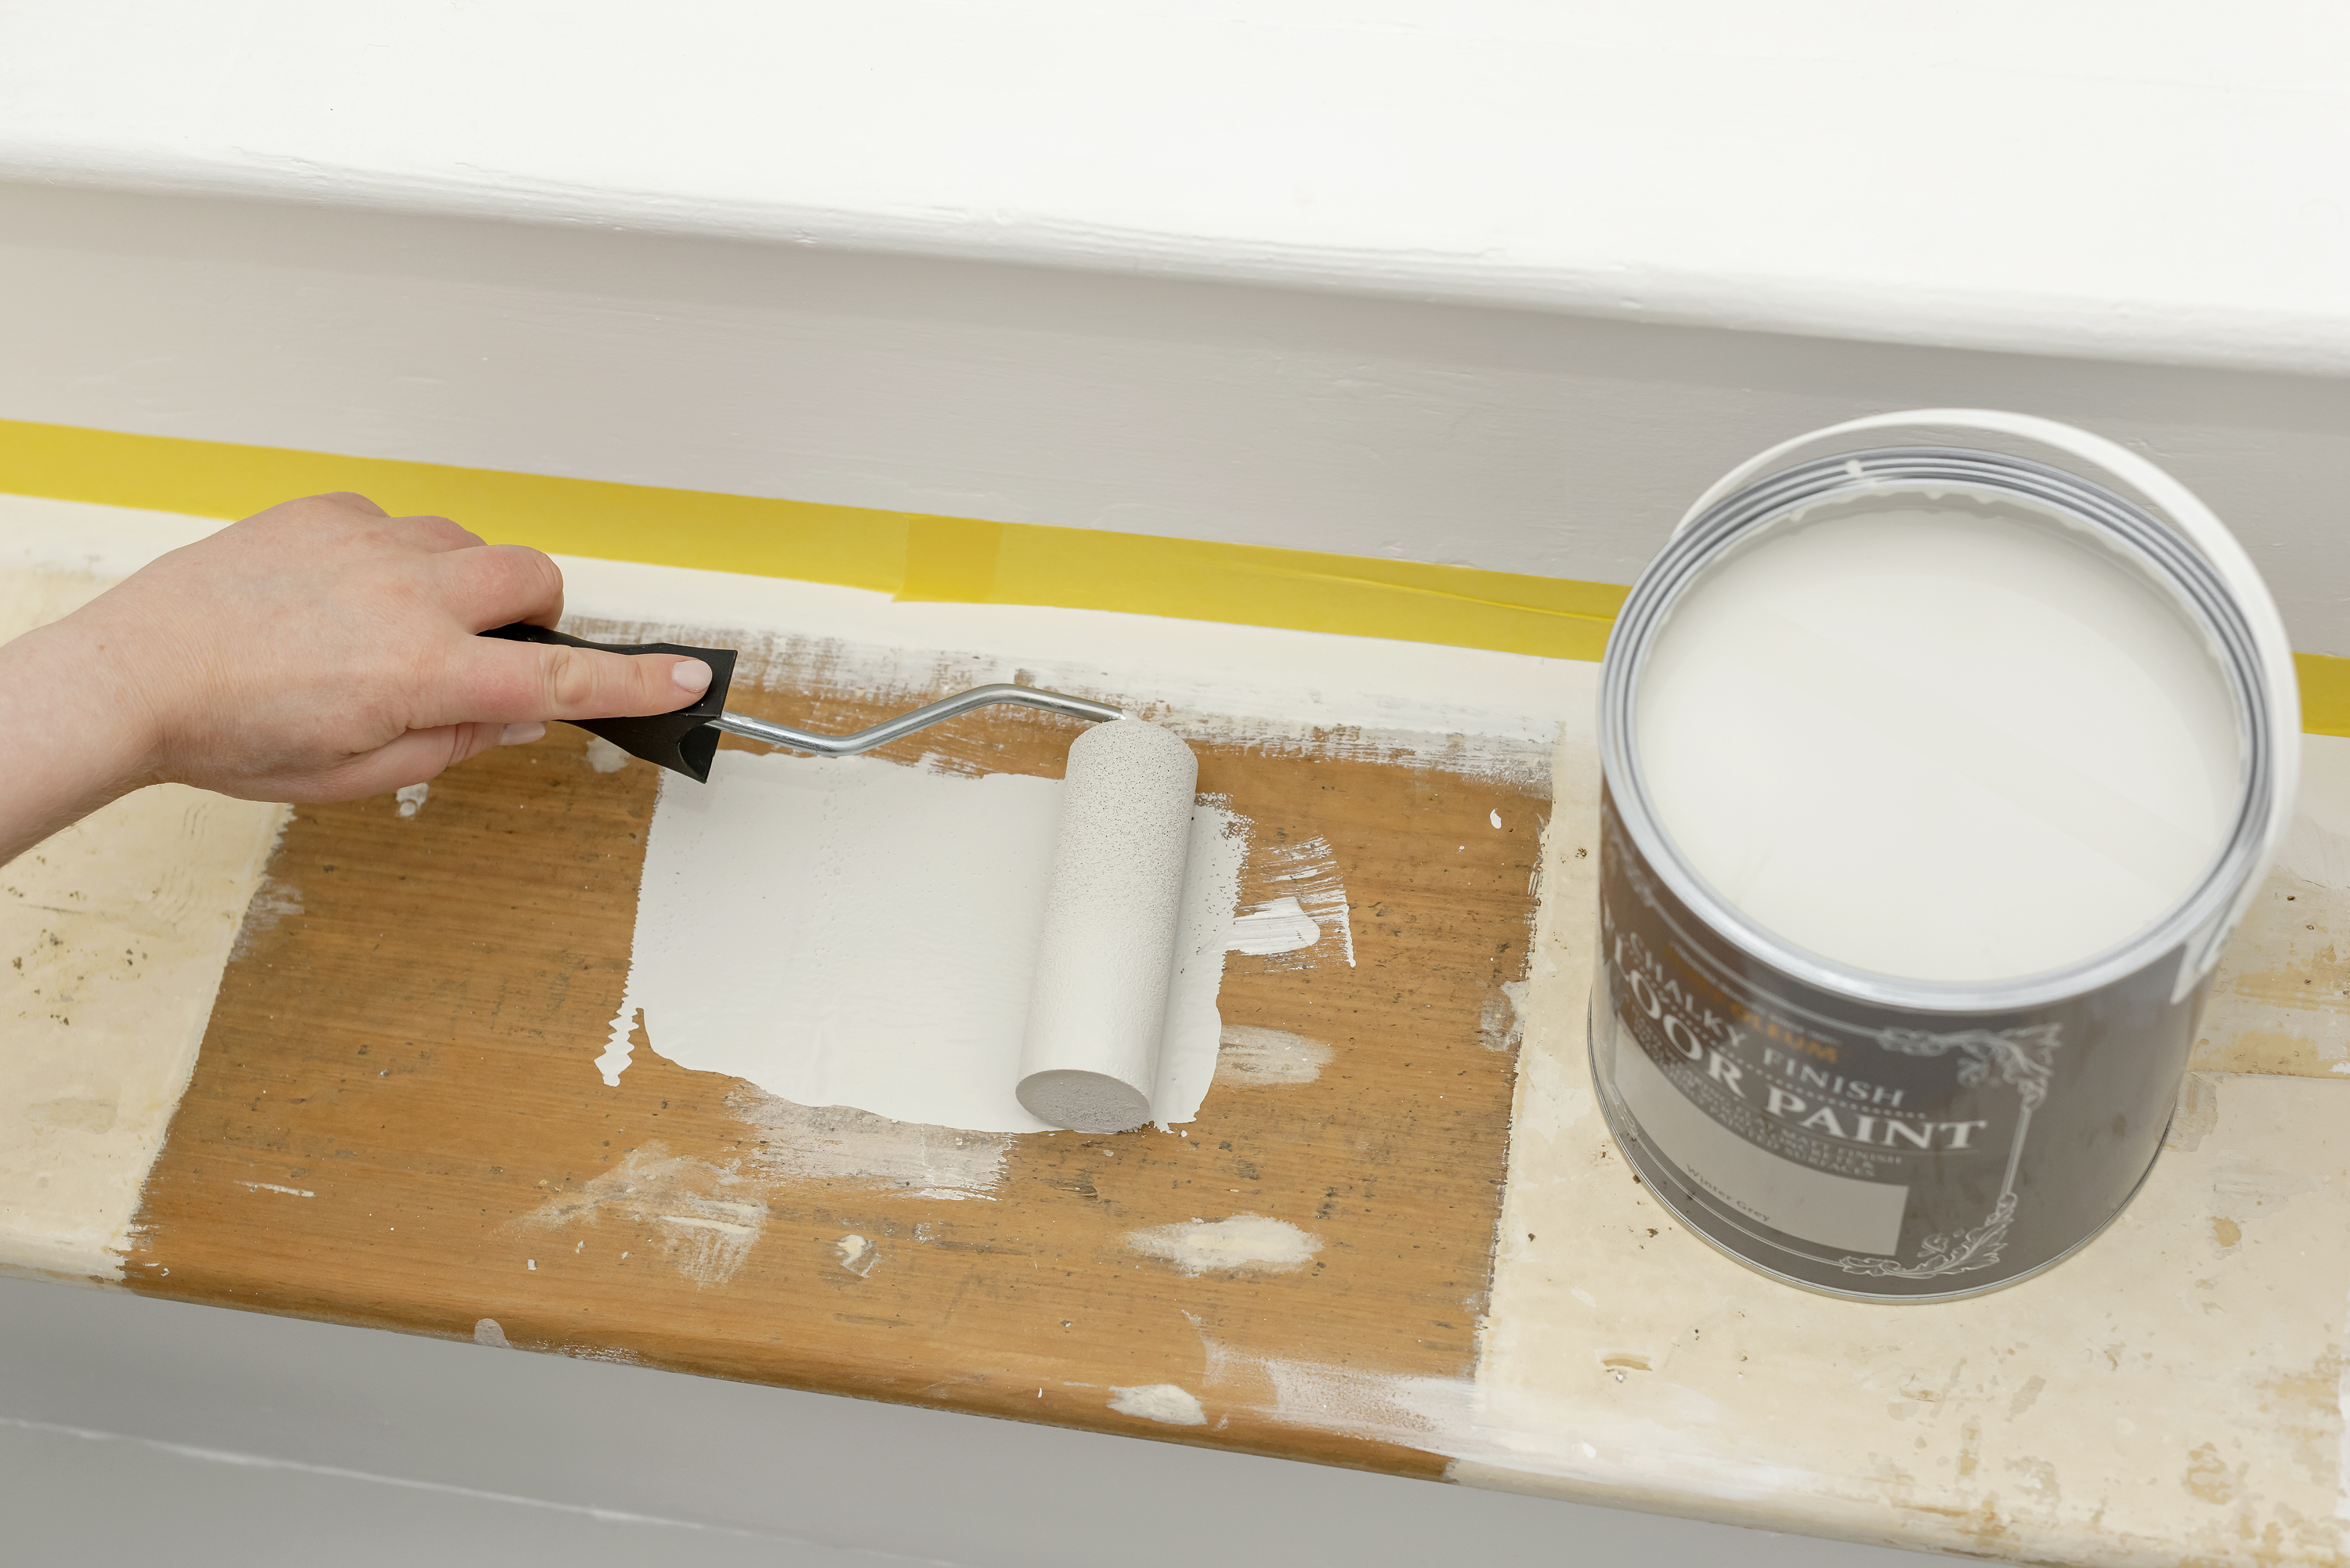
The final coat will be your chosen floor paint.
Apply this in the same way that you applied the undercoat. You can use a foam roller on the treads and risers to get a smoother finish.
Ideally, you want to leave the paint undisturbed for 24 hours to let it dry properly. But if this is not possible leave as long as possible or at least the minimum recommended by the paint manufacturer.
Get the Homebuilding & Renovating Newsletter
Bring your dream home to life with expert advice, how to guides and design inspiration. Sign up for our newsletter and get two free tickets to a Homebuilding & Renovating Show near you.
Steve Jenkins is a freelance content creator with over two decades of experience working in digital and print and was previously the DIY content editor for Homebuilding & Renovating.
He is a keen DIYer with over 20 years of experience in transforming and renovating the many homes he has lived in. He specialises in painting and decorating, but has a wide range of skills gleaned from working in the building trade for around 10 years and spending time at night school learning how to plaster and plumb.
He has fitted kitchens, tiled bathrooms and kitchens, laid many floors, built partition walls, plastered walls, plumbed in bathrooms, worked on loft conversions and much more. And when he's not sure how to tackle a DIY project he has a wide network of friends – including plumbers, gas engineers, tilers, carpenters, painters and decorators, electricians and builders – in the trade to call upon.

