Learn how to paint laminate kitchen cupboards to give them a fresh new contemporary look and finish
Here the experts tell you how to paint laminate kitchen cupboards to get a tough durable finish that will last as long as your kitchen
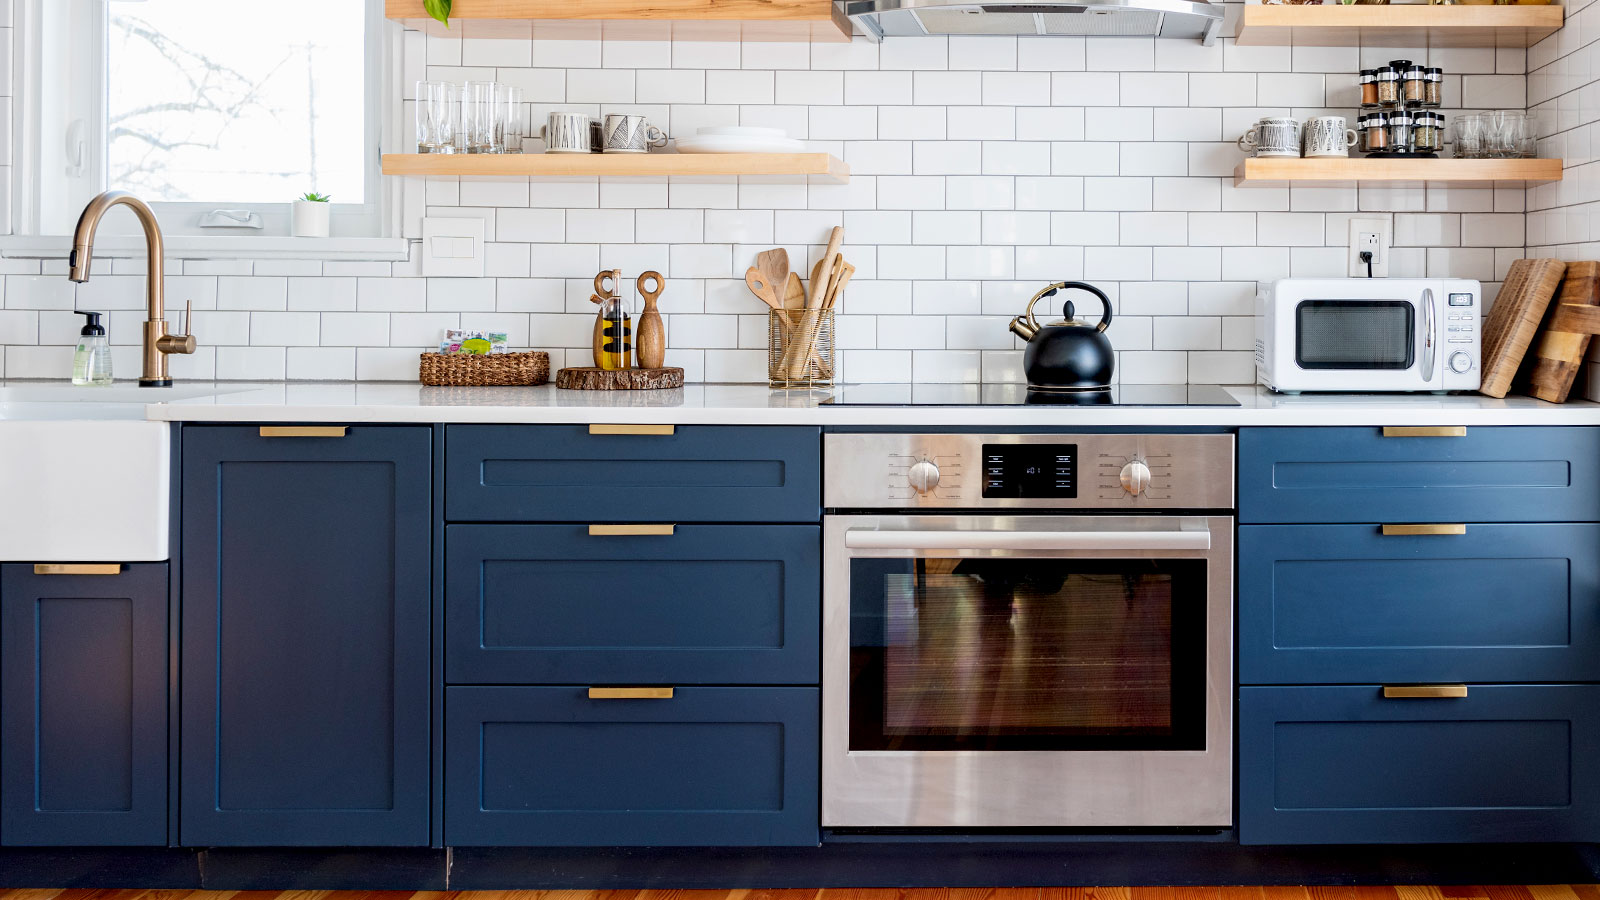
Learning how to paint laminate kitchen cupboards isn't a difficult task for DIYers, but it needs to be done the right way to get the best finish. If you get the process wrong you‘ll find that you’ll be repainting your kitchen cupboards and doors much sooner than expected.
Preparation and paint are the two key factors to get a strong durable and good-looking finish. Get this right and you’ll have a great looking kitchen for years to come. But alongside the practical, you need to think carefully about your painted kitchen cabinet ideas. A great finish alone is no good if you decide you don’t like the colour and style. So choose wisely.
Why paint laminate kitchen cupboards?
Painting kitchen cupboards is a great way to make the most of your current kitchen cabinets and doors. If you're fed up with the current colour and want a fresh new contemporary colour to bring your kitchen up-to-date then a coat of paint is a quick and affordable solution as Nick Parsons, Technical Manager at Harris emphasises, “Refreshing kitchen cabinets with paint can transform your space affordably.”
Alternatively, your cabinets and doors may be looking tired and dated, but still in good condition for a makeover. Again a little love, attention and a smart new colour can transform a kitchen.

Nick began his time with Harris in 1988, and throughout the decades has worked in various departments. His experience and product understanding informs the evolution of all Harris products, from benchmarking to insight, research and development.
Try these tools to help paint laminate kitchen cupbaords
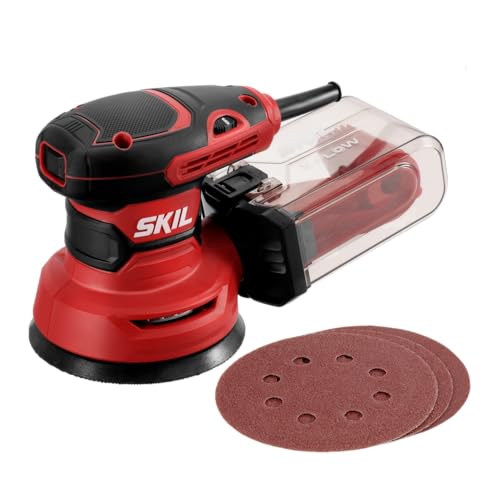
Take out the hard work of sanding laminate doors with this variable speed orbital sander. Has low vibration and an easy to clean dust container.
5 steps to paint laminate kitchen cupboards
The process for painting kitchen cupboards is a straightforward process that most DIYers can tackle. But, the more effort and time you put in the better the finish as Parson shares, “Thorough preparation is the foundation of success.” A mantra that applies across all paint projects. Here we look at the essential steps you need to take to ensure a successful finish.
1. Prepare the area
The first step is to get set up before any painting is to be done. Parsons says start with basics, “Begin by removing doors and hardware and protecting surfaces with dust sheets.” Select an area where you are going to work, protect and set up ready for painting.
2. Clean surfaces
Existing doors are unlikely to be spotless, especially with everyday cooking in the area. So you need to make sure that they are clean before starting as Parson suggests, “Clean the doors with sugar soap to remove grease and dust, ensuring a smooth and clean base.” Check our What is Sugar Soap guide for more insight on where to get and how to use.
3. Sand surfaces
To ensure that any paint adheres to a laminate surface it will need to be sanded after cleaning as Parsons shares, “Sanding is key – use an Aluminium Oxide sandpaper for plastic or laminated doors and wood surfaces to create the ideal surface for primer.”
4. Paint laminate surfaces
With the surfaces cleaned and prepped it's time to paint. Parsons says, “An all-purpose primer should be applied evenly using an angled brush, like this Ultimate Woodwork Gloss Angled Paint Brush from Amazon, for any detailed areas.”
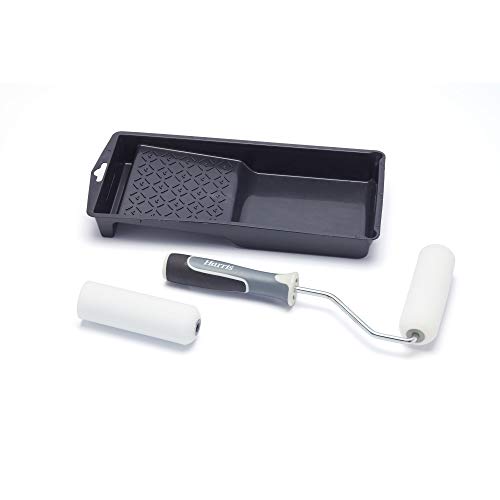
For flat areas, invest in a gloss roller, Michael Rolland, Managing Director at The Paint Shed says, “Use a 4-inch roller to fill in the remaining space”. This needs to be followed up by light sanding before applying the next coat.
Finally, Parsons says, “Choose a durable topcoat and apply at least two layers with appropriate brushes and rollers for a professional finish.”
5. Finish up
Leave the paint to dry before moving, check the manufacturer's instructions. To finish Parsons says, “Reattach the hardware and doors, allowing the paint to cure fully to ensure long-lasting results. With quality tools and careful application, your cabinets will look brand new.”

Michael Rolland is a painting expert and MD of The Paint Shed. They have evolved from painting contractors to retailers. Michael has years of experience within the painting industry, using this expertise to influence his own DIY projects using the best possible tools and materials.
FAQs
What paint can I use?
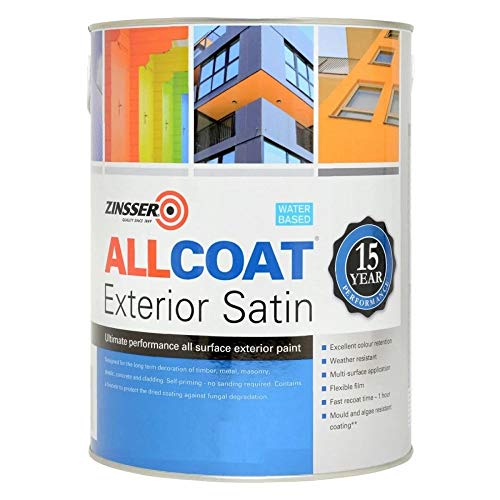
To get the best finish on laminate kitchen cupboards and doors you need to use the right paint and the first coat should always be a primer as Rolland shares, “When painting laminate kitchen cupboards you will need to use a primer.” He recommends using Zinsser BIN Primer and then applying your preferred top coat. A top coat needs to have a durable finish and Rolland suggests a paint like Zinsser Allcoat.
This is available in various colours, tints and finishes including Matt, Satin and Gloss. It is formulated for exteriors as well as interior paint projects which gives it a very durable finish when applied correctly.
Alternatively, Rolland says, “Try Tikkurila Helmi 10, and apply the Tikkurila Helmi Primer first for best results.”
A cheaper option is to use an emulsion that you already have and finish with a varnish. But this isn’t an option for laminate kitchen doors and cabinets if you want a durable finish. Rolland succinctly says, “Avoid using varnish when painting laminate cupboards.” He adds, “If you are looking to achieve a higher sheen finish opt for a satin or gloss finish of your chosen, suitable topcoat.
How long does paint last on laminate cabinets?
Painting laminate cabinets and doors needs to be done right to be a success as Rolland points out, “If prepped and painted properly with a high quality paint and topcoat you should enjoy a perfect finish for many years.” He adds, “Tikkurila is extremely durable and is designed to withstand repeated cleaning, scrubbing and wiping with strong detergents without damaging the finish or coverage.”
But on the flip side if you don’t put in the time and effort it won't be long before you start to see why as Rolland shares, “ However, if you opt for no primer and cheap kitchen paint you’re likely to experience scuffs and marks quickly.”
He adds, “If the kitchen is prone to high humidity and you decide to buy cheaper kitchen paint it’s likely you’ll see imperfections sooner than opting for a high-quality trade paint with a great primer too.”
So it makes sense to do your prep properly and use the right paint to get a long-lasting finish.
Should I use an electric sander?
Yes. An electric sander will help sand a surface evenly, take out some of the hard work and get the job done quicker. You can use a detail sander like this VonHaus Detail Sander from Amazon for corners and more intricate areas typically found in shaker style kitchens.
A detail sander can also be used on flat areas, but if you have large flare areas like slab style doors then a random orbital sander is a better choice to ensure a smooth finish.
Painting kitchen doors is a very cost effective option for a new look, but it might be time to replace. Check out our Replacing kitchen doors and Replacement kitchen doors cost guides for more insight. Alternatively, it might be time to get a new kitchen, check How much does a new kitchen cost before you dive in and head back to painting your kitchen cabinets and doors.
Get the Homebuilding & Renovating Newsletter
Bring your dream home to life with expert advice, how to guides and design inspiration. Sign up for our newsletter and get two free tickets to a Homebuilding & Renovating Show near you.
Steve Jenkins is a freelance content creator with over two decades of experience working in digital and print and was previously the DIY content editor for Homebuilding & Renovating.
He is a keen DIYer with over 20 years of experience in transforming and renovating the many homes he has lived in. He specialises in painting and decorating, but has a wide range of skills gleaned from working in the building trade for around 10 years and spending time at night school learning how to plaster and plumb.
He has fitted kitchens, tiled bathrooms and kitchens, laid many floors, built partition walls, plastered walls, plumbed in bathrooms, worked on loft conversions and much more. And when he's not sure how to tackle a DIY project he has a wide network of friends – including plumbers, gas engineers, tilers, carpenters, painters and decorators, electricians and builders – in the trade to call upon.
