How to paint a wall with a roller: pro tips and techniques
Knowing how to paint a wall with a roller the right way with the right gear will help you get a quick and professional finish on your walls

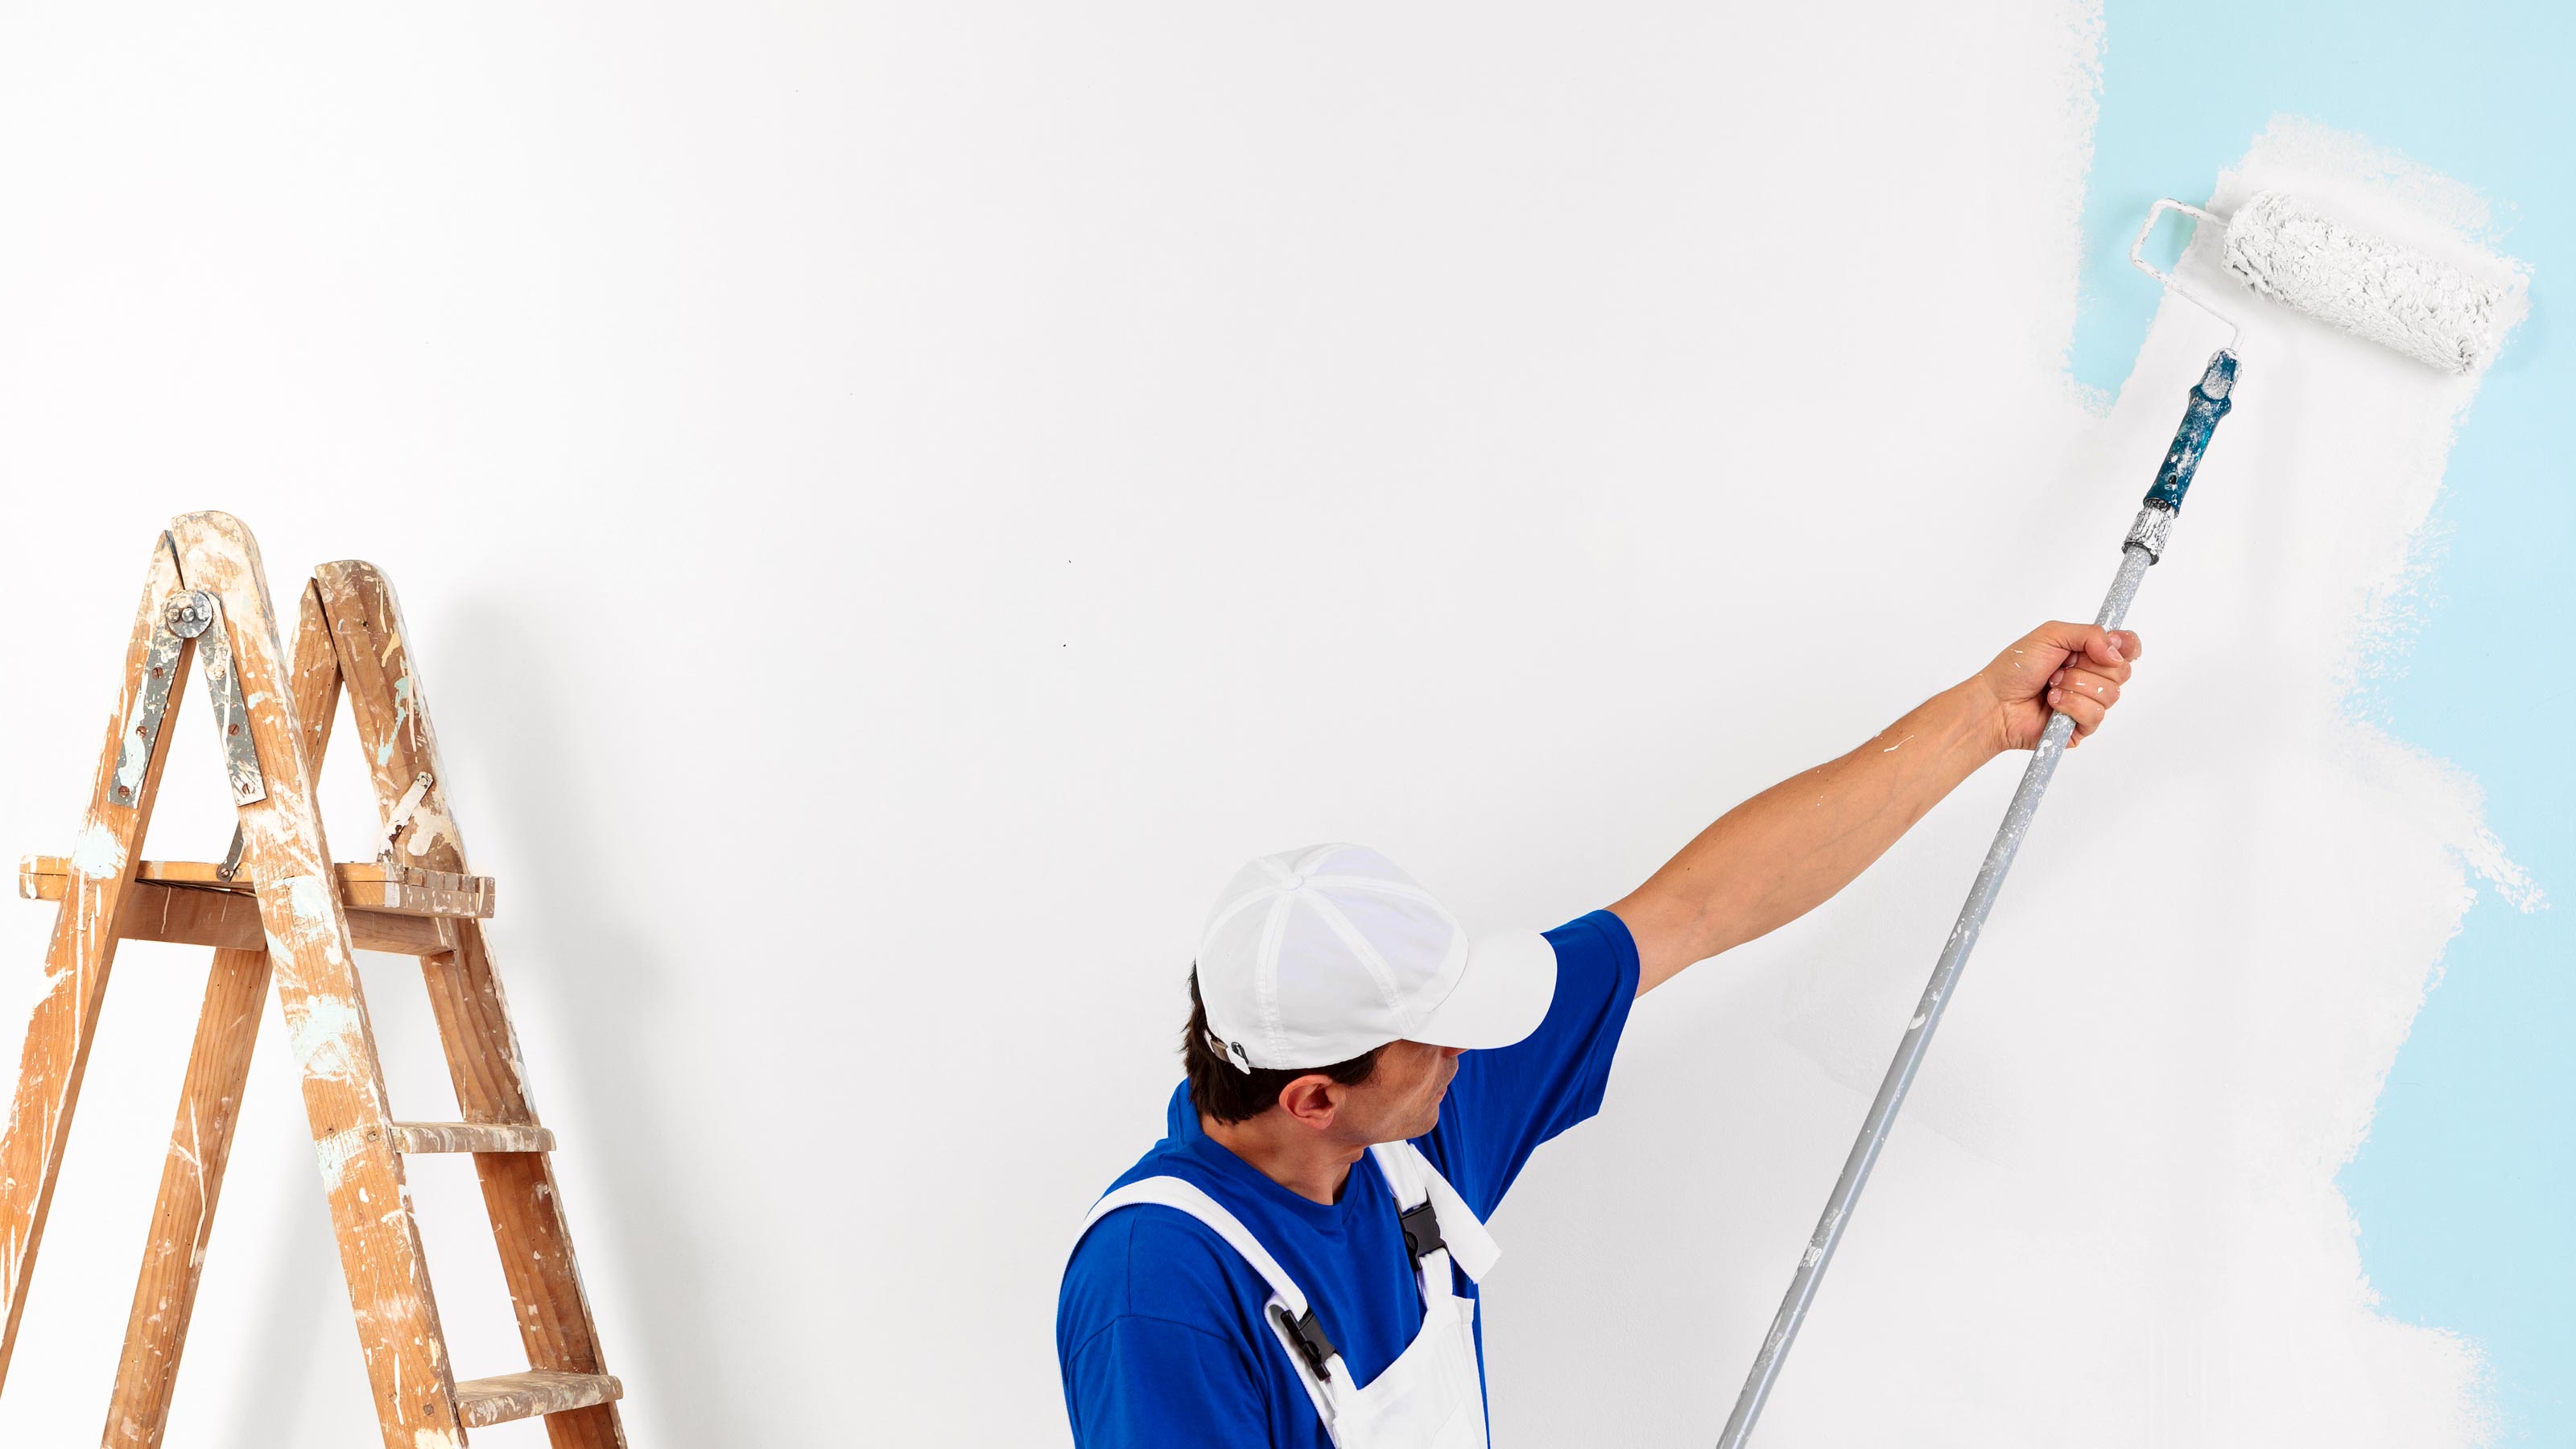
Knowing how to paint a wall with a roller is the quickest way to apply a fresh coat of paint. It’s 10 times faster than using an emulsion brush — plus, you won't have any ugly, unwanted brush marks and you won’t use as much paint.
When painting a wall you will need the assistance of a paint brush to get you started around the edges. But once you get your roller out you can blend the edges to create a smooth, seamless, even finish on your walls.
Here we run through the painting process and give you some invaluable tips for a great job.
How to paint a wall with a roller: A step by step guide
Before you get started, in addition to the paint, you'll need the following tools:
- 9-inch roller
- Roller tray
- Dust sheets
- Roller extension pole
- 2-inch paintbrush
Here we show you how to paint a wall a roller. Remember to let the first coat dry before repeating the process for the second coat.
1. Prepare the area
If you have a clear room with bare floorboards you can ignore this step and move straight on to the next step. If not you will need to move your furniture to one side or into another room, and cover the furniture and floor with dust sheets.
2. Cut in
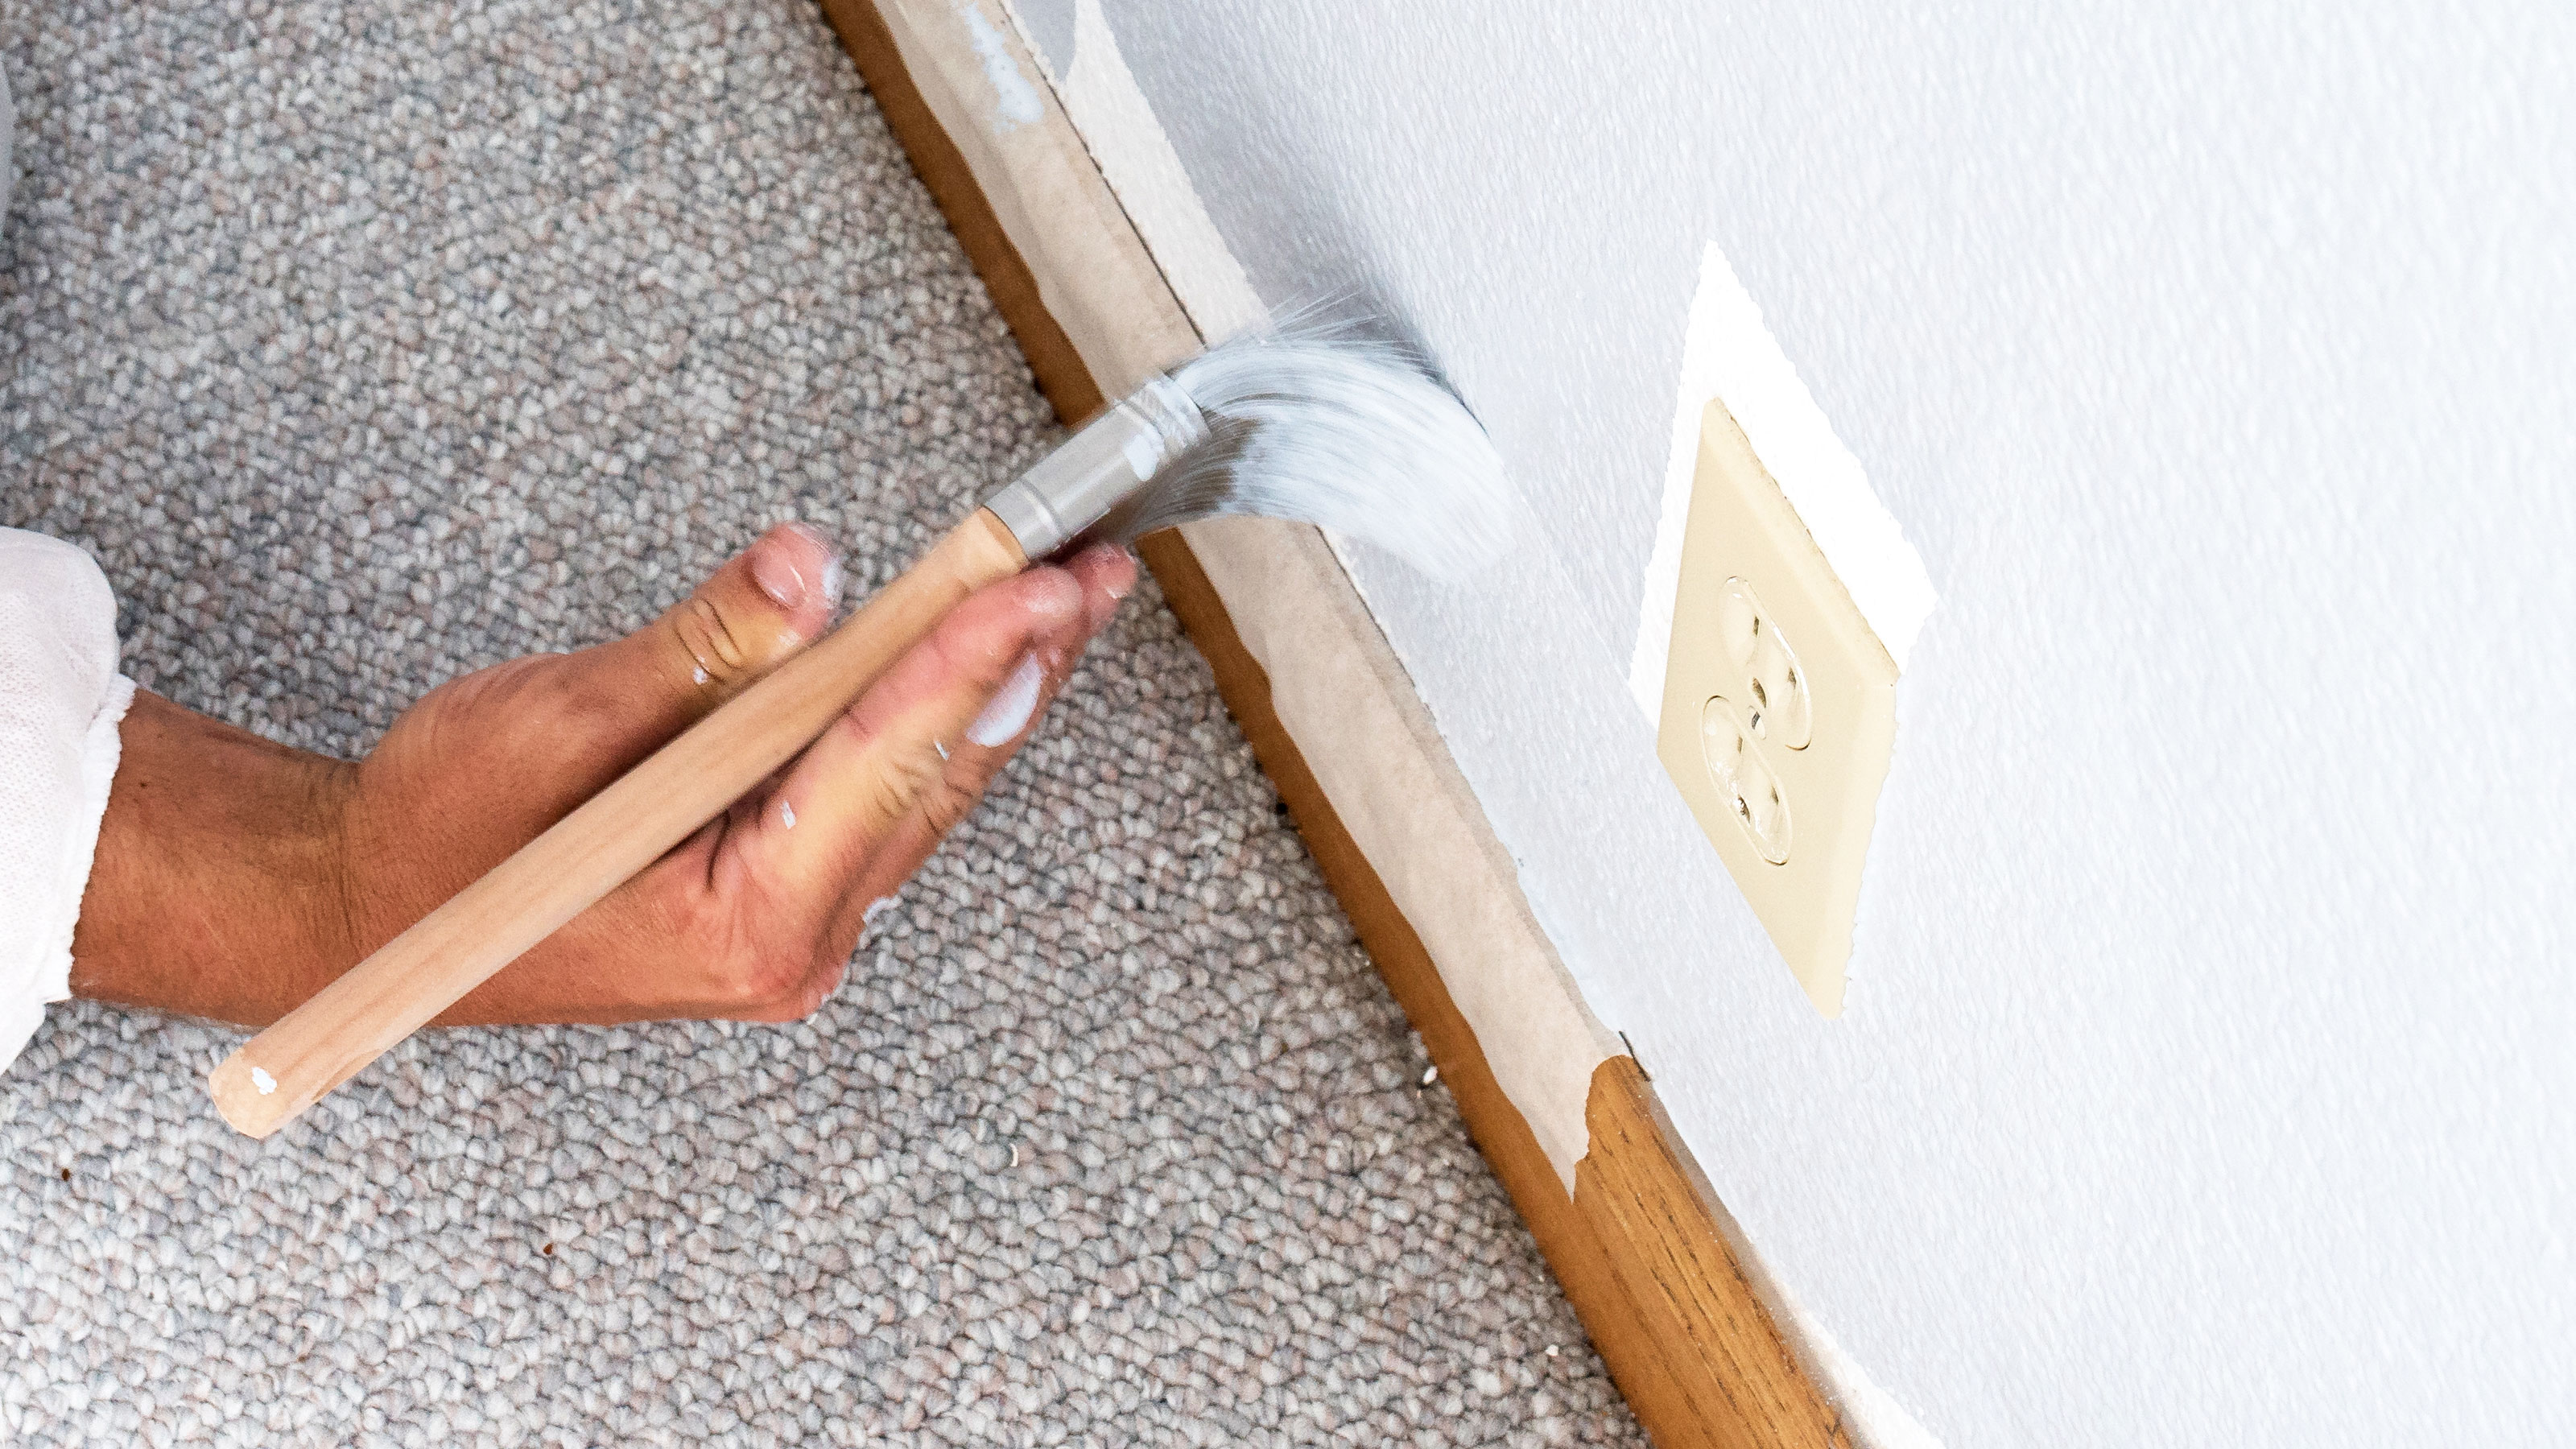
Using a two-inch brush start at the ceiling – top right or top left – and work across to the adjacent corner. Create a strip of paint as wide as the brush. Now work down both wall edges to the skirting board.
If painting skirting boards at the same time, think about adding painters' tape along the top of the skirting boards to get a straight line.
3. Load roller with paint
Get your roller and place it on an extension pole, fill your paint tray and leave it on the floor. Now load the roller with a decent amount of paint. But make sure it's not too much that it will drip when you lift it out of the paint tray.
4. Start with roller
Place your roller about half a rollers width from a corner – typically to the left if right-handed – about two thirds of the way up the wall. Now move it up to around a foot from the ceiling and then down to around a foot from the bottom and back up in a V-shape.
Then move back down and up spreading the paint evenly and closer to the wet edges where you cut in to blend the two. You should cover one and a half or two widths of the roller from top to bottom with one load of paint. Repeat the process until you reach the opposite corner.
Do you cut in before or after rolling?
The professional way is to cut in before you start rollering the wall. Knowing how to cut in paint with a paintbrush will ensure that you get a great finish. You need to cut in at the ceiling, in the corners and along the skirting boards.
This creates a straight line between the woodwork and walls and leaves a wet edge to work with. This helps blend the paint when rollering the wall. You will need to cut in again for the second coat so again you have a wet edge to work with.

How do I get rid of roller marks?
Firstly make sure that you have a quality roller sleeve that is free from dust and loose fibres. Give the sleeve a vacuum or brush and then run the roller under water, squeeze the sleeve to remove as much water as possible and stand the sleeve upright and leave to dry.
If you know how long paint takes to dry you need to try and work out roller marks before it reaches its drying point. It is much easier to get rid of roller makers when the paint is still wet.
If you have obvious roller marks that you can’t live with after paint has dried you will need to sand them down and reapply another coat of paint.
Why does my paint roller slide rather than roll?
There can be a few different reasons why a roller doesn’t roll. It could be that you have too much paint on the roller weighing it down or you are applying too much pressure. You could be painting a surface that is slick and shiny so the roller can’t grip. If this is the case you need to sand the surface to add grip.
Other reasons could be that paint has got inside the roller sleeve leaving less room for the roller to roll. Cheap rollers are not as well engineered and often stick when rolling, causing them to slide.
How many times can you reuse a roller?
You don't want to be throwing away the best paint rollers after one use. If looked after properly a good quality roller will last at least 10 uses, if not more. However, this will depend on whether you are using a water-based paint or an oil-based paint.
A roller used with emulsion and other water-based paints can be reused for a lot longer than one used with oil-based paints. To get the maximum lifespan out of your roller check out our how to clean paint rollers guide.
Get the Homebuilding & Renovating Newsletter
Bring your dream home to life with expert advice, how to guides and design inspiration. Sign up for our newsletter and get two free tickets to a Homebuilding & Renovating Show near you.
Steve Jenkins is a freelance content creator with over two decades of experience working in digital and print and was previously the DIY content editor for Homebuilding & Renovating.
He is a keen DIYer with over 20 years of experience in transforming and renovating the many homes he has lived in. He specialises in painting and decorating, but has a wide range of skills gleaned from working in the building trade for around 10 years and spending time at night school learning how to plaster and plumb.
He has fitted kitchens, tiled bathrooms and kitchens, laid many floors, built partition walls, plastered walls, plumbed in bathrooms, worked on loft conversions and much more. And when he's not sure how to tackle a DIY project he has a wide network of friends – including plumbers, gas engineers, tilers, carpenters, painters and decorators, electricians and builders – in the trade to call upon.

