How to paint a banister: Get a tough, great-looking finish
Knowing how to paint a banister the right way will give you a durable long lasting finish that's easy to wipe clean and will stay looking good for longer

You need to know how to paint a banister seamlessly when your stairs need a fresh coat of paint. And when doing so, it's worth bearing in mind that this area is going to need to be thoroughly covered to make sure it is hard-wearing.
Whenever someone walks up or down the stairs, hands will naturally fall on the banister. For this reason, it's going to need a paint that'll allow you to clean it frequently as well as being durable.
When painting wood, preparation is often the key to a professional finish and it's no different when painting a banister. The wood will need to be sanded so it is smooth without any rough edges as well as being clean with no sawdust residue. It's worth spending a little extra time on the preparation, often longer than the painting itself.
How to paint a banister: The steps you need to take
Before you start make sure you have plenty of fine, grit sandpaper ready to help get the best finish.
1. Protect the area
If your stairs are carpeted you don’t want to be getting paint on them. So make sure to lay dust sheets from top to bottom. If not painting the spindles, use painters tape to mask them.
2. Sugar soap (optional)
If you are repainting a banister, it is a good idea to give it a clean with sugar soap before you get to the sanding stage. This will help remove any dirt and grime. If you are asking yourself what is sugar soap our guide will help tell you how and where you should use it.
If your banister is still pretty fresh you can skip this step and get onto the sanding stage.
3. Sand
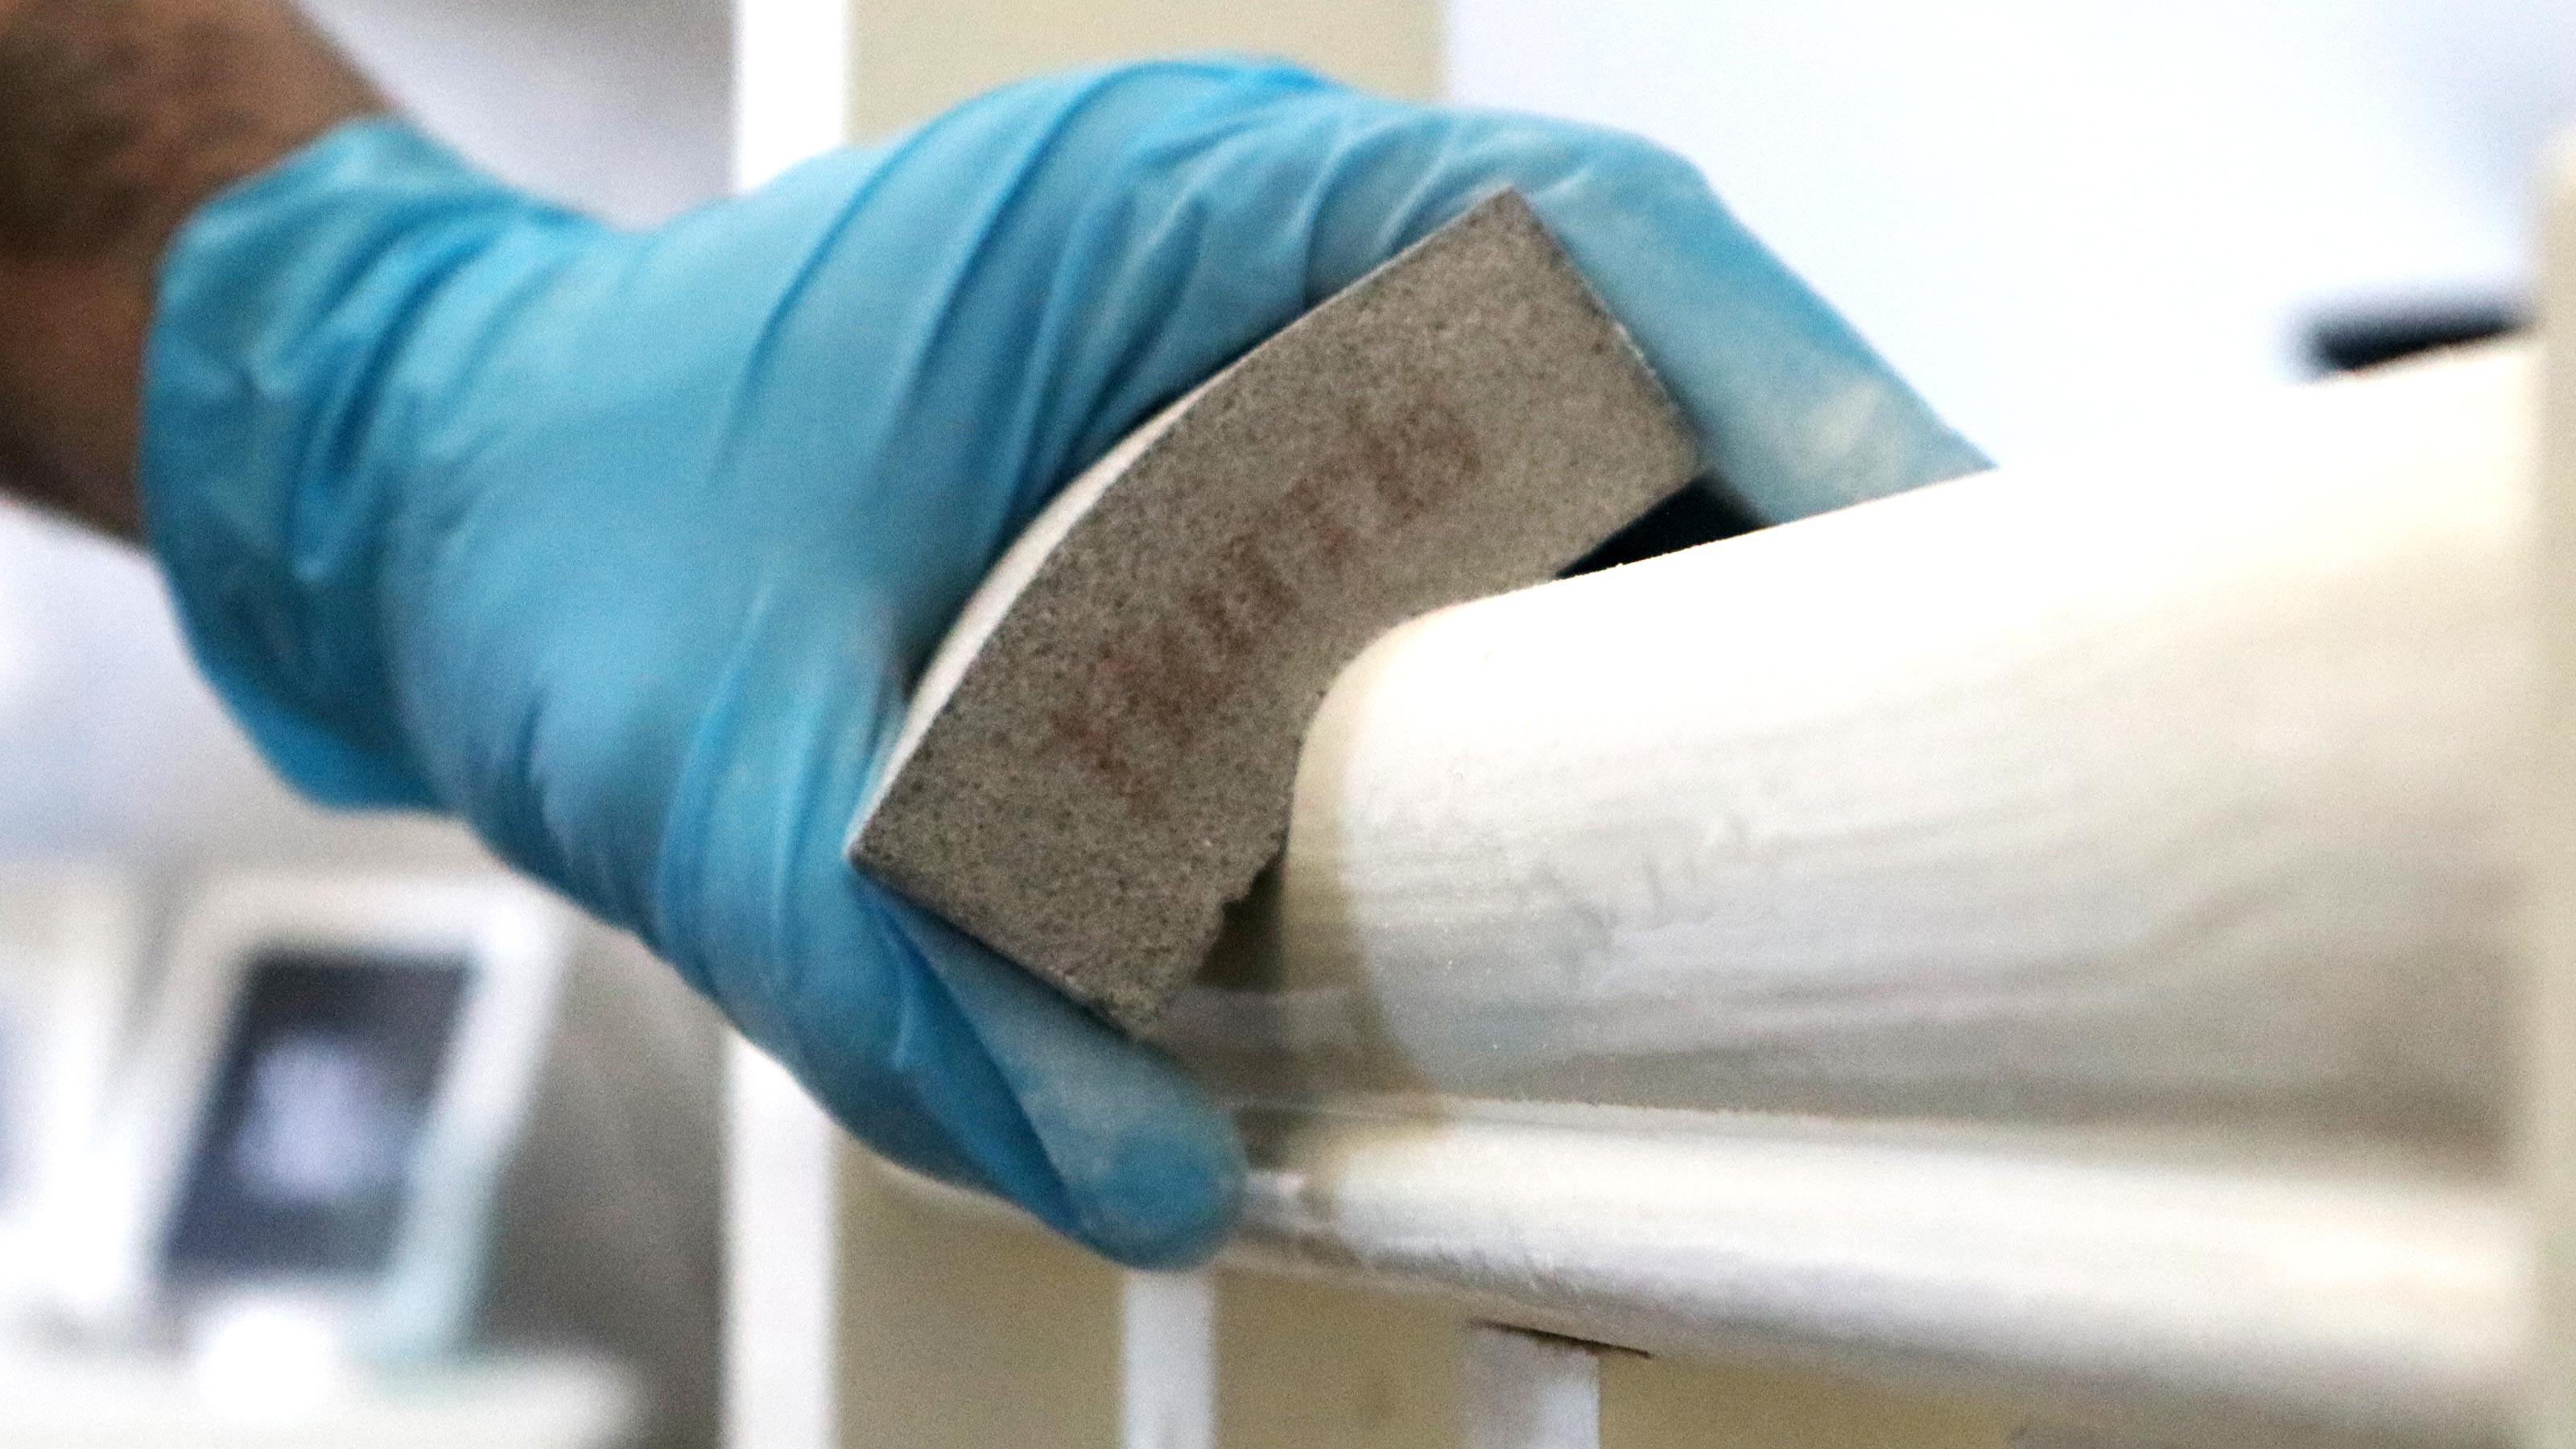
Whether you are painting brand new, bare wood or previously painted banister, it will need to be sanded. A new wooden banister will need just a quick going over with a fine 220 grit sandpaper to get rid of any rough edges and give the paint better adhesion.
If painting a bare wood banister where paint has been removed go over with a 120 grit sandpaper first and then a fine grit 220 sandpaper. If previously painted, use a 180 grit sandpaper to smooth out any lumps, then a 220 grit sandpaper to finish.
To speed up the process use an electric hand sander for the easy to reach parts. For more intricate parts, fold your sandpaper and run along the area.
4. Prime
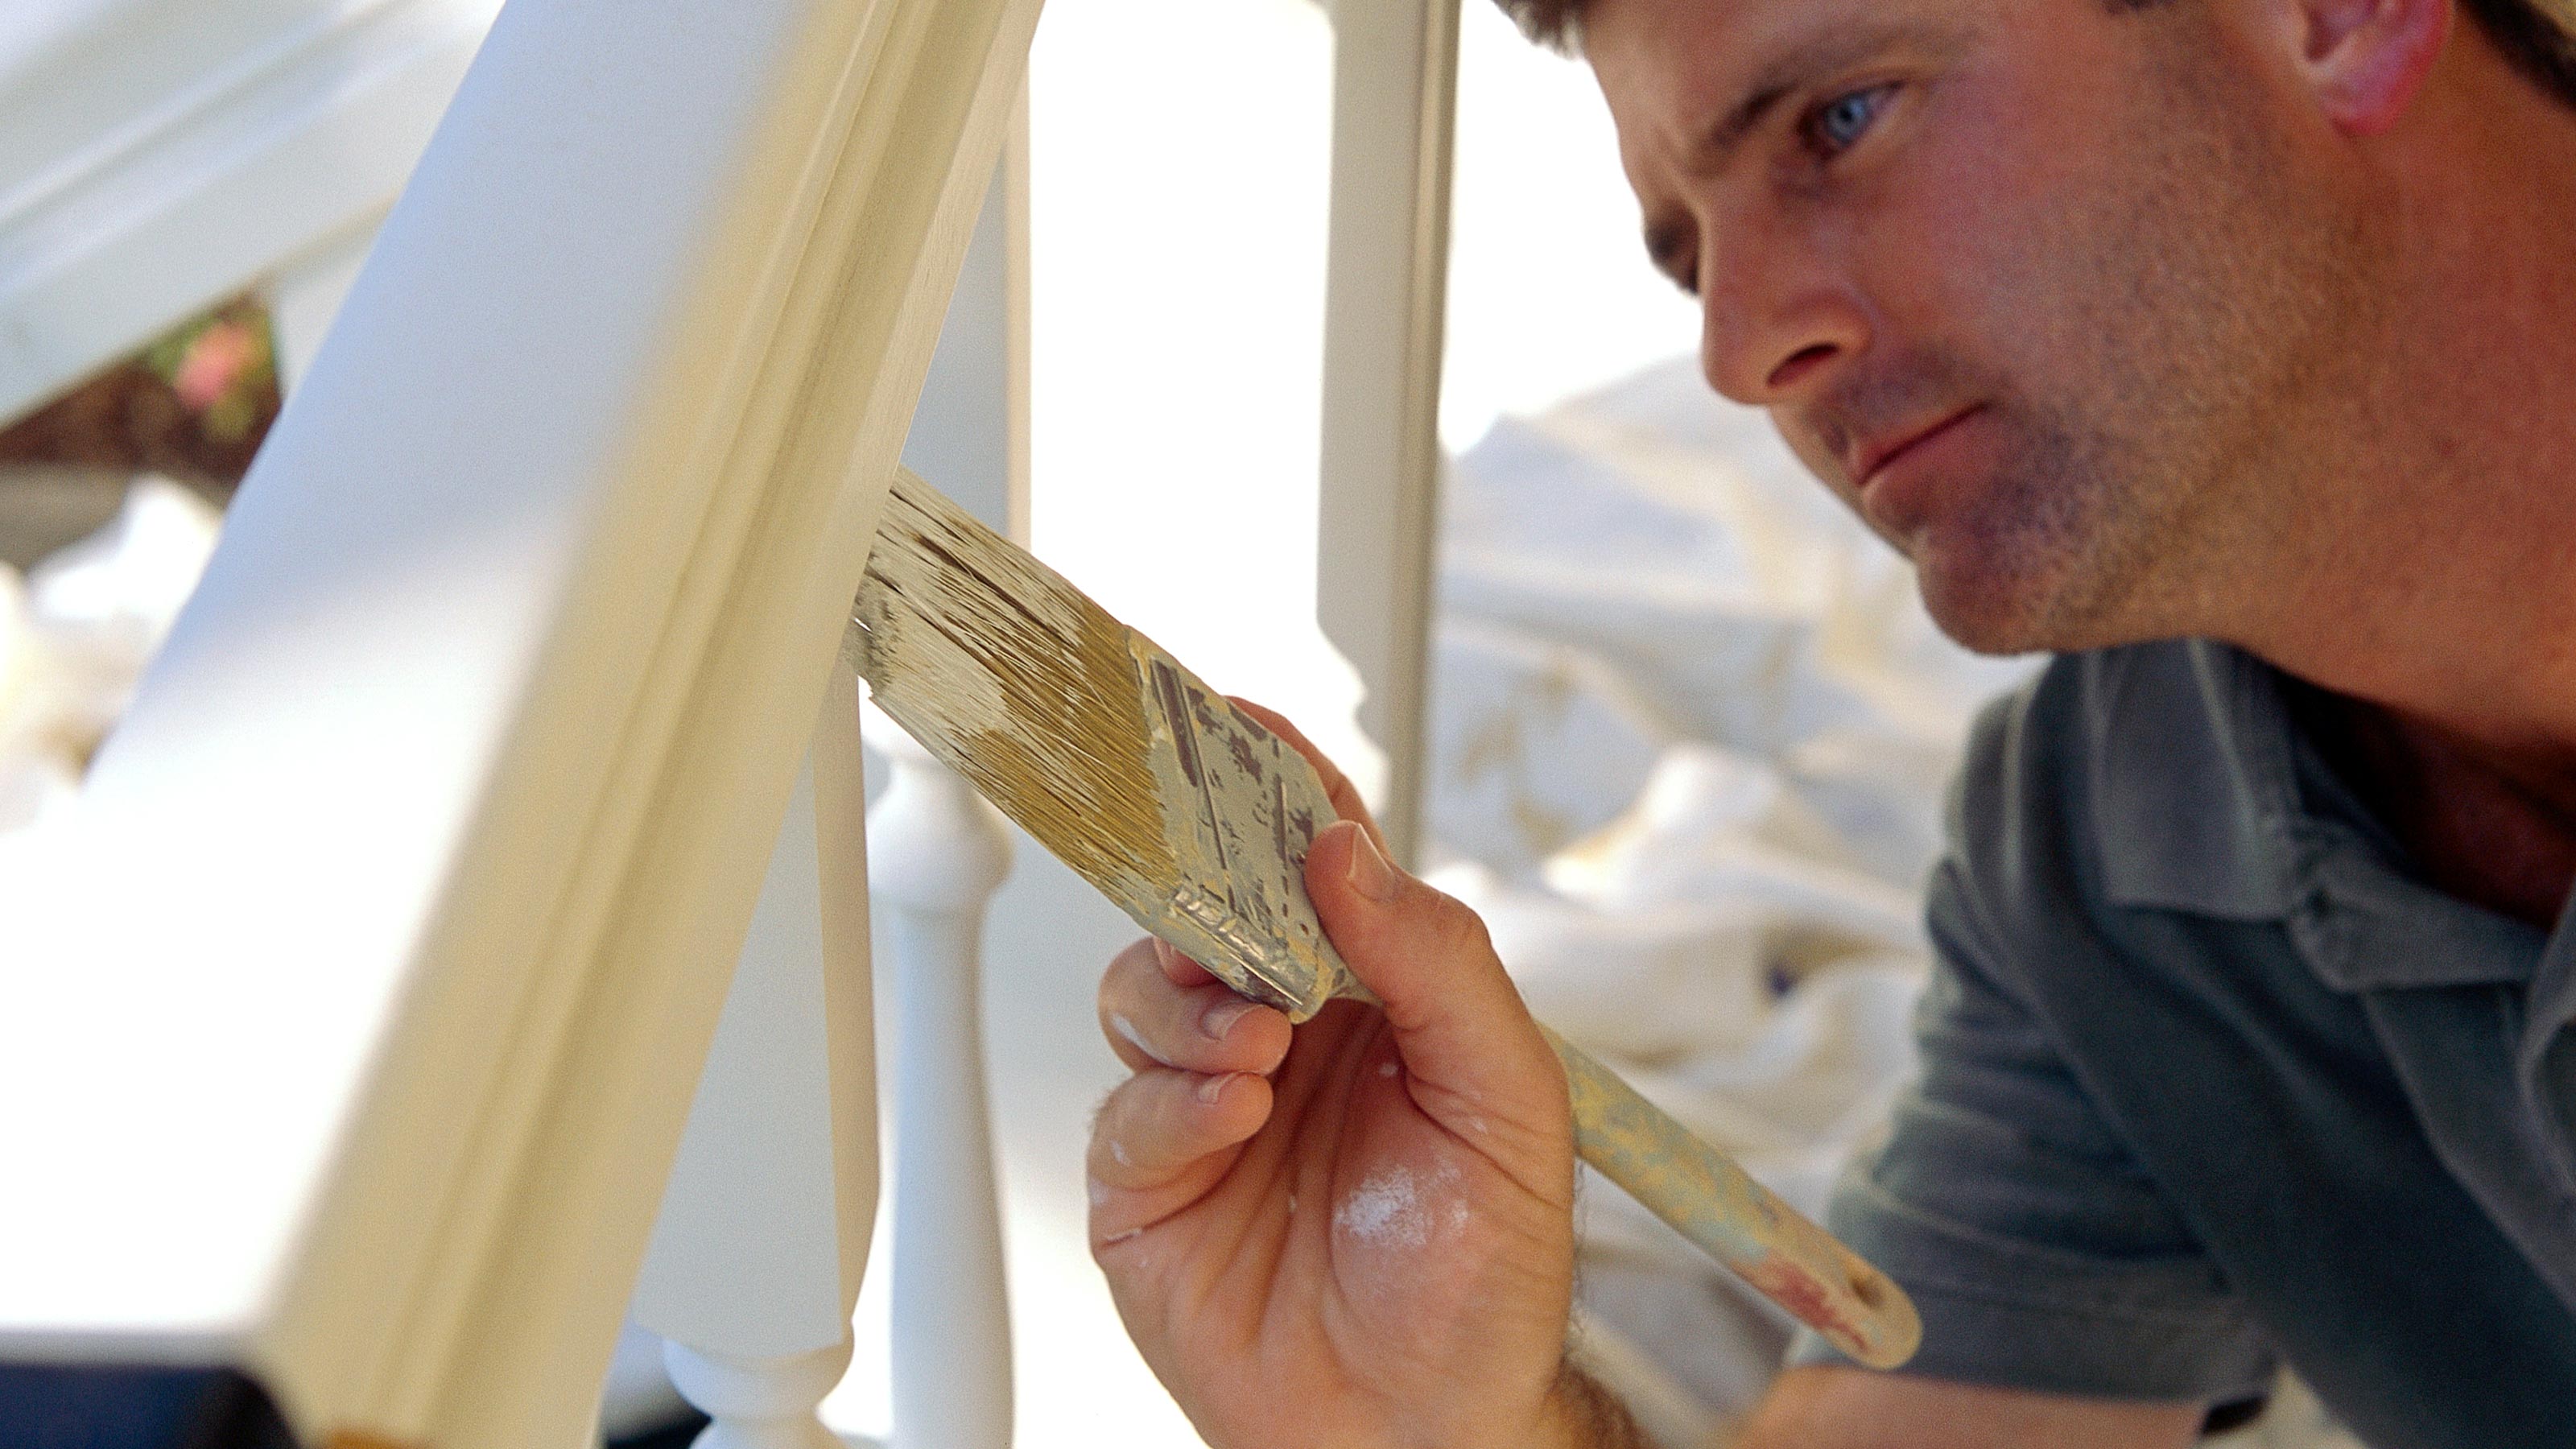
If painting a bare wood banister the first coat needs to be a primer. Use a 2-3 inch brush to paint the larger areas of the banister. Start at the top of the banister (usually the top of the stairs) and on the outside edge. This is the side of the banister, painting away from the stairs. Then the top followed by the inside edge and the bottom.
Do in sections so you have a wet edge to blend the new section. If needed use a smaller brush for intricate areas. Leave to dry as per manufacturer's instructions. Then get a fine 220 grit sandpaper and lightly rub down.
5. Paint
Remember to apply thin coats for a more durable finish. Add one coat of undercoat, leave to dry as instructed and rub down with a fine grit sandpaper to avoid any paint bubbling, wipe clean with a damp cloth and leave to dry and repeat.
Once the second undercoat is dry — don’t do it too soon — add a top coat. Leave to dry and decide if you need another top coat. We suggest you add a second coat for added durability.

Can you spray paint a banister?
Yes. If you want a silky smooth layer of paint that has that factory-like finish. Spray painting isn’t difficult, but there is an art to it, so you might need a little practice before you start on your banister.
You will also need to purchase a paint sprayer, if you don’t have one, but you can get these for a reasonable price. The best paint sprayers will give you a neat even finish in less time.
While the paint process itself is quicker, the prep time can take longer. You will need to mask off your stair spindles if painting a different colour to the banister. Plus, you will need to lay down dust sheets over carpet and cover any nearby furniture to avoid being covered in paint spray mist.
What kind of paint should I use on a banister?
This depends on how much use it is likely to get. If your banister is in a high traffic area and it going to get a lot of hands on it, especially little dirty hands, then you want a hard wearing satin or gloss paint such as Dulux Trade Satinwood
This is durable, gives a mid sheen finish and is wipeable when needed. If you want a high sheen finish, use the gloss version of the paint. Alternatively, if you want a low sheen finish consider using a water-based eggshell paint. These are better suited to areas that won’t get quite as much traffic. The benefit with water-based is a far shorter drying time.
What’s the best colour to paint a banister?
This is a very subjective choice. White is the popular choice as a lot of top coat paints are only available in white, but you may be looking at a certain style where banisters and spindles are painted in a contrasting colour.
You may be looking at painted stairs ideas where you match the banister with the stairs or just the tread. In the end the choice is yours.
Can you paint over stained or varnished wood?
Technically you can, but it is not recommended. Banisters will be touched on a regular basis, so need a durable, wipeable finish. Painting straight on top of varnish will look good but not for long. It’s not durable and will very soon start to lift off the varnished surface or can easily be scraped off when knocked. Ideal you will need to sand this right back to bare wood before painting.
Painting over wood stain is similar, it's not recommended. The finish will typically last longer than paint over varnished wood but only if it is well prepped. Another issue with stain is colour. If it is a dark colour you will need more coats of paint to cover it.
Don’t forget when you have finished painting you need to know how to clean paint brushes to keep then in good working order ready to use again again.
Get the Homebuilding & Renovating Newsletter
Bring your dream home to life with expert advice, how to guides and design inspiration. Sign up for our newsletter and get two free tickets to a Homebuilding & Renovating Show near you.
Steve Jenkins is a freelance content creator with over two decades of experience working in digital and print and was previously the DIY content editor for Homebuilding & Renovating.
He is a keen DIYer with over 20 years of experience in transforming and renovating the many homes he has lived in. He specialises in painting and decorating, but has a wide range of skills gleaned from working in the building trade for around 10 years and spending time at night school learning how to plaster and plumb.
He has fitted kitchens, tiled bathrooms and kitchens, laid many floors, built partition walls, plastered walls, plumbed in bathrooms, worked on loft conversions and much more. And when he's not sure how to tackle a DIY project he has a wide network of friends – including plumbers, gas engineers, tilers, carpenters, painters and decorators, electricians and builders – in the trade to call upon.

