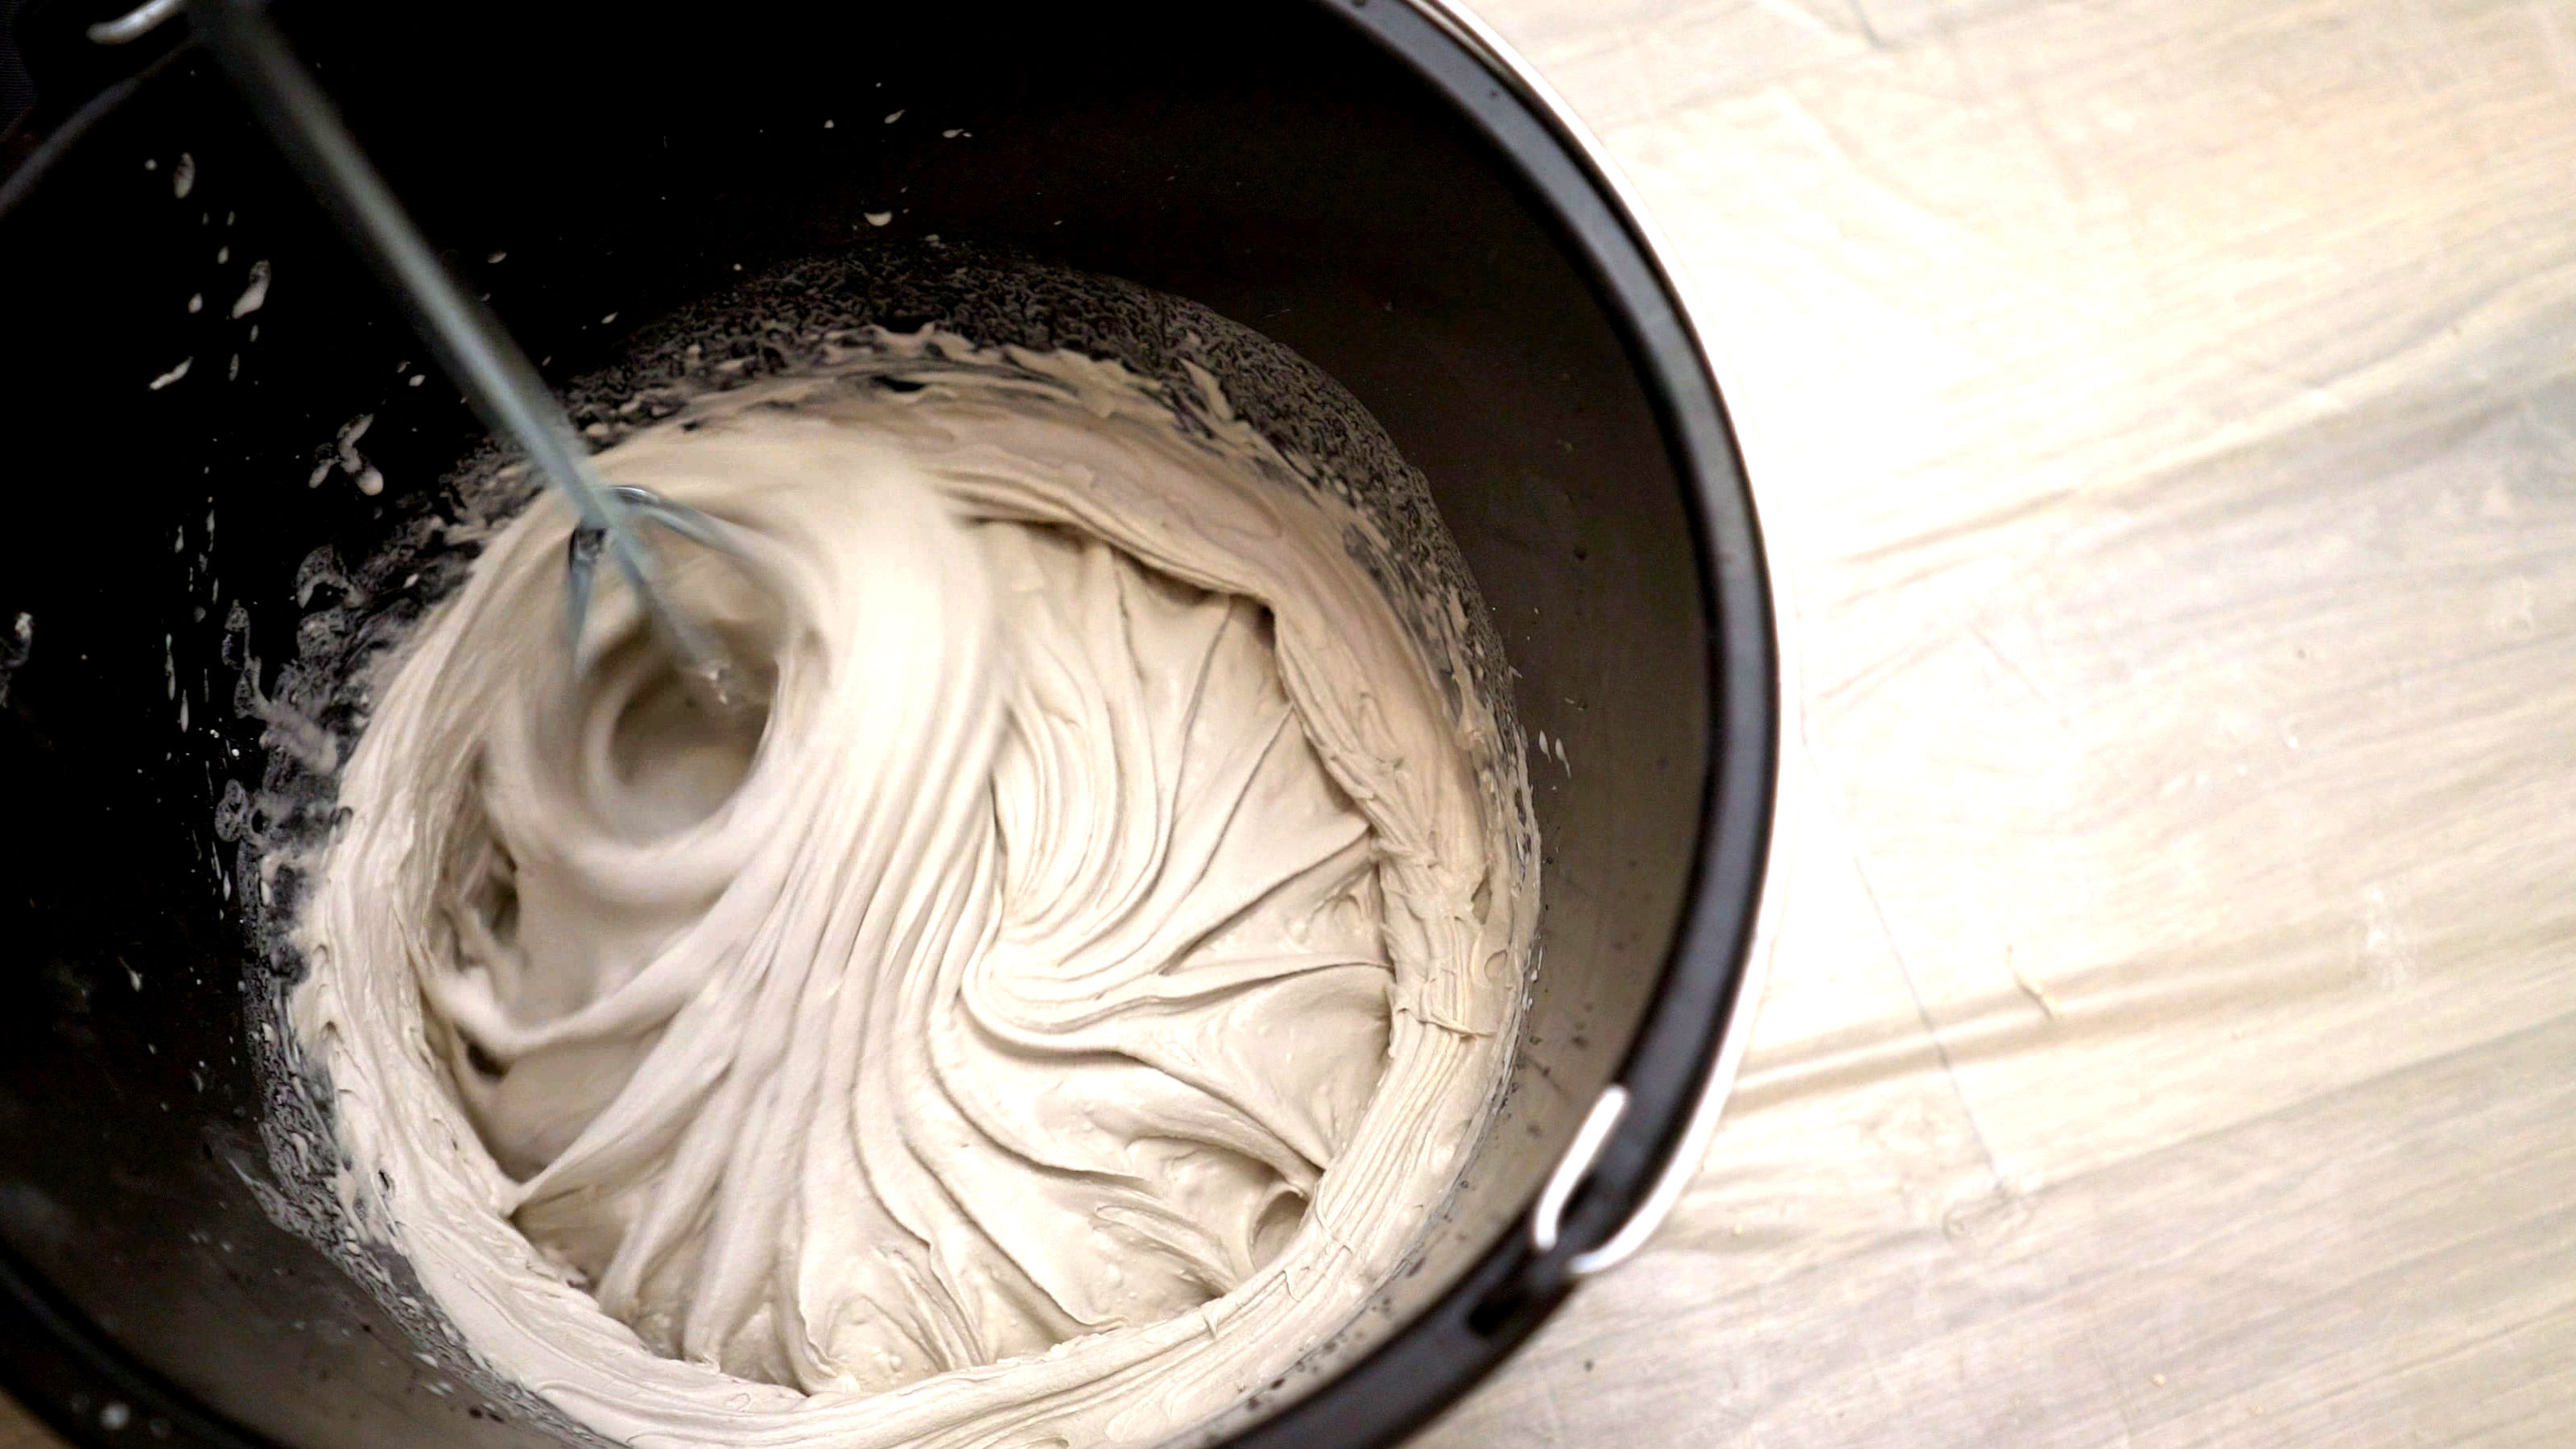
How to mix grout: A quick two-step guide for all types of grout
Learning how to mix grout is a simple task for any DIYer. But you need to get it right. Here we tell what tools you need and how quickly you need to use it

You need to know the ins and outs of how to mix grout if you are taking on a tiling job. Grout is the key finishing component of a tiling task and while mixing is a straightforward task it needs to be done correctly. For example, add too much water and you will weaken the grout mix which means that it cannot do its job properly.
If you are tiling a wall you need to make sure that the grout is in prime condition and mixed thoroughly so it is not lumpy. This makes it difficult to apply and get the ideal finish. If the mix is to dry it will set too quickly and be difficult to work with.
Follow our essential guidelines to make sure your grout mix is the right consistently to get its job done as desired.
How to mix grout: The tools you'll need
Before you begin mixing, it's important to have the right tools to hand. These include:
- Bucket
- Whisk
- Filling knife
- Drill
- Mixer paddle
How to mix grout in two easy steps
1. Check manufacturer's instructions
Different grouts can have different mixing ratios, so the first thing to do is check the quantities you need. The bond strength, colour and performance can be compromised if you do not mix the grout as instructed. Check the packaging to see what water to grout ratio you need.
2. Add water, grout and mix
Make sure that your mixing bucket or container is clean. Add a splash of water, swirl around and and throw away to get rid of any debris.
Now add the required amount of water. Now add half the grout and quickly mix before adding the second half and mixing. Make sure that there is no dry mix left in the bottom.
To get a smooth mix quickly use a drill and mixer paddle. If not, mix by hand. When you have finished mixing the grout, use straight away for the best results.
Can I mix grout by hand?
Yes you can. Follow the manufacturer's instructions on the ratios and how to mix. Once you have done that you can mix together the grout and water using a heavy duty metal hand whisk.
But this doesn’t always get into all the corners of the mixing container. Get a two inch filling knife or similar and drag the dry grout from the edges into the centre of the mix and mix with the whisk. Repeat until all the dry mix has been integrated into the grout mix.
How long does it take for grout to dry?
This will depend on the grout you are using the humidity of the room. Grout can be dry in around four hours in the right conditions, but give it at least 24 to 72 hours before exposing the grout to moisture.
How much will a 5kg bag of grout cover?
This will depend on the size of the tiles being used and the size of the space between each tile. As a quick guide, 1kg of mixed grout will cover approximately 4/m2 for standard square 150mm tiles with 2mm spacing. So a 5kg bag will cover 20/m2.
If using mosaic tiles more grout will be needed, so as a rough guide a 5kg will cover approximately 7.5/m2. At the opposite end of the scale if you are using larger tiles you will need less grout. Or if you are tiling around a window or more intricate areas you will need slightly more.
What happens if I put grout on top of grout?
It is possible to put grout on top of grout if the current grout is in good condition. Typically this is done to give the colour a quick refresh. All you need to do is make sure that the grout to be covered is free from mould and dirt. Get a scouring pad and wash down the grout with soapy water. Then rinse with clean water.
Also make sure that you are using the same grout as before to ensure it adheres properly. If adding grout on grout doesn’t work then you need to think about regrouting tiles to get a long lasting, good-looking finish.
Get the Homebuilding & Renovating Newsletter
Bring your dream home to life with expert advice, how to guides and design inspiration. Sign up for our newsletter and get two free tickets to a Homebuilding & Renovating Show near you.
Steve Jenkins is a freelance content creator with over two decades of experience working in digital and print and was previously the DIY content editor for Homebuilding & Renovating.
He is a keen DIYer with over 20 years of experience in transforming and renovating the many homes he has lived in. He specialises in painting and decorating, but has a wide range of skills gleaned from working in the building trade for around 10 years and spending time at night school learning how to plaster and plumb.
He has fitted kitchens, tiled bathrooms and kitchens, laid many floors, built partition walls, plastered walls, plumbed in bathrooms, worked on loft conversions and much more. And when he's not sure how to tackle a DIY project he has a wide network of friends – including plumbers, gas engineers, tilers, carpenters, painters and decorators, electricians and builders – in the trade to call upon.

