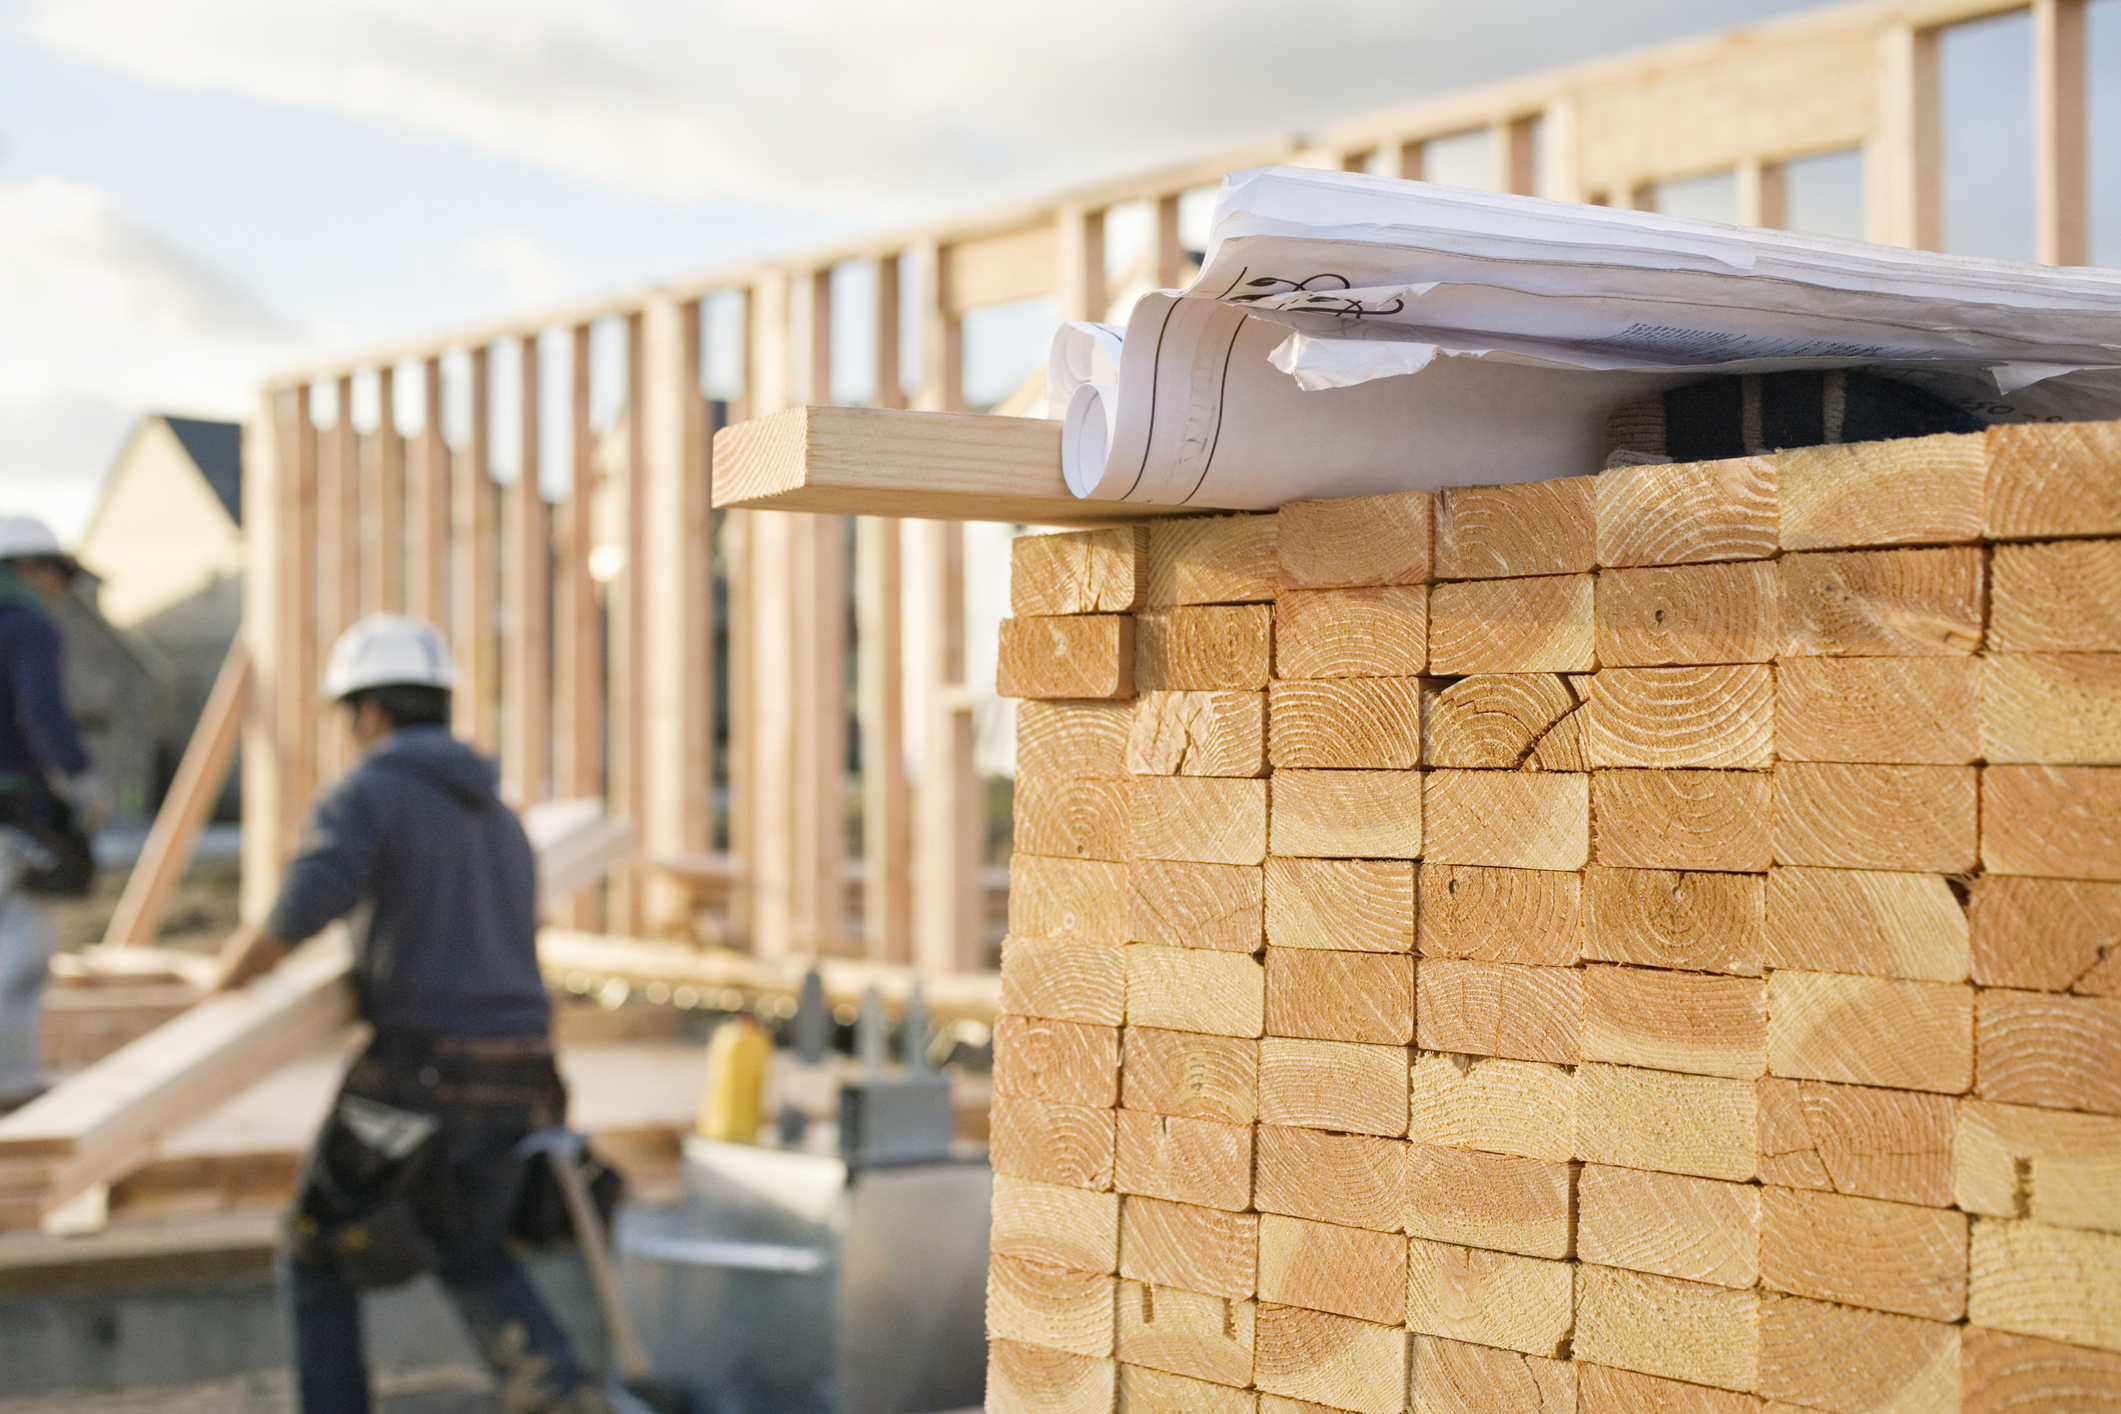
How to Measure for Building Materials
Ordering the wrong quantities can cost you £1,000s in wasted spend over the course of a project. Peter Eade reveals the secrets of professional measuring

Building materials (the ones we are talking about here relate to the structural elements that are needed day-to-day on site, rather than interiors and big-ticket items such as windows) are expensive enough without over-ordering. The good news is that over-ordering can easily be avoided by accurately measuring the working drawings prior to placing any orders.
All that is required is the Building Regulations-approved plan, a scale rule and a calculator. So what do you need to order? Well, the list should look something like the one below. Once you’ve got the list established, you can begin to measure.
An ordering list
- Foundation concrete
- Underground drains/lintels
- Sand, cement and mortar plasticiser
- Brick/block work up to DPC
- Oversite concrete
- DPM and insulation
- Cavity walls up to plate
- Cavity batts, lintels, wall ties, cavity closers, wall connectors and cavity weep vents
- Fixings, nails and screws
- Roof timbers
- Metal strapping
- Felt, battens and nails
- Tiles and fittings
- Lead flashing
- Fascia/barge boards
Concrete for Foundations
Assuming that the plans show the standard 600x225mm concrete strip foundations, measuring this is quite simple. Approximately 1m³ of concrete will lay a 7m run of foundations — an approximate figure because the trench width can often vary slightly and the bottom of the trench may not always be exactly level. To arrive at the m³ quantity required, simply measure the full length of the foundation trench and divide this figure by seven.
Foundation Walls up to Damp-Proof Course (DPC)
The walls up to the DPC can be either cavity work in dense concrete block, engineering bricks or maybe trench blocks. The foundation walls are likely to be 1m high and working out the area is quite simple. The face brickwork will likely start a minimum of 150mm below finished ground level — this needs to be thought about if the foundation walls are in blockwork.
If the below-ground walls have a cavity then lean mix concrete will be required to fill the void up to 200mm or so below the DPC (don’t forget the wall ties too). If there are drains passing through the foundation walls then these openings will require pre-stressed lintels.
Oversite Concrete Floor
Measuring the oversite floor area is simple: multiply the width by the length to get the area, and then multiply this figure by the depth for the concrete and sub-base volume. The crushed and consolidated sub-base can be MOT Type 1 or perhaps hardcore, generally about 150mm in depth. This is then blinded with sand ready to receive the damp-proof membrane (DPM).
The floor insulation needs to be carefully considered too. Is it above or under the floor concrete? If it’s under the concrete, order enough for the upstand around the edges. The amount of concrete required for the floor, assuming a depth of 125mm, is 1m³ to cover a floor area of 8m².
Cavity Walls
The cavity walls from DPC to the roof are also quite easy to measure, simply by multiplying the length by the height (less any openings for windows and doors). To make things easier, it is best to measure from the ground floor to the first floor joists (if it’s a two storey building) and then from the joists to the roof.
There are 60 face bricks to a square metre if stretcher bond is being used and 10 internal blocks. Once the area is known it’s just a case of multiplying the total wall areas by 60 for the quantity of face bricks and 10 for the blocks. It’s not a bad idea to increase the brick and block order by 10 per cent to allow for breakages.
There are ancillary items which will also need to go on the list:
- lintels
- lintel weep vents
- cavity batts (insulation)
- cavity closers
- wall ties
The lintel specifications should be shown on the plans — if not then check the lintel manufacturer’s catalogue, as this will show what size lintels are required depending on the span of each opening.
The quantity of cavity batts is easy: it’s the area of the cavity walls. The wall ties are usually placed in cavity brickwork 900mm horizontally and 450mm vertically, and there are approximately 2.5 ties/m² — an easy calculation. The cavity closers are the height of each opening plus the width. Bear in mind that there will be two sides and a bottom closer — the lintel will deal with the top.
If you’re building an extension, how will the new walls connect to the existing house? This may be a proper toothed join where no additional materials are required, or more probably be stainless steel wall connectors. If it’s a stainless steel connector then it’s just a matter of measuring the height and then ordering to the nearest length
Don’t forget the materials for the dummy window and door frames too — these are built into each opening as the walls are built and make life a lot easier for the bricklayers. These dummy frames are usually made of sawn timber; it must be straight and the frames made exactly to size.
When buying sand, if the job is big enough, it’s best to have a 6m³ truck load delivered. If you’re buying bags by the tonne (or smaller), make sure all the sand comes from the same supplier or the brick joints will be different colours. There are various ways to calculate how much cement will be required, but it is usually best to buy it as its needed — 10 bags should get the job started, and always stay with the same brand. The mortar plasticiser is usually bought in either five or 25 litre containers.
Roof Timbers
Timber for the roof comes pressure treated and in standard lengths of 1.80m to 6.30m at 300mm intervals (e.g. 2.10m, 2.40m, etc.) Structural timber also comes in different grades: C14, C16, C18, C22, C24, TR26, C27. The plans should show which grade is required. All timber has to be ordered to the nearest standard length.
Don’t forget the metal strapping for the wall plates and nails for fixing the timbers, too. For fascias, soffits and barge boards, just measure the lengths.
Roof Covering
The number of roof tiles required will vary according to the tile specified. If it’s a plain roof tile then you’ll need approximately 60/m². If the roof is covered with concrete interlocking tiles, check with the tile manufacturer’s catalogue to find out how many are required per m², not forgetting to add 10 per cent to the tile order for breakages.
The number of metres of tile batten required is dependent on what type of tile is specified — for plain tiles there is 10m run of batten per m². The roofing membrane is ordered by the roll — just work out the m² of the roof and buy enough rolls to do the job. Lead required for flashings come in rolls of various widths and codes (generally code 3 or 4 is used). If there are cavity trays required, they are available ready-made and are ordered by metre runs.
Placing the Orders
Once there is a properly quantified list of all the materials, get in quotes from builders’ and timber merchants — don’t just turn up with a shopping list and place the order. Quotations are best dealt with by telephone or email, and remember it’s often possible to negotiate better prices on the phone. Make sure all of the prices received include VAT and delivery.
Try and get at least three quotes before placing any orders. Go to builders’ merchants for the items they sell and timber suppliers for the timber — the timber merchants are far more competitive. Order materials as they are needed; it’s usual to place each order about a week before they are going to be used.
Get the Homebuilding & Renovating Newsletter
Bring your dream home to life with expert advice, how to guides and design inspiration. Sign up for our newsletter and get two free tickets to a Homebuilding & Renovating Show near you.
Builder Peter Eade has spent a lifetime running his own building business, specialising in project management and design

