How to lay vinyl tiles: a step-by-step guide from a DIY expert
Discover how to lay vinyl tiles in your bathroom, kitchen or hallway, with expert tips on where to start, where to cut and how to finish

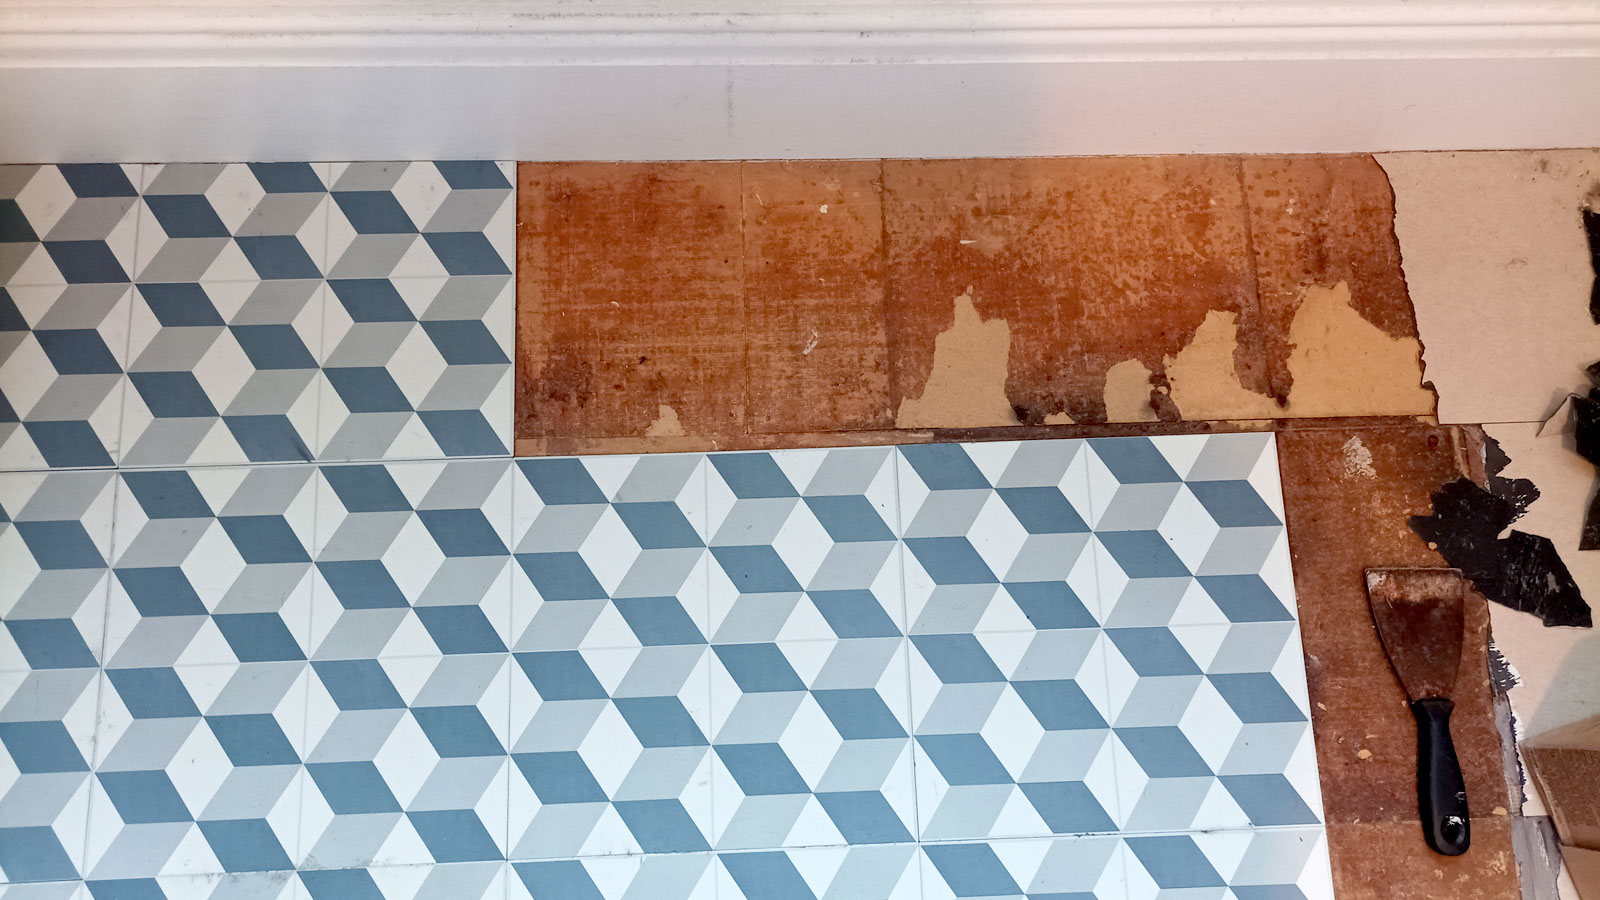
If you don’t know how to lay vinyl tiles, don’t panic, we are here to show you how with this easy-to-follow DIY guide. Here we show how to tackle laying self-adhesive tiles – also known as peel and stick – and laying down tiles with an adhesive. Both follow a very similar process, but with a few subtle differences.
When tiling a floor, vinyl is a good choice as it's relatively easy to install, hard-wearing and comes in a wide range of styles and colours.
As with any type of vinyl flooring, however, good preparation is key to fitting it correctly. Find out how to work out where to start laying your tiles, how to cut for a good fit, how to apply adhesive and some must-know tips for vinyl tiles.
6 steps to follow when laying vinyl tiles
Vinyl flooring is some of the best flooring for kitchens and bathrooms as it's soft underfoot and can cope well with the moisture levels you typically find in these spaces.
“There are many misconceptions about vinyl, notably that it is cheap looking and not hardwearing," says Neel Bradham, CEO at Parador. "Although this may have been the case many years ago, vinyl has severely increased in its design prowess and technological capabilities.”
Our step-by-step guide has all the advice you need to install this practical flooring material in your home.
1. Measure up
Before you start you'll need to work out how many tiles you’ll need and make sure you have all the tools and equipment for the job.
If you have a straightforward square or rectangular room measuring up to work out the size is easy – simply multiply the length by the width. However, most rooms are not so simple – alcoves, furniture, chimney breasts make working out a little more difficult. Our guide on how to work out m2 of a room will help you with this calculation.
You won’t need many tools, especially if you’re laying self-adhesive tiles. The essentials you’ll need include a sharp utility knife like this STANLEY FATMAX Retractable Folding Knife from Amazon, a steel ruler/straight edge and a spirit level.
2. Prepare the floor
A floor needs to be clean and grease-free before laying any tiles. If laying directly onto a concrete or screed floor, sweep, hoover, sweep again, wash with warm soapy water and leave to dry. When dry, give a quick brush or hoover to get rid of any debris.
If laying onto floorboards, these will need to be covered with hardboard or plywood. Before laying vinyl tiles, new hardboard or plywood needs to be sealed to get good adhesion. Use a watered down PVA mix (2:1 is good) and apply with a roller and leave to dry.
3. Work out the start point and dry lay tiles
If laying vinyl tiles onto a new floor the best place is to start in the middle of the floor. Dry lay a tile in the middle of the floor and work out to the edges of the room. Your tiles should look like a big plus sign. Ideally you want half tiles (or at least even-sized tile cuts) at the wall edge.
Adjust the central tile – and rearrange the other tiles until you have even gaps all round. Alternatively, you can measure to get a rough idea of your start point, but dry laying gives you a better visual of how the tiles will look.
Now measure from the edges of the central tile to the wall to help get an even and straight start point. Draw round the central tile with a pencil so you know where to start.
4. Lay the tiles
If laying self-adhesive tiles, peel off half the backing paper and hold the edge – with the backing paper – and line up the other edge against your pencil lines and push down the tile with your hand to adhere to the floor. Then peel off the rest of the backing paper and push down with your hands. Now tread across the tile to help it adhere to the floor.
If using an flooring adhesive like this EVO-STIK Flooring Adhesive from B&Q you will need to apply to the floor with a notched trowel or an adhesive spreader like this A2 Adhesive Spreader from Amazon. Spread enough adhesive for as many tiles as you can lay before the adhesive sets – check the manufacturer's instructions. As a general guideline this should be around a square metre at a time. Make sure to match up any patterns before they are laid.
To finish you can use a flooring roller, but if you don’t have one tread across the whole tile to help adhesion.
5. Cut tiles to fit
When you reach the edges of a room you will need to cut tiles to get a good fit. For straight cuts there’s a quick and guaranteed method for getting a neat fit.
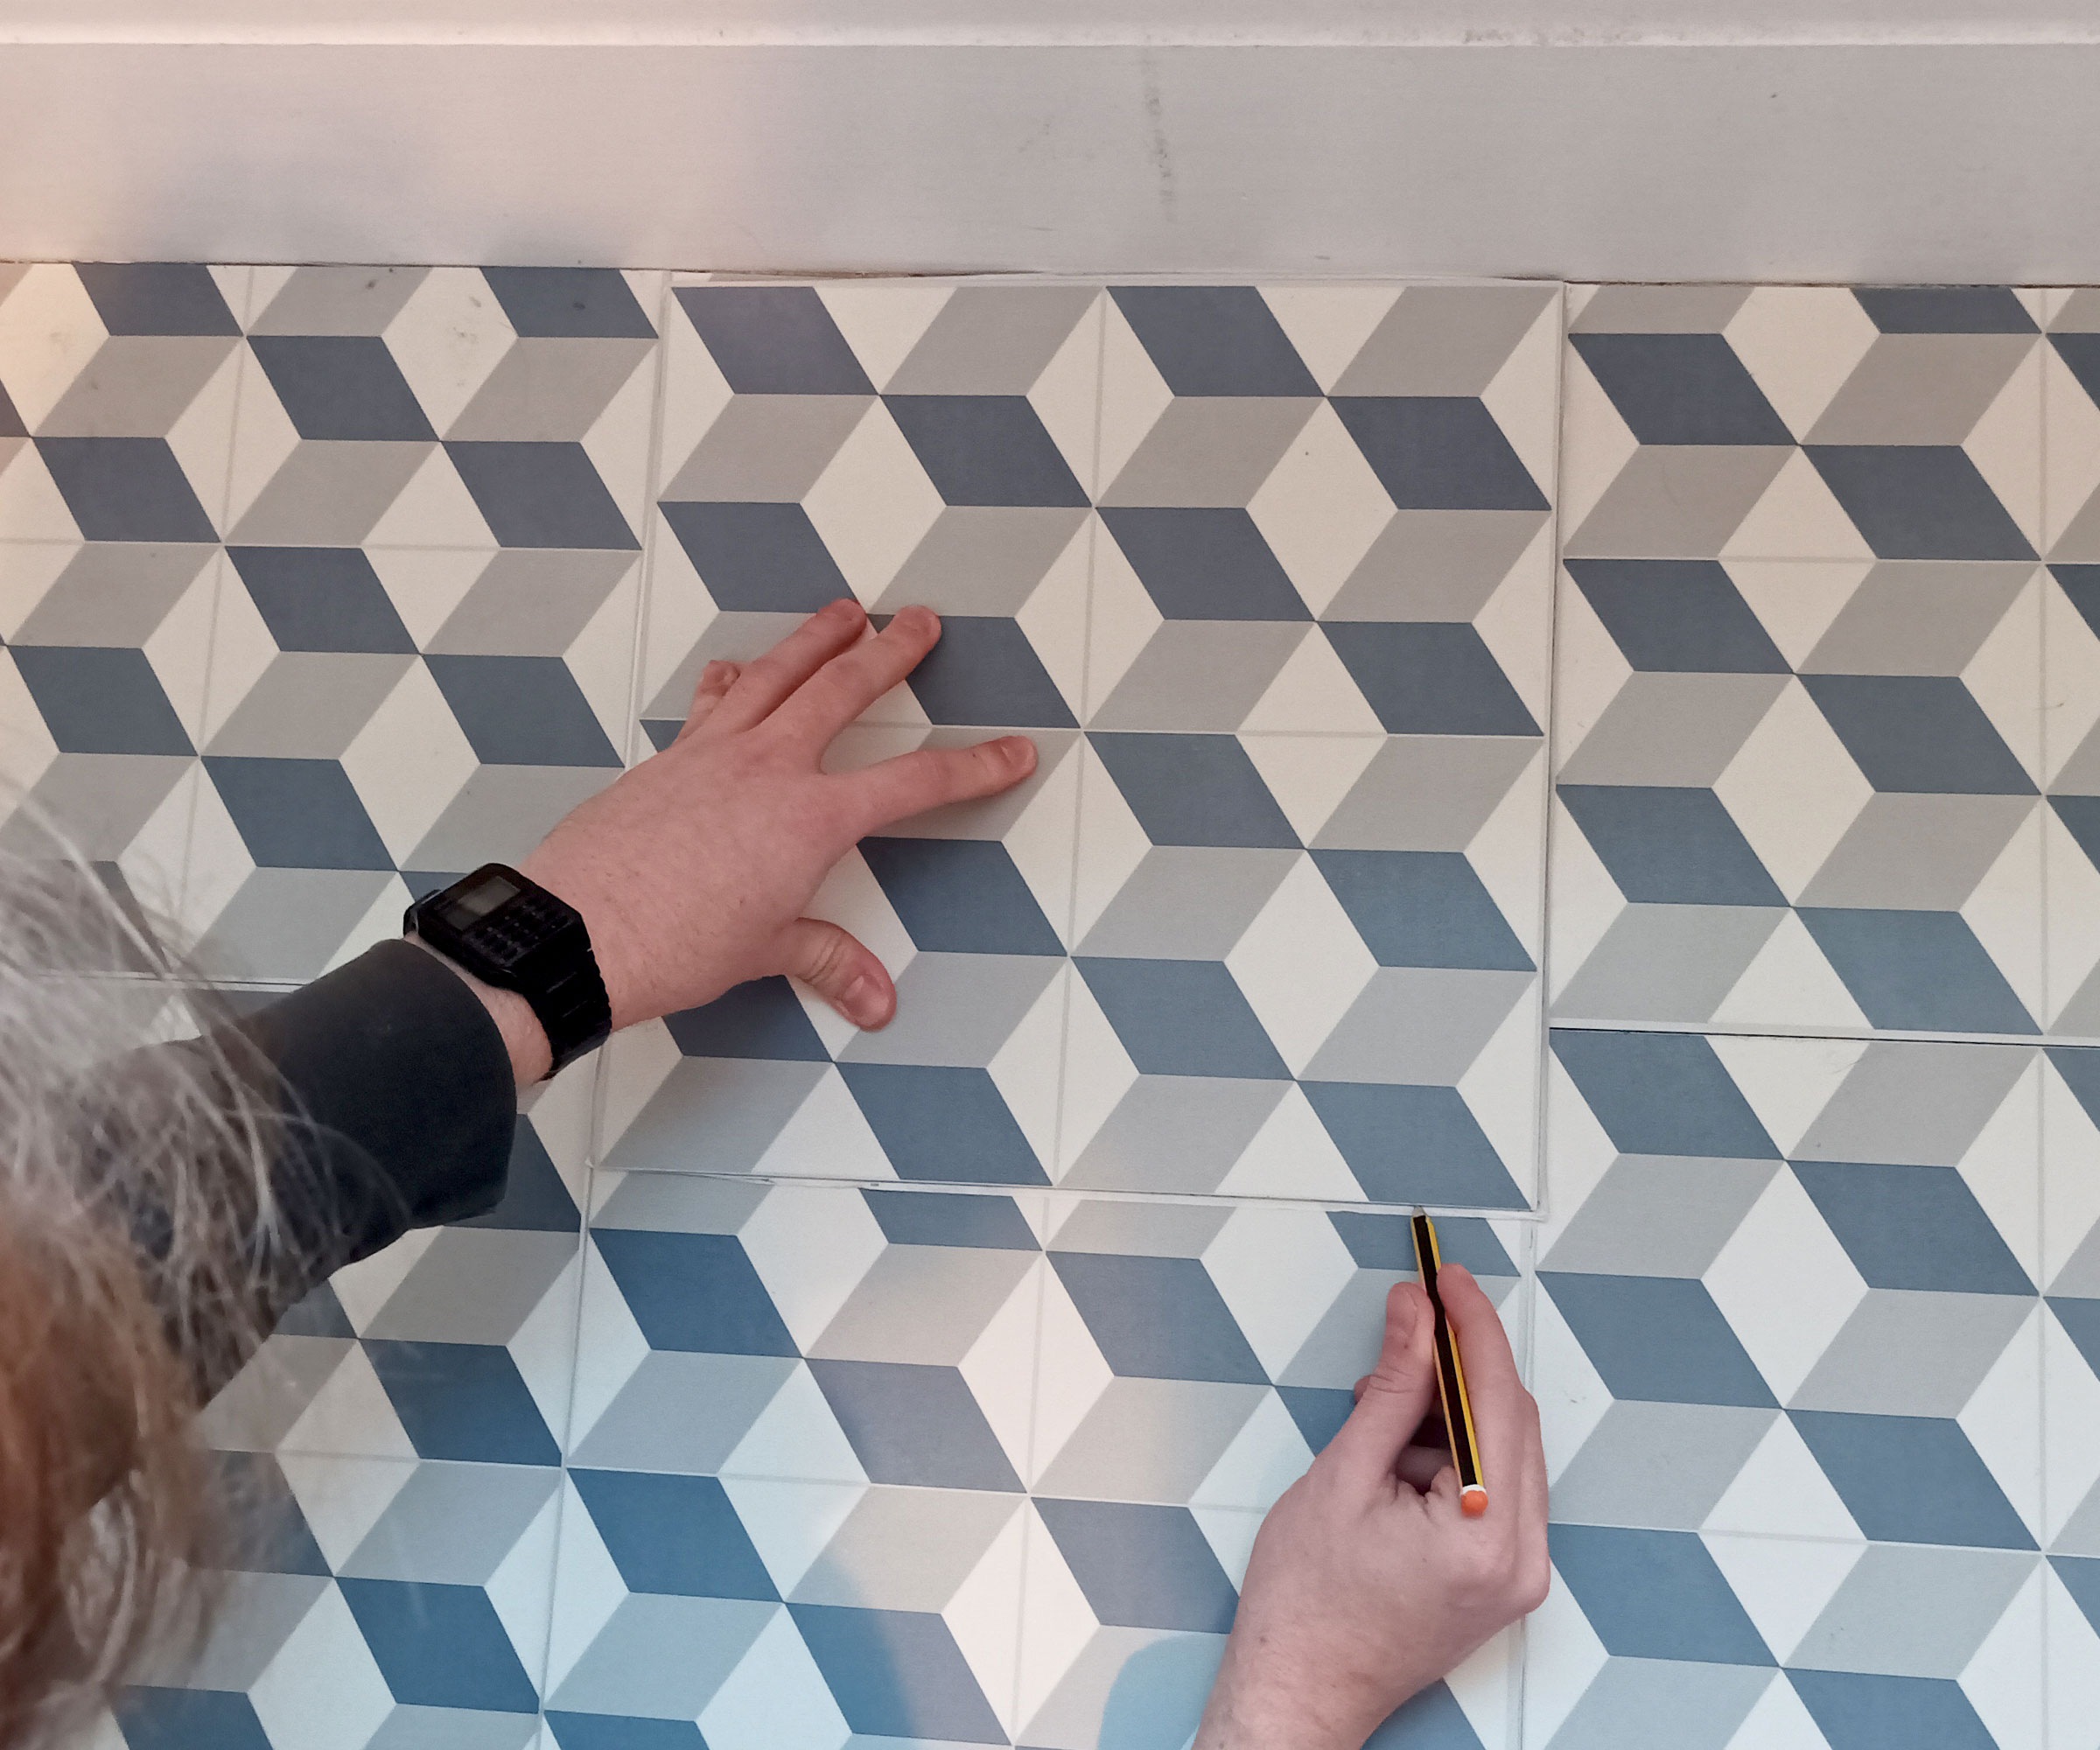
Place a full tile loose on top of the last full tile – make sure any patterns and the edges line up. Then place another full tile against the wall and on top of the full loose tile. Now mark with a pencil or score lightly and carefully with a sharp utility knife to cut the loose tile under the top loose tile. Now take the cut tile, pick up, snap and lay.
See our FAQs below to find how to cut corners and around door frames and toilets.

6. Finish and clean floor
Once the floor has been laid make sure to sweep up to get rid of any stray bits of vinyl tiles and any other debris. You might notice that the edges of the tiles have small remnants of glue that have dirt stuck to them. Get a clean cloth and use white spirit sparingly to clean up any of these edges.
FAQs
How do I lay vinyl tiles around a toilet, corner or door frame?
Corners need straight cuts so they follow a similar process to cutting straight edges. For an inside corner, lay a loose tile on top of the whole tile that sits nearest the corner – this should be away from the walls. Make sure to line up the edges.
Now get another loose tile, place into the corner and on top of the whole loose tile. Now use a pencil to mark both edges onto the loose tile underneath. Now remove the top loose tile, get a straight edge and extend both pencil lines to the opposite edge of the tile. Now cut out this section rather than the section you marked originally.
If unsure, get a tape measure, measure the gap in the corner that needs to be tiled and then your marked out tile before you cut to make sure its right.
To cut around door frames, toilets and similar you will need to make a template. Use the cardboard from the tile box and cut to the same size as the tile. Now fit the template edges against the tile edges around the obstacle and push flat up against the obstacle.
Make a few cuts where needed to help bend the cardboard until it fits flat against the floor. Now cut off the excess and you will have an outline of the obstacle.
Place the template on top of a tile, line up edges and use a pencil to draw the shape onto the tile and cut.
How long before you can walk on vinyl tiles?
If you are laying self adhesive – also known as peel and stick – vinyl tiles you will be able to walk on them as soon as you have finished laying the floor. You might want to leave for a few hours to help them settle, but it's not essential.
If using an adhesive this will depend on the subfloor and the adhesive you have used. Check the manufacturer's recommendations on drying times. Some will be a few hours while others will be longer.
Do vinyl tiles need an expansion gap?
Typically vinyl tiles don't need an expansion gap, but you don’t want to force a tile against an edge. If you have a tight fit your tiles can start to lift around the edge. Leave a small 1-2 mm gap which can be covered by sealant or caulk.
As with all DIY projects, remember to measure twice and cut once when laying vinyl floor tiles to avoid making too many costly mistakes.
And once you've built up your confidence with this project, why not consider fitting other types of flooring in your home too?
Our step-by-step guides on how to lay laminate flooring and how to lay parquet flooring are packed with useful DIY tips to help you achieve a perfect finish.
Get the Homebuilding & Renovating Newsletter
Bring your dream home to life with expert advice, how to guides and design inspiration. Sign up for our newsletter and get two free tickets to a Homebuilding & Renovating Show near you.
Steve Jenkins is a freelance content creator with over two decades of experience working in digital and print and was previously the DIY content editor for Homebuilding & Renovating.
He is a keen DIYer with over 20 years of experience in transforming and renovating the many homes he has lived in. He specialises in painting and decorating, but has a wide range of skills gleaned from working in the building trade for around 10 years and spending time at night school learning how to plaster and plumb.
He has fitted kitchens, tiled bathrooms and kitchens, laid many floors, built partition walls, plastered walls, plumbed in bathrooms, worked on loft conversions and much more. And when he's not sure how to tackle a DIY project he has a wide network of friends – including plumbers, gas engineers, tilers, carpenters, painters and decorators, electricians and builders – in the trade to call upon.

