How to Lay Laminate Flooring: A Step-By-Step Guide
Learn how to lay laminate flooring with this step-by-step photo tutorial created by our building expert and you'll have a beautiful new floor in no time
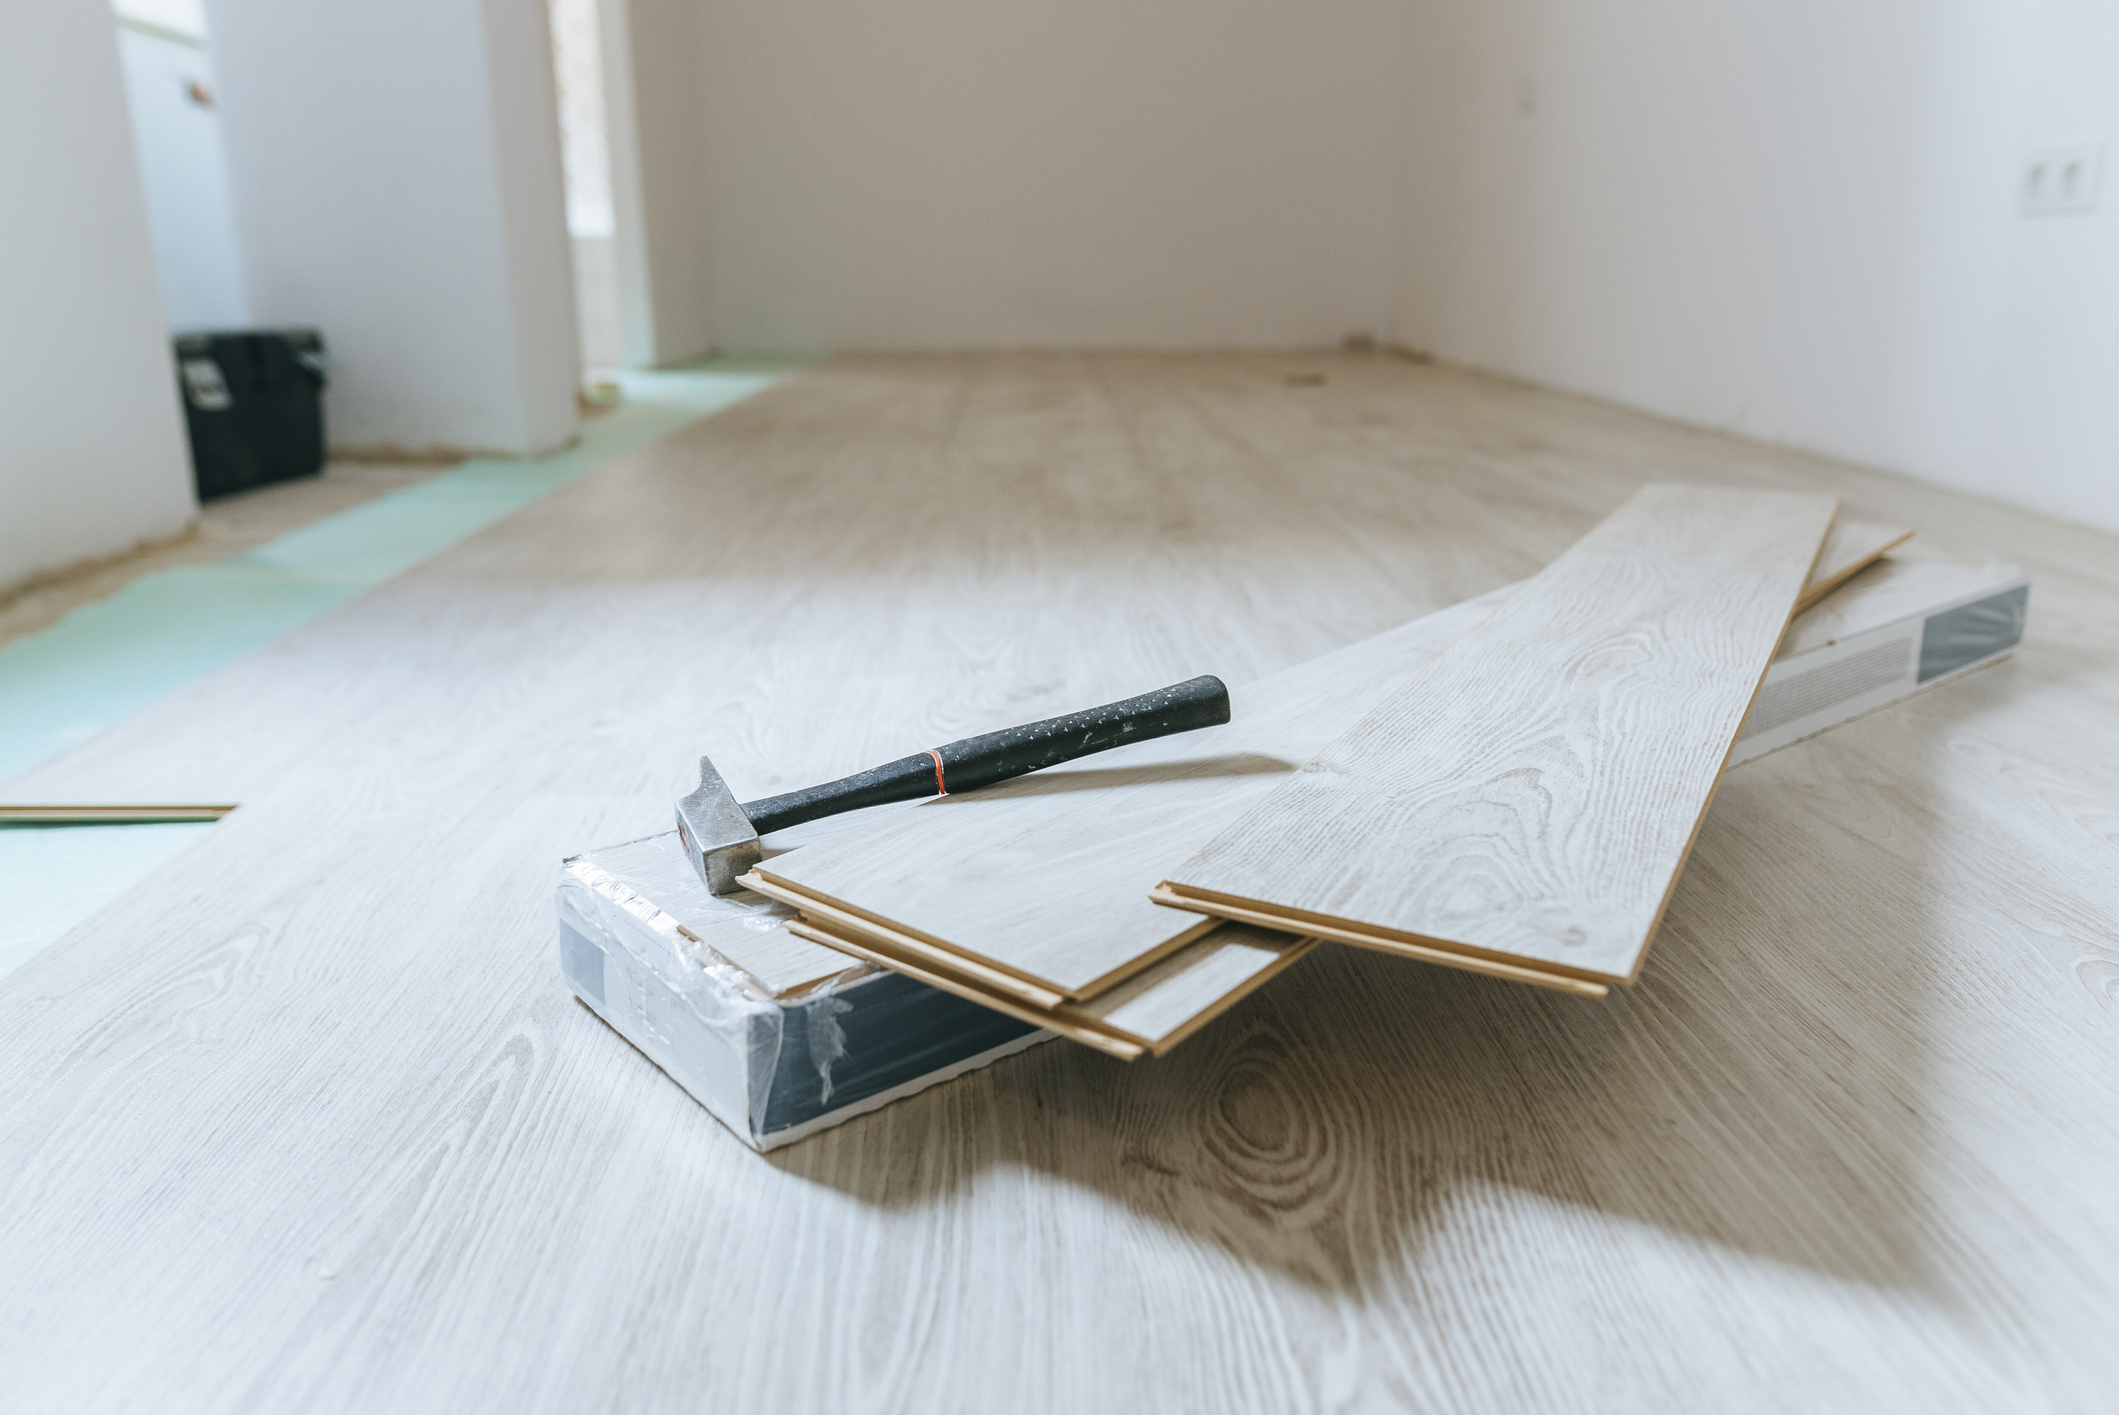
Learning how to lay laminate flooring is a great skill to pick up, especially at the start of a large renovation project where you'll get plenty of practice to put your new skills to the test!
In reality, it's a simple job once you get to grips with the floor system you've opted for (thankfully it's usually one of the easiest types of flooring to lay) and have the right tools, and learning how to do it yourself will save you lots of money in the long run by taking the DIY route.
Our expert builder Andy Stevens talks you through the process with his step-by-step tutorial.
(MORE: Living Room Flooring Ideas)
Does it Matter Which Way You Lay Laminate Flooring?
When it comes to how to lay laminate flooring one of the first questions most people ask is which way should the flooring be laid. Generally, it's recommended to run laminate flooring in the direction of the longest side of the room, as this should mean less cuts are required, especially in a long, narrow space making it a good hallway flooring idea.
However, this doesn't work for all rooms — if your room is square or if your flooring runs into more than one room for example. Really there's no rule for which way flooring should be laid. The only thing is that you may be used to seeing flooring boards laid along the longest length of the room, so doing the opposite may look slightly strange at first, but in reality, it shouldn't be too much of an issue to choose which way you want the flooring to be laid.
Where to Start Laying Laminate Flooring
If you're laying laminate in a room with a radiator, this is a great place to start, as you can get the tricky business of cutting holes for pipes out of the way (more on that later). Otherwise, many people choose to start on a wall where the flooring is most visible, such as in a walkway with no furniture on top of it. This is because the first row of flooring will fit perfectly to the wall, while the last row may need to be cut lengthways to fit, which may not be a detail you necessarily want to draw attention to.
What Tools do I Need for Laying Laminate Floor
- Your choice of laminate flooring and underlay
- Stanley knife
- Hammer
- Protective gloves
- Crowbar
- Drill
- Tape measure
- Gaffa tape
- Spirit level
- Clamp
- Circular saw or hand saw
- Flat wood drill bit
- Pulling ledge
- Threshold
- Optional – beading/trim
How to Prepare Floors to Lay Laminate Flooring
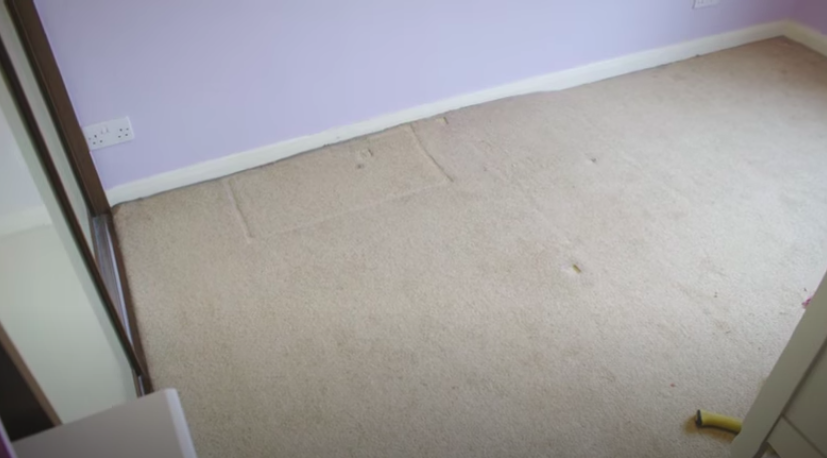
1. Remove existing carpet (or type of previous floor laid), and underlay using a Stanley knife. Pull up the edges, then roll away and remove.
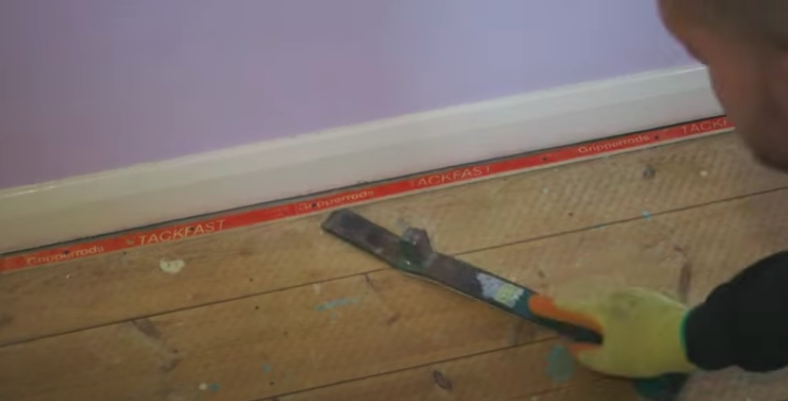
2. Use a crowbar or lever to remove the old gripper rods but make sure you wear protective gloves.
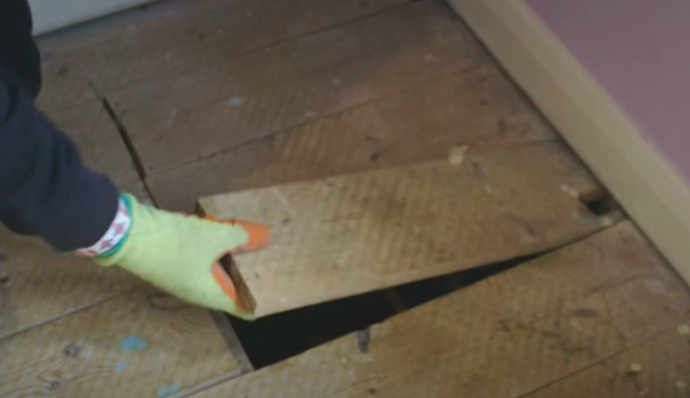
To fix loose floorboards mark the location of the joists so you know where to drill. It’s a good idea to use a pilot bit in your drill as older floorboards can split when using a larger screw.
3. Remove any loose floorboards and check the positioning of any pipework or cables, then fix them into place.
Remove all staples left from the underlay and either remove or hammer any protruding nail heads flush with the floorboards. Finish by sweeping over the floor to ensure a clean surface that is free from debris.
(MORE: How to Revive Wood Floors)
How to Lay New Underlay for Laminate Flooring
Always go with the best underlay you can afford. Try to find ones that are sound and thermal insulated and ones that contain moisture protection incase of any future pipe leaks or water spills.
4. Lay fresh underlay and tape the joints ensuring seconds don't overlay.
For larger rooms, lay the underlay in the opposite direction to the floorboards unless you have a tight space, then it's fine to follow the same direction as the floorboards. Leave a small gap of approximately half an inch to the wall and cut the underlay to shape.
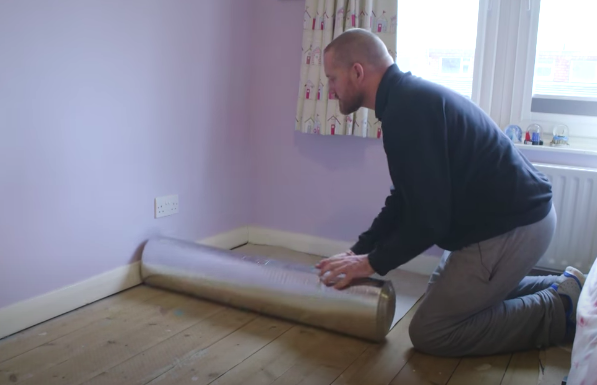
5. Using gaffa or fabric tape, fix the edges of the underlay together, ensuring that the edges do not overlap and create an uneven surface.
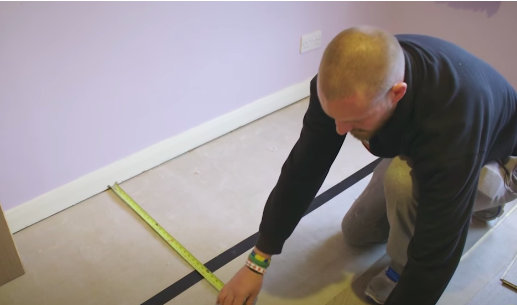
How to Measure Your Room to Lay Laminate Flooring
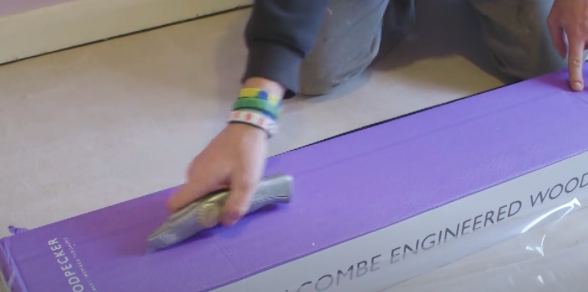
6. When opening the packaging of your new flooring cut down the edges of the box or tear the box open with your hands to prevent any accidental damage and scratches to the floor.
7. Measure the width of the room and the floorboards to ascertain the number of boards you will need (leaving a small 12mm expansion gap around the edge).
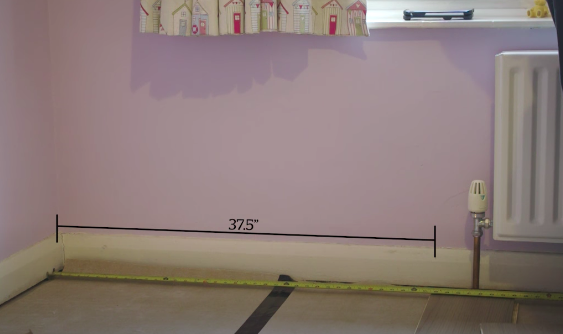
How to Lay Laminate Flooring Around Radiator Pipes
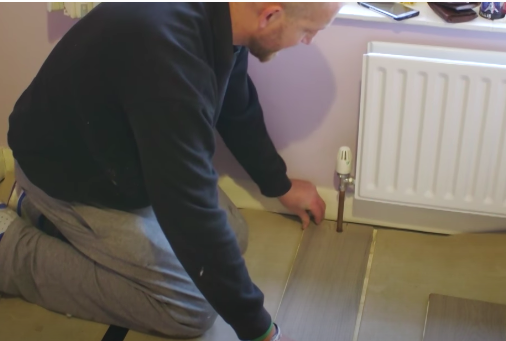
8. If your room has a radiator with flow and return pipes going into the floorboards, this is a good place to lay your first board.
You’ll need to cut a hole on the joint between two floorboards to allow for the pipe. By laying these boards first, you can ensure the easiest location for the cut.
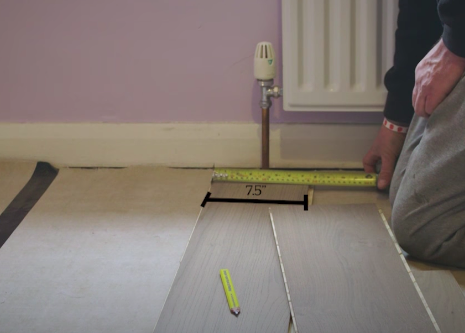
9. When going around a pipe, centre the board by the radiator pipe and then work out the space you have to fill either size towards the walls. You can work this out by measuring the space and then how many boards will fill the space.
Mark the centre of a ‘tongue’ board, where it will go around the pipe. For example if your pipe is 25mm, measure 7.5mm each side of your centre mark.
You will have a mark wide enough for your radiator so you need to make a semicircular cut. Repeat this on the ‘groove’ board.
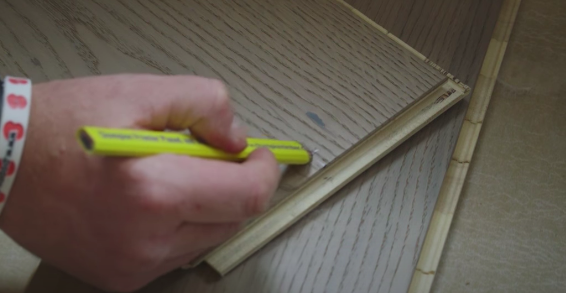
10. Now make sure the marks line up and use a drill bit (in this case 22mm) and create your hole match up. Then cut the end bit off to fit behind your radiator pipe.
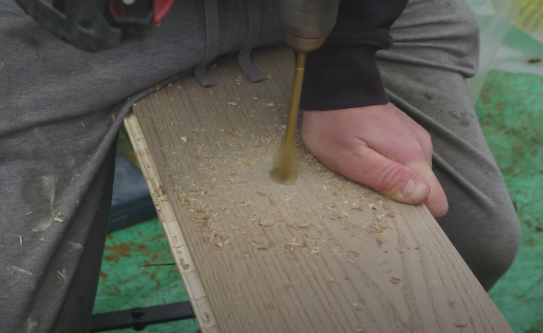
11. Slot the two pieces together to fit around the radiator pipe.
Laying the Rest of the Boards
Continuing to Lay the Laminate Flooring
12. Once your first board is down ensure it is square to the wall by remeasuring the gap to the wall in various points down the board .
Then measure from the end of the laid board (not including the tongue) to the edge of the room (minus the 12mm expansion gap) and cut your next board accordingly.

13. Slot the pieces together and his will complete your first run.
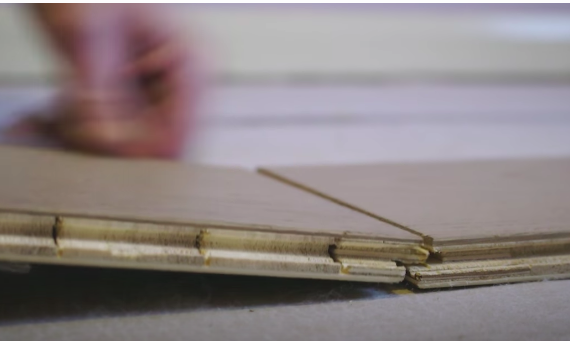
14. Rather than throw away any off cuts, start the next run with the off cut from the previous board which will ensure staggered joints as well as reducing wastage. Then you run the same again - cut off, full board and cut off.
Continue until the room is complete.
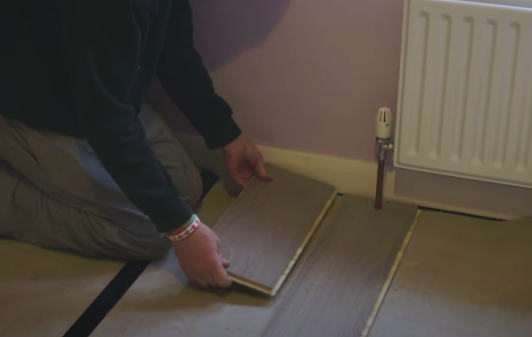
15. For the final run, it’s highly likely you will have to have to cut the board to size along the length of the board. Rooms are not always perfectly square, so make sure you measure the width of the gap at various points and cut the final boards accordingly.
Continue laying the boards right into the doorway. Use your flooring bar to keep pulling it tight.
Finishing Touches
How to Finish of Your New Laminate Floor
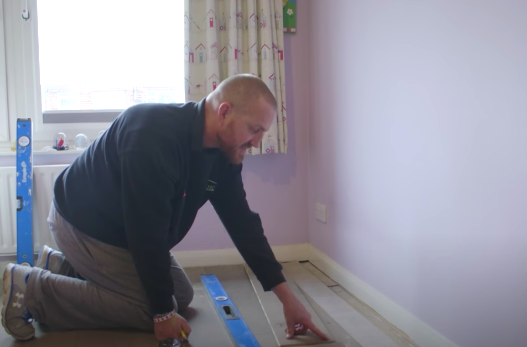
Use a flooring bar to pull the floor tight, simply hold it in place and then give it a tap with a hammer to pull boards in place
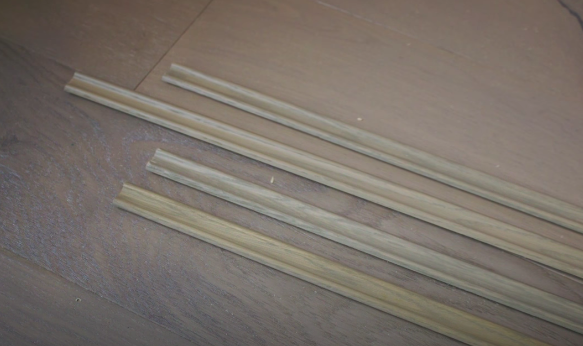
16. Once the flooring is laid, you can cover the expansion gap with beading (this gap will also be covered by your skirting boards if they had been removed or weren’t present before you laid the floor).
Cut your beading at a right angle for a professional finish, using a strong glue to secure or pin them into place with a pin gun.
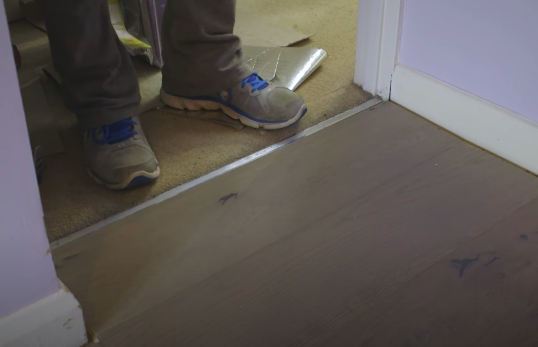
17. Finally when it comes to the doorway, you will need to attach an appropriate threshold depending on the flooring between the two spaces (such as a carpet-to-laminate option).
Get the Homebuilding & Renovating Newsletter
Bring your dream home to life with expert advice, how to guides and design inspiration. Sign up for our newsletter and get two free tickets to a Homebuilding & Renovating Show near you.
Andy Stevens is a multiple award-winning builder who manages Surrey-based building company Eclipse Property Solutions; he specialises in new builds, extensions and loft conversions.
While he is still on the tools, he is also widely involved in the construction industry. He presents a show on Fix Radio and hosts his own building podcast Build:It, as well as being a speaker at the Homebuilding & Renovating Shows.
Andy has sat on the Board of the Federation of Master Builders (London region) and was previously Vice President. He also works with construction charities and is an advocate for mental health in the industry.

