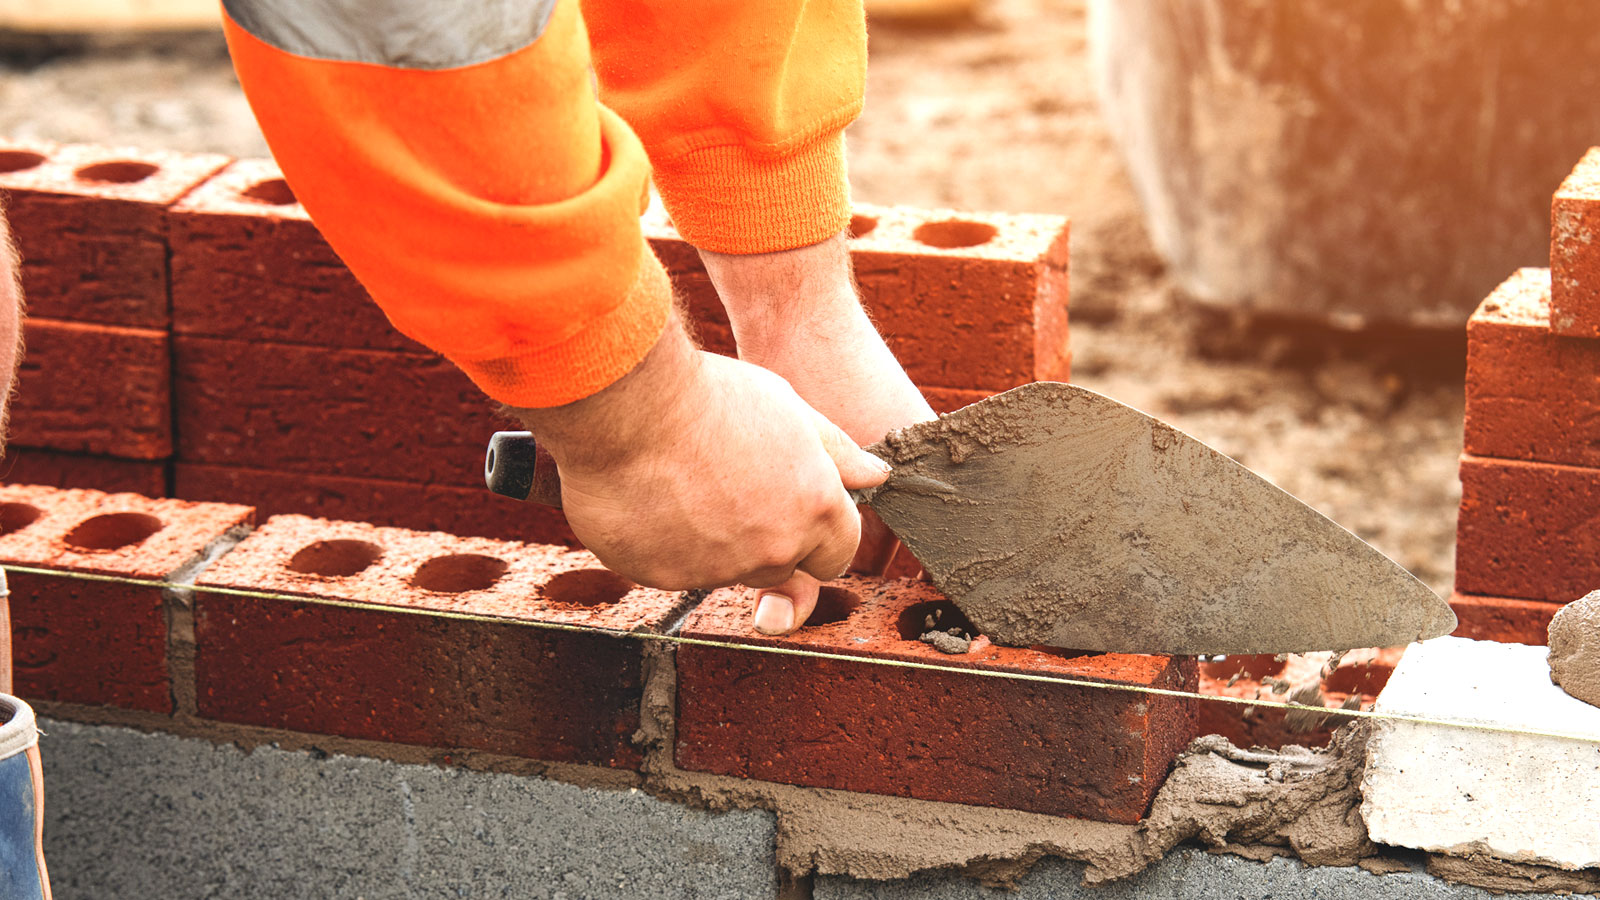
How to lay bricks to build a smart, straight wall
Want to know how to lay bricks? Bricklaying expert David Winterburn reveals the essential steps you need to know, along with his nine must-know tips for a successful project

Bring your dream home to life with expert advice, how to guides and design inspiration. Sign up for our newsletter and get two free tickets to a Homebuilding & Renovating Show near you.
You are now subscribed
Your newsletter sign-up was successful
Knowing how to lay bricks is no easy feat for the average DIYer. There’s a lot to know and a lot to learn, but with the help of this expert-led guide you’ll discover everything you need to know from laying bricks to the tools you’ll need for straight, level and plumb walls.
But, before you even start laying any bricks you’ll need to lay foundations to ensure that you have a solid base. You’ll need to know what type of mortar you should use and then you can get started. As our expert says, “Take your time to do it right, and your project will go smoothly.”
How to lay bricks: What tools will I need?
There are a few essential tools that you need to have to build a brick wall. Here we list what you should have before you start.
- Spirit level
- Brick trowel
- Shovel
- Cement
- Sand
- Bricks
- Line block and line
- Wheelbarrow or mixing board
- Cement mixer (optional)
How many bricks will I need?
Before you start building you will need to calculate how many bricks you are going to need. The simple method is to measure up roughly what wall size you want. What length is it going to be approximately? Is it going to be a single width or double width brick wall? What height do you want?
Then use an online calculator like this Brick and Blocks Calculator from Jewson. As an example, a single width wall using standard size bricks measuring 1m x 3m will need 119 bricks. This will then help calculate costs.
Try these tools for laying a brick wall

David has spent more than three decades in the building industry and is now passing on his expertise and experience to students new to the industry via the Central Building & Welding Academy. They offer high quality, hands-on construction and welding training courses in both basic training and industry-recognised national qualifications.
How to lay bricks: Step-by-step guide
David Winterburn gives a comprehensive run through of the steps you need to take to lay bricks to build a wall.
1. Create the foundations
“Laying strong foundations is the most important aspect of any brick wall, as it supports the weight of all the bricks and ensures the structure remains stable and level over time.” explains David Winterburn, director of Central Building and Welding Academy.
How deep do they need to be? “A typical garden wall will only require a depth of about 300mm,” David adds. “This will include approximately 150mm of hard core (grade 1 MOT stone) for drainage and 150mm of concrete. For larger, load-bearing walls, you may need to dig deeper to provide extra stability.”
How wide do they need to be? “The trench width should always be wider than your wall so that the weight of the wall is spread across it. If your wall is one brick or 100mm wide, consider making your trench about 150mm-200mm.”
Bring your dream home to life with expert advice, how to guides and design inspiration. Sign up for our newsletter and get two free tickets to a Homebuilding & Renovating Show near you.
2. Dig out foundations
“Start by marking out the area where you want your wall. Use stakes and string to keep your lines straight and spray a line to mark out.” explains Winterburn. “Dig the trench and ensure the bottom of the trench and sides are level, the sides should be the same width the whole way down the footing and the bottom should be level.”
3. Prepare the base
“Before pouring the concrete, lay about 6 inches of hardcore (gravel) as a sub-base,” shares Winterburn. “This layer helps with drainage and prevents the soil from mixing with your concrete.”
4. Pour the concrete
“Fill the trench with the concrete mix up to the planned height," says Winterburn. “If joining to an existing wall then you need to allow for a bed of cement under the first brick you are going to lay.”
David adds, “Level the concrete by using a straight piece of wood and tamper it moving back and forth across the surface of the concrete to push down high spots and fill in low spots, use your level to make sure it's level. Leave to cure for 48 hours before laying any bricks.”
5. Choose your starting point
“For all walls, especially those that run straight or form enclosures, starting at a corner or an end is most effective.” says Winterburn. “It is always encouraged to lay the first course out dry to ensure you don’t meet in the middle and require a cut brick, if you find you do then you can open or close the perps (mortar on the end of each brick) a bit or start with a half brick at one end.”
He adds, “If it’s only a small wall you are planning on building you can build up two corners or ends and then pull a string off them with small corner blocks.”
6. Mix mortar
“The most common mix to use is one part cement to four parts sand. This mix is straightforward and widely used for general bricklaying,” explains Winterburn. “You should add some mortar plasticiser in at the ratios recommended on the bottle. The mortar plasticiser will make the mortar roll better when you are spreading it and also give you more working time before going off.”
7. Lay the first course mortar
First you need to lay out the mortar before laying any bricks. “Using a trowel spread an even layer of mortar along the foundation where you plan to lay your first brick. The mortar bed should be about 25mm thick on the very first course to help get the bed level,” reveals Winterburn.
“All other beds of mortar should be applied approximately 15mm thick and then when you have levelled them you should end up with a bed approximately 10mm.”
David recommends that you, “Make a gauge rod to make it easier to get consistent beds. Measure the thickness off your brick that you are laying and add on 10mm and put lines of a piece of timber to represent the top of each brick.”
He explains, “For example if you were using a 65mm brick then you would but marks every 75mm (75mm, 150mm, 225mm, 300mm etc) and the top of each course should finish in line with these at both ends.
Place the gauge rod at a corner/end and make sure that the top of the brick matches up with the marks on the rod. This helps ensure a consistent height.
8. Lay the first brick
“Carefully place your first brick at the corner or end of the wall line,” explains Winterburn. “Press it slightly into the mortar to ensure a good bond but avoid pushing it down too hard, as this can squeeze out too much mortar and create an uneven base.”
He adds, “Use a spirit level to check that the brick is level both along its length and across its width. Adjust as necessary by tapping gently with the handle of your trowel.”
Then add a brick at the opposite corner/end to add your line block and line.
9. Continue first course
“After placing and securing the first brick, continue laying the next bricks along the foundation,” says David. “Apply mortar to the end of each brick (this is called the perp) before positioning it next to the previous one to create a strong bond, this perp should be approximately 10mm.”
To ensure that you are keeping your bricks straight, “Regularly check alignment against the mason's line (string) stretched between your corner profiles or corner blocks. This ensures that each course remains straight and level.”
10. Lay second course
“Begin the second course with a half brick to offset the joints from the first course,” explains Winterburn. “This is known as 'staggering' or 'running bond,' which is what gives the wall its strength and stability.”
To start, “Apply a consistent layer of mortar to the top of the first course of bricks. The layer should be about 15mm thick (10mm when bedded down with the bricks) ensuring the top of the brick is level with you gauge rod marking.”
Next, “Measure and cut a half brick for the start of the new course. You can use a masonry chisel and hammer to score and break the brick.” David adds, “Place the half brick at the end or corner, firmly pressing into the mortar to ensure a good bond.”
Now, “Place each subsequent brick in the new course, ensuring to maintain the staggered pattern with the course below, making sure to apply mortar to the end of each brick before placing it to ensure solid joints.”
Finally, make sure the course is level and plumb, add the two corner bricks on the next course (use your gauge rod) and “Re-adjust your mason's line to the new course height, making sure it is level and tight.” Continue this process for subsequent courses.
8 Pro tips to help build a better wall
David Winterburn offers up a collection of essential tips to help to successfully lay bricks.
- Always check local building regulations for specific requirements regarding foundations in your area.
- Keep your mortar covered with a plastic sheet or damp cloth during breaks or if you're working in sunny, windy, or hot conditions to prevent it from drying out too quickly.
- If the mortar starts to dry out as you work, retemper it by adding a little water and remixing. Avoid adding too much water, as this can weaken the mortar.
- Always double-check your measurements and levels. Small errors at the start can become larger issues as you build up the wall.
- Consider weather conditions; avoid starting your project if bad weather is expected, as this can affect mortar setting and brick alignment.
- Clean excess mortar off the bricks and from the joints as you go to keep your wall looking neat and to prevent hard-to-remove mortar blobs.
- Make sure to point bricks before the mortar sets, doing the perps (verticals) first and then the beds (horizontals) and then use a soft brush before it sets fully to brush off any excess mortar.
- Follow the basic four principles and you cannot go wrong, Gauge – ensuring each course is consistently spaced, Plumb – ensuring each course is vertically level, Level – ensuring each course is level horizontally, Range – ensuring the wall is flat against your level when you put it diagonally of the side the wall.
Choosing the right mortar mix
The common mortar mix for laying brick is one part cement to four parts sand. But there are other options as Winterbrun explains, “Another mortar mix for bricklaying is the M4 mix, which includes one part cement, one part lime, and six parts sand.” He adds, “The lime makes the mortar more workable and less prone to cracking as it cures and gives a different finish”. This mortar mix is often used on older homes.
Ready mixed is another option, “This saves the need for mixing and mess and enables you to progress faster with your project,” shares Winterburn. And this will be delivered to your door and should last for up to three days if kept covered.
How to mix mortar by hand and mixer
There are two options when it comes to mixing – by hand or with a cement mixer.
To mix by hand, “Start by combining the dry ingredients—cement and sand (and lime if used)—in a wheelbarrow or on a mixing board,” explains Winterburn. “Use a spade or a hoe to mix these ingredients thoroughly to ensure an even distribution of cement.” Next, “Slowly add water and continue mixing.”
David adds, “The goal is to achieve a creamy consistency that holds its shape without being overly wet or dry. A good test is to press a trowel into the mix; it should stand up without slumping and should easily spread without crumbling.”
Winterburn offers a note of caution, “Mix only as much mortar as you can use within an hour or two to avoid the mortar starting to set before you can use it. This also ensures the mortar remains workable and strong when applied.”
If you are using a cement mixer, “Make sure your mixer is plugged into an RCD (Residual Current Device) and no trailing leads are a trip hazard,” shares Winterburn. “Put in approximately 5 litres of water and turn the mixer on so that the entire drum is wet.”
David adds, “Then turn off the mixer and put in four shovels of sand and one shovel of cement and turn on, allowing it to mix consistently. Once this is mixed (it will be very runny) turn it off and then add in another four shovels of sand and one shovel of cement and turn it on again. You are looking for a creamy consistency and can add more water or sand/ cement to achieve this but remember to keep the ratio the same.”
Winterburn warns, “Never put your shovel near the mixer whilst it’s turned on”.
FAQs
When shouldn't you lay bricks?
“The ideal temperature for laying bricks is between 50°F (10°C) and 90°F (32°C),” reveals Winterburn. “These conditions ensure that the mortar sets properly without drying too quickly or freezing.”
David adds, “Avoid bricklaying in temperatures below 40°F (4°C) or above 100°F (38°C). Cold weather can cause the mortar to freeze and not set properly, while hot weather can make it dry out too quickly.”
But it’s not just temperature that can have an adverse effect, “Don’t lay bricks during heavy rain, as water can wash out the mortar and weaken the structure.” He continues. “And, if the foundation hasn't fully cured or if it's not level and stable, laying bricks on top can lead to structural issues later.”
How many courses can you lay in one go?
“It's recommended not to lay more than 4-6 courses in a day,” explains Winterburn. “This allows the mortar sufficient time to begin setting without the weight of additional courses compressing it while it's still wet, which could lead to misalignment and structural weaknesses.”
What is a mason’s line?
A mason line is a line (string) that runs from one corner to another on a brick wall to help ensure that a course of bricks is level and straight. There are different variations of a mason line. The line blocks are commonly made from wood, metal or plastic, and come in pairs with a string running from one to the other.
To use you lay a brick on each corner/end of a course and and attach the blocks and line to both bricks ensure you get a level guideline for the rest of the course.
What is a corner profile?
A bricklaying corner profile like this Brick Profiles 8′ External Building Profiles from Amazon, is a long corner post that attaches to the wall in the bricklaying process to help ensure that the bricks are straight and level, square and plumb.
Steve Jenkins is a freelance content creator with over two decades of experience working in digital and print and was previously the DIY content editor for Homebuilding & Renovating.
He is a keen DIYer with over 20 years of experience in transforming and renovating the many homes he has lived in. He specialises in painting and decorating, but has a wide range of skills gleaned from working in the building trade for around 10 years and spending time at night school learning how to plaster and plumb.
He has fitted kitchens, tiled bathrooms and kitchens, laid many floors, built partition walls, plastered walls, plumbed in bathrooms, worked on loft conversions and much more. And when he's not sure how to tackle a DIY project he has a wide network of friends – including plumbers, gas engineers, tilers, carpenters, painters and decorators, electricians and builders – in the trade to call upon.


