How to Lay a Patio: 4 Steps to Get the Perfect Finish
Need to know how to lay a patio? Follow our step-by-step guide to discover how to choose and lay the right base, put down slabs and estimate costs

Learning how to lay a patio means that you can transform that rarely used space outside your back door or at the end of the garden into something much more inviting. Invest in some outdoor furniture at the same time to create the perfect place to relax and enjoy the sun. Introduce a patio heater, patio lights and a pizza oven to enjoy some al fresco dining with friends long into the night.
Whatever you are going to use your new patio for you should think about patio ideas so that you know how many slabs you are going to need. Once you have planned out your patio you can start looking around for the best prices and organising deliveries to hopefully come at the same time.
Here we give a run through of the steps you’ll need to take and the tools you will need to create your new outdoor space. We also answer some of your top questions regarding how to lay a patio.
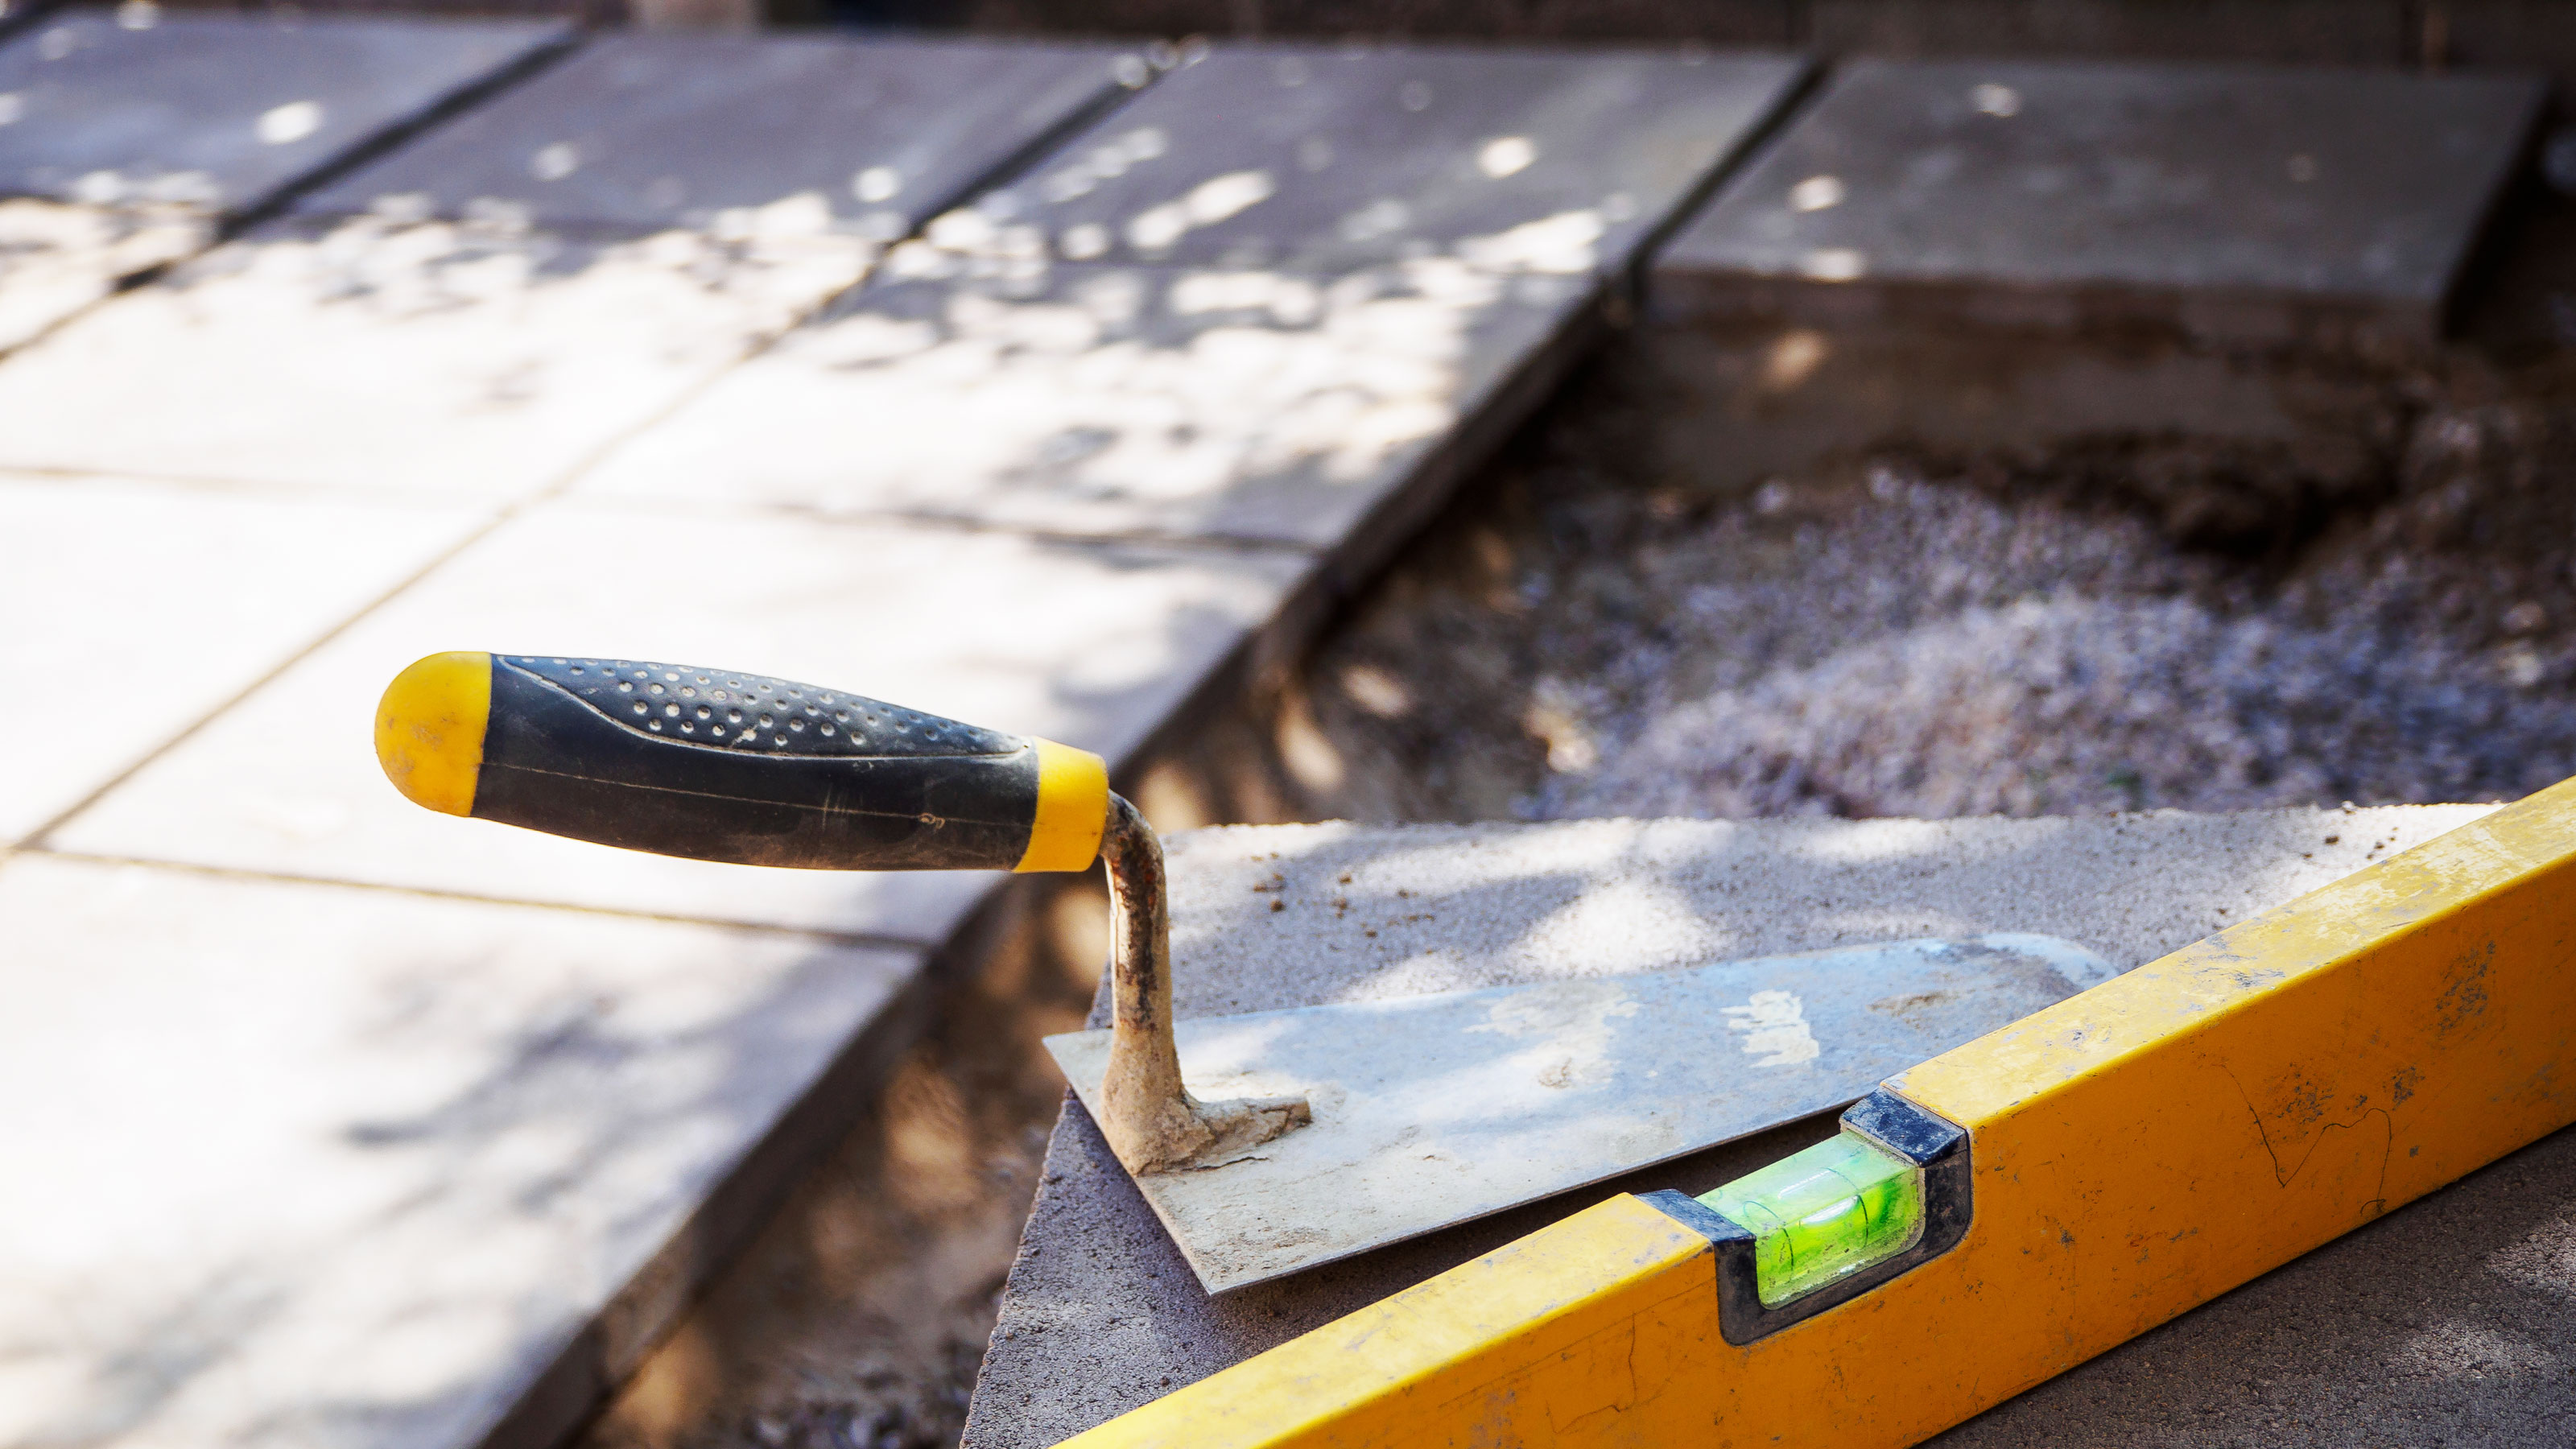
How To Lay a Patio: The Tools and Materials You'll Need
- Trowel
- Shovel
- Wheelbarrow
- Bucket
- Rake
- Long spirit level
- Tape measure
- Rubber mallet
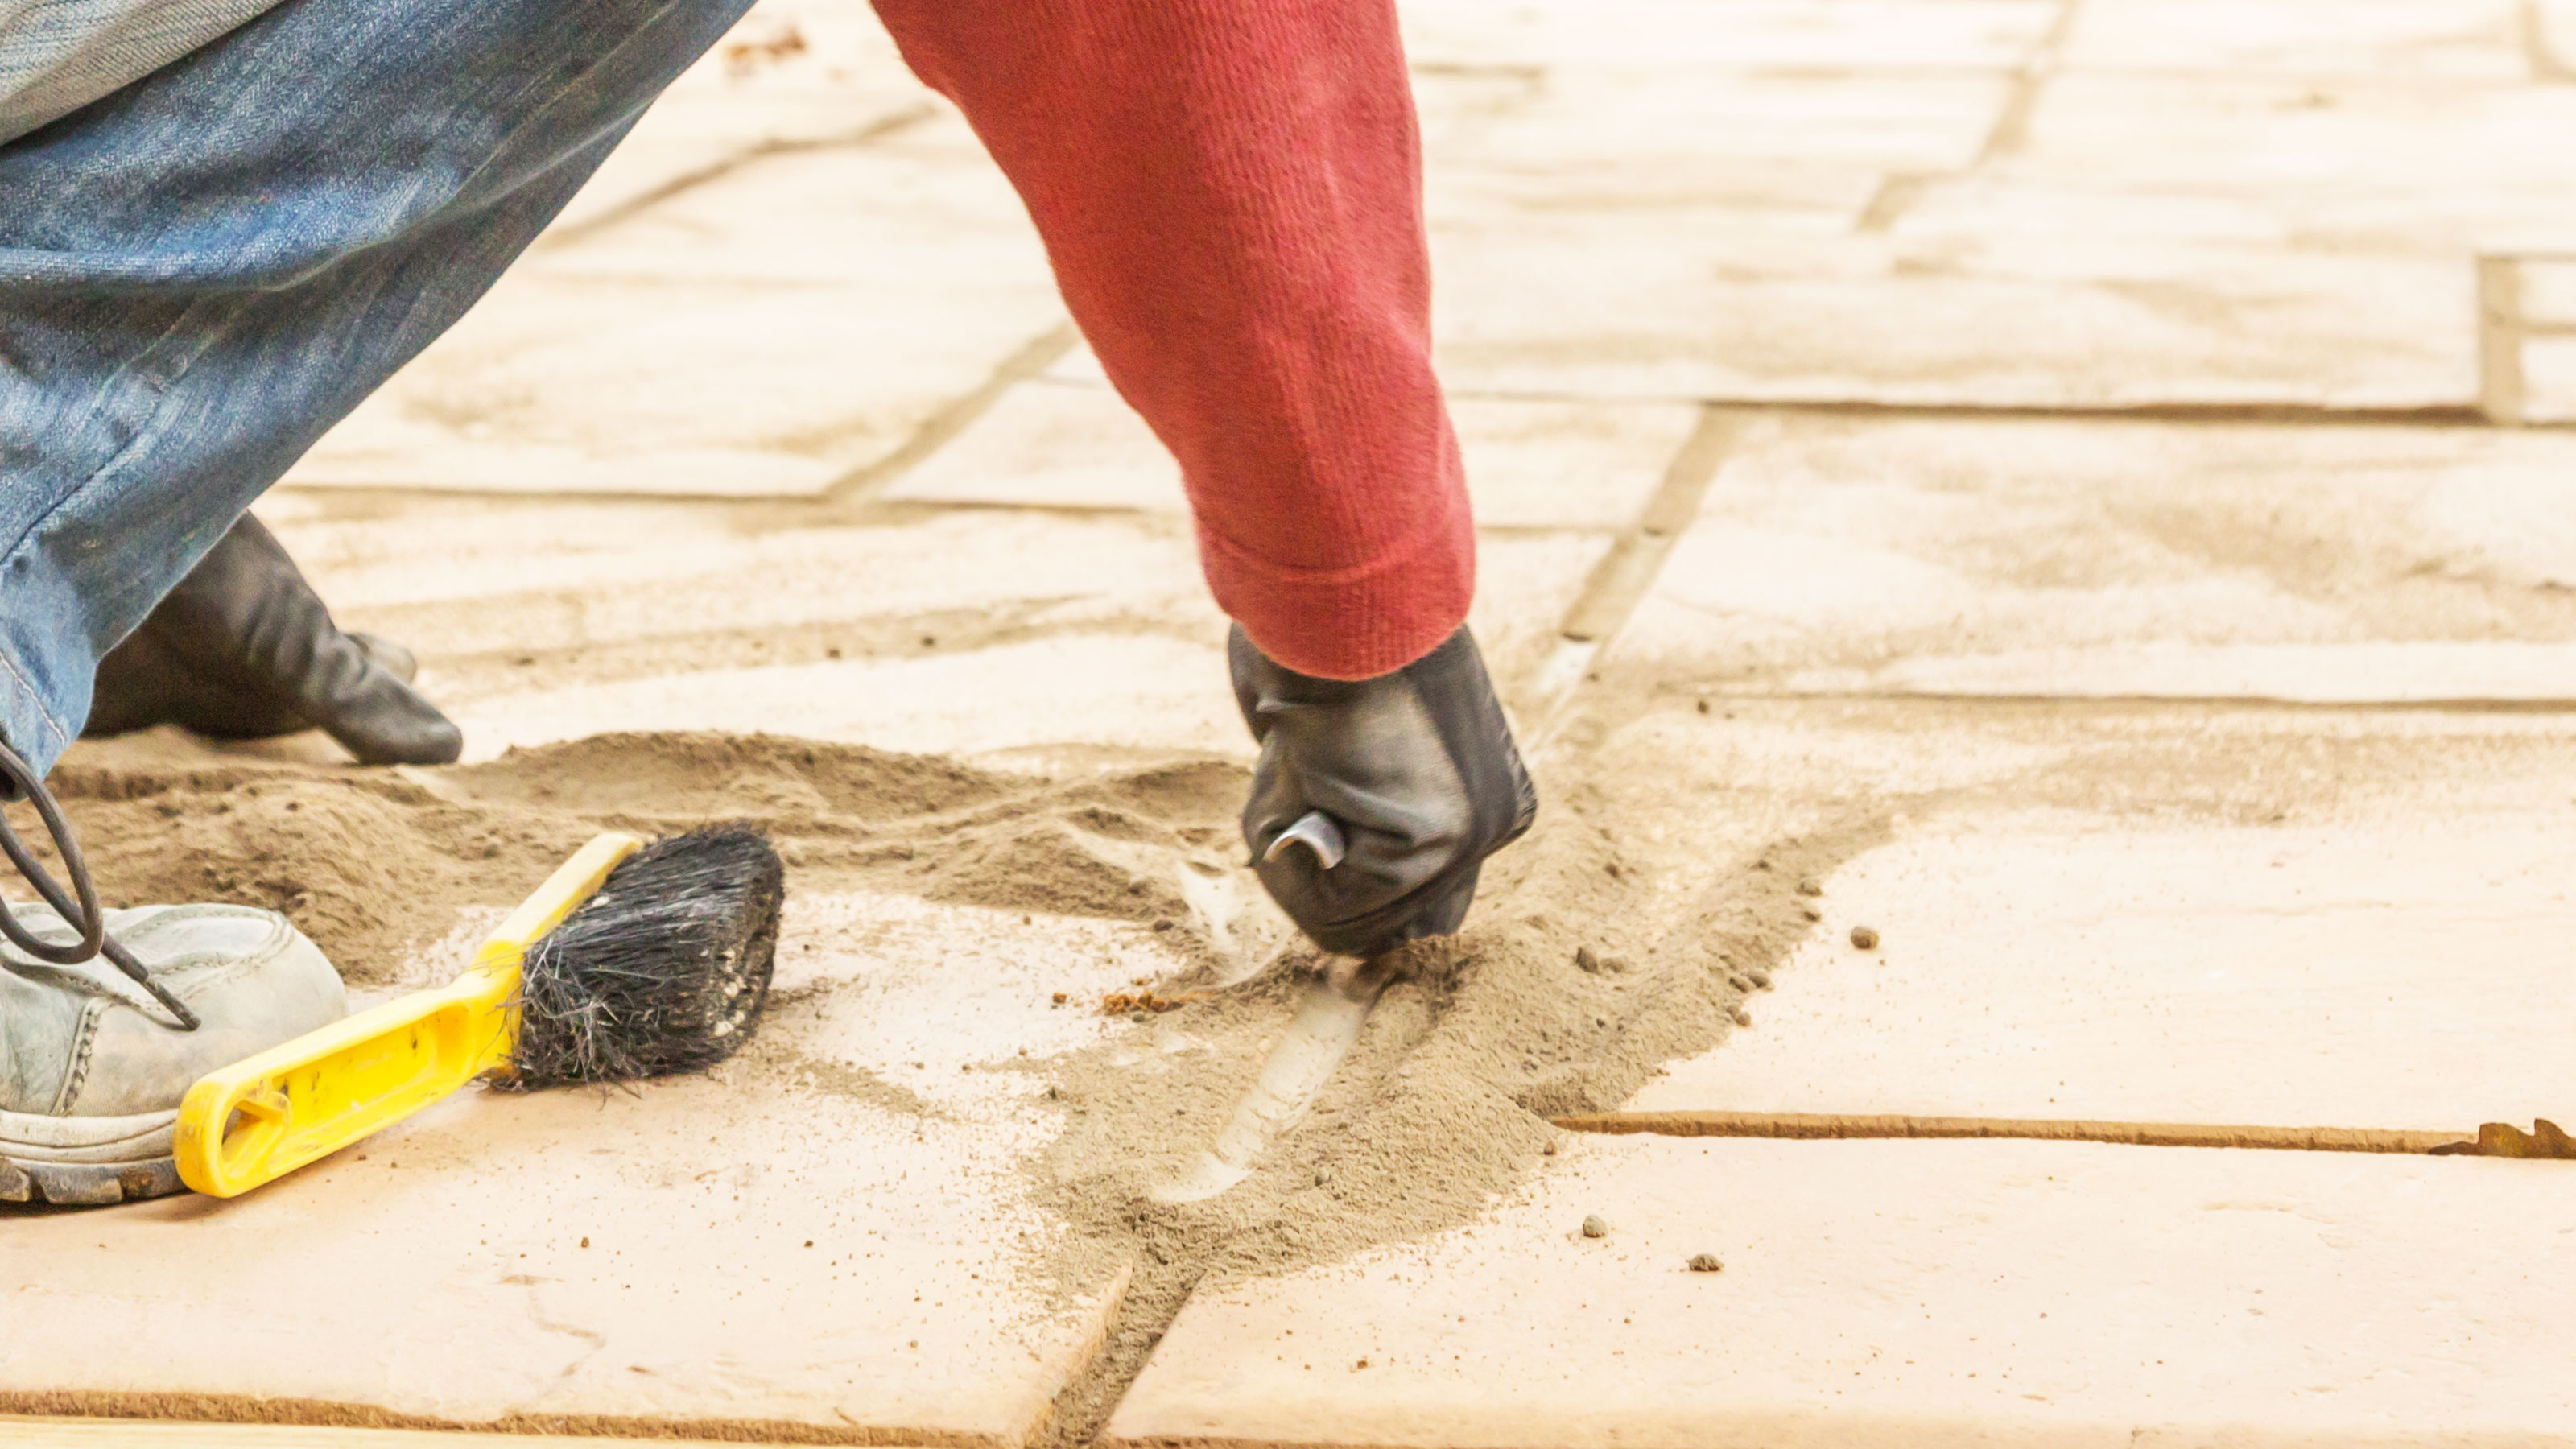
- Brick Jointer
- Cement mixer (optional)
- Sand
- Cement
- Sub base
- Patio slabs
1. Mark out and dig out
The first step is to mark out the area where the patio is going to go. You can use string and pegs – tent pegs are good if you have any lying around – or mark with spray paint if you have any. Add an extra few inches to each side for discrepancies in measurements.
Now get a spade and dig out the whole area down to a depth of around 150mm. This will allow for approximately 100mm for the sub-base aggregate, 40-50mm for the sand and cement layer and depth of slabs.
"If you are laying directly next to a house then the finished patio should be at least 150mm below the damp proof course," advises Lee Dunderdale, product manager at Bradstone. "This means you will need to locate the damp proof course and dig out the area to a minimum depth of 300mm below."
Keep enough soil and turf to fill in around the edges when finished. Now you need to compact the earth before you place the sub base down. You can do this by standing on the soil with your feet closed and taking small steps. Do this across the whole area.
2. Add the Sub Base
Before adding the sub base – ask your local builder's merchant for advice on what to use – bang in wooden pegs with 100mm exposed. Place one every metre or so and use a spirit level to keep them level. Now add the sub base and spread out evenly with a metal rake.
You need to compact the sub base. You can do this with a lawn roller, or hire a plate compactor — especially if you’re laying a large patio. Alternatively, you can use a contractor's hand tamper if you have a small space — be warned this is hard work.
3. Add Sand and Cement
Now add the top layer of the base which should be made up of sharp sand and cement. Use a ratio of 1 part cement to 4 parts sharp sand and mix in a wheelbarrow. Alternatively use a cement mixer if you are laying a large patio. Add a little water to moisten and mix.
Add wooden pegs at the required depth – 40-50mm – and far enough apart so you can place a straight bit of timber on both ends and drag for levelling purposes. You will need what is known as a fall from the back of the patio to the front to help water drain off. This should be around 10mm for every metre. Adjust the pegs accordingly.
Now add the mix, spread out with a spade and use a straight bit of timber to level out. Use a spirit level to check. A quick cheat if the patio is only going to have light traffic is to lay the sand and cement mix dry, level out and moisten with a fine spray from a hose.
4. Lay and Point Your Slabs
Start in an easy to reach corner for the first slab. Wet the back of the slab and place on the base. Use a rubber mallet and tap in the middle to help bed in the slab. Check with spirit level to make sure level.
Now add the next slabs down one side and keep checking that they are level across one way and in keeping with the fall the other. Use appropriately sized slab spacers – typically 10mm – for an even finish.
Use a spirit level for each slab and a long piece of straight timber across and down to check for gaps. Adjust with a few taps from a rubber mallet. When finished laying slabs leave to dry for at least 24 hours.
When dry, use the excess soil and turf to fill in around the edges. Pointing patios is the final step to get the perfect finish.

Can I Lay a Patio Myself?
If you are a competent DIYer you should have few problems laying a patio. However, you will need to make sure that you get the preparation right and are ready for hard work. Laying a patio involves a lot of heavy lifting so be prepared for a few aches and pains.
You may also need to splash out on a few tools if you don't have what you need. This won’t be expensive, but it's essential that you do have the right tools to get a good long-lasting finish.
Can I Lay a Patio on Sand, Soil or Grass?
You can lay slabs straight onto sand but for a more secure base you will need to mix it with cement at the very least.
Laying a patio on top of soil or grass is possible but is not recommended. The patio is likely to shift causing the slabs to become uneven, dangerous and not very practical.
How Much Does It Cost To Lay a Patio?
This depends very much on the size of the patio you are installing and what slabs you are using. At the budget end you can expect to pay around £20/m2 for basic concrete slabs.
If you want something different, such as natural stone, you will be looking at £35/m2 or more, but patio costs can rise dramatically if you choose a high end slab with prices easily reaching £100/m2.
Then you will need to think about the sub base and any tools you need to purchase. If using a simple sand and cement base you can pay around £6/m2. If you need an aggregate sub base this will be similar or a little more in price per square metre.
Obviously, doing it yourself you will save on labour costs. But if you wanted – or needed – to get a professional in you should expect to pay from around £45/m2 or £150-250 a day for labour.
Using more expensive materials, a more complicated design and any extras such as drainage channels means prices can rise considerably.
Get the Homebuilding & Renovating Newsletter
Bring your dream home to life with expert advice, how to guides and design inspiration. Sign up for our newsletter and get two free tickets to a Homebuilding & Renovating Show near you.
Steve Jenkins is a freelance content creator with over two decades of experience working in digital and print and was previously the DIY content editor for Homebuilding & Renovating.
He is a keen DIYer with over 20 years of experience in transforming and renovating the many homes he has lived in. He specialises in painting and decorating, but has a wide range of skills gleaned from working in the building trade for around 10 years and spending time at night school learning how to plaster and plumb.
He has fitted kitchens, tiled bathrooms and kitchens, laid many floors, built partition walls, plastered walls, plumbed in bathrooms, worked on loft conversions and much more. And when he's not sure how to tackle a DIY project he has a wide network of friends – including plumbers, gas engineers, tilers, carpenters, painters and decorators, electricians and builders – in the trade to call upon.

