How to lay a gravel driveway yourself
Want to know how to lay a gravel driveway? Here we reveal the steps you need to know with invaluable expert insight to help tackle the job yourself

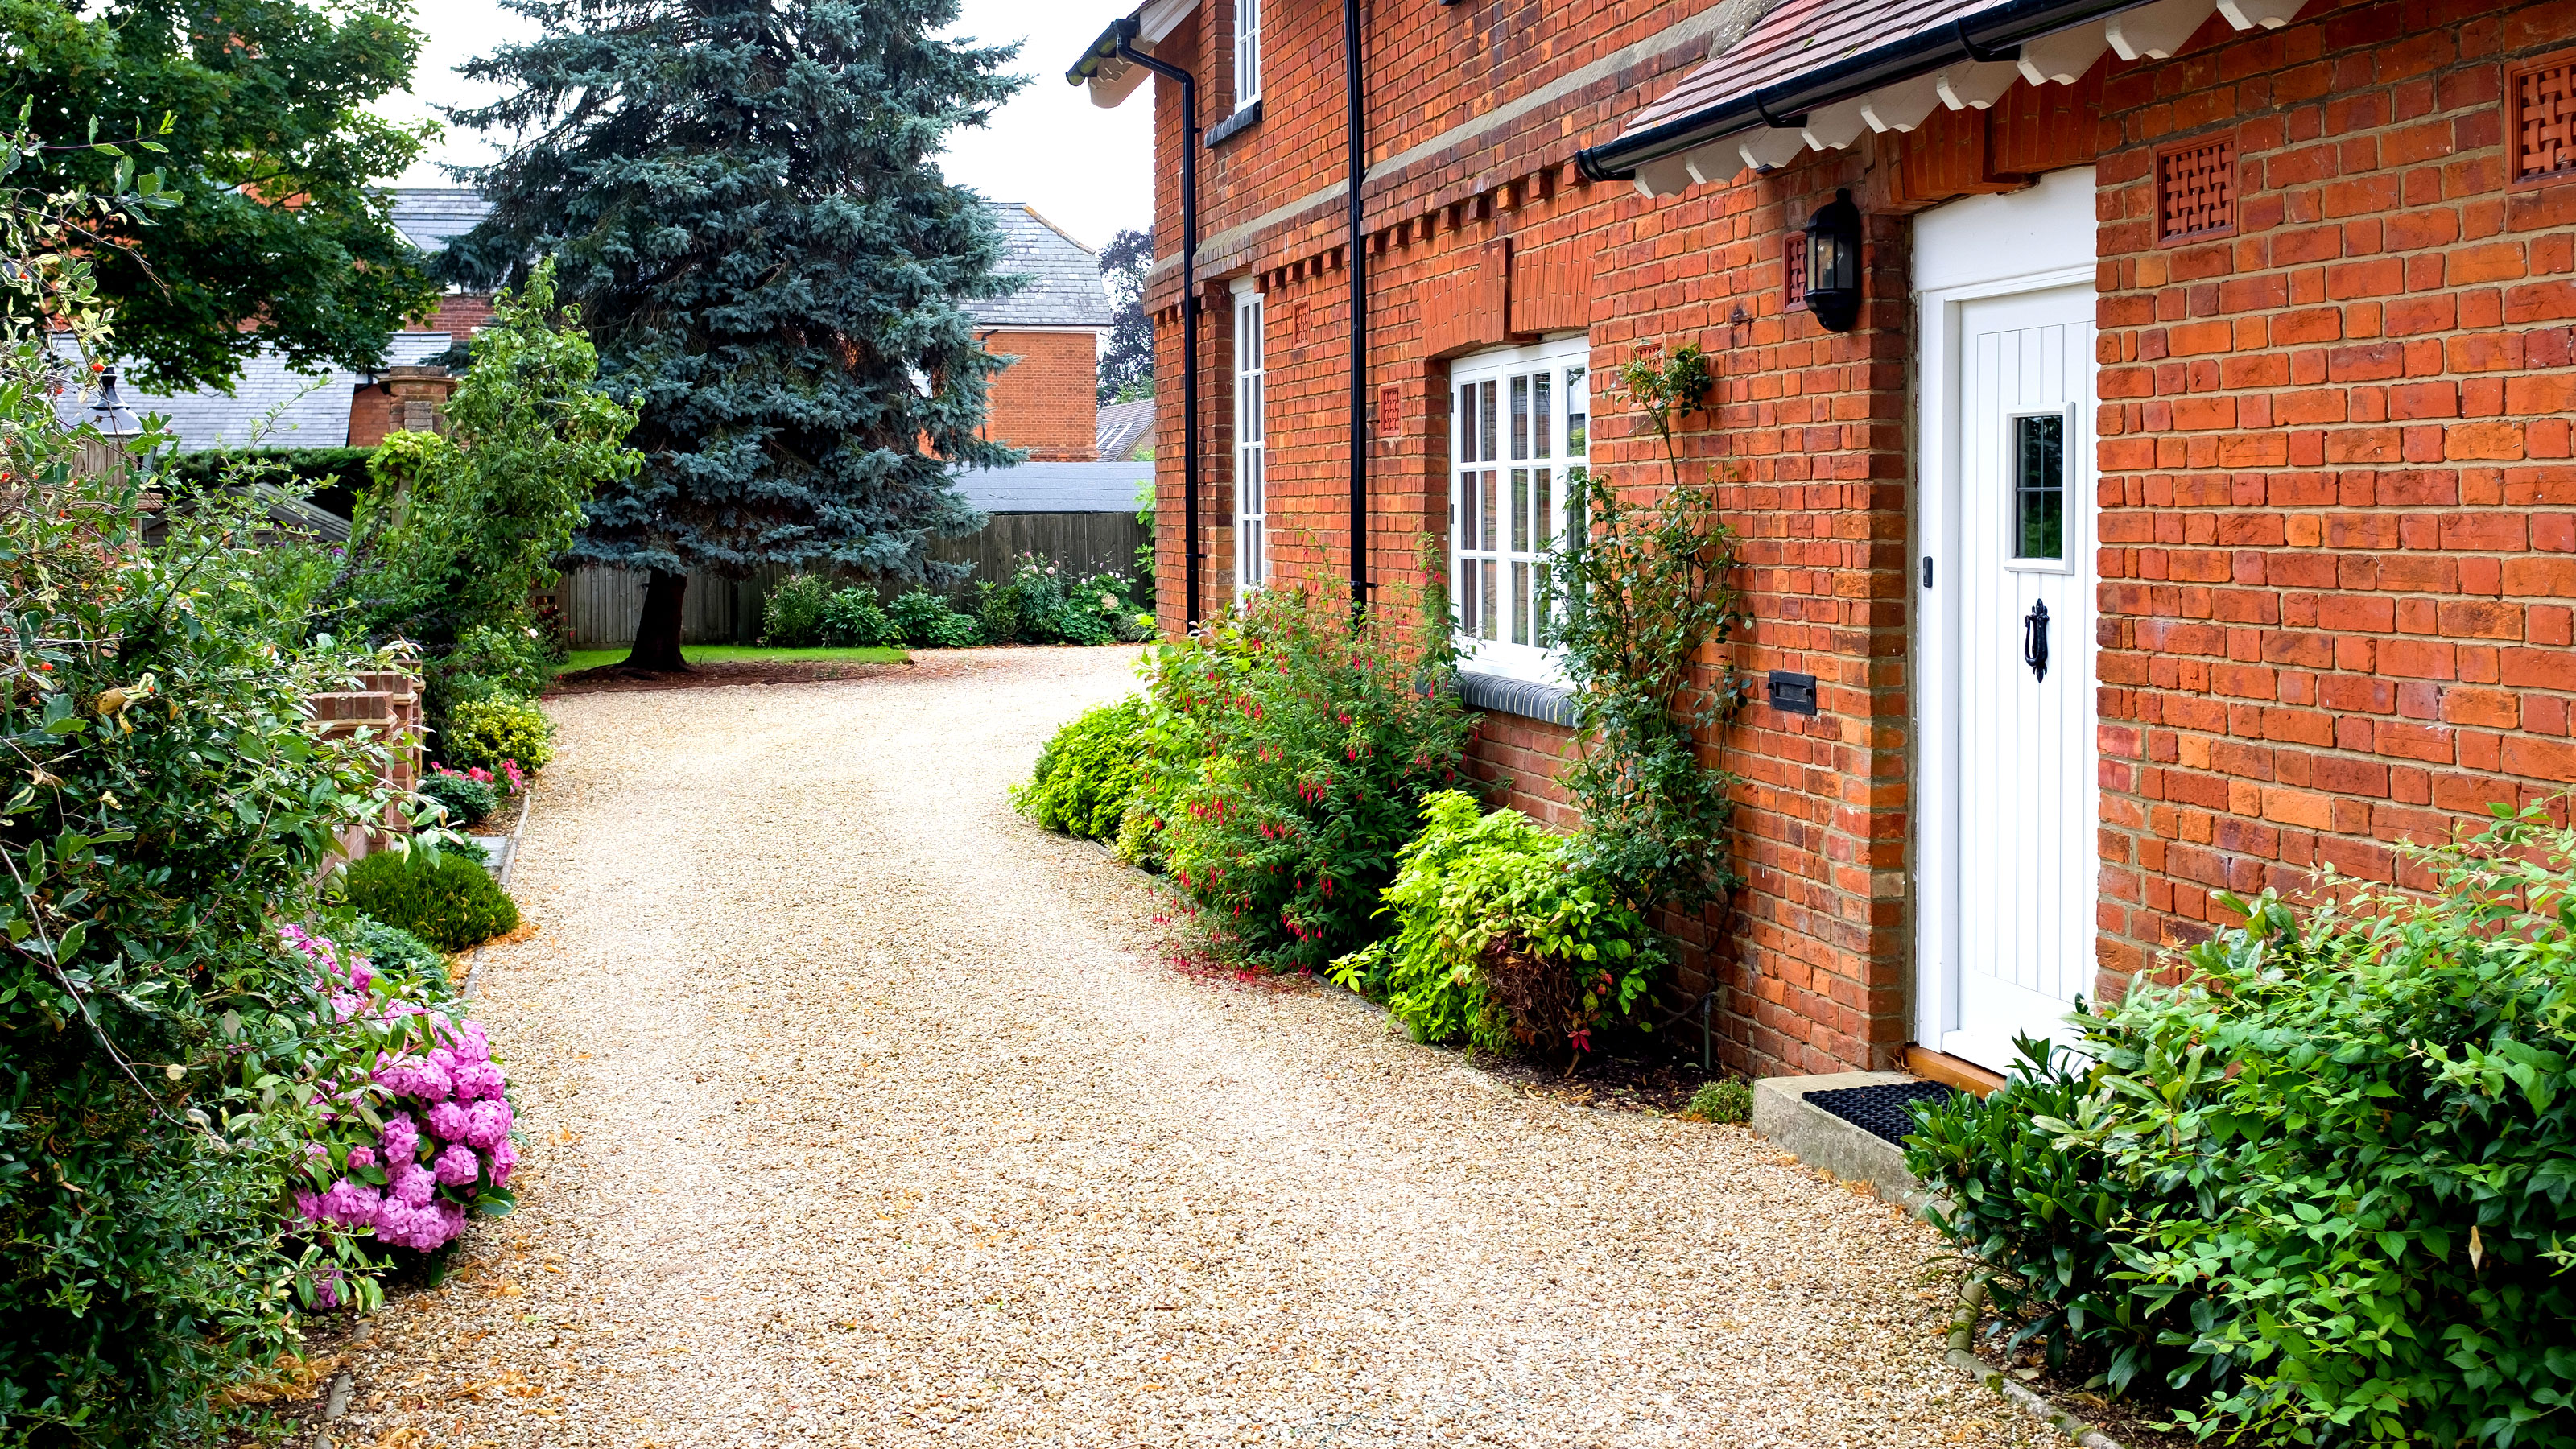
There’s a host of benefits to knowing how to lay a gravel driveway. The first being that they are relatively easy to install yourself. Beyond this they are a more affordable cost effective drive solution, are eco friendly – providing good drainage – and they are simple to repair and maintain.
Laying your own gravel driveway is hard work, there will be a lot of digging involved though some gravel driveway ideas are easier to implement than others. Plan in advance, get the right tools and equipment and you will have a gorgeous looking gravel driveway in no time.
Here we reveal the essential steps you need to follow, how much gravel you’ll need and how much it will cost.
How to lay a gravel driveway in five easy to follow steps
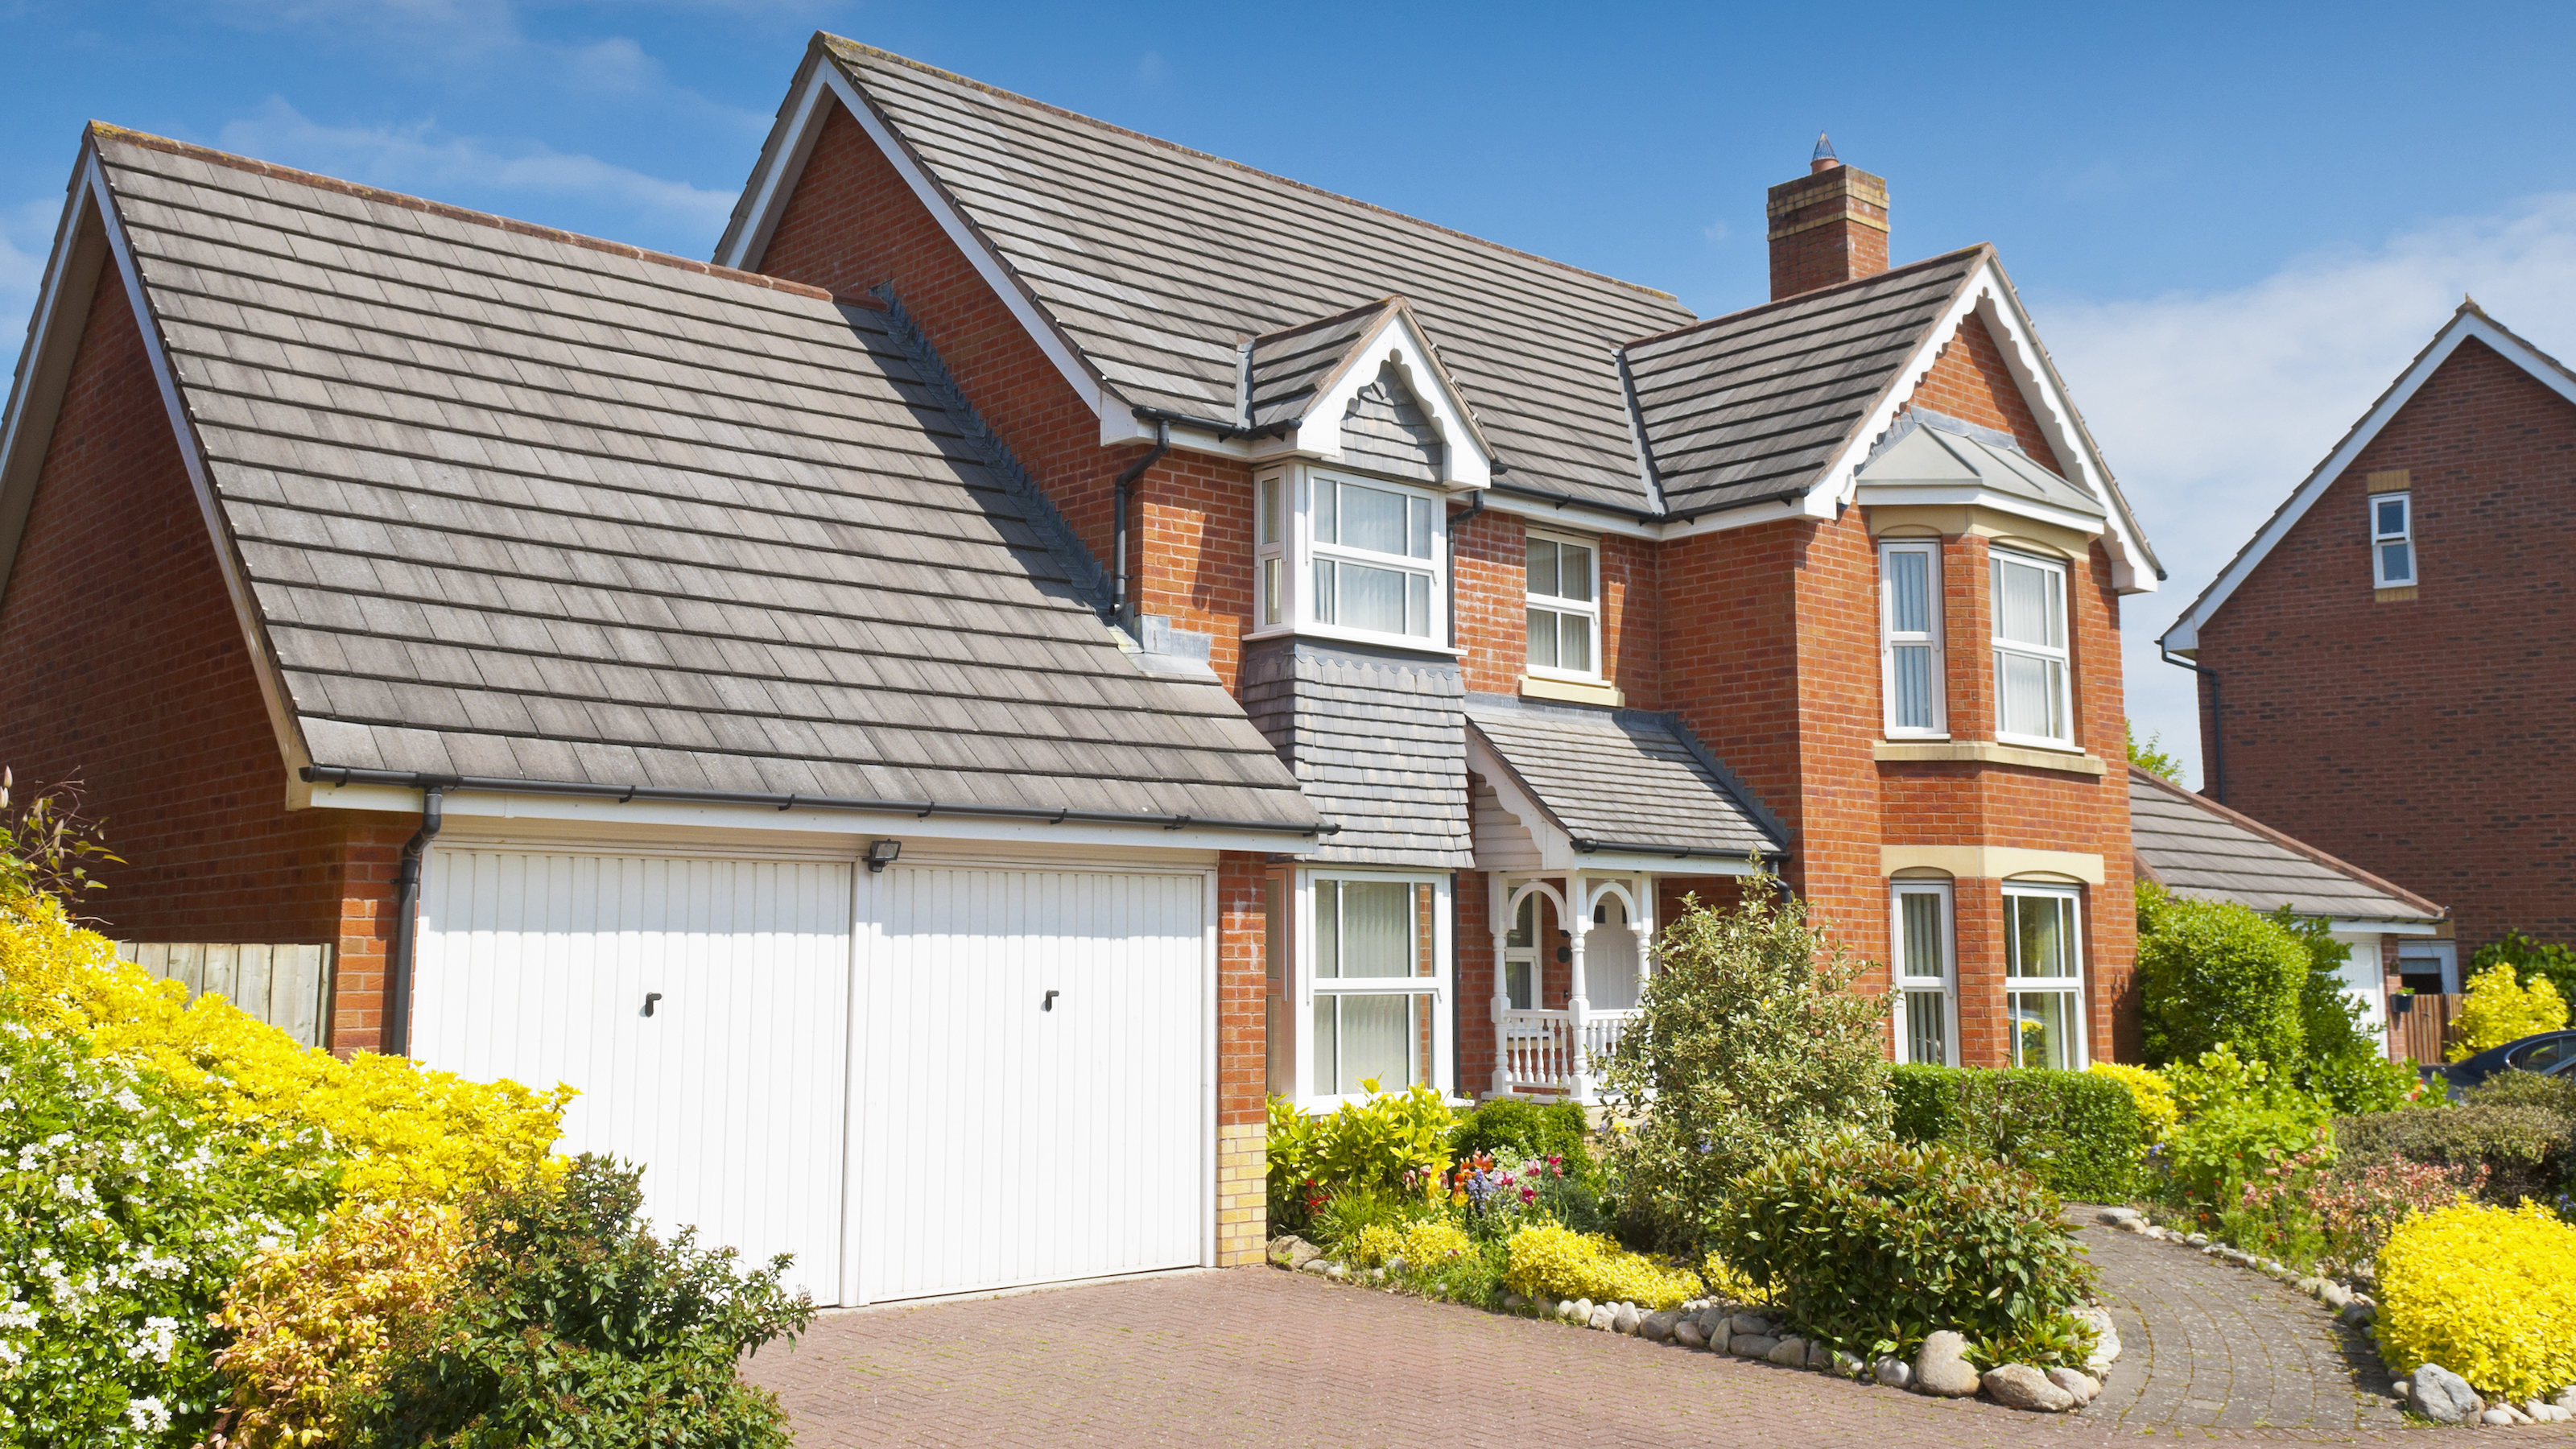
Before you start, it's worth doing your research to make sure you have the correct permissions in place. Whether planning permission for driveways is needed will depend on your project.
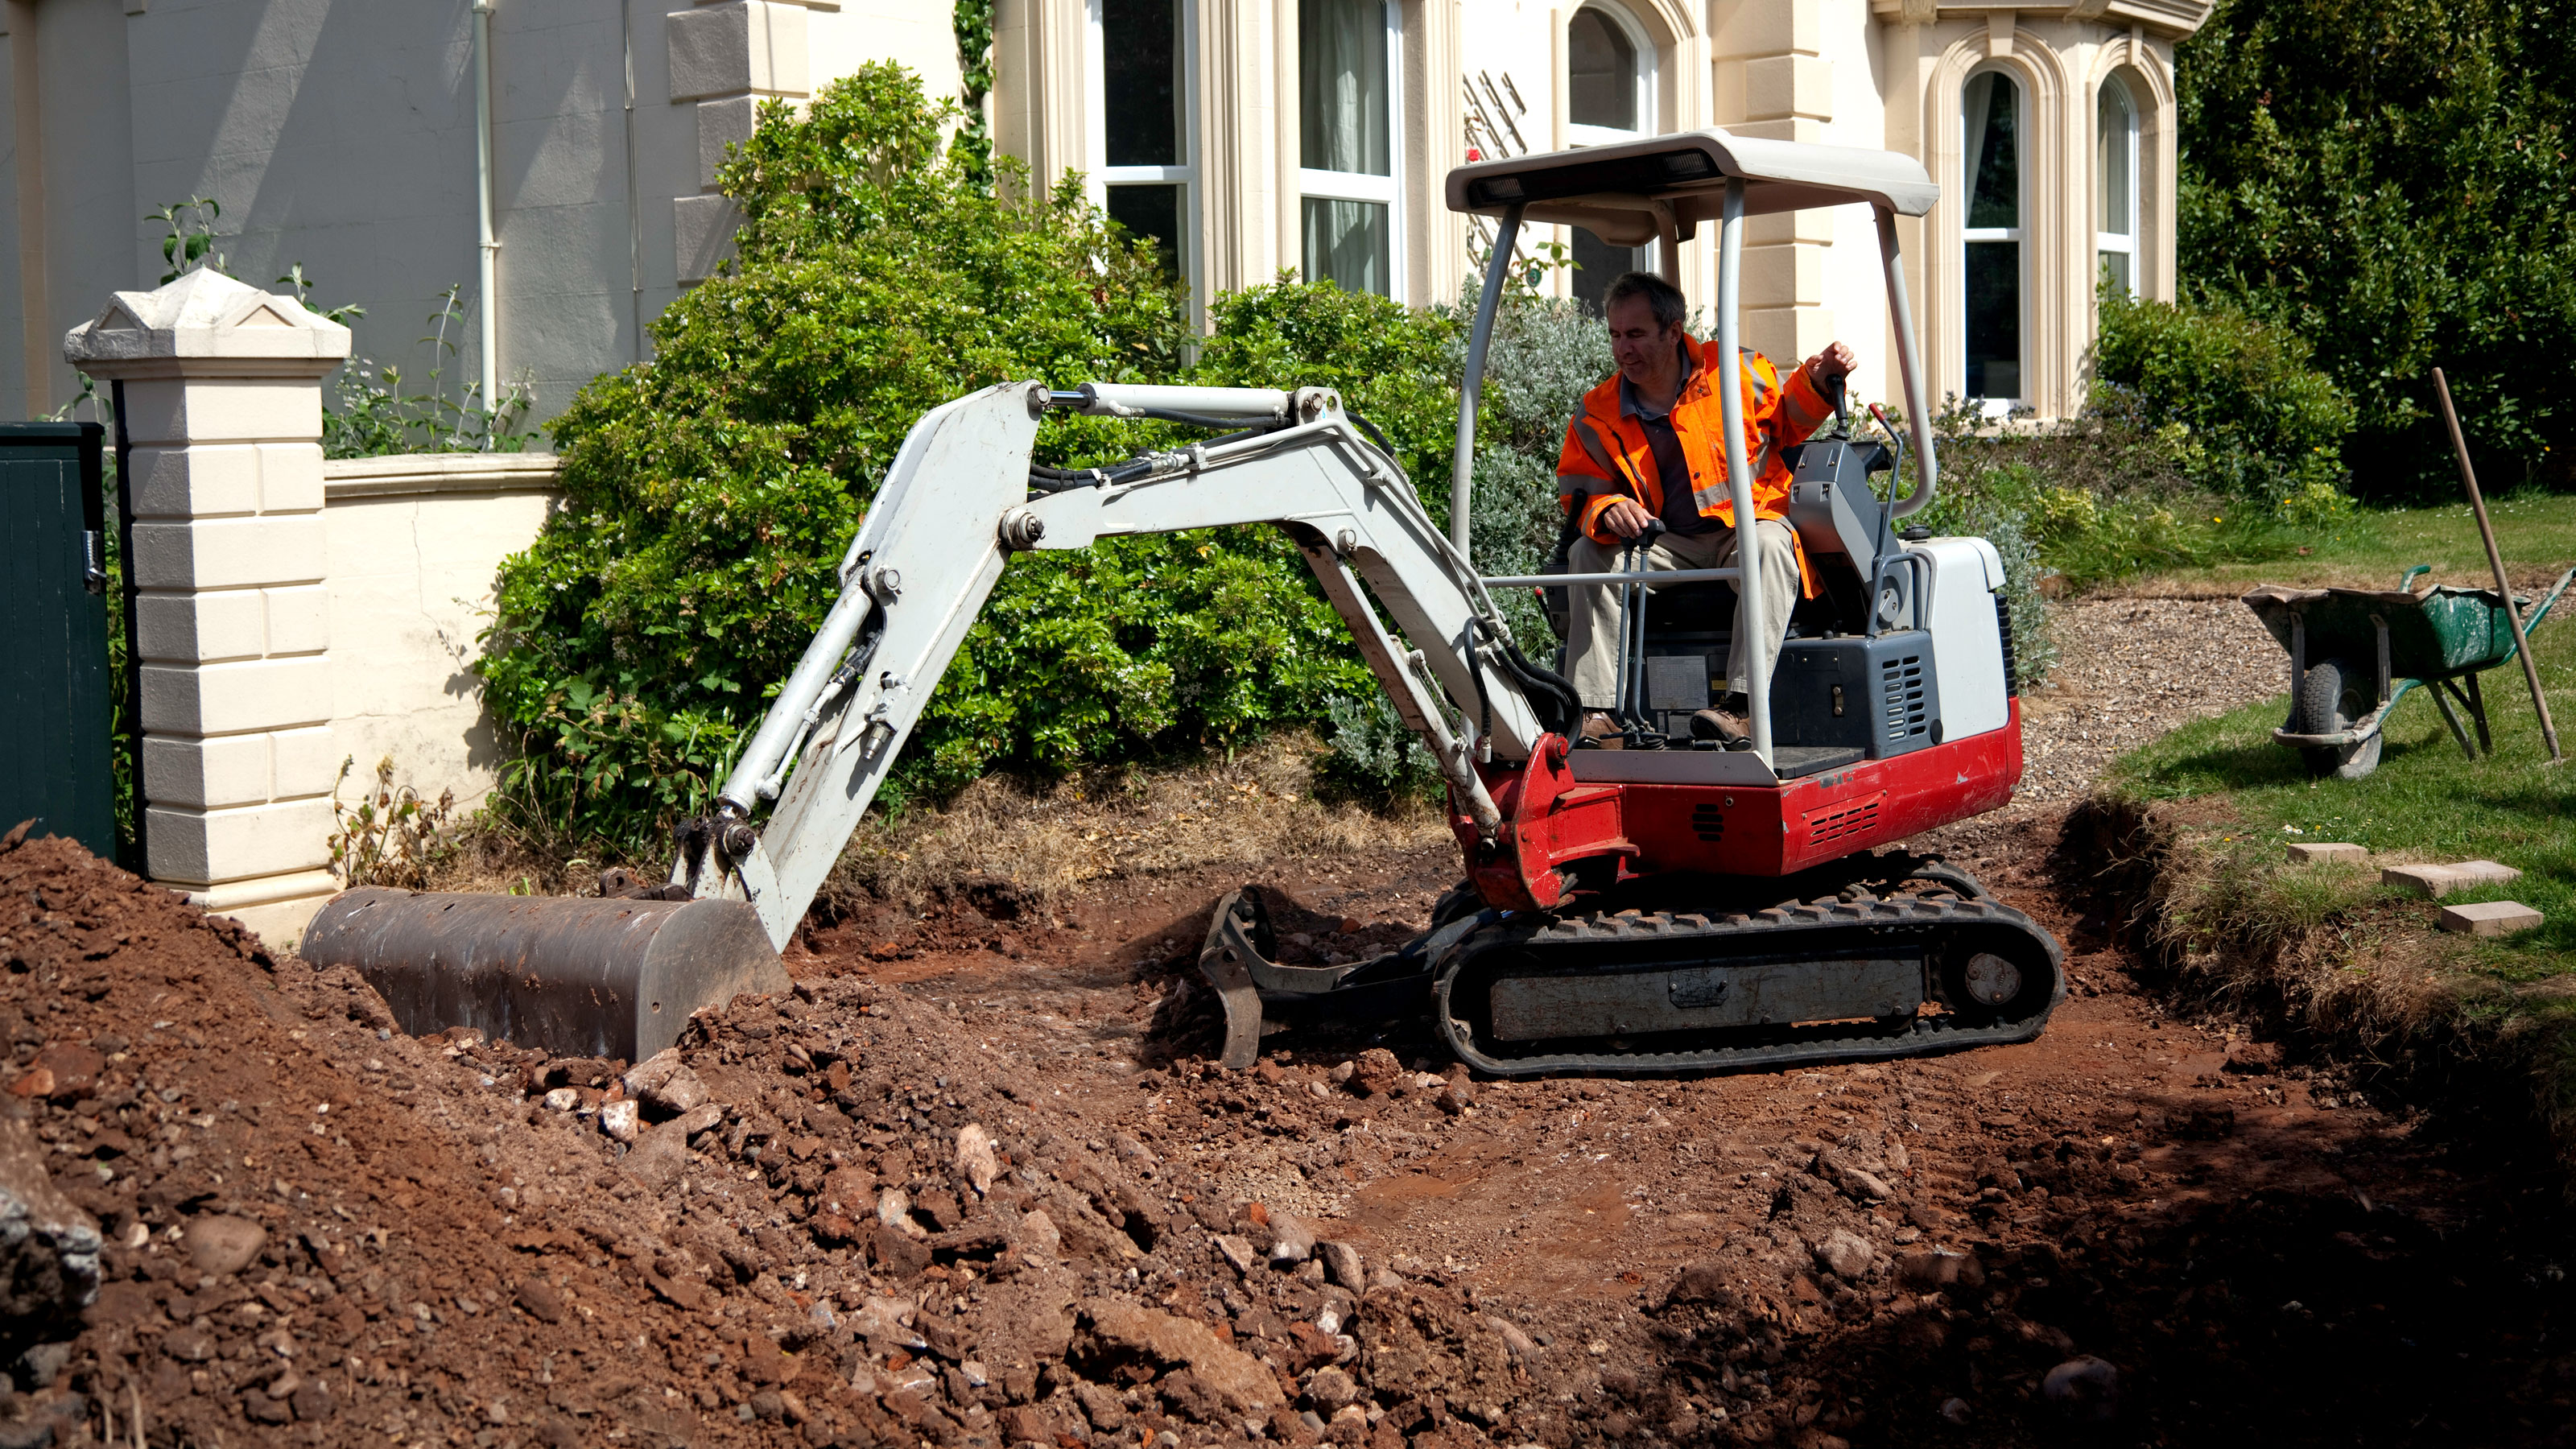
There’s also a lot of digging involved in creating a gravel driveway so hiring a mini digger and a wacker plate before you start will make your life a lot easier.
1. Measure and mark driveway
The first step is to mark out where you want your new driveway to be. You can use pegs and string if you have straight edges and/or a line marker like this Aerosol Solutions Line Marker Spray Paint from Amazon. This is ideal for marking out curved areas.
Once marked out you need to measure the length and width of the area and use an online calculator to help work out how much gravel you are going to need. The depth should be at least 50mm as builder Chris Longhurst reveals, "If you're thinking of using a 20mm gravel, like Cotswold yellow stone or Red Granite chippings, I would recommend at least a depth of 50mm for the gravel/stone layer". He continues, "And a depth of at least 150 mm of well compacted MOT Type 1 as a sub-base. So, you're gravel/stone driveway should over all be at least 200mm deep."
2. Dig out area and lay edging
Now you need to dig out the area ready for the gravel. Start at the edges and dig around 100mm past where the edges are going to be to allow for cement etc. You can create a channel in the ground if you are laying edging like kerb stones and cement them in or completely dig out the area and add and lay your edging after you finish digging.
You need to dig down deep enough to accommodate your sub base and at least 50 mm of gravel. A depth of 150mm-200mm is ideal to accommodate the sub base and gravel.
If you have a large area to dig out, hiring a mini digger to get the job done in a sensible timeframe is a no-brainer.

3. Lay sub base for driveway
You will need a MOT type 1 subbase like this MOT type 1 Subbase From B&Q to create the base. A sub base is a must if your driveway is going to have vehicles parked on it. Spread out a 75mm layer of the sub base with a rake like this Roughneck Aluminium Landscaping Rake from Amazon and compact with a wacker plate. Wacker plates are expensive to buy so hire one from your local hire station.
Go over the sub base three or four times to compact properly and then add another 75mm layer, spread out and compact again. If needed add another layer to get a decent compacted sub base.
4. Introduce membrane
With the sub base laid you need to add a strong landscape fabric membrane like this Pro-Tec Heavy Duty Landscape Fabric from Amazon. Roll out across the sub base and cut to length. Let the membrane go up the edging – you can trim later – and overlap the edges by around 50mm.
Add weights – such as bricks – on the ends to help keep the membrane in place. You can remove the weights when you add the gravel.
5. Add gravel to finish
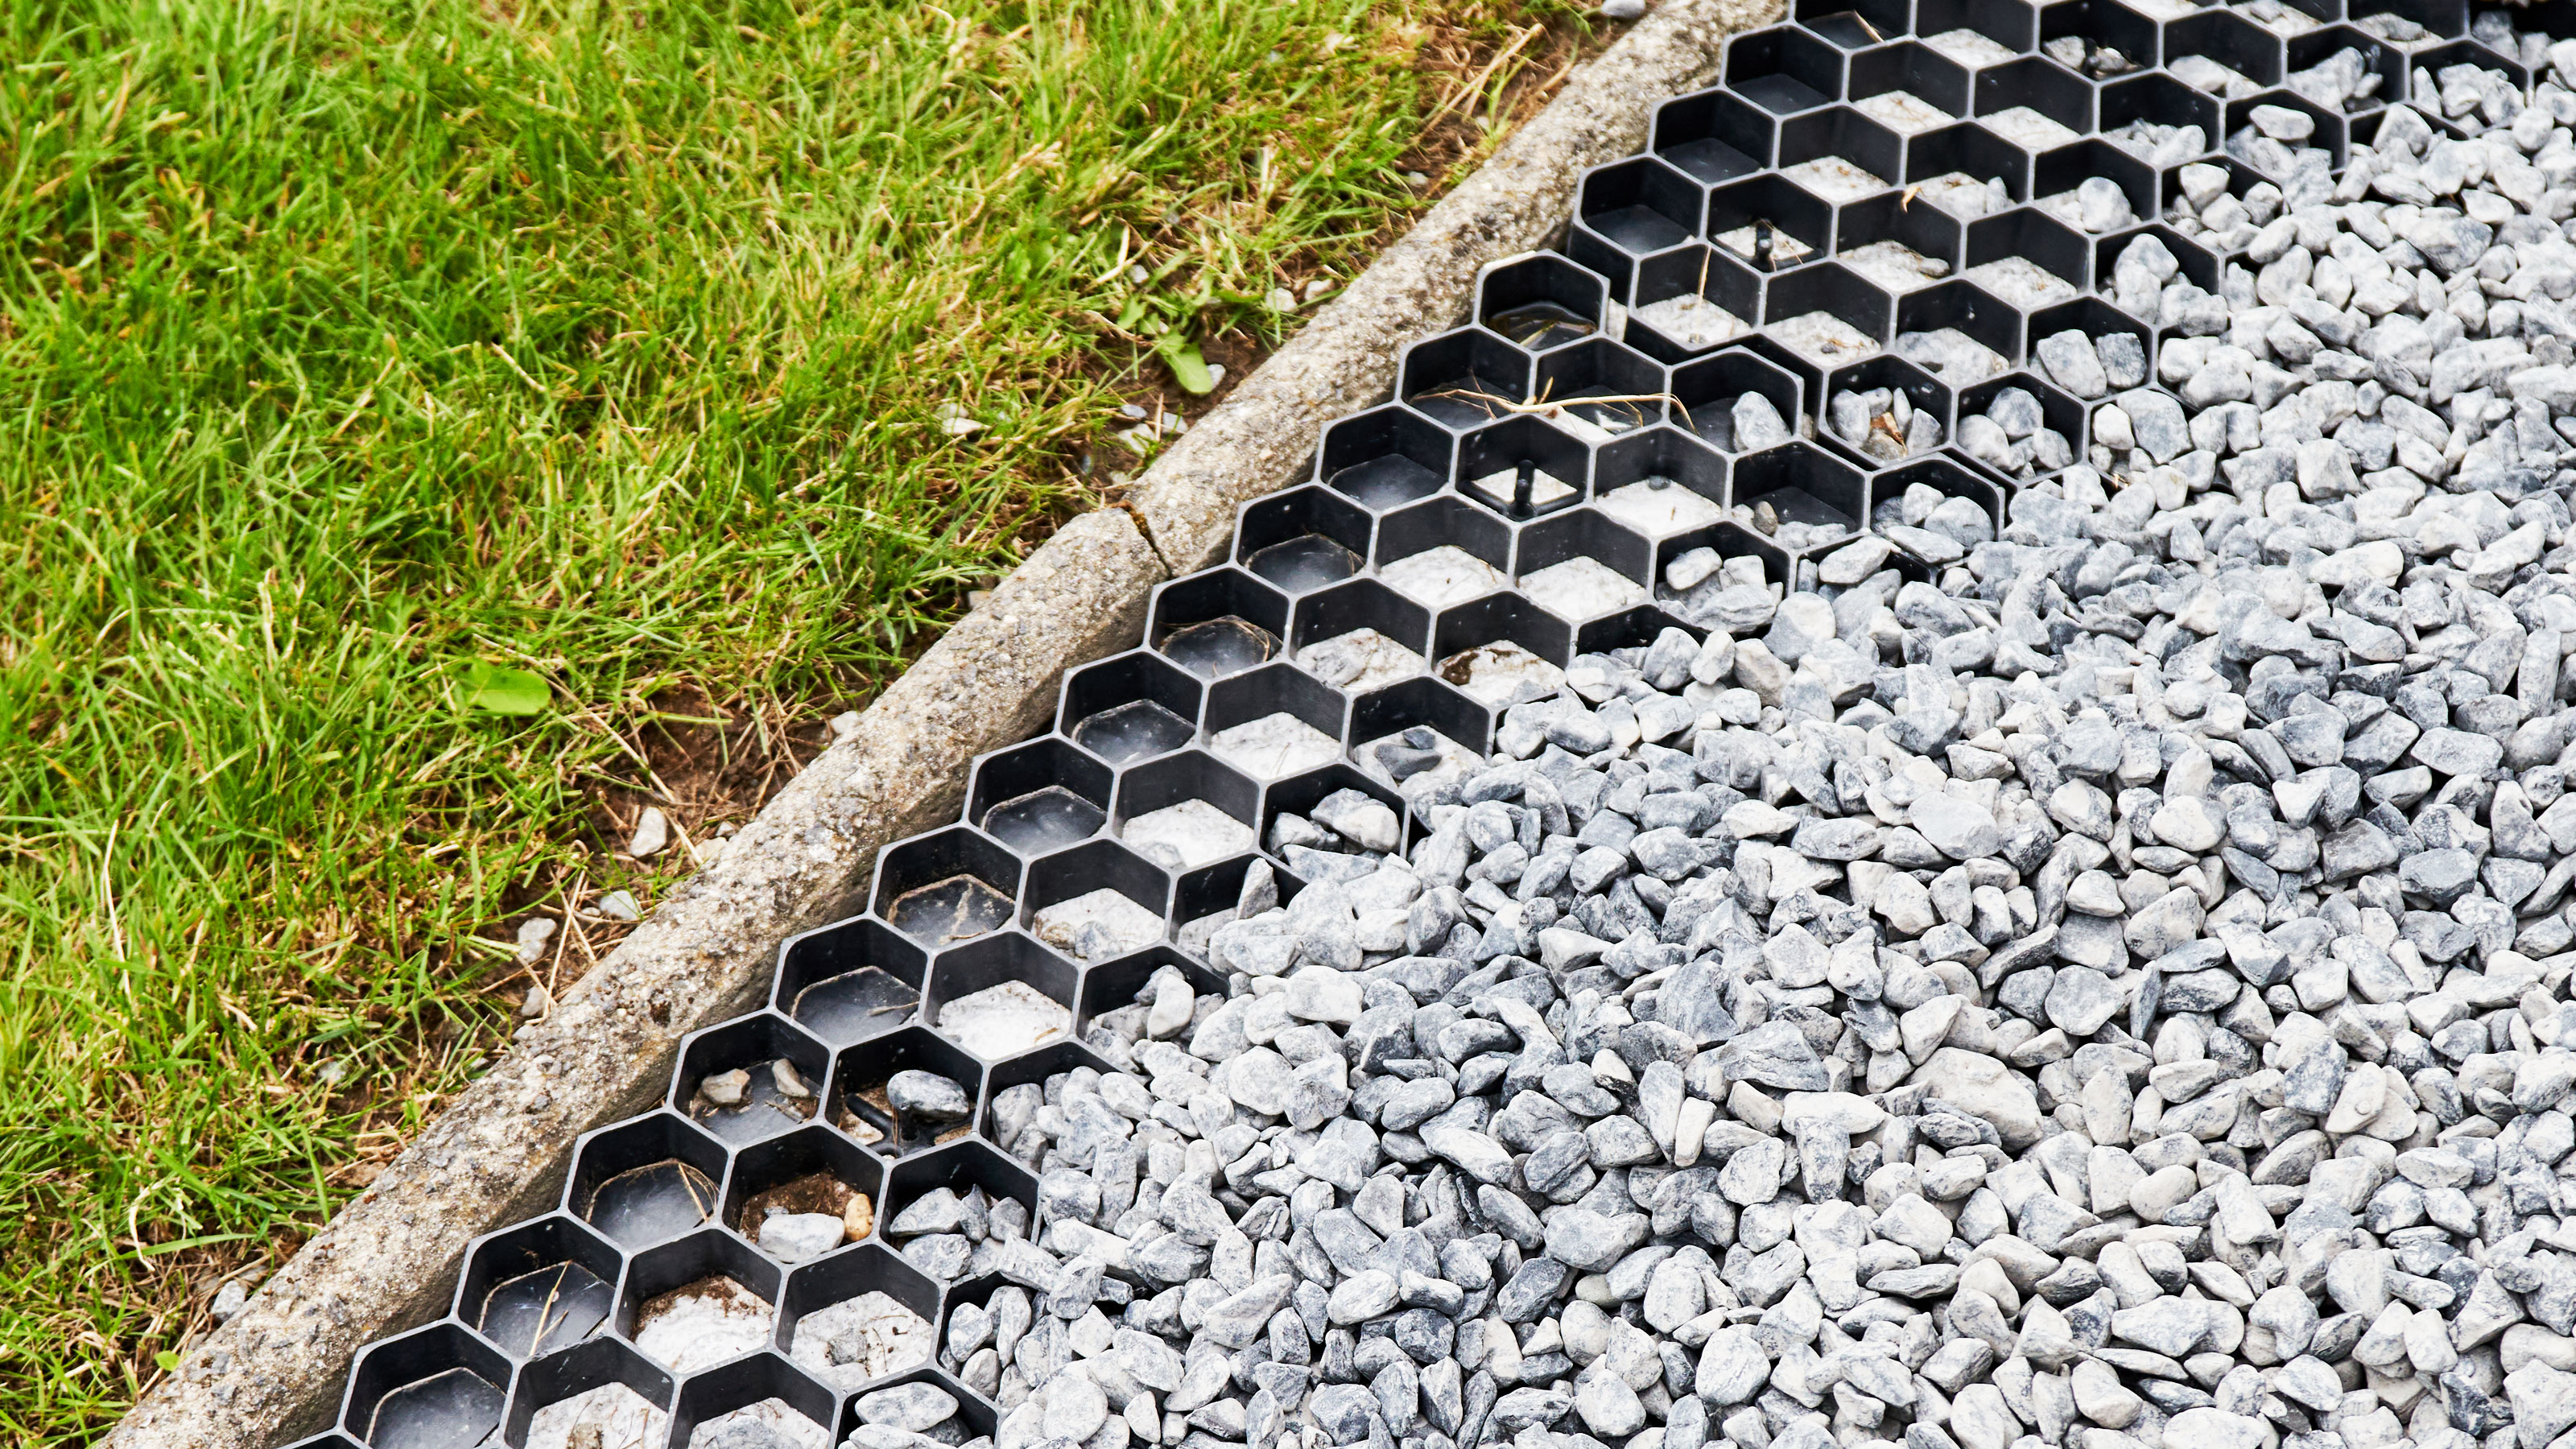
Once the membrane is in place you can start adding your chosen gravel. You can add gravel mats/grids like this CHP Polymers Eco-Pave Gravel Grid from Amazon, to help keep the gravel in place, meaning less maintenance. You can also find gravel grids that come complete with weed membrane and are a lighter colour to blend with your chosen gravel colour, like these Eurogrid gravel grids on Amazon.
Start in one corner and work to the opposite corner by placing even piles of gravel across the drive and spread out with a rake to the desired depth. Once in place you can wash down with a hose pipe to get a clean, dust and dirt free finish.

What gravel works well on a driveway?
Most gravel driveways will encounter vehicles, so you need to make sure that you are choosing an appropriate gravel that can cope as builder Longhurst explains, “Depending on the traffic, for instance if you have cars and vans using the driveway it is better to use an angular stone such as small grade white stone or the coloured stone such as Cotswold yellow stone or Red Granite chippings. This type of stone allows vehicles to pass over much more easily than the rounded gravels.”
Ideally use a 20mm gravel as smaller gravel is likely to get caught in tyre treads and moved around, often ending up on your grass or flower beds. Also while white looks great when clean, darker colours are better at hiding dirt.
Do I need a membrane under gravel?
It's not essential but introducing a suitable membrane will bring with it a host of short and long term benefits and we strongly recommend using one. A strong landscape fabric will help reduce the growth of weeds and stabilise the soil once your gravel is in place. Check out our how to remove weeds from gravel guide to get rid of any if they do make an appearance.
Another benefit of introducing a membrane means you will need less gravel to complete your driveway. The membrane will help stop the gravel sinking into the sub base, saving you money and will help with drainage. And in the long run it will mean less maintenance and expense as you won’t need to keep replacing sinking gravel.
How much does a ton of gravel cover?
This will depend on the chosen depth of your driveway, but typically a gravel driveway should be at least 50mm deep. Assuming this is the depth – or similar – being used on your driveway, a ton of gravel should cover around 10-15 square metres. This is approximately an area that measures 5m x 2/3m.
Use an online calculator to work out how much gravel you are going to need to complete the whole job. Add in a little extra – around 5-10% – to make sure that you have enough for the job. It’s always better to have too much rather than too little and any leftover gravel can be stored and used for future maintenance.
How much does a ton of gravel cost?
This will depend what type of gravel you are buying and where you are buying from for your gravel driveway design. Prices at your local well-known hardware store are likely to cost slightly more, but they are easier to find and purchase.
Do some research before you buy to see how prices from a nearby independent supplier compare. And make sure to check if delivery is free or not.
A ton of gravel in the UK is 1016kg, while a metric tonne is 1000kg. This is worth noting as a lot of suppliers sell gravel in 800kg bulk bags, which are often slightly cheaper than a ton – or tonne – ideal if you don't need a ton.
Expect to pay around £70-120 for a 800kg bulk bag depending on what type of driveway gravel you are purchasing.
Get the Homebuilding & Renovating Newsletter
Bring your dream home to life with expert advice, how to guides and design inspiration. Sign up for our newsletter and get two free tickets to a Homebuilding & Renovating Show near you.
Steve Jenkins is a freelance content creator with over two decades of experience working in digital and print and was previously the DIY content editor for Homebuilding & Renovating.
He is a keen DIYer with over 20 years of experience in transforming and renovating the many homes he has lived in. He specialises in painting and decorating, but has a wide range of skills gleaned from working in the building trade for around 10 years and spending time at night school learning how to plaster and plumb.
He has fitted kitchens, tiled bathrooms and kitchens, laid many floors, built partition walls, plastered walls, plumbed in bathrooms, worked on loft conversions and much more. And when he's not sure how to tackle a DIY project he has a wide network of friends – including plumbers, gas engineers, tilers, carpenters, painters and decorators, electricians and builders – in the trade to call upon.

