How to Install Your Own Spiral Staircase
Installing a spiral staircase is not beyond the capabilities of a competent DIYer - here's how to go about it
Content supplied by British Spirals & Castings
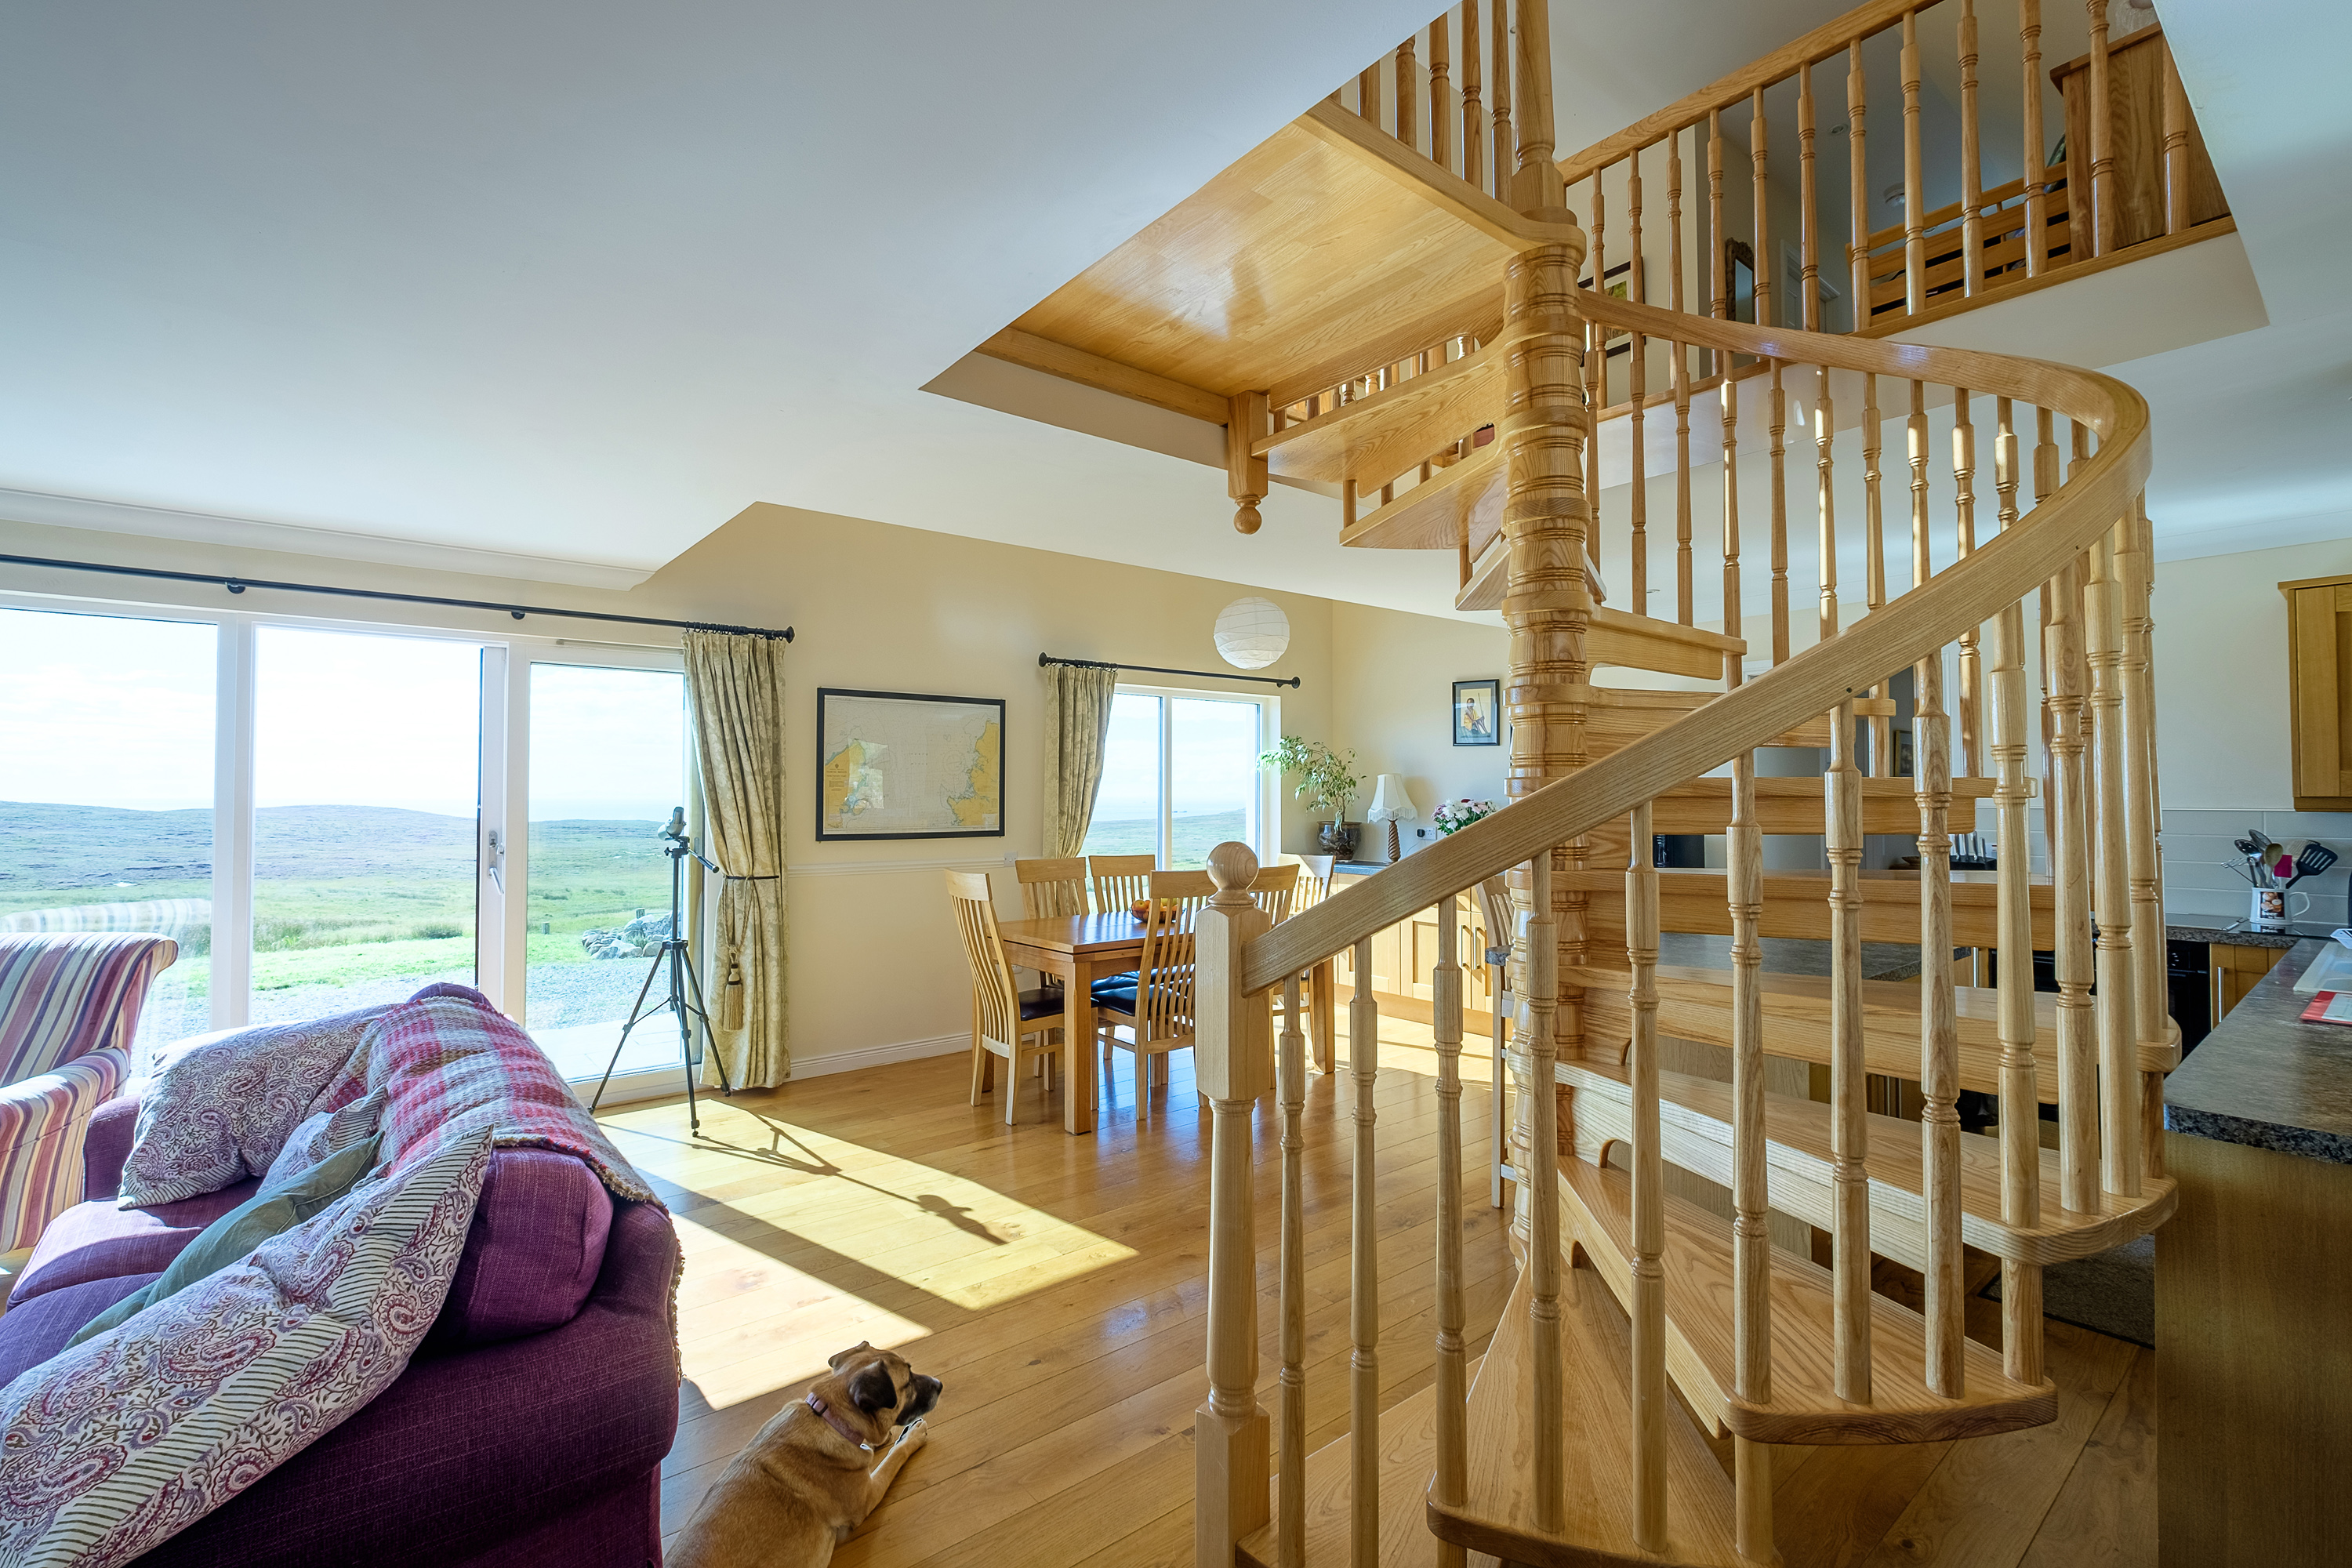
These days, more and more homeowners are looking to get hands on with building or renovation work on their house. Not only is this a great way to reduce the cost of your project – it also gives you complete control on the final look and finish of the work. Whilst installing a spiral staircase may seem a little daunting for even fairly experienced DIYers, with a little planning and a few extra hands it can be a surprisingly simple and rewarding experience.
If you are considering a new spiral staircase for your home here are a few tips to ensure a smooth installation.
Measuring Up
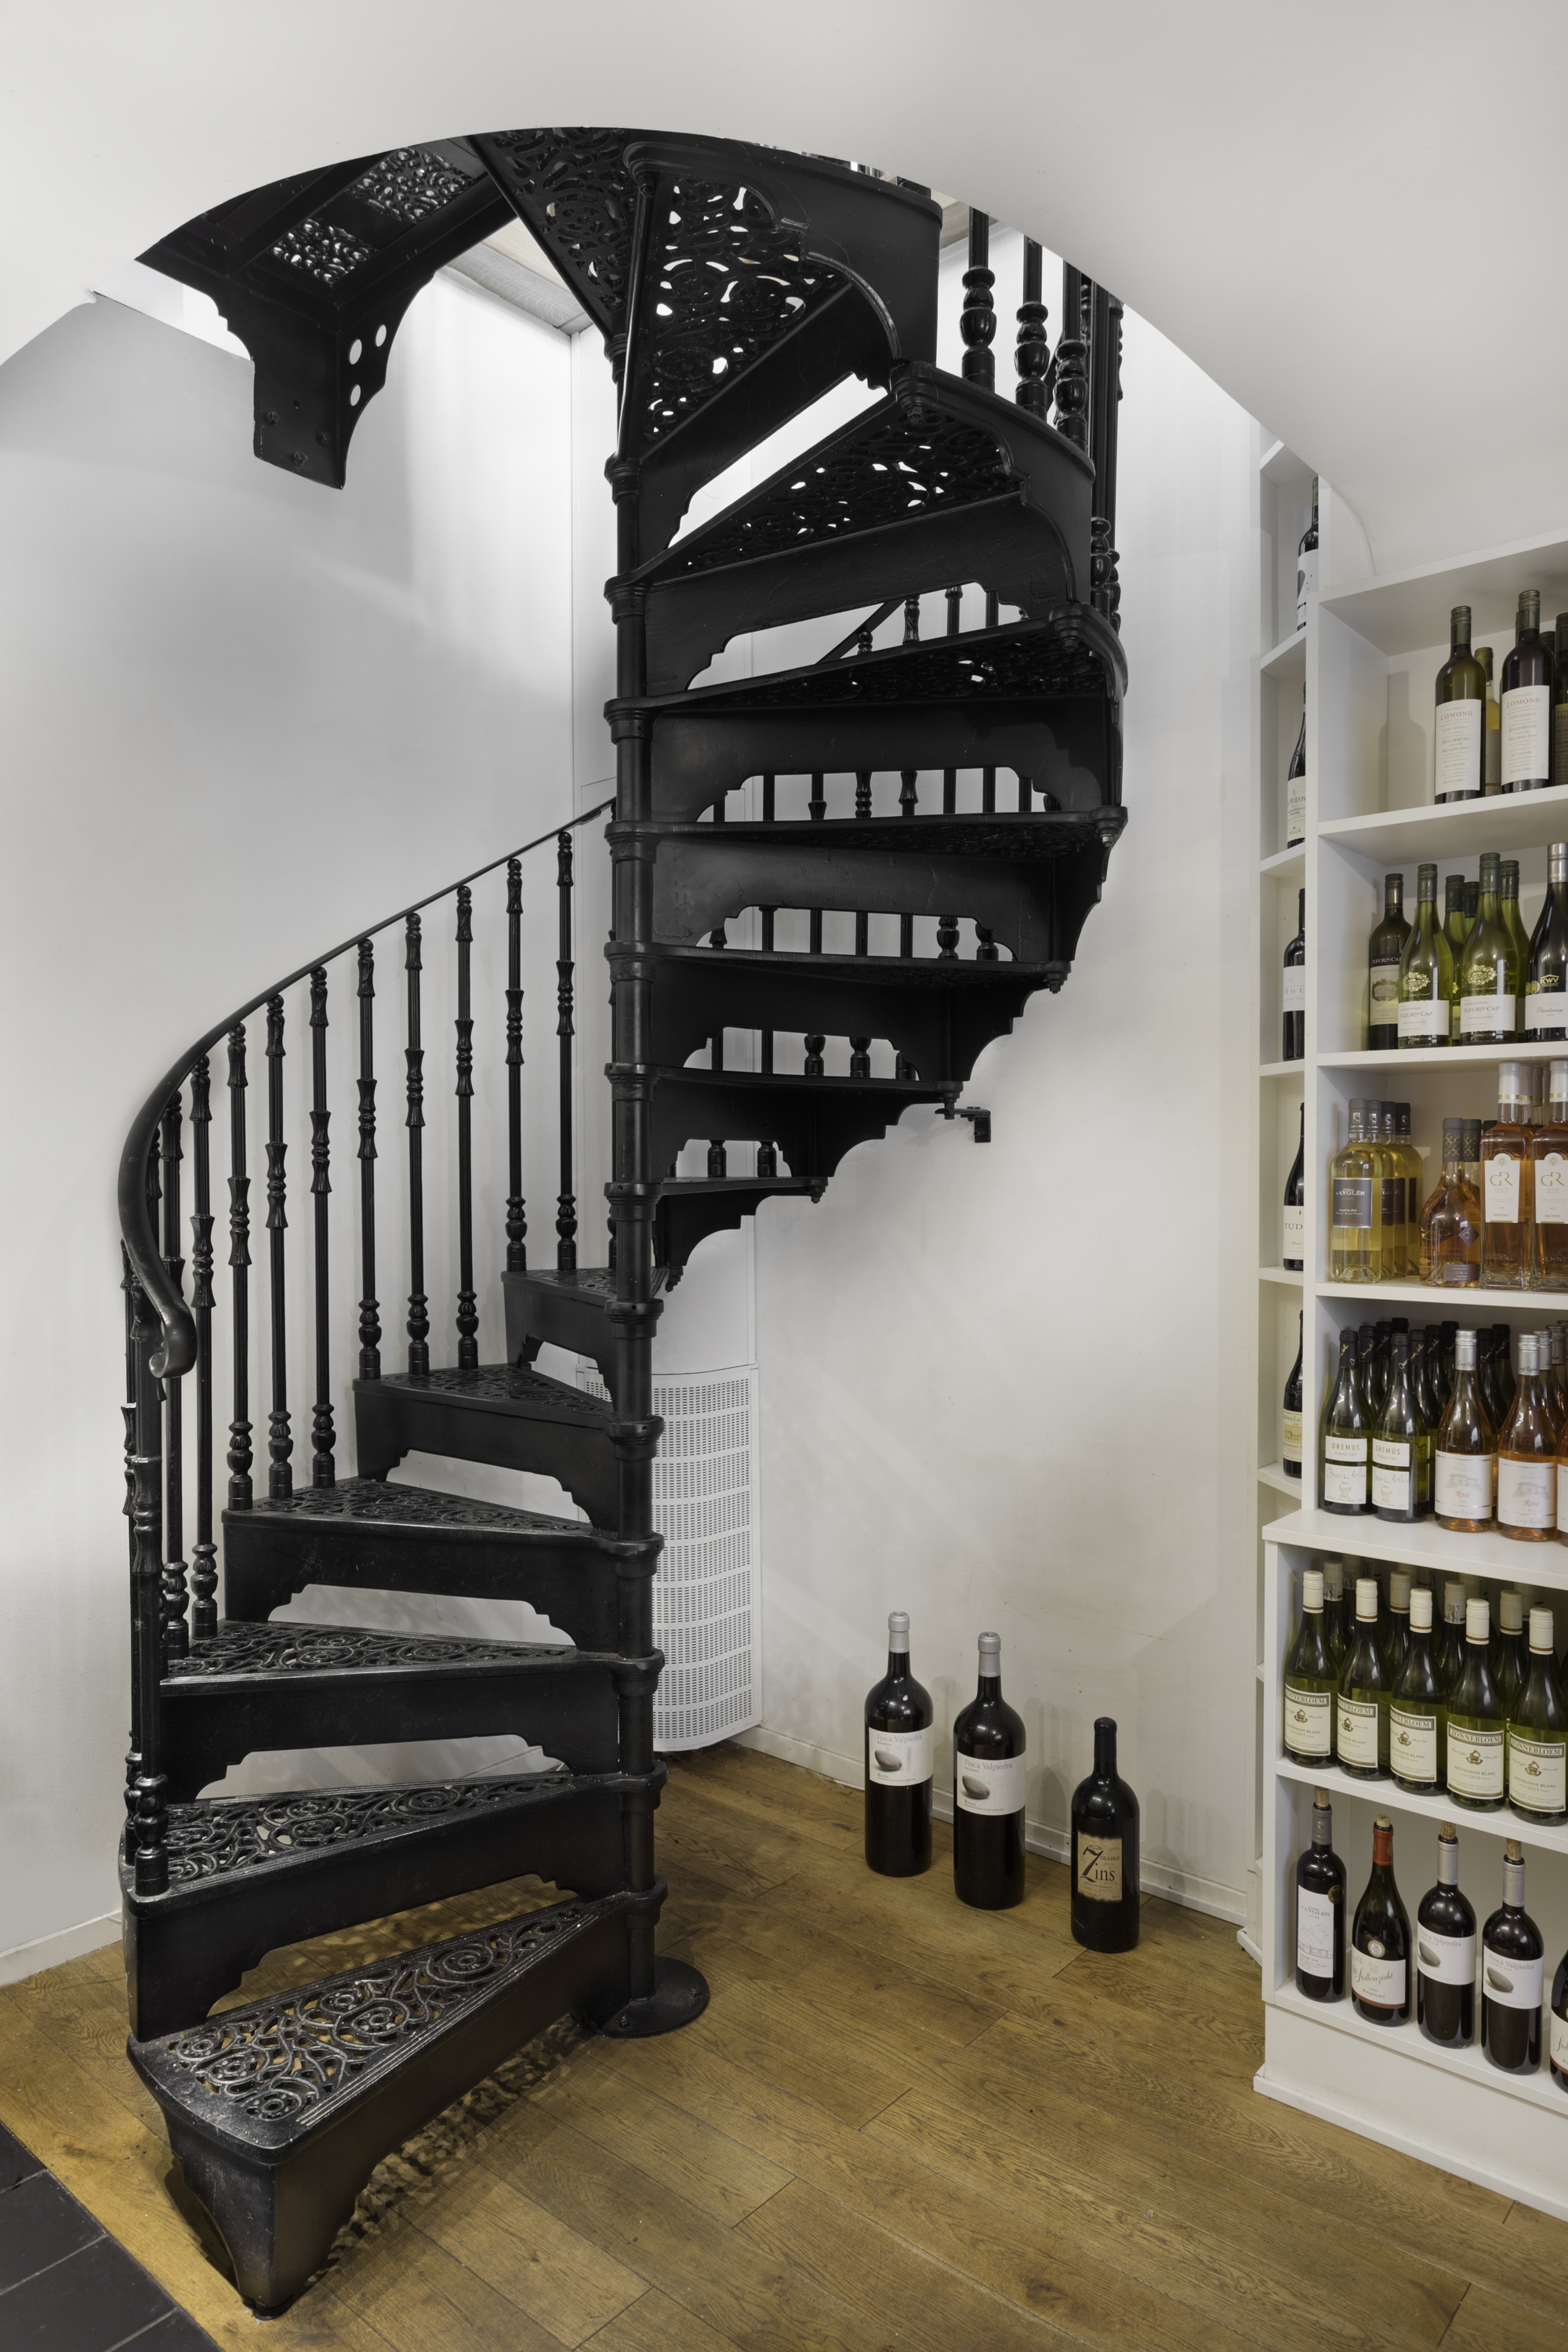
The first step in any staircase project is to take accurate measurements of the available space. The height measurement should be taken from the finished floor of the lower storey space to the finished floor of the space above. If you have already created the opening, this should be relatively straightforward. For more significant building work such as an extension or new build, the architect or planner should be able to provide accurate measurements.
If the floors are currently unfinished then you will need to take this into account. You should be able to get an accurate measurement for the flooring and any underlay from the manufacturer.
You also need to think about your preferred width for the staircase treads. The wider treads will mean you have a larger surface area to step on but will also increase the overall footprint of the staircase.
There are also limits on the minimum ‘clear width’ of treads within the Building Regulations. These mean that, in most cases, a spiral staircase which is used as the main staircase in a home will need to have a minimum diameter of 1,830mm (2,083mm in Scotland), although if the staircase is only accessing one habitable room then then a narrow diameter of 1,448mm will suffice.
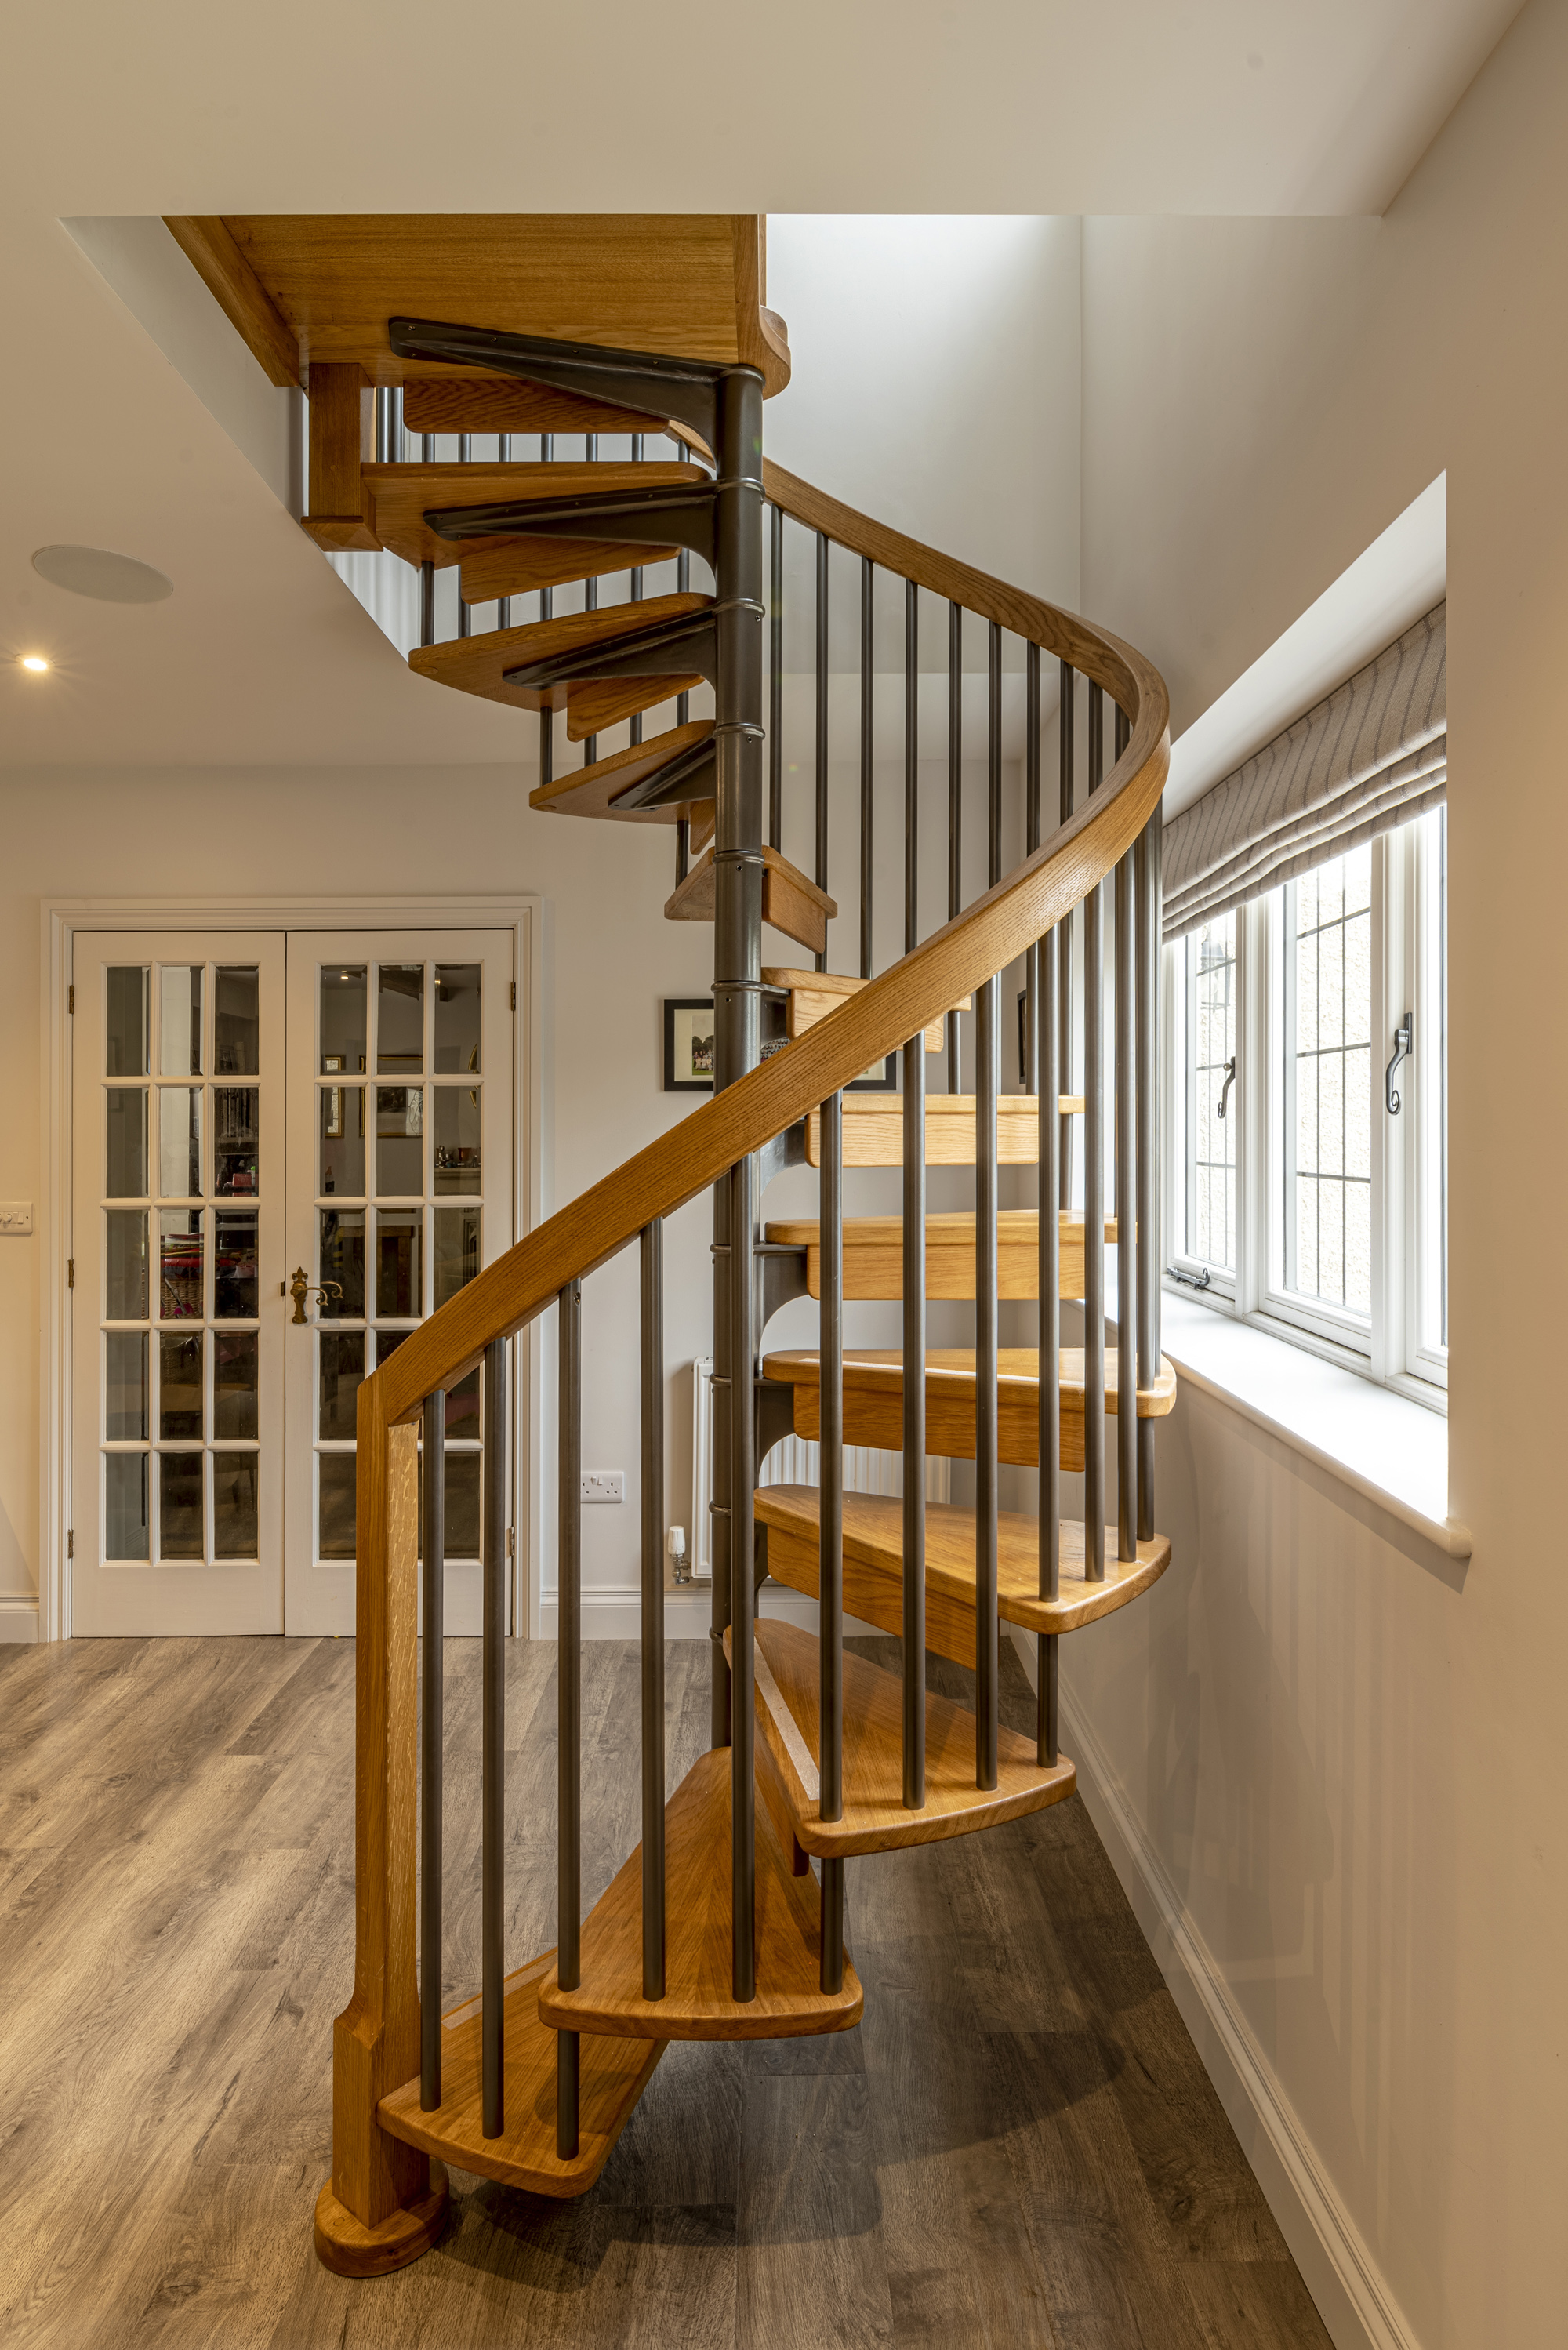
If the staircase is providing secondary access to an area then there is no width requirement although it is recommended that you consider what you will be using the staircase for i.e. carrying drinks to a terrace or balcony level and therefore ensure that the width of the staircase is fit for purpose. Your staircase manufacturer should be able to advise on the appropriate size.
Once you have a clear idea of the diameter – it is a good idea to tape this out on the floor or create a plan on paper, or a design package like Sketch-up, to check that it will work within the space.
In general – it is a good idea to ensure any openings cut for the staircase are at least 100mm wider than the diameter. You will also need to ensure that there is a headroom of at least 2,000mm above any of the treads (although it may be possible to reduce this to 1,900mm with a building inspector’s permission).
Once you’re happy with the measurements for the staircase itself, you need to have a careful think about how you are going to get sections of staircase into the space (particularly the central post). If access is narrow due to a tight or bending hall or narrow doorways, then you should highlight this to the manufacturer and look at options for getting the staircase in.
Choosing a Bespoke Staircase
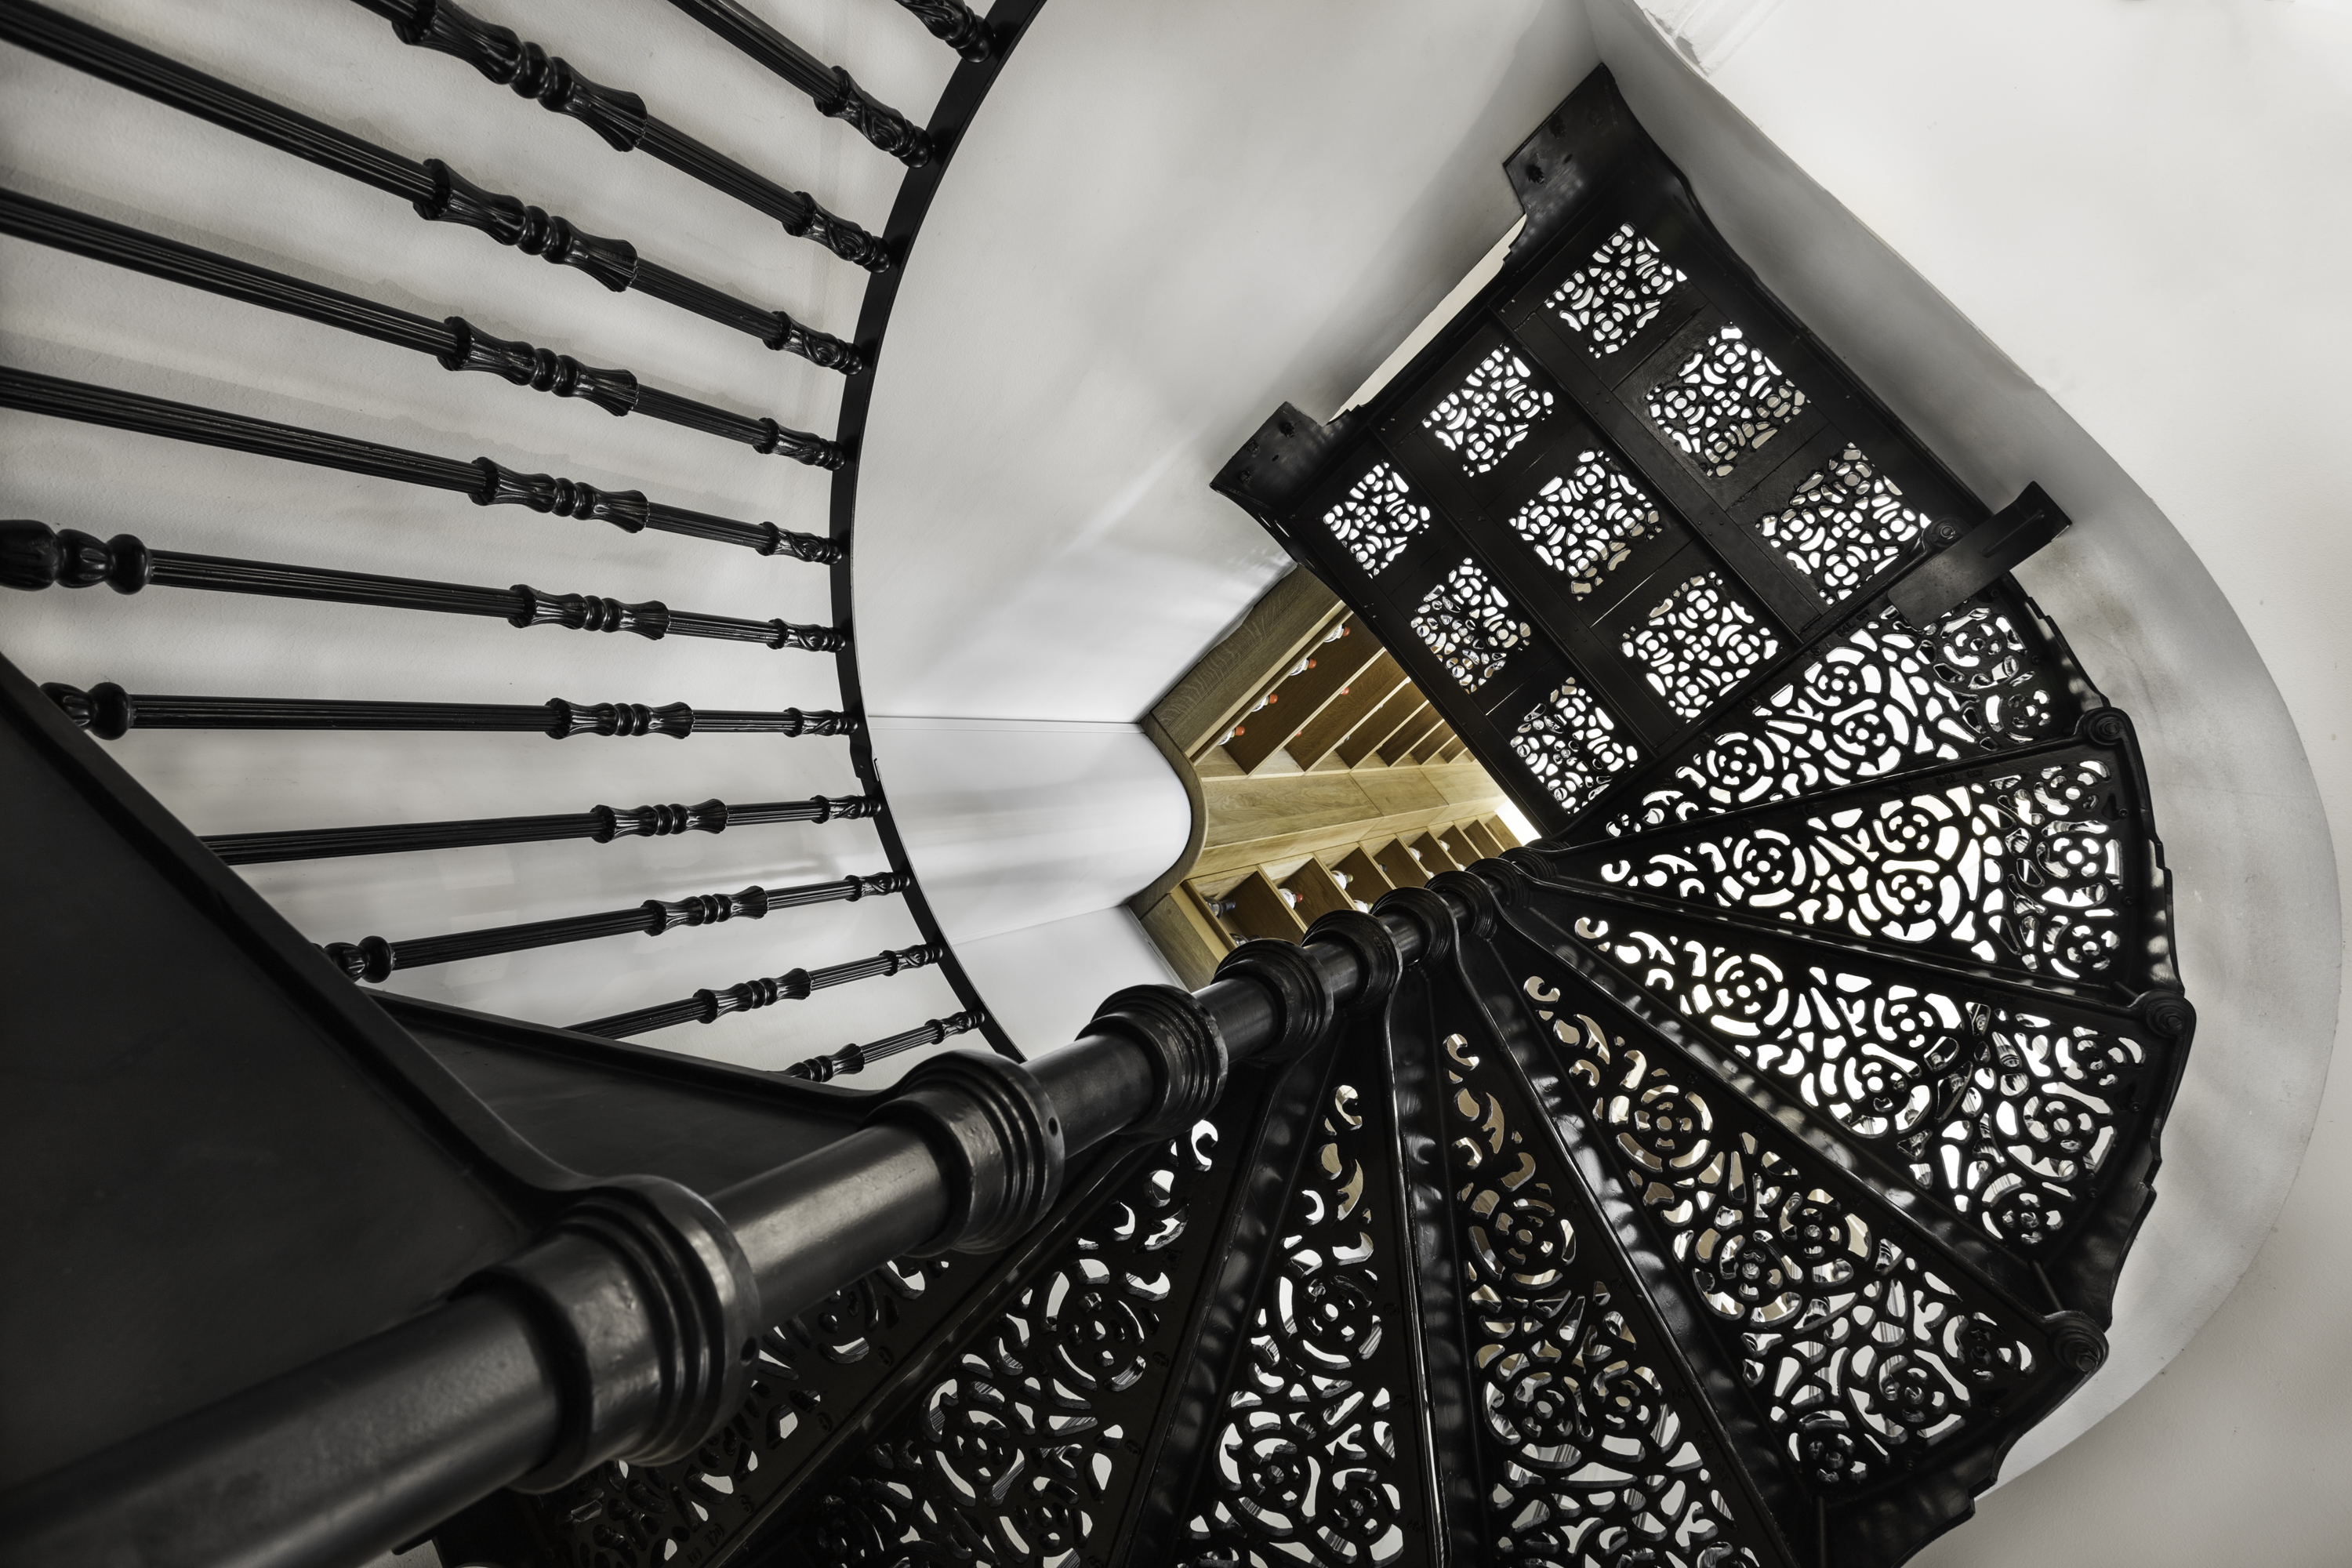
With the measurements in hand, you can now start looking for your dream staircase to fill the space. There are a number of staircase options now available, and one of the biggest differences tends to be whether they are a kit staircase or designed bespoke.
Kit staircases are mass manufactured to standard sizes. This can help to keep costs down but it often means you have to make compromises on the final design or size of your staircase. Not all kits have all the parts to comply with necessary building regulations so make sure that you investigate what the kits include to ensure that you will not have any issues in the future with non compliant staircases.
Bespoke options are more expensive but give you much greater control over all aspects of the finished design letting you select the type of timber for treads and handrails, the design and number of spindles, the precise diameter of the staircase and the finish on any metalwork. It also ensures that current building regulations for your country are met. This means the finished staircase will perfectly fit your space – providing a worthwhile investment that you can enjoy every day.
The Tools You Need
Once you’ve placed the order it’s time to check you have all the tools you will need to complete the installation. On a typical staircase installation, you will need to get kitted out with a:
- Tape measure
- Drill (including an SDS Drill if you’re fixing down into concrete)
- Socket wrenches
- Chisels (including bolster chisels if you’re rebating handrails into walls)
- Hammer
- Mitre saw (this will allow handrails to be adjusted to the angle of the wall)
- Spirit level
- Sharp pencil
Before You Begin
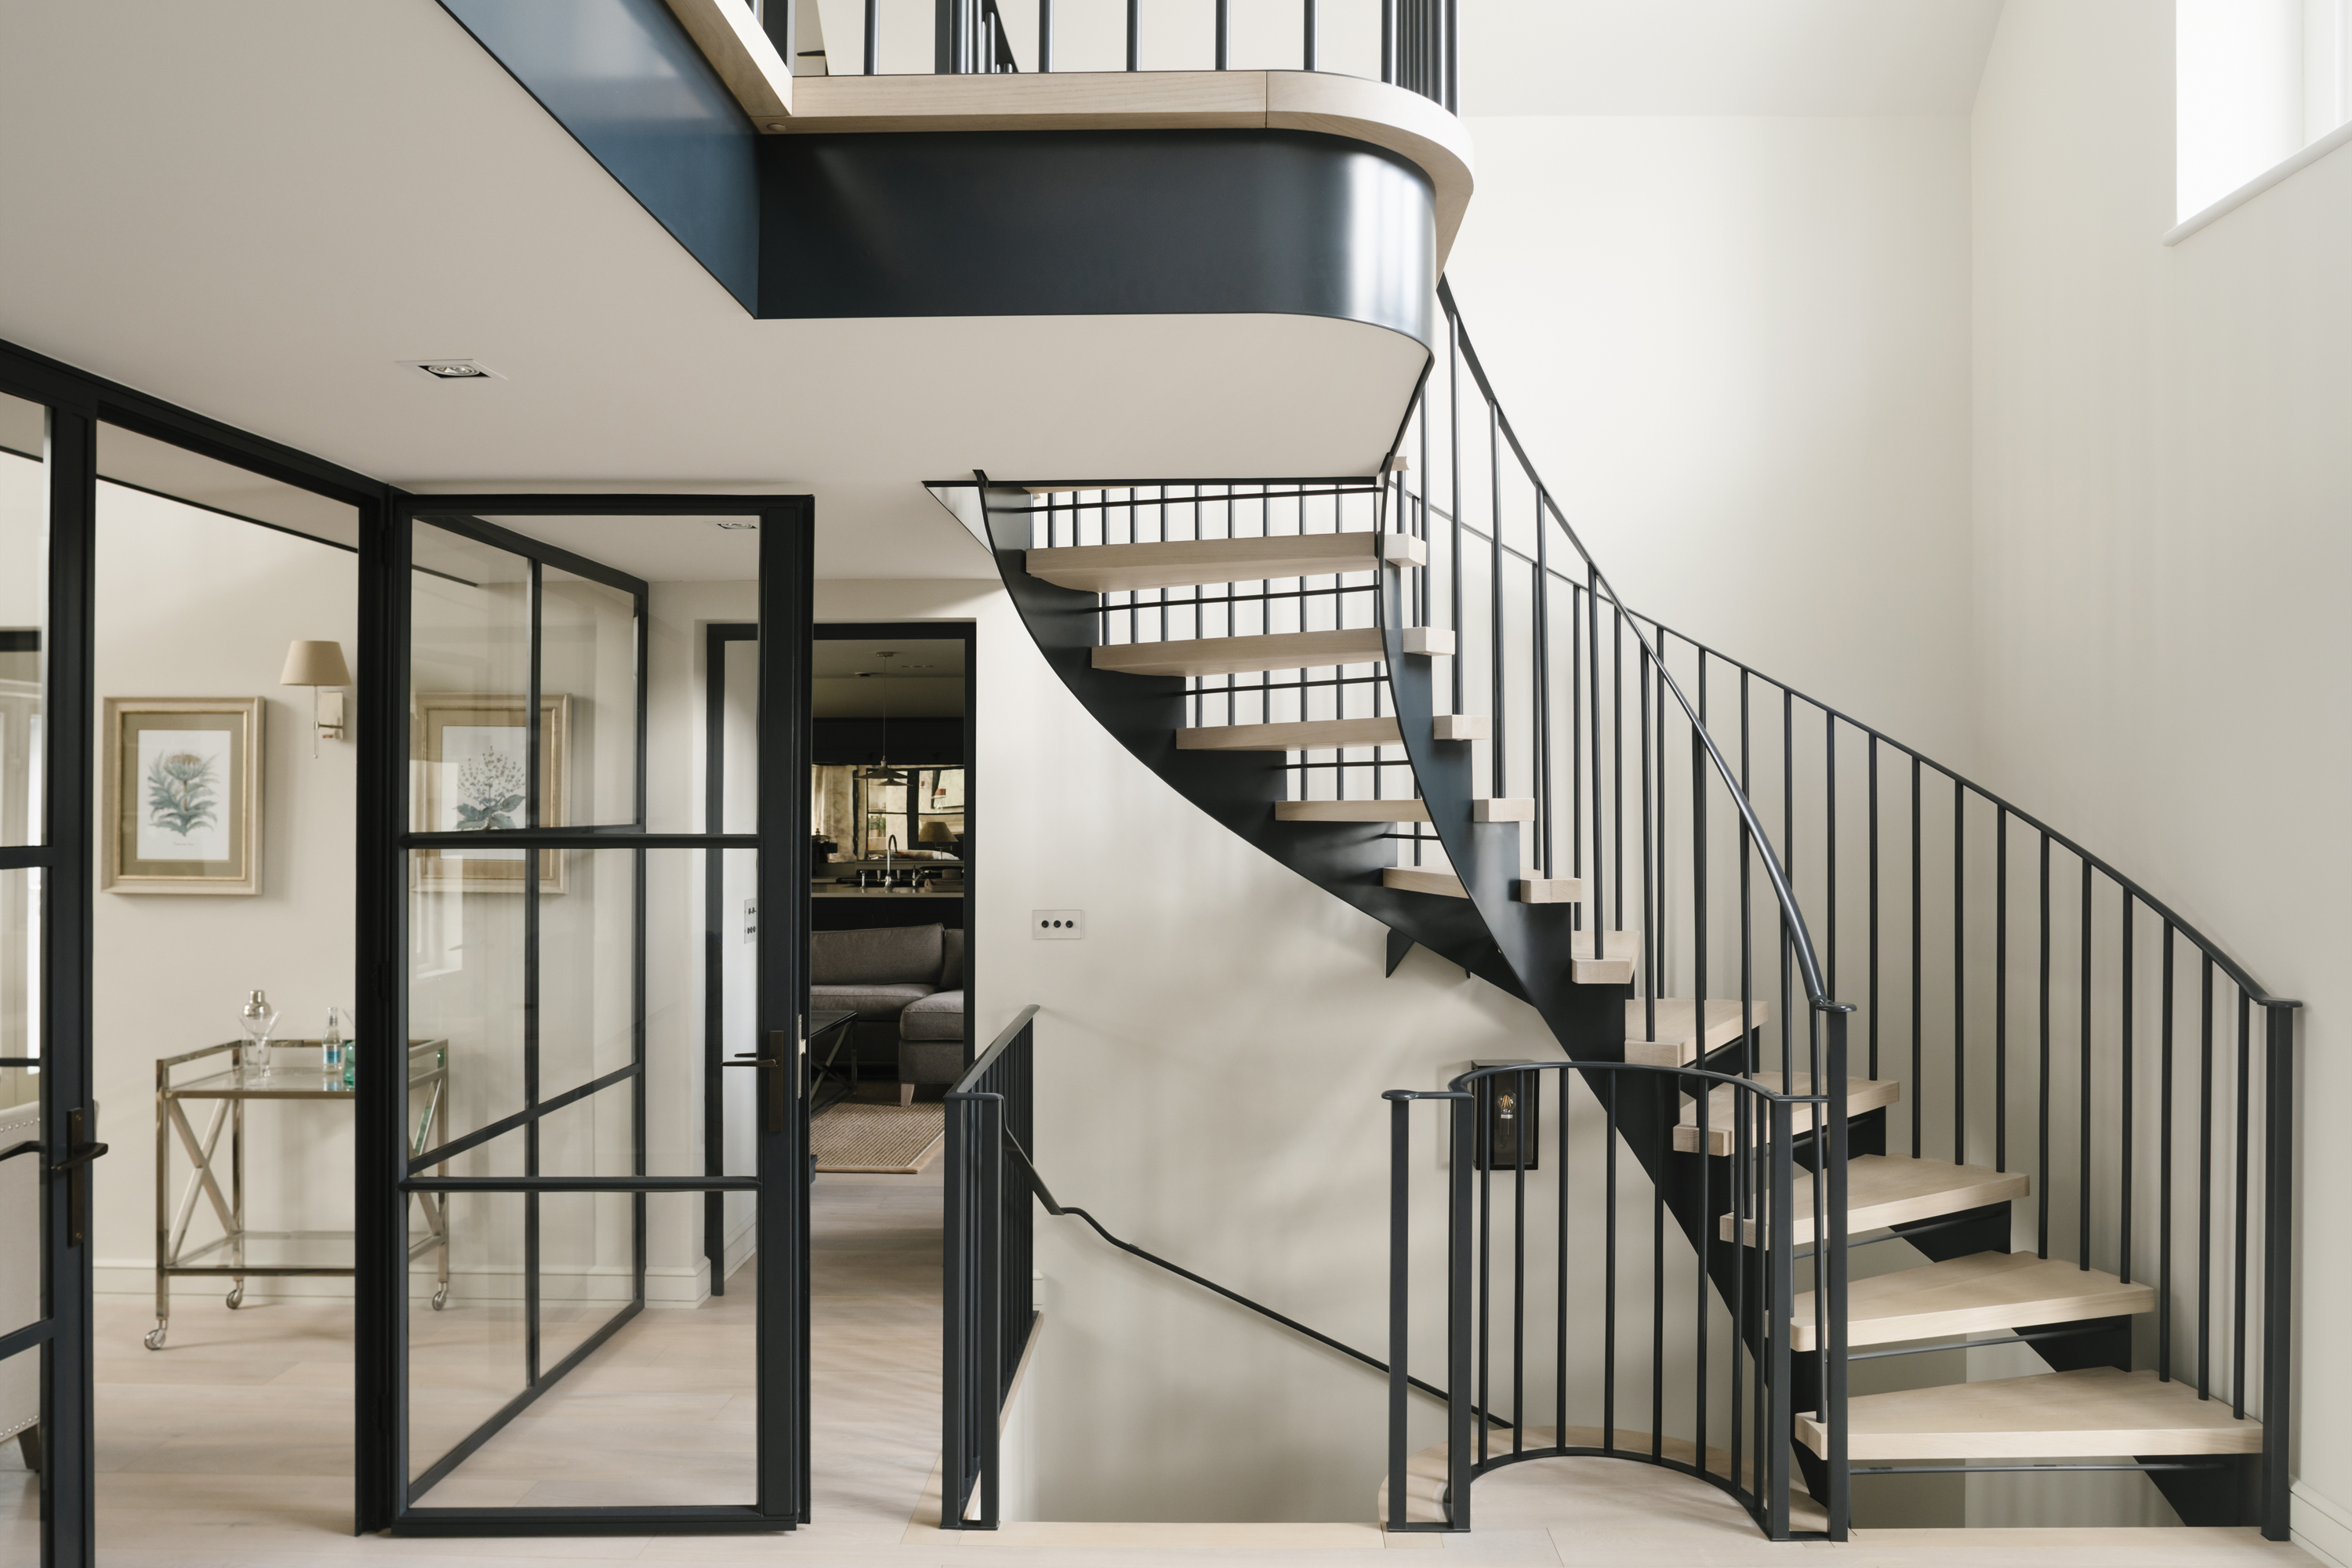
When your staircase arrives – it is a good idea to unpack all of the parts in a large space so you can familiarise yourself with all of the different parts and get an idea of how the different elements will fit together.
If possible, it’s best to do this in the same space as you are going to install the staircase as this will mean less back and forth when it comes time to installing the staircase.
Always Read the Instructions
Whilst you may feel fairly confident about how the staircase fits together it is important not to rush straight into it.
Your staircase should be provided with clear fitting instructions – for your safety you should ensure that you read through these carefully and refer back to them regularly throughout the installation. If you are unsure of anything contact the manufacturer.
Give Yourself Time and Get Help
Whilst the actual process of fixing your staircase together is relatively straightforward, the parts are large and fairly heavy so it is a good idea to give yourself plenty of time to complete all the work – taking regular breaks and possibly separating the process out over a few days.
The weight and dimensions of the staircase also means you will need some help to get it up and fixed into position safely. Don’t be tempted to try this by yourself as you could easily end up damaging the staircase, your home or – most importantly – yourself!! Planning out how you are going to lift and manoeuvre the staircase before you start should make it a relatively easy process.
If you reach this stage and feel uncomfortable about installing the staircase then get a professional in to finish the job – there is no shame in getting help!
Adding the Finish
Once your staircase is installed there may be a final step before it’s ready for regular use. With timber staircases, many manufacturers will provide the wooden elements (such as handrails and treads) unfinished. This allows you to pick the type of oil or varnish which suits your tastes. Simply apply this to the manufacturer’s instructions, leave it to dry and your staircase should be ready to go.
For more information on choosing a new spiral staircase for your home, contact British Spirals & Castings.
British Spirals & Castings manufactures each staircase in Britain. Each set of stairs is designed bespoke to the measurements and design preferences of the client ensuring a high quality look and finish. The staircases can be supplied in a range of Grade-A timbers along with cast aluminium from the company’s specialist foundry.
Get the Homebuilding & Renovating Newsletter
Bring your dream home to life with expert advice, how to guides and design inspiration. Sign up for our newsletter and get two free tickets to a Homebuilding & Renovating Show near you.
