How to install downlights: An expert step-by-step guide
Need to know how to install downlights? Here you’ll get pro pointers on the tools and techniques you need to use to DIY it
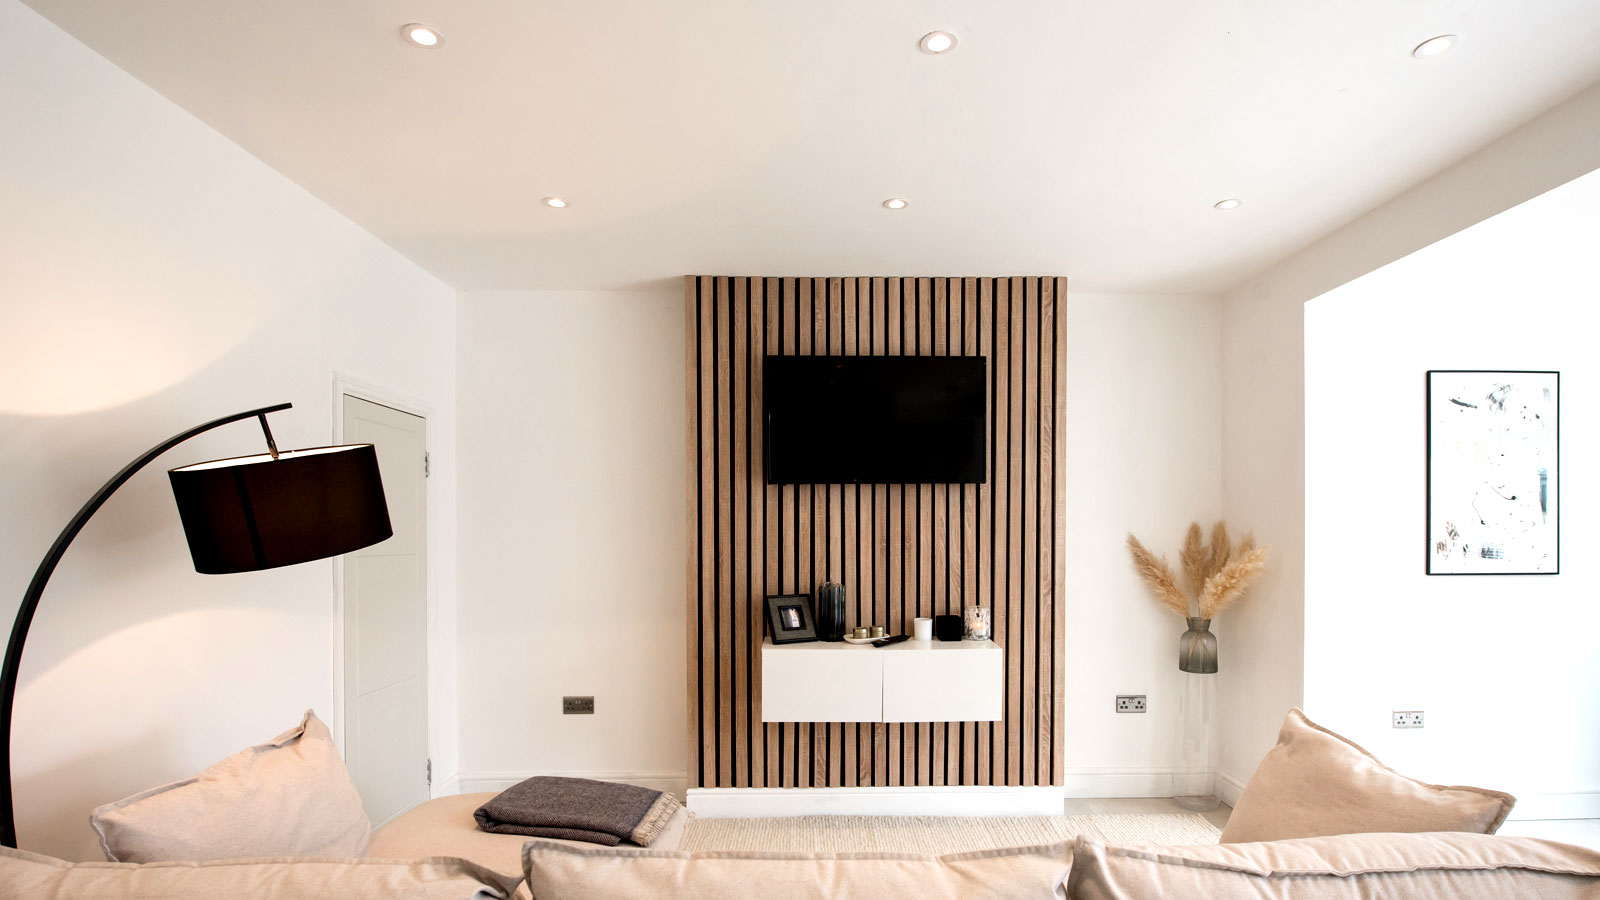
Knowing how to install downlights means you can add a subtle ambience or flood a room with light. Whether you’re looking to add a contemporary look and feel to your new extension or are saying goodbye to your old single pendant lights, downlights can work in any space.
But can you install downlights yourself? Typically, it's a job for a qualified electrician, particularly if rewiring is involved, but a competent DIYer with previous experience of working with electrics can take on the challenge.
There’s a lot to consider before you start. What safety precautions do I need to take? What tools will I need? These are just a few questions you'll need answers to. Here we get an electrician to answer some essential questions and tell you how it’s done.
How to install downlights: Are they installed from above?
The common option for installing downlights is from above as David Miloshev, certified electrician with Fantastic Services, explains: “Typically, you lift the floorboards of the room above. This allows electricians to drill the right size hole in the ceiling to take the lights. In general, the disturbance for installing these types of lights will be in the room above, where the floor will need to be cut.”
But what if you don't have access to the floor above? For instance, you may have a tiled floor in the room above, or if installing downlights in a first floor room, there may be no accessible loft space above. “The process will be more difficult, but installation is still possible,” Miloshev states.
What's more, the way the floor joists run will have an impact on downlight installation, so you need to plan ahead. “I would not recommend cutting joists,” Miloshev says. “Use a stud finder to locate the joists or other elements that need to be avoided”. Then create a downlight lighting design plan that matches what you need.
Safety checklist
Electrics are dangerous and can cause serious injuries, so it's important to follow safety precautions as Miloshev highlights here. “Before you start installing downlights, keep in mind also that this involves electrical work and not only can it be dangerous to perform on your own but in some locations, it can also be illegal.” He suggests. “It’s always better to get a certified electrician to do the job.”
A competent DIYer can tackle installing downlights, but will need to follow basic safety procedures before proceeding. Miloshev says you should follow the steps below:
- Locate and identify the correct point for the downlights.
- Check the condition of the voltage. Make sure that the voltage indication device is functioning correctly.
- Switch off circuit.
- Verify that there’s no voltage running.
Tools and equipment you’ll need for installing downlights
Before you start, make sure you have followed any safety procedures and you have got all your tools and equipment ready. These include:
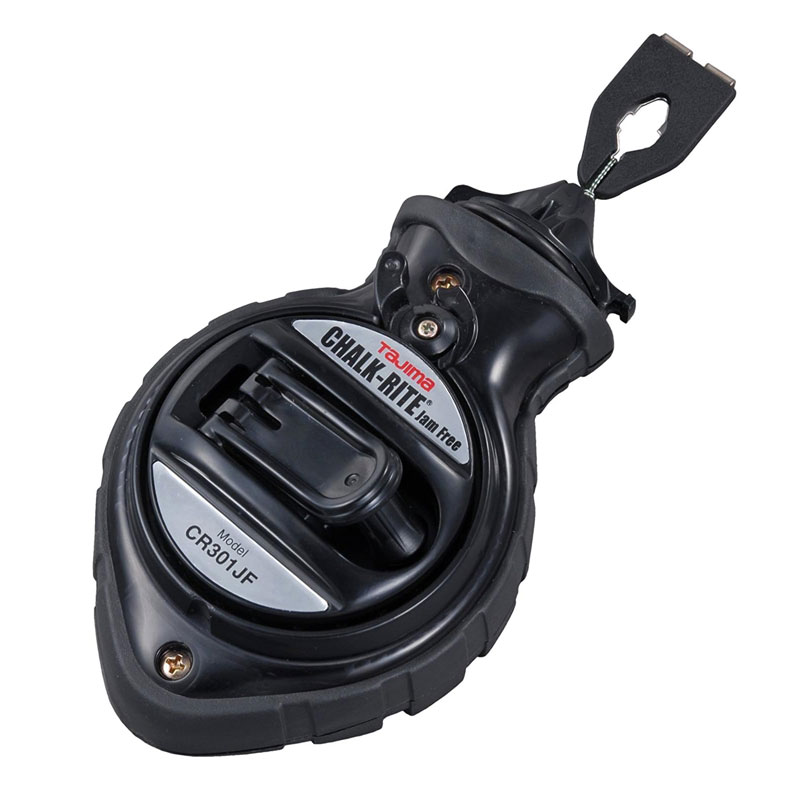
- Chalk line
- Tape measure
- Pencil
- Pad or Jab saw
- Hand drill
- Hole saw
- Small drill bit
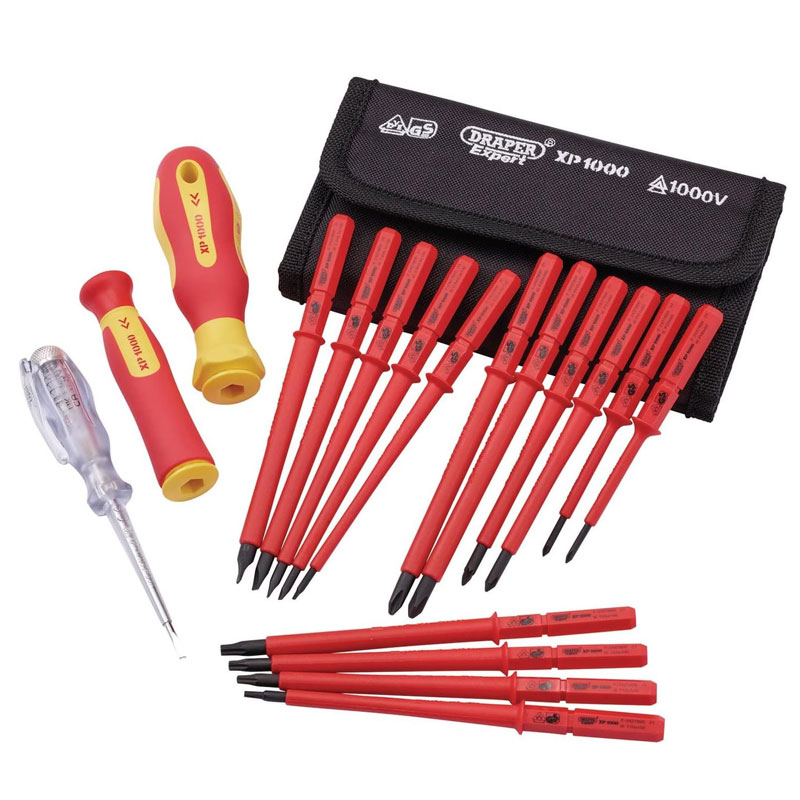
- Screwdrivers
Try these tools to help install downlights
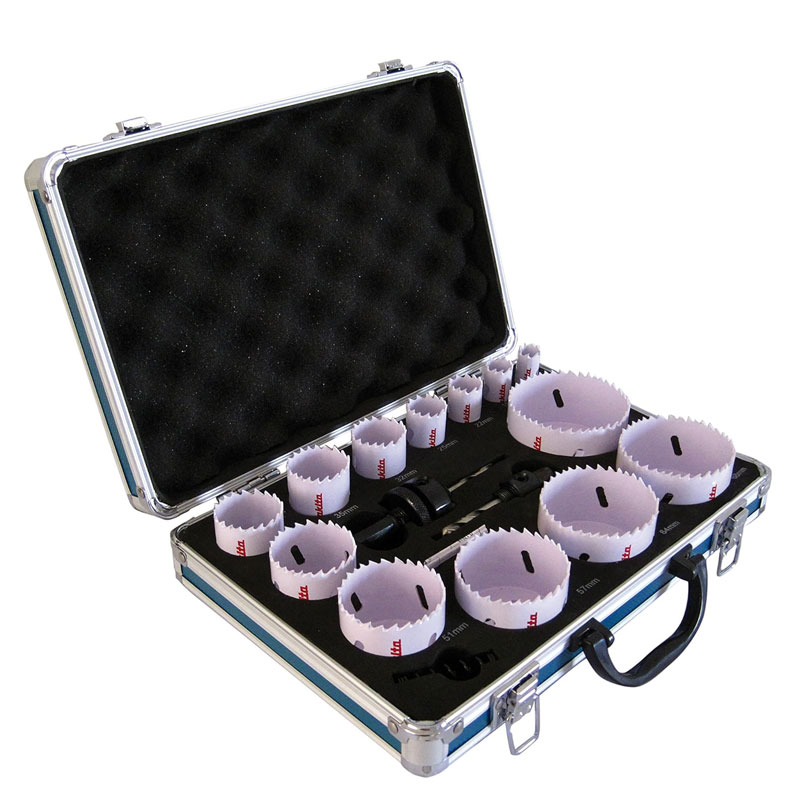
A branded set of hole saws ranging in size from 6mm to 76mm. Includes two arbours and one spring and is supplied in an aluminium case
5 steps to install downlights
After you’ve obtained all your tools and equipment, and lifted the floorboards in the space above the ceiling you are working on, it's time to start working on the installation steps which Miloshev shares below.
1. Measure and mark
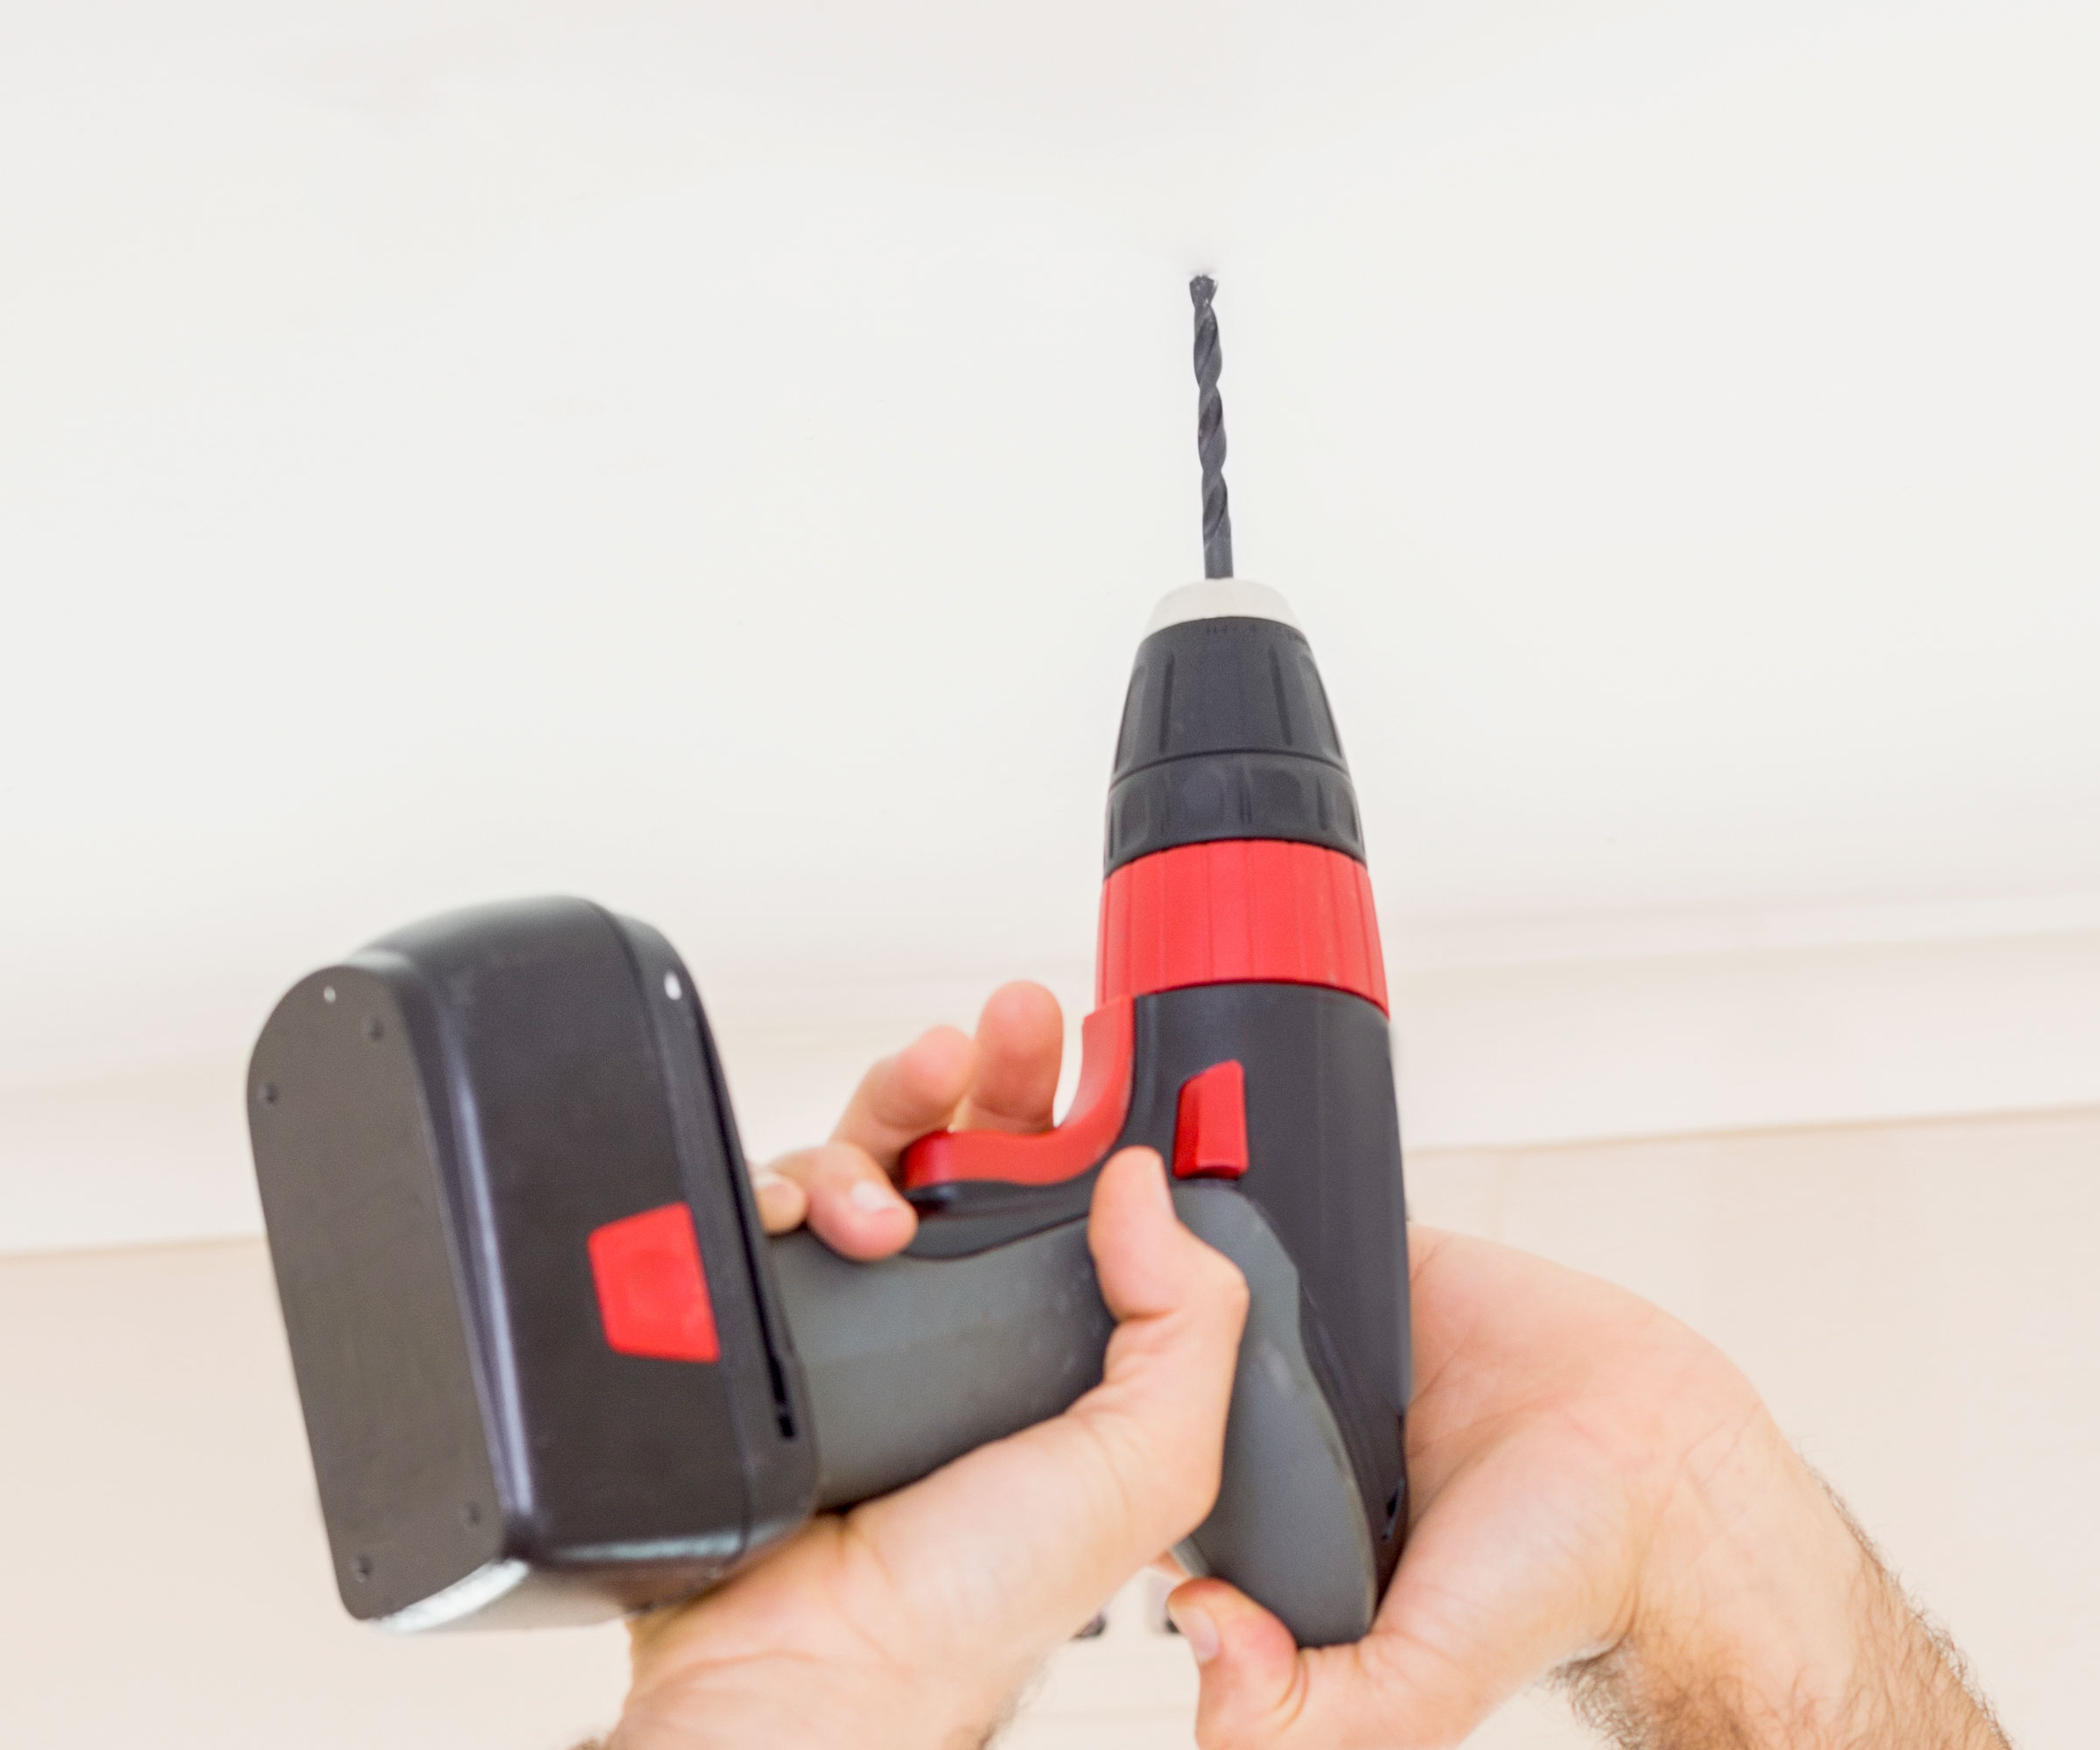
Decide where you want to place the downlights, measure the ceiling, and mark the central point of each light with a pencil. Then drill a small pilot hole through the ceiling with the small drill bit.
2. Check ceiling
After you’ve marked the positions of the downlights, check above the ceiling to make sure there are no joists, wires or pipes in the way of the pattern you’ve created. You also need to maintain around a 15 centimetre gap around each downlight so the fitting doesn’t overheat and impact surrounding wires, pipes and so on.
3. Drill holes for your downlights
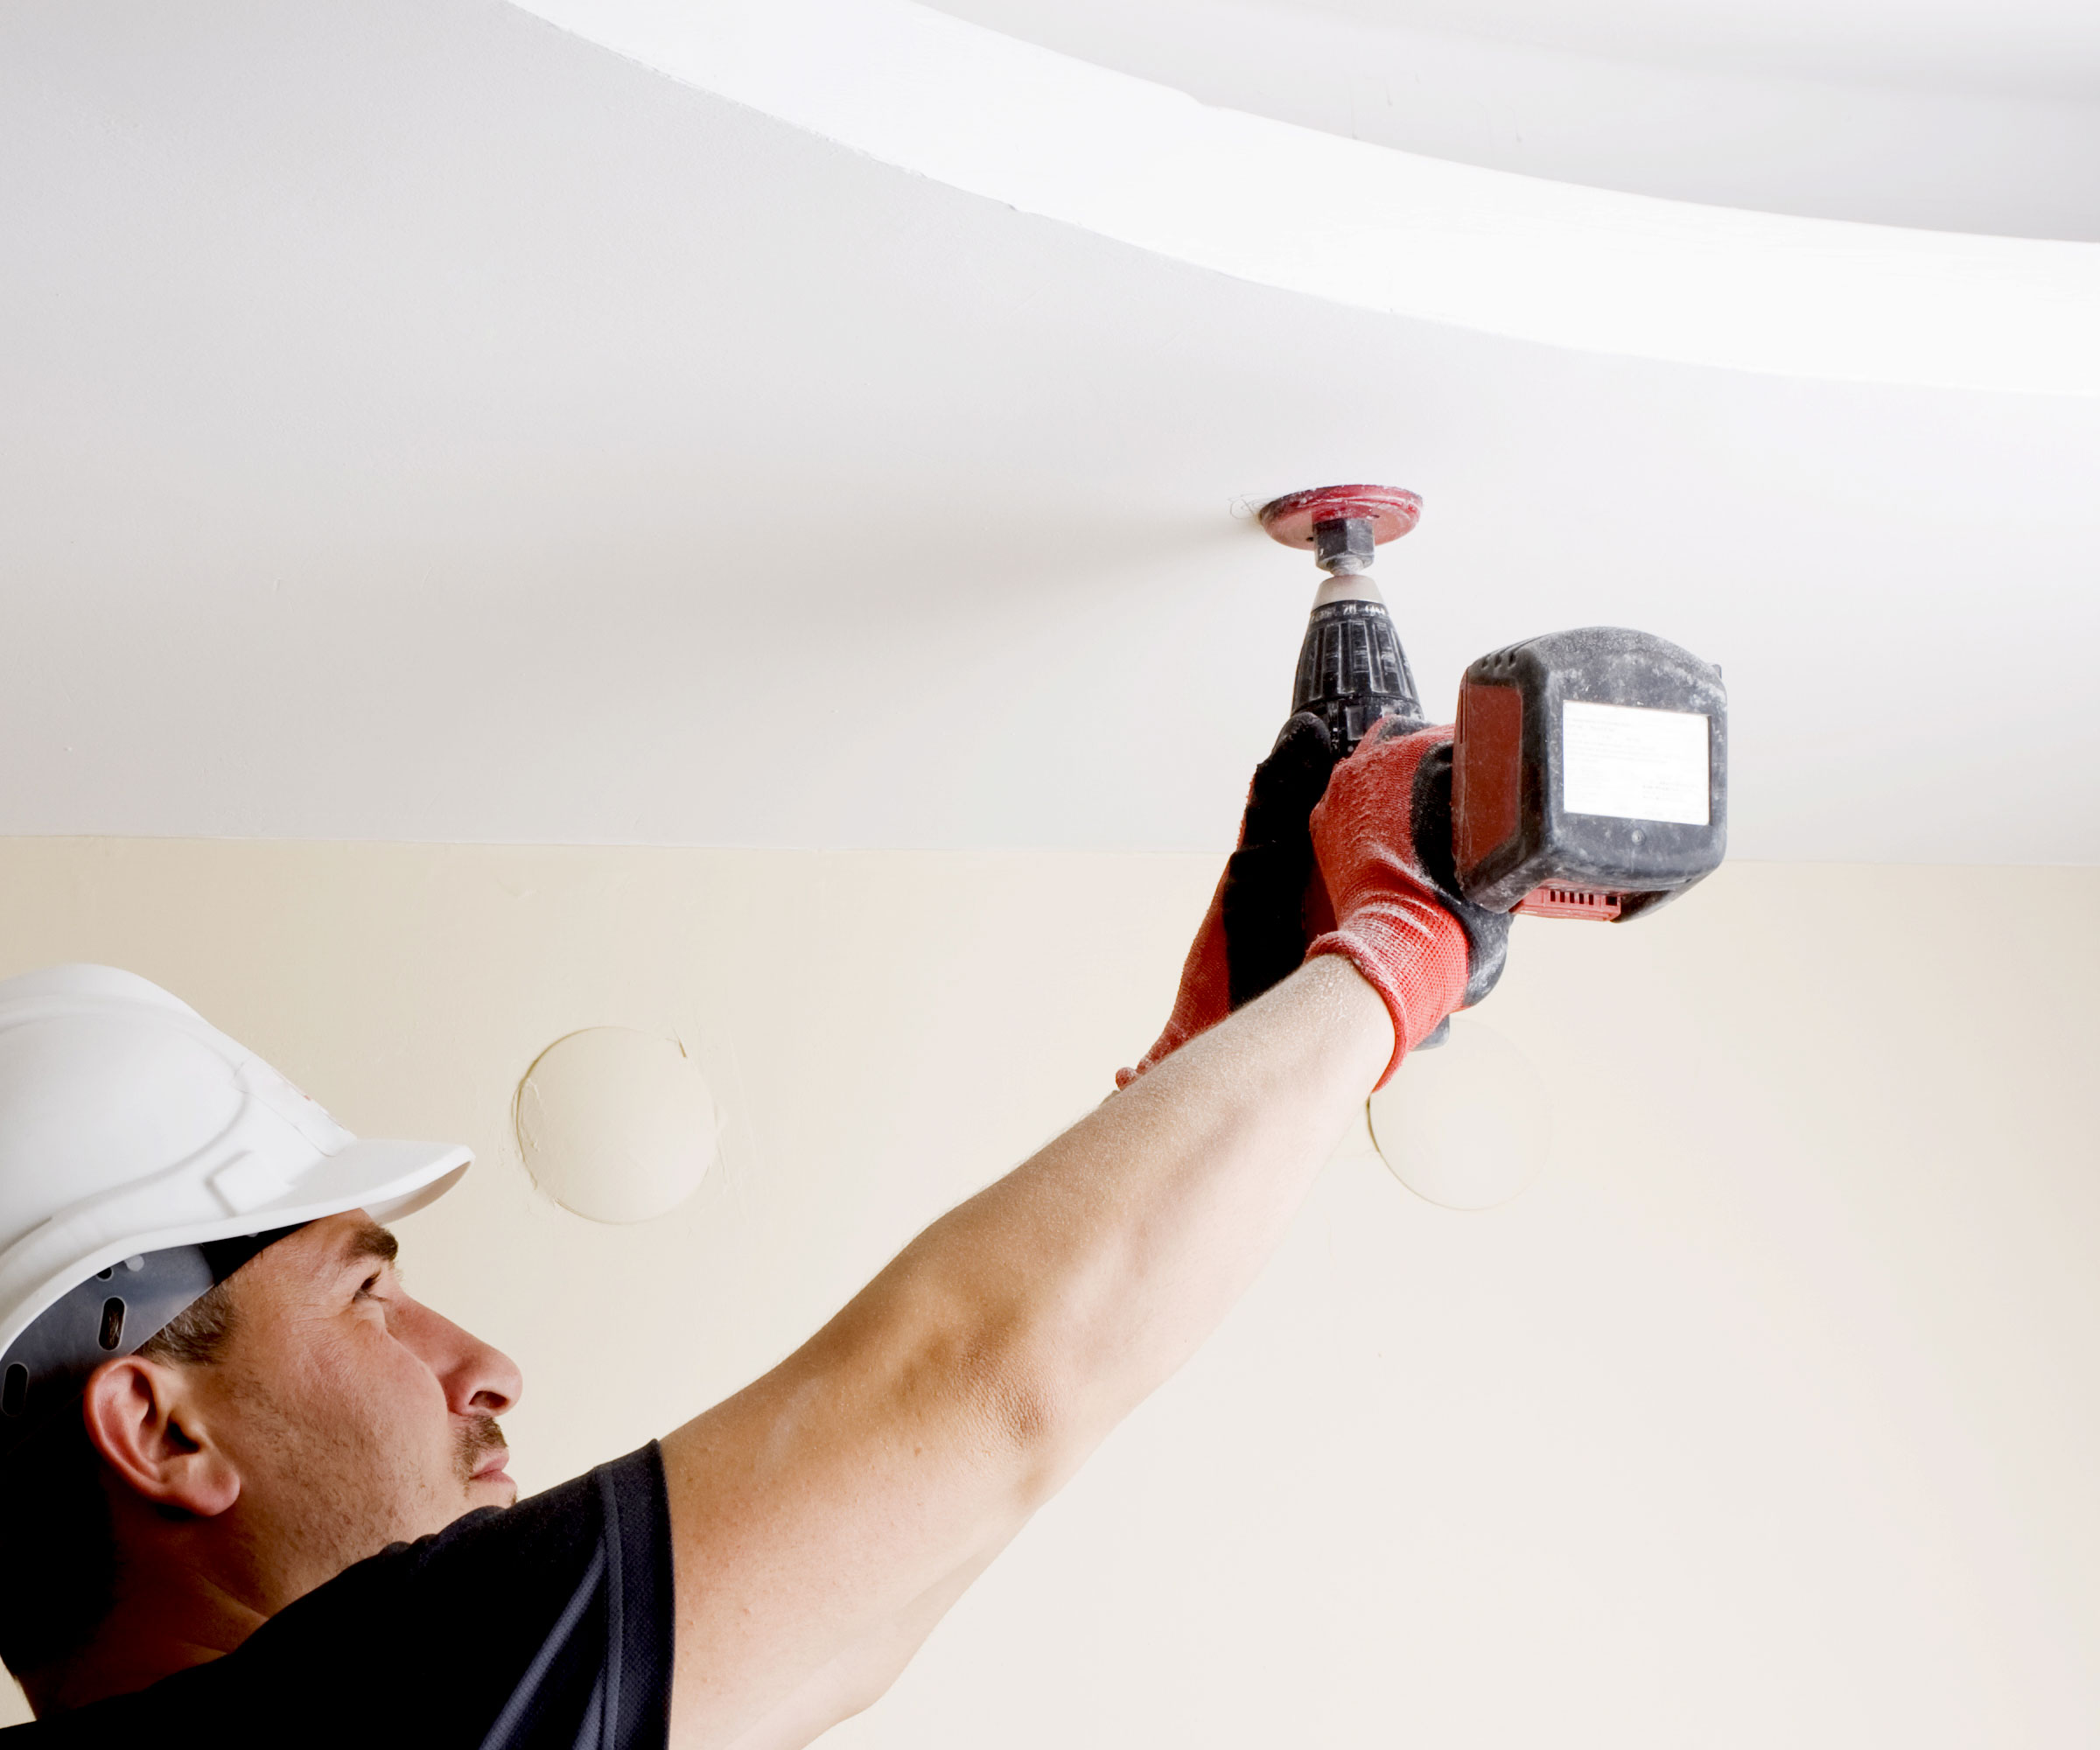
Оn the box of the downlights, it will usually indicate what the cut-out size for the downlight should be. For the best results, use a hole saw to drill the correct size of the downlight or use a plasterboard saw to eliminate the need for a drill and hole saw. For this method, you will need to draw a circle of the correct size on the ceiling as a guide.
4. Wire up the downlights
Once you have a clean-cut hole in the ceiling, pull the wiring through the holes where the downlight can be wired. There are two options for the wiring:
- The first one is to connect the downlights to a switch and use the wiring already in place.
- The second is to expand the circuit, which will involve more wiring.
In any case, the wiring should be pulled through the holes you’ve made in the ceiling, ready to be connected to the downlights. If you’re replacing a single pendant with multiple downlights, the process should be pretty much the same.
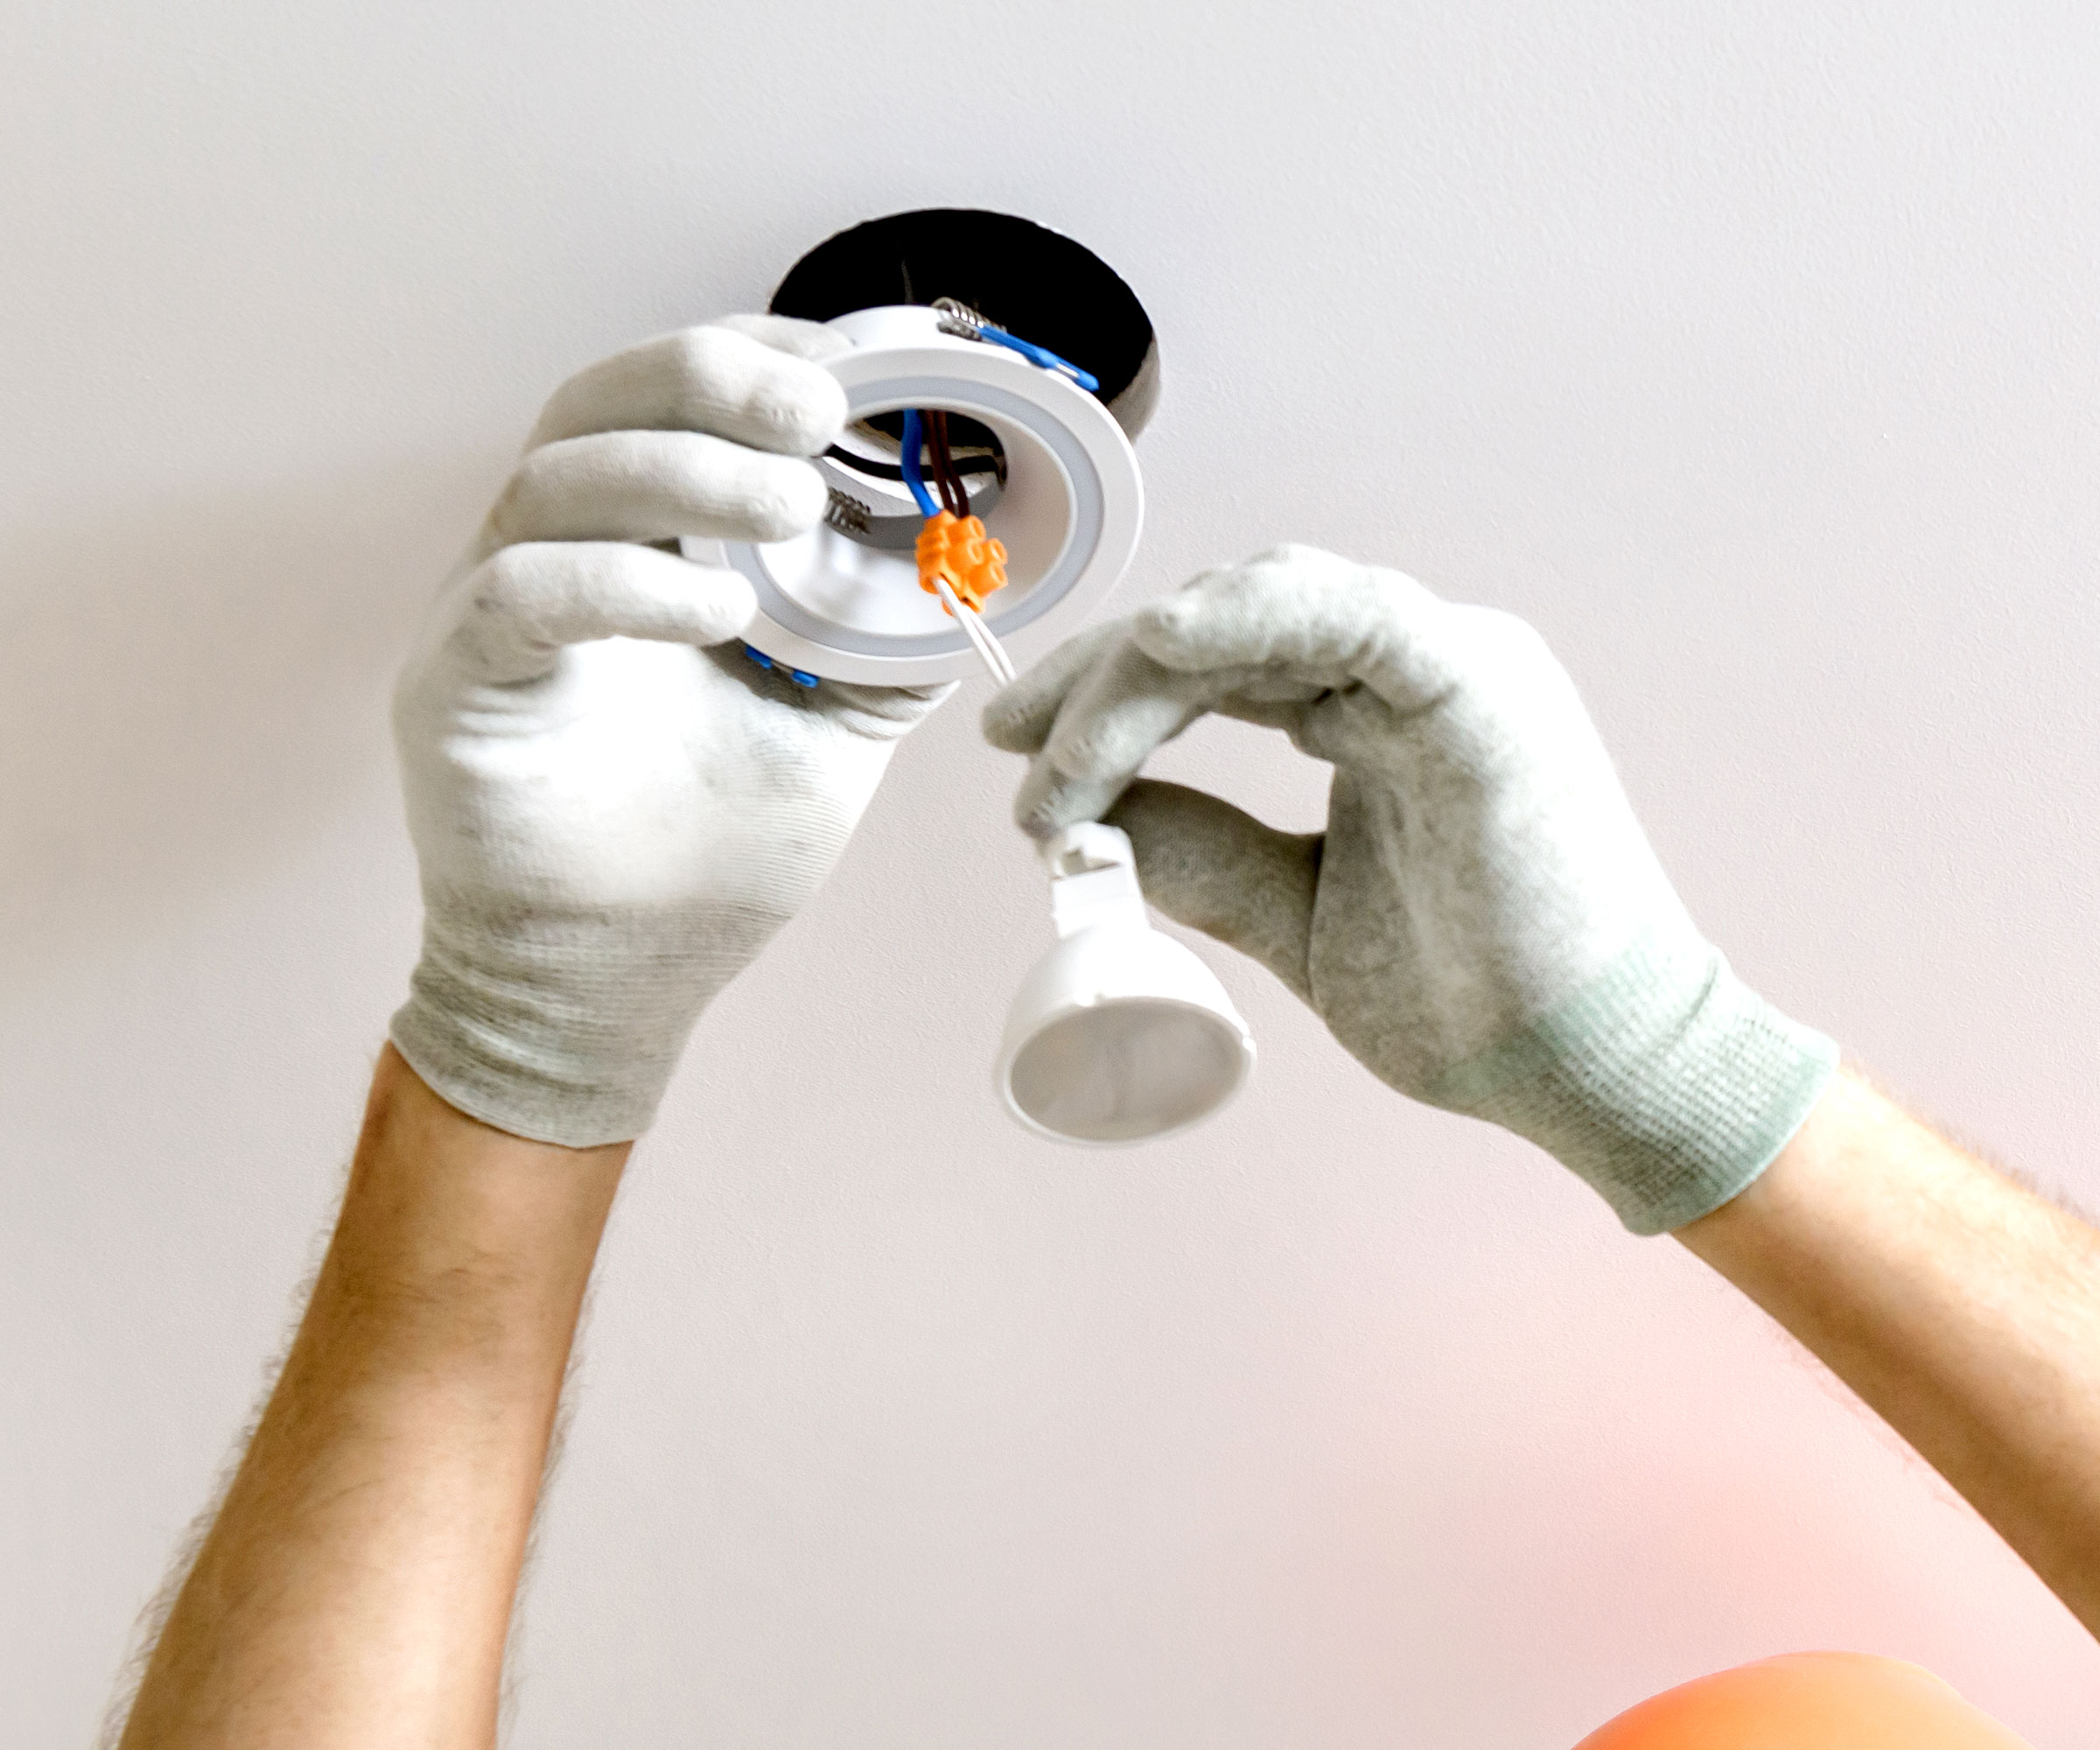
Keep in mind the wiring is a delicate process best performed by a professional because stripping the old wires and splicing the new matching wires are hazardous tasks. Both wires on the light fitting and ceiling need to be stripped at the ends with a wire stripper removing around 10-15mm of the insulation. When finished with the stripping, you’ll need to match wires and connect to the downlight wiring with connectors.
5. Install the downlights
To fit a downlight into the hole, hold the two springs back against the sides of the downlighter and push up into the hole. The springs should be able to lie flat on the top of the ceiling, holding it in place.
When you have finished wiring up and fitting all the downlights, switch the power back on and test the lights work. Then replace the floorboards above.
How to install downlights FAQs
Do I need an electrician to fit downlights?
Yes and no. Ideally installing downlights is a job for a Part P registered, fully qualified electrician. It's not an easy DIY task, especially if you have no experience with electrics. If you have performed basic DIY electrical tasks before then installing downlights is a project you can get involved with.
But, as always, if in any doubt when working with electrics, call in a professional.
How much does it cost to install downlights?
This will depend on a number of factors including the price of your chosen downlights, how many are being installed and whether or not you are doing it yourself.
As a general guideline if you are getting an electrician to supply and install downlights you should expect to pay £300-£500 for a room. Consult with several local contractors to get a more accurate price.
Do you plaster a ceiling before putting spotlights in?
Yes you can, but there is a process to follow to make it easier and quicker to do the plastering. First plaster the ceiling and leave to dry. Then add a mist coat when painting new plaster and leave to dry before drilling the holes. Then use a hole saw to cut any holes for the downlights.
However, you can cut the holes first and then skim the ceiling (and mist coat) before installing the downlights. This is a little more time-consuming and needs a bit more precision with the plastering, but there's little difference between either method.
Do ceiling spotlights need a transformer?
Typically no, as transformers are often built into the light itself. But, if they are not then a transformer is often required. Transformers help stabilise voltage and are helpful for dimmer lights, which are what a lot of downlights are. Check when purchasing a downlight or consult an electrician if unsure.
Do spotlights need a junction box?
Yes and no. It is common for downlights to come with a junction box attached ready to use and make any necessary connections. But there may be occasions when a downlight doesn’t have an attached junction box, i.e. when a connection is made outside the light fixture.
If this is the case with your downlights you will need to use a junction box. As always, if unsure, consult with a certified electrician.
Is it safe to put insulation over spotlights?
There isn’t a simple answer to whether or not you can put insulation over spotlights. As a general rule you shouldn’t lay insulation directly over downlights and typically it shouldn’t be near a downlight. If you lay insulation directly over a downlight it will typically run hot making it a fire risk as well as shortening its lifespan.
But there are workarounds with specific types of bulbs being suitable for laying insulation over the top, but these typically have an integrated cover. An alternative is to use some type of downlight cover like this LoftLeg Loft Lid from Amazon.
When tackling electric projects you need to know the basics — check out our electrics guide to get some pointers.
Get the Homebuilding & Renovating Newsletter
Bring your dream home to life with expert advice, how to guides and design inspiration. Sign up for our newsletter and get two free tickets to a Homebuilding & Renovating Show near you.
Steve Jenkins is a freelance content creator with over two decades of experience working in digital and print and was previously the DIY content editor for Homebuilding & Renovating.
He is a keen DIYer with over 20 years of experience in transforming and renovating the many homes he has lived in. He specialises in painting and decorating, but has a wide range of skills gleaned from working in the building trade for around 10 years and spending time at night school learning how to plaster and plumb.
He has fitted kitchens, tiled bathrooms and kitchens, laid many floors, built partition walls, plastered walls, plumbed in bathrooms, worked on loft conversions and much more. And when he's not sure how to tackle a DIY project he has a wide network of friends – including plumbers, gas engineers, tilers, carpenters, painters and decorators, electricians and builders – in the trade to call upon.
