How to Install a Roof Window
Know what to expect when roof windows are installed in your project with this handy step-by-step guide

Roof windows are a popular choice for self-builders and extenders, and rightly so: they allow masses of natural daylight into your home and can transform lofts and other dark interiors into light-filled havens.
But should you install a roof window yourself? Generally, roof window manufacturers advise employing a professional installer – expect to pay between £200 and £500 for installation, depending on the size of the roof window. Only tackle this task if you are a very skilled DIYer.
(MORE: How to Choose a Roof Window)
If you’re not carrying out the installation yourself, it’s still good to know what to expect, especially if you are project managing. So, here’s a brief look at the different stages involved in installing two of the main types of roof window:
- Central pivot roof window As the name suggests, the central pivot roof window opens (pivots) from the centre. They’re popular with self-builders and renovators as they suit any room with a pitched roof.
- Top hung roof windows open from the bottom outwards, so they are a better choice for rooms with less space and for windows at eye level, as they provide an uninterrupted view.
Let’s start with the installation of a centre pivot roof window.
1. Ordering the Roof Window(s)
- Order the roof window(s) with plenty of lead time; it’s so easy to forget this and find other trades twiddling their thumbs waiting for the glazing to arrive
- Make sure your roof window has the right flashing for your roof type (tile or slate) and is suitable for the pitch of your roof.
2. The Roof Window Arrives
It’s always an exciting time on site when the roof windows arrive. At this stage, you or your installer will:
- Check that all items, including frame, sash, insulation collar, flashings, brackets, screws and top covering, are present and in good condition
- Carefully remove the sash (the glazing) from the frame and place the sash where it can’t get damaged until it’s needed.
3. Creating the Aperture
- If you’re installing a roof window into a loft or other existing room, you’ll need to create a structural opening. It’s not simply a case of cutting a hole to match the dimensions of your roof window. You’ll need to allow space for insulation and for the roof timbers to expand in warm weather
- For a self build or when building an extension, your contractor will create apertures based on detailed project plans showing the dimensions and position of your roof windows.
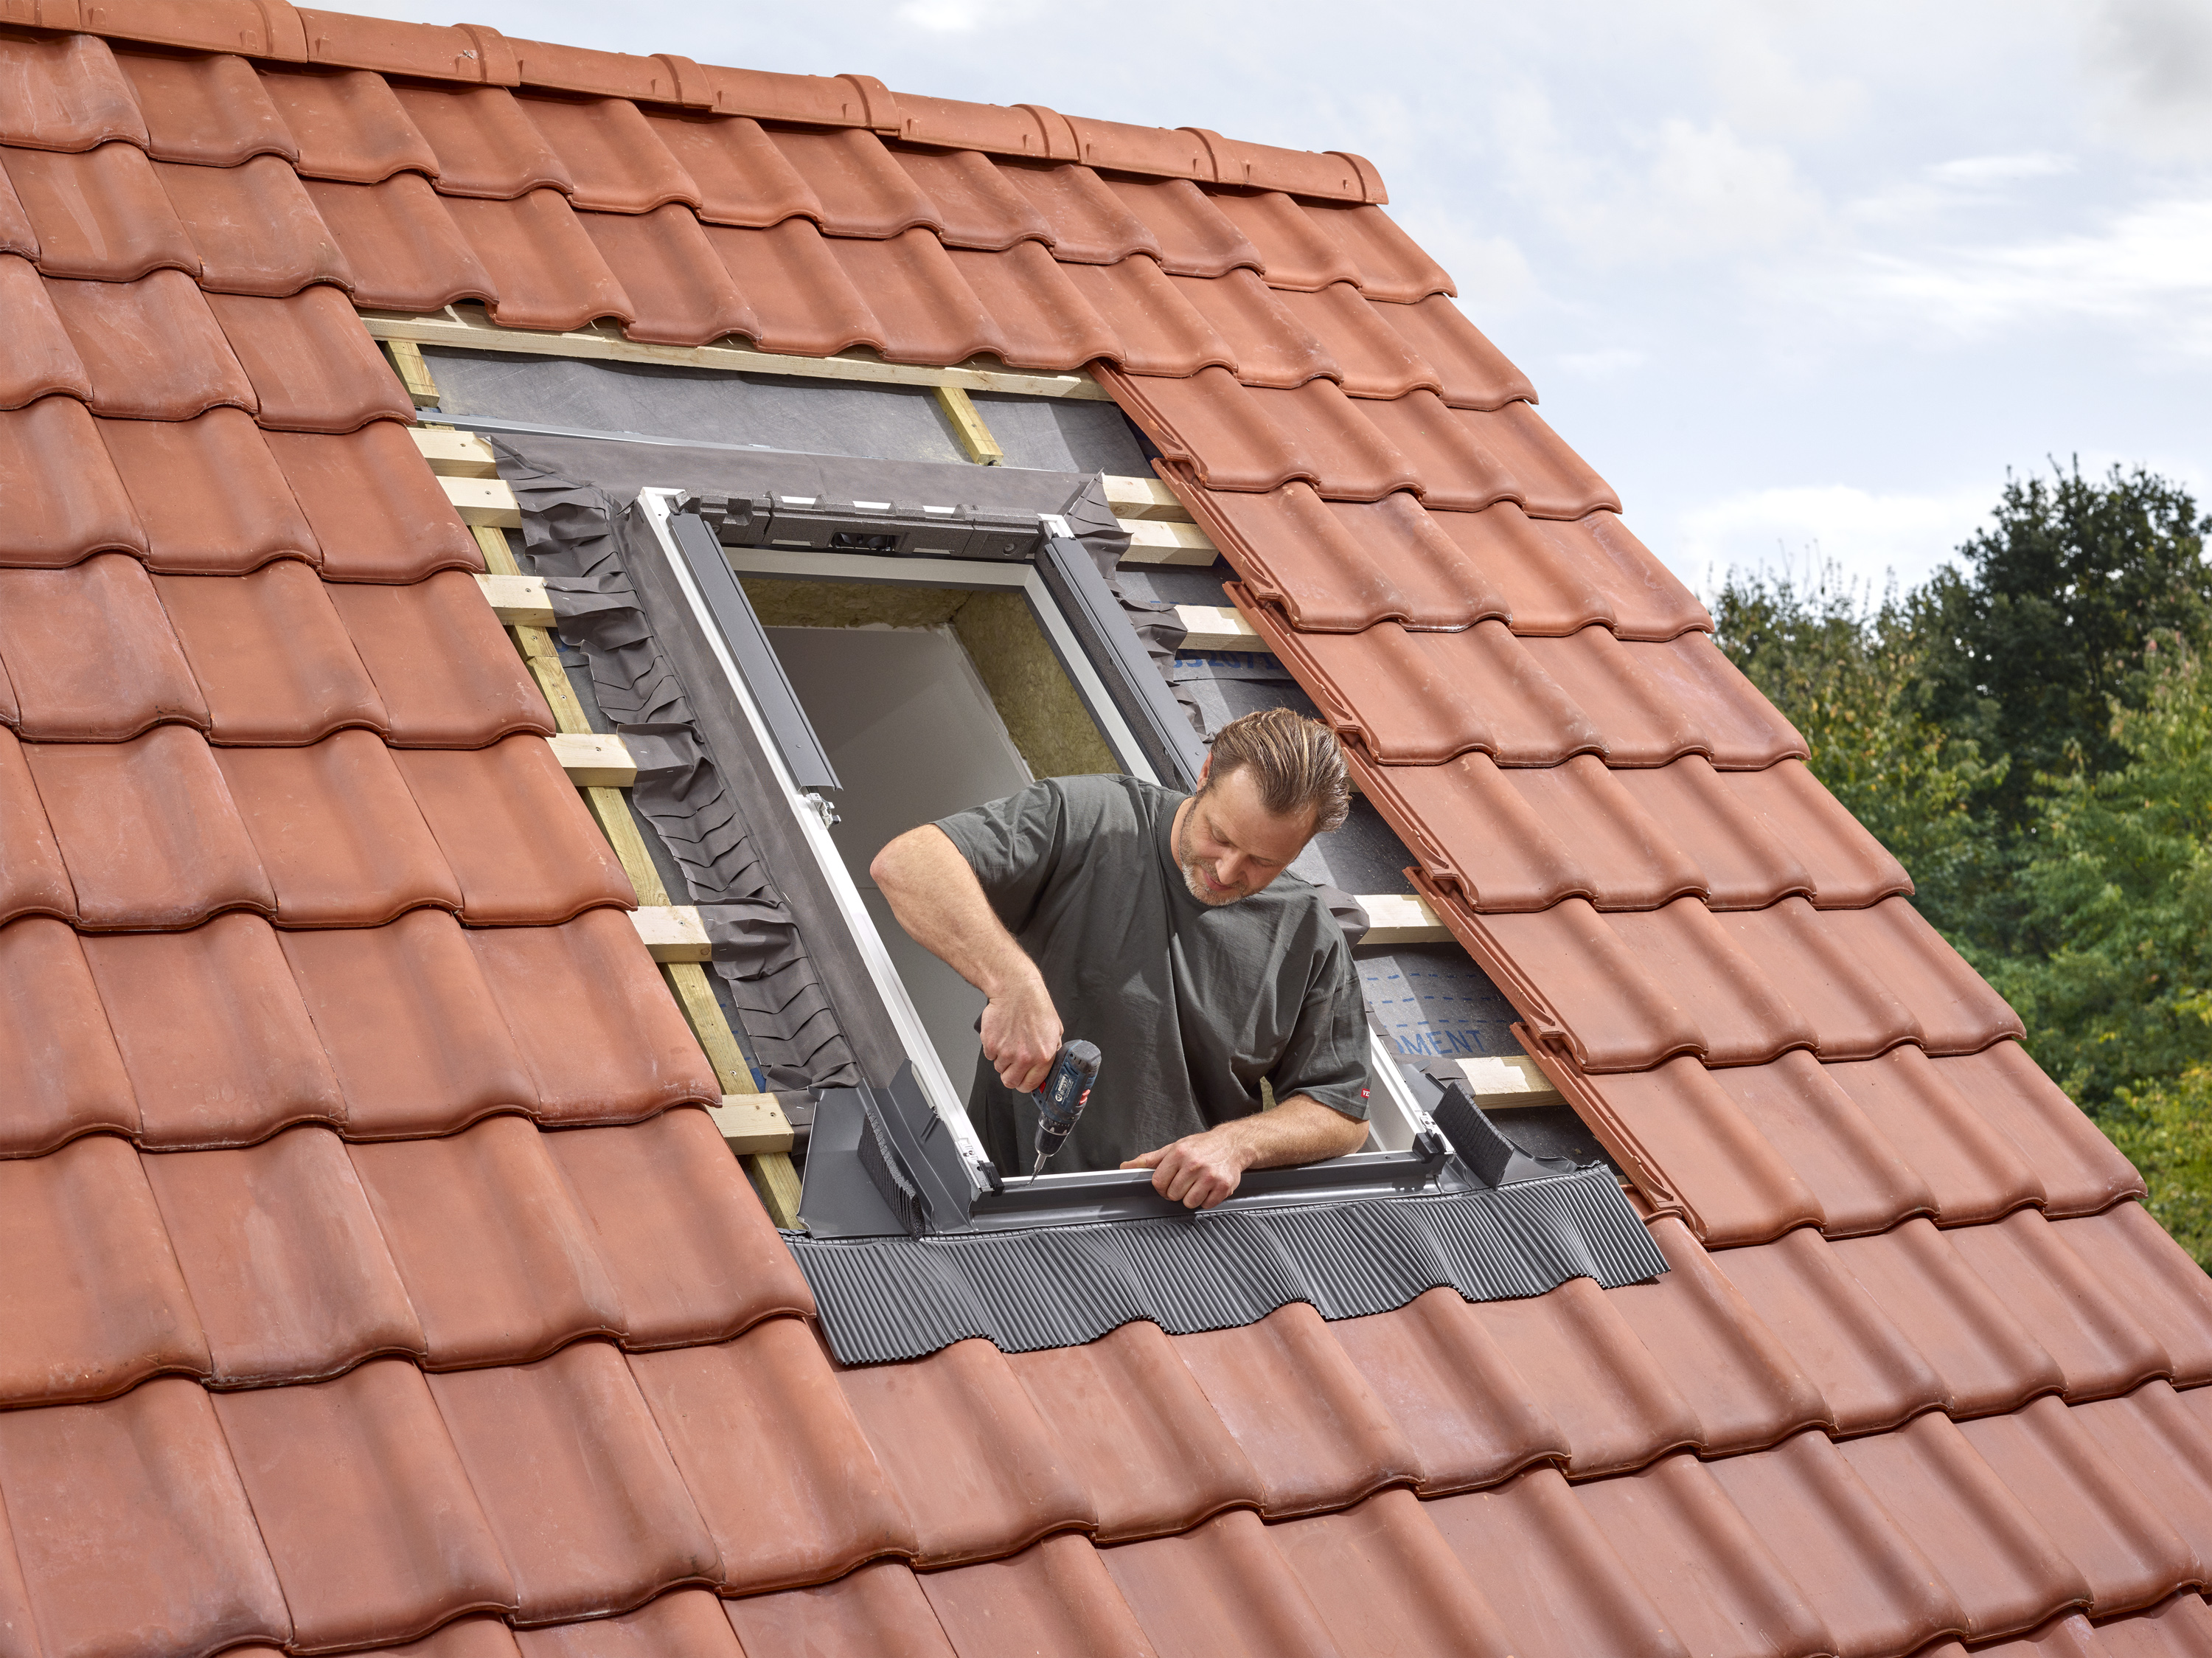
4. The Insulation Collar and Window Frame are Installed

- First, the installation collar is assembled and installed
- Then the window frame is slotted into the insulation collar and four brackets are screwed into place at each corner.
5. Squaring Up
At this stage, checks are made to ensure that the window is level:
- The sash is installed into the frame to check if the installation is square and level – if not, you may be able to use a packing piece to even up the gap (very useful for period properties)
- Once everyone is happy that the window is square, the sash is removed again and stored safely until needed (for larger windows, it may be safer to leave the sash in place).

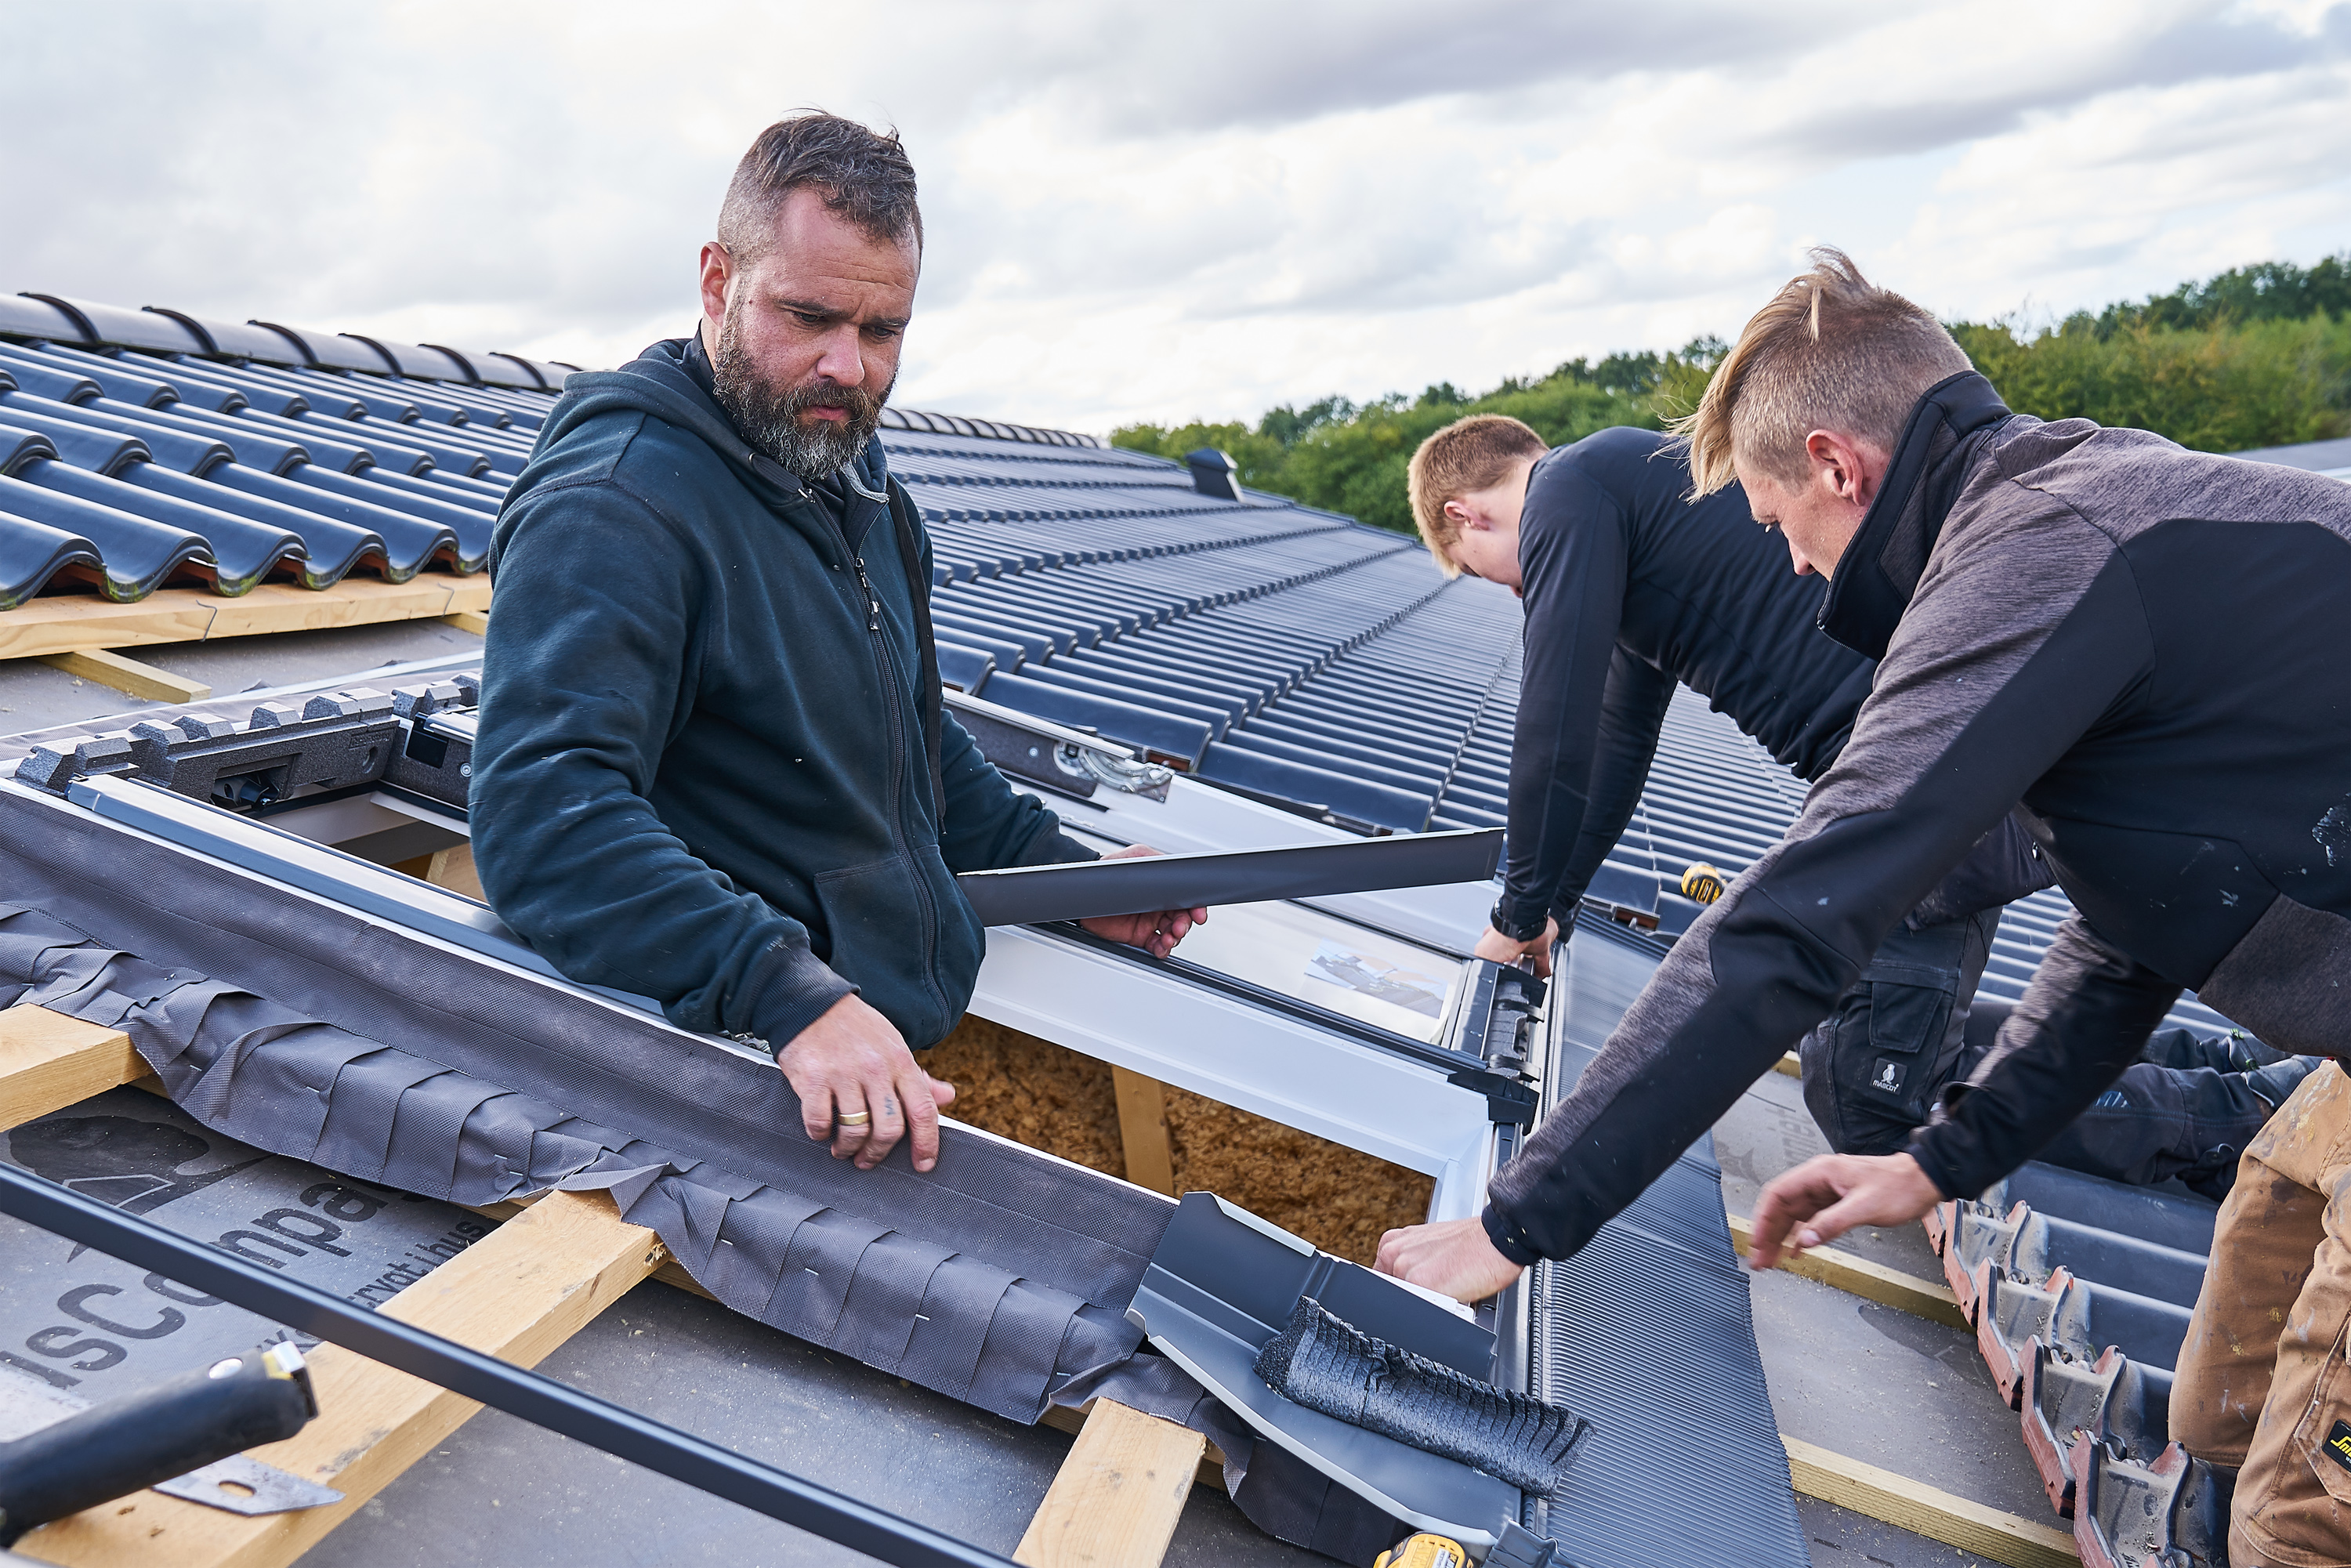
6. Fitting the Underfelt Collar
The breathable underfelt collar gives extra protection against leaks forming around the roof window.
- First, some preparation work is carried out above the window
- Now the collar, which is made to suit the window size, can be slotted over the window
- Finally, the drainage channel can be fixed in place.
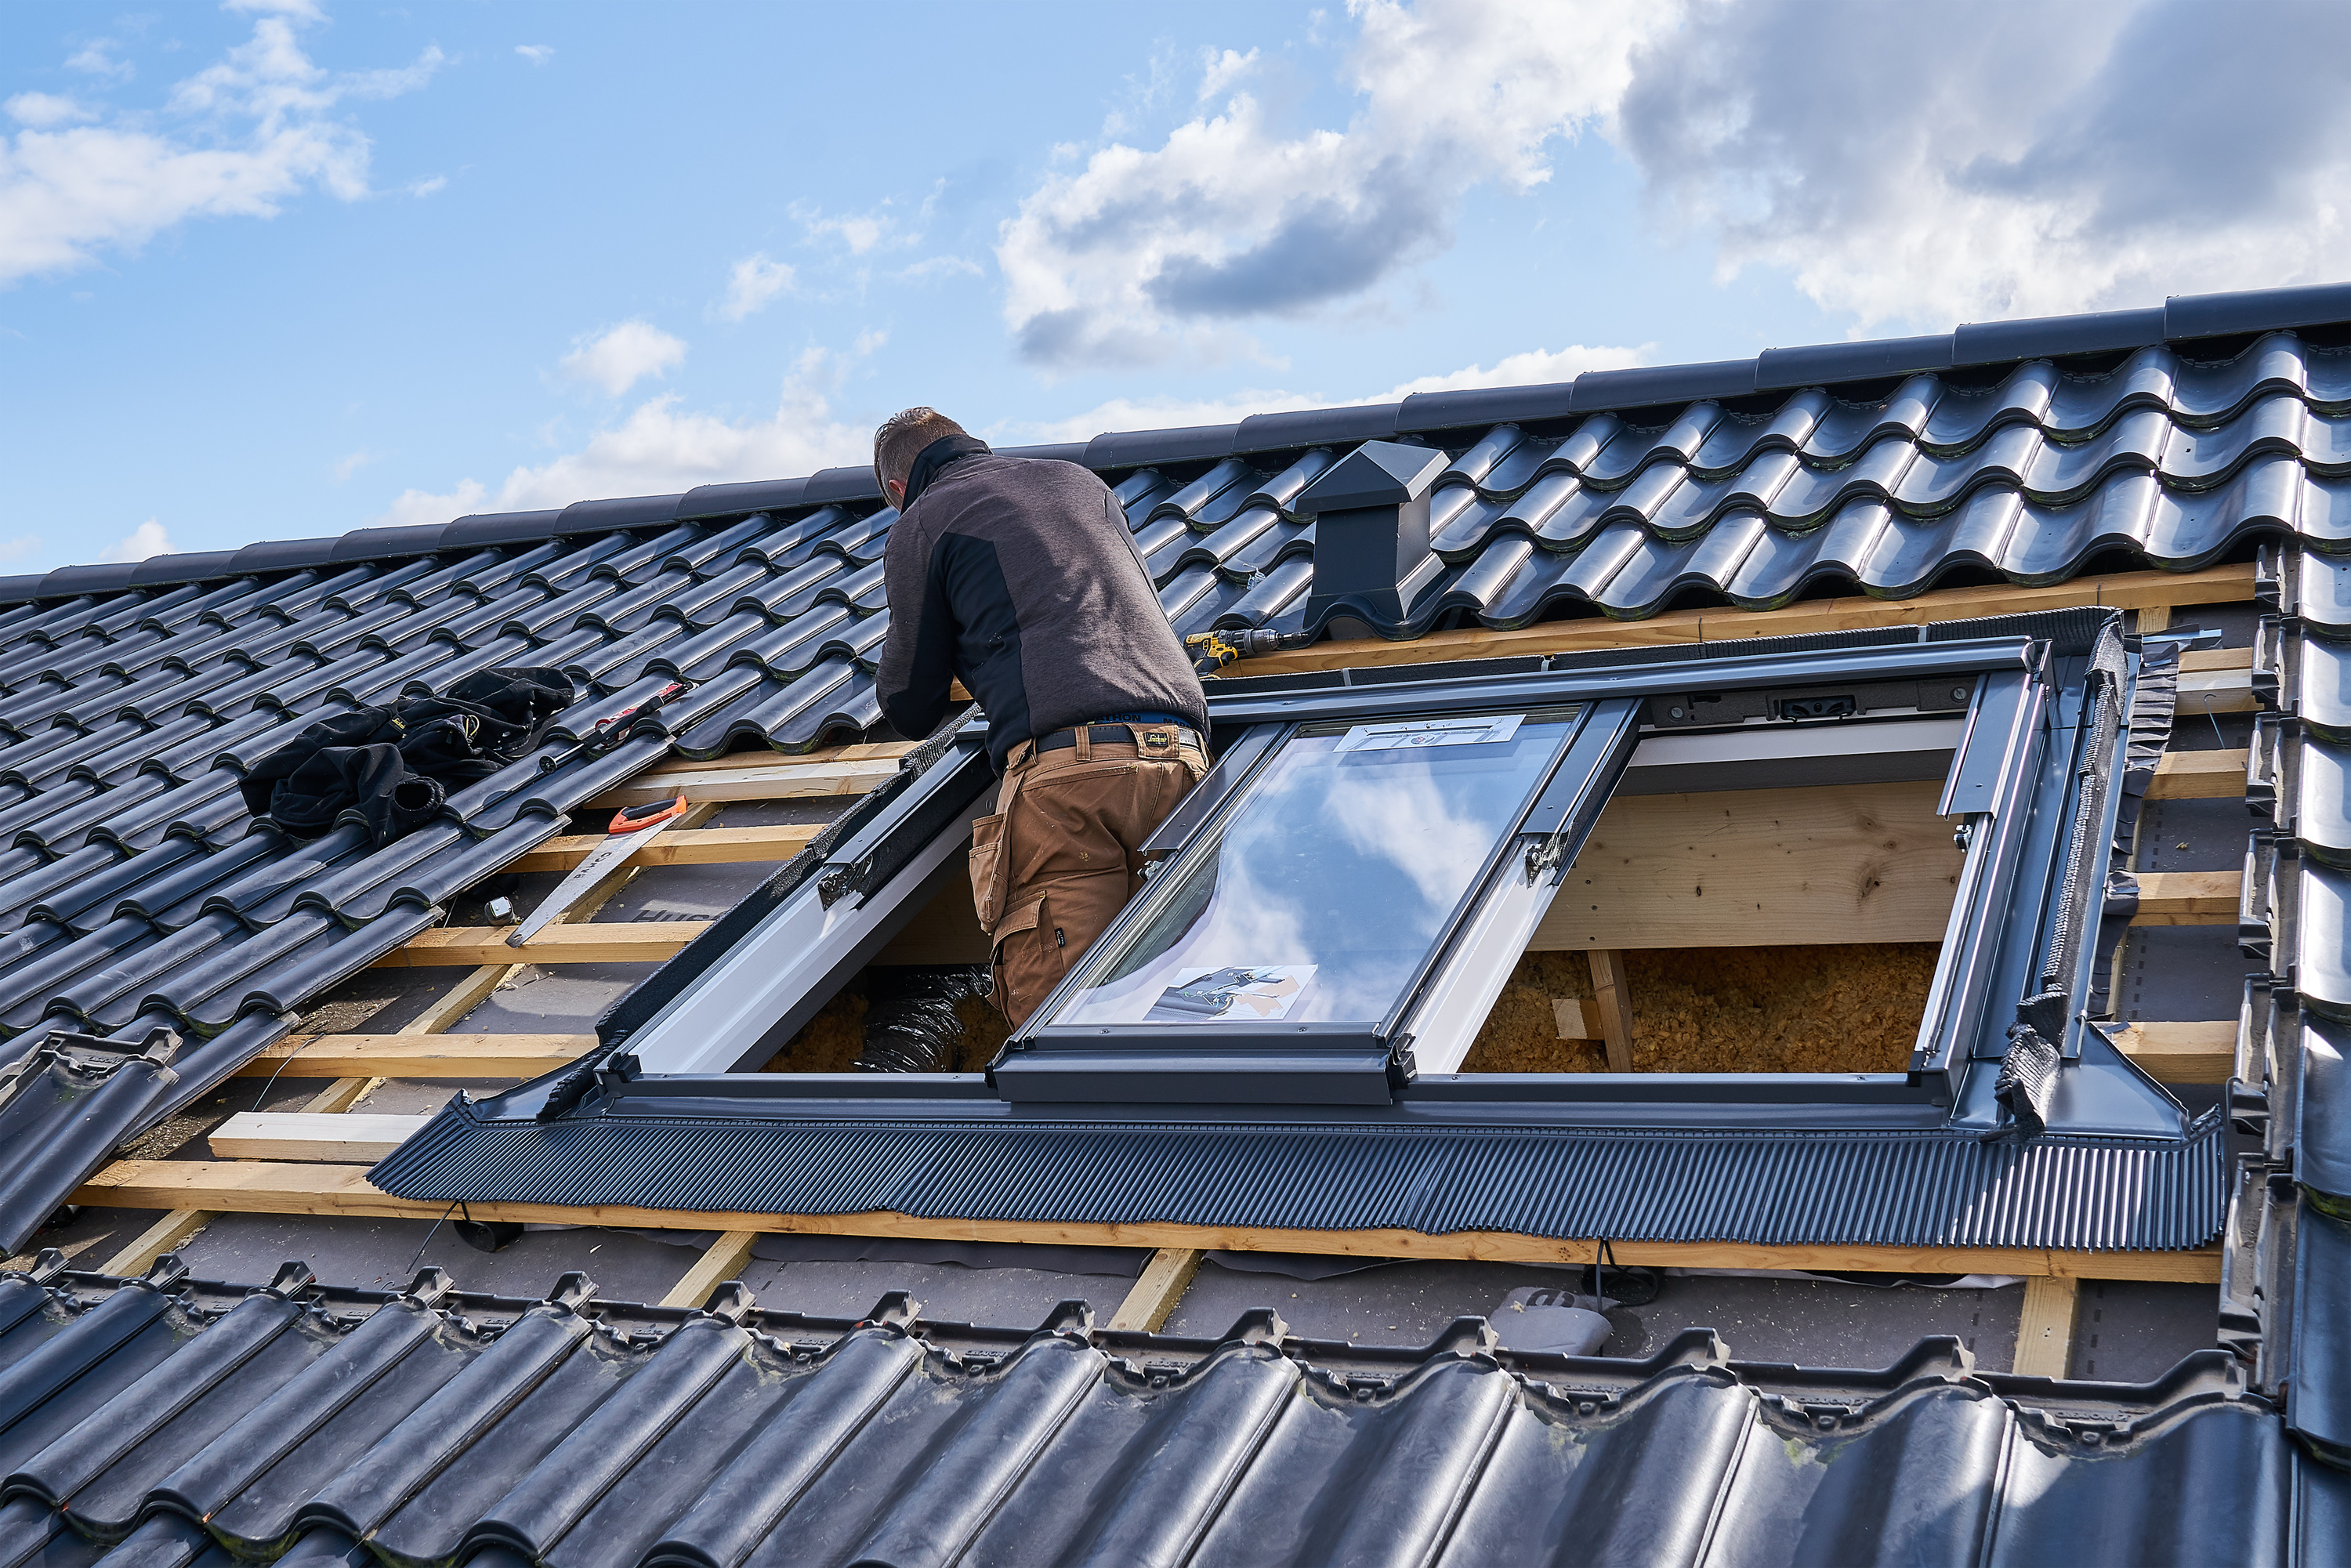
7. The Flashings are Fitted
As with any window, flashings are needed to stop water penetration, now and in the years ahead – and it’s quite a skilled job. Most roof manufacturers use ‘apron’ flashings, which are fitted starting at the bottom, then sides and finally the top, and dressed into the tiles to ensure a snug fit between the tiles and the apron.
8. Tiles or Slates are Installed Around the Roof Window
With the frame, underfelt collar and flashing installed, the job is nearly complete. All that remains is to fix the remainder of the tiles/slates around the window.
9. Finishing Off

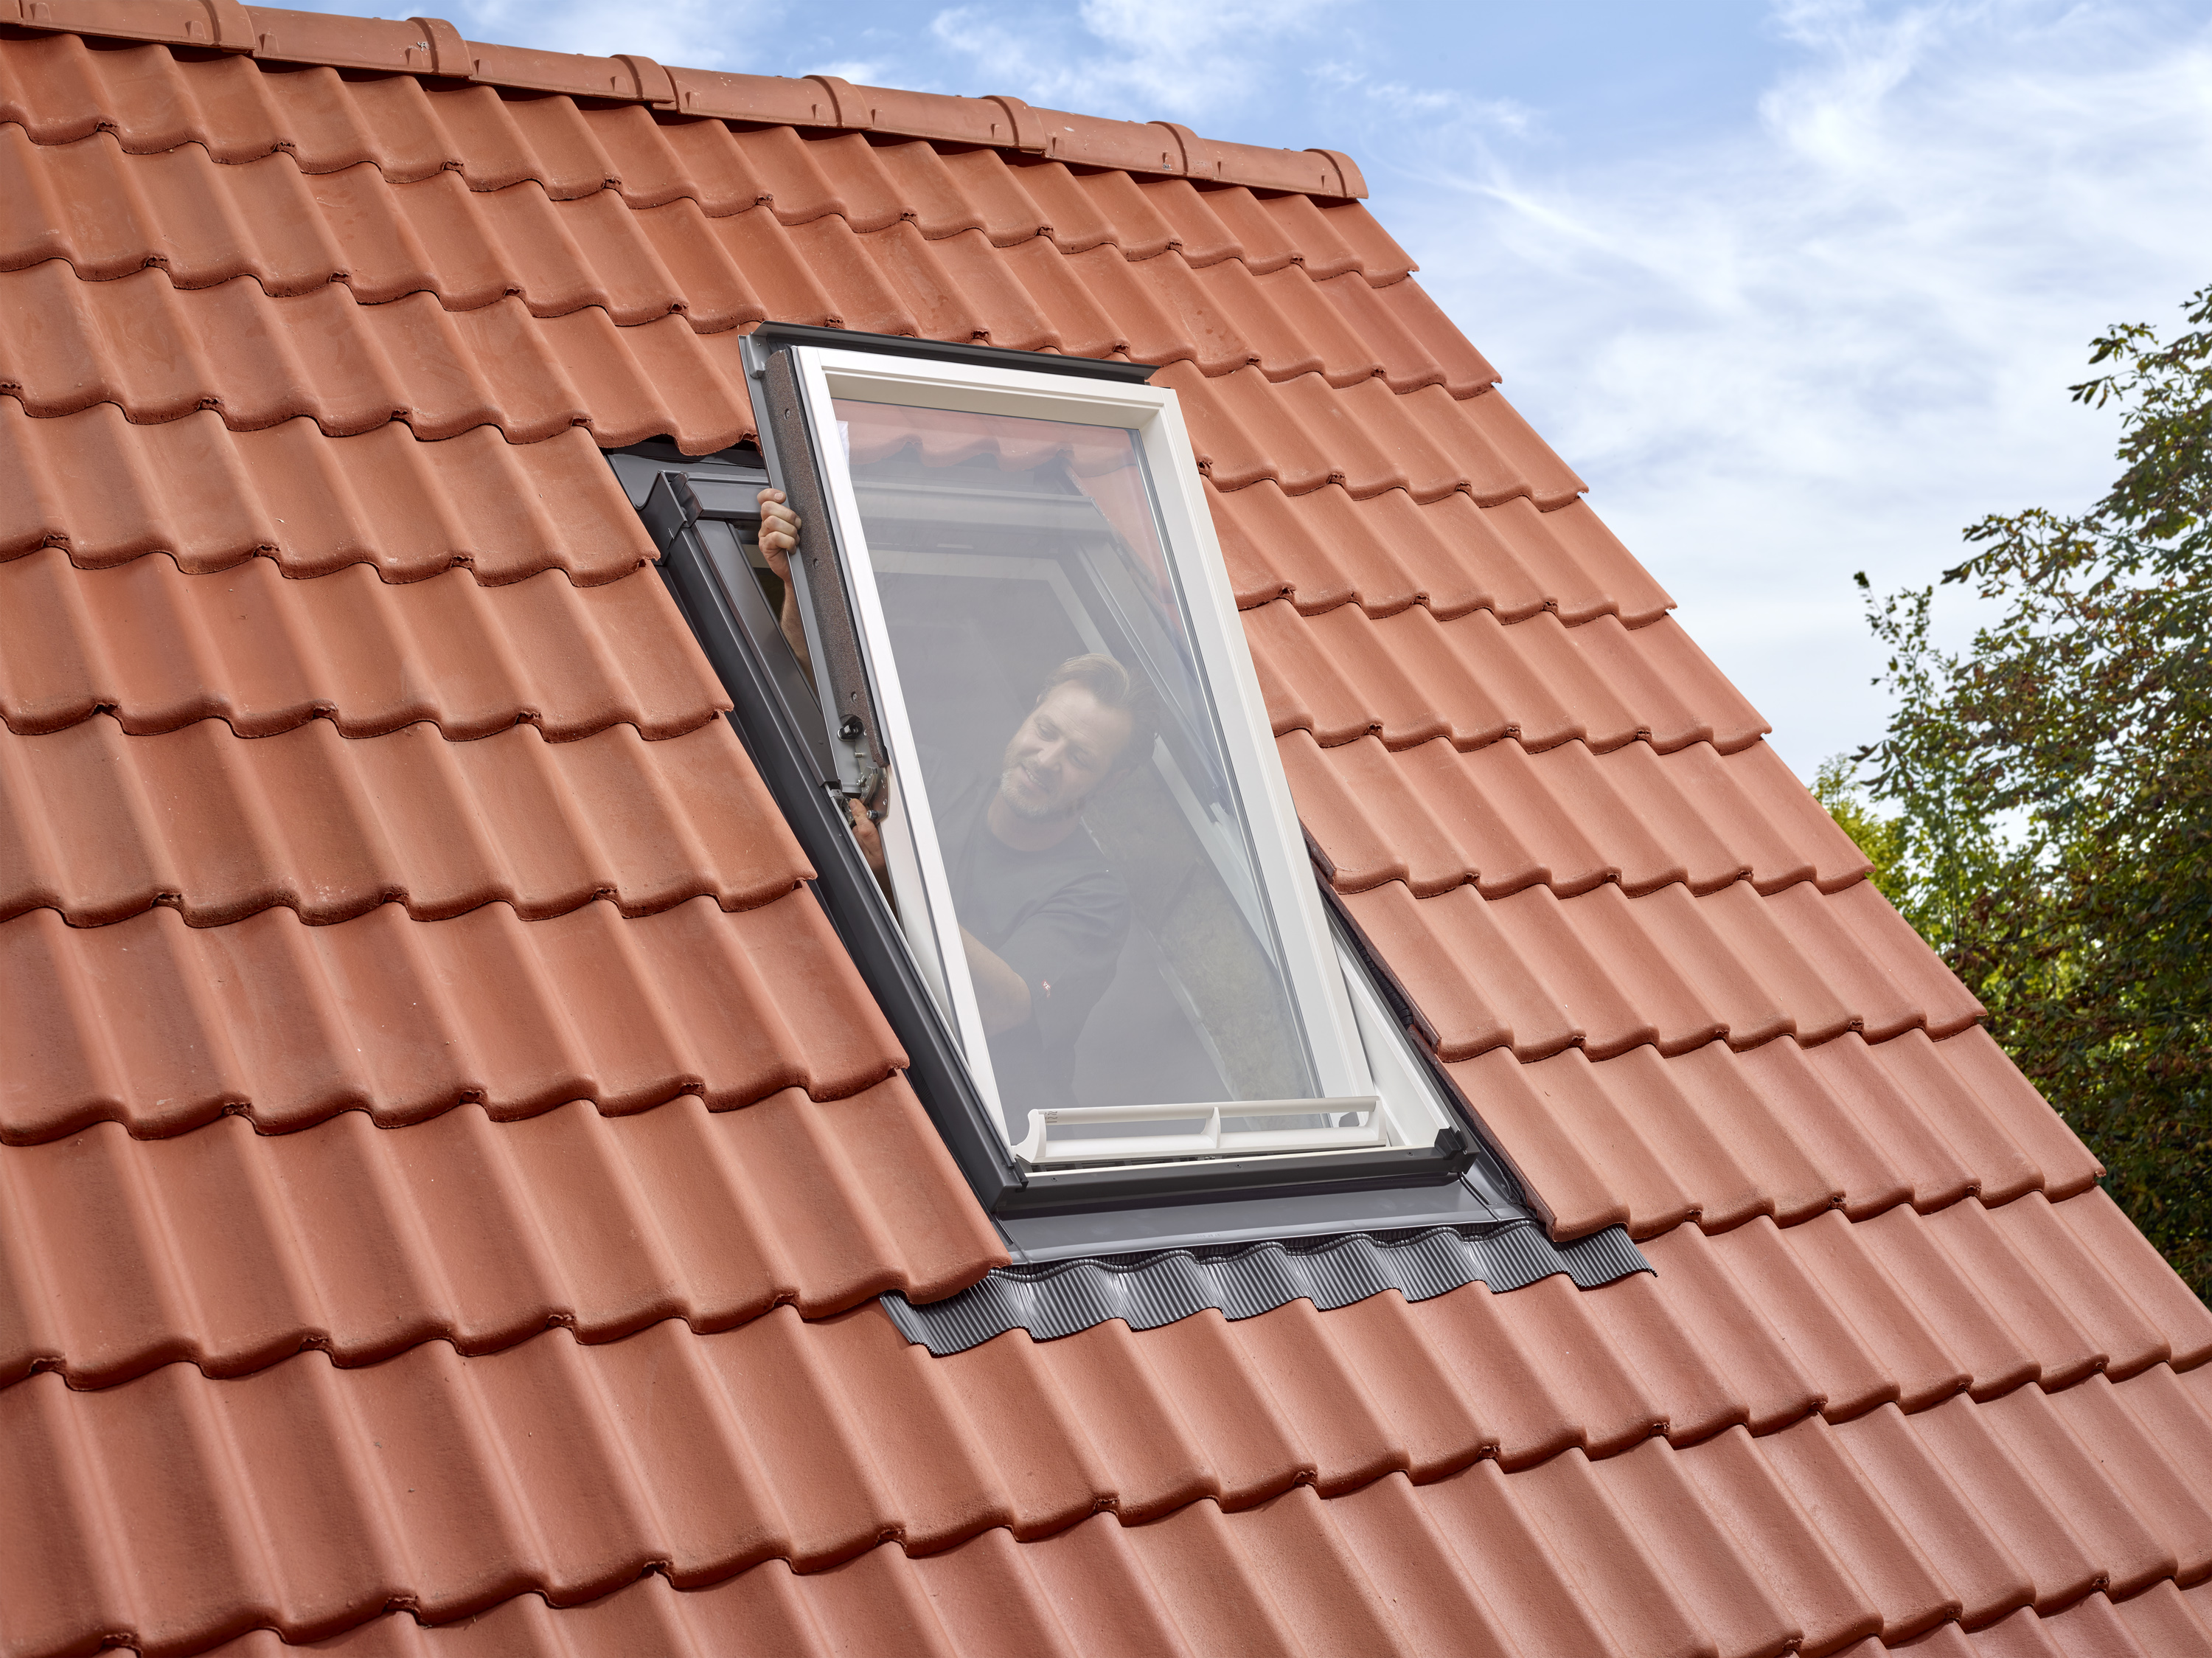
Now the sash can be refitted and the roof window checked for a clean, smooth opening and closing action and a neat finish.
Fitting a top hung roof window follows very similar lines, with a couple of extra steps needed, to engage the spring mechanism in the lifting arms and ensure the sash stays open in all positions by adjusting the tension on the springs.
Your installation is now complete!
Get the Homebuilding & Renovating Newsletter
Bring your dream home to life with expert advice, how to guides and design inspiration. Sign up for our newsletter and get two free tickets to a Homebuilding & Renovating Show near you.
Alison Wall is an experienced homes journalist, and former chief sub editor of Homebuilding & Renovating. She has interviewed countless self-builders and renovators regarding their projects, and has a special interest in eco builds. She is also renovating her 1970s home and garden, and has a particular interest in making her own home greener, having recently added solar panels, an EV chargepoint and a solar battery system.


