How to install a bathtub: An expert guide for DIYers
Discover the know-how you'll need to learn how to install a bathtub yourself

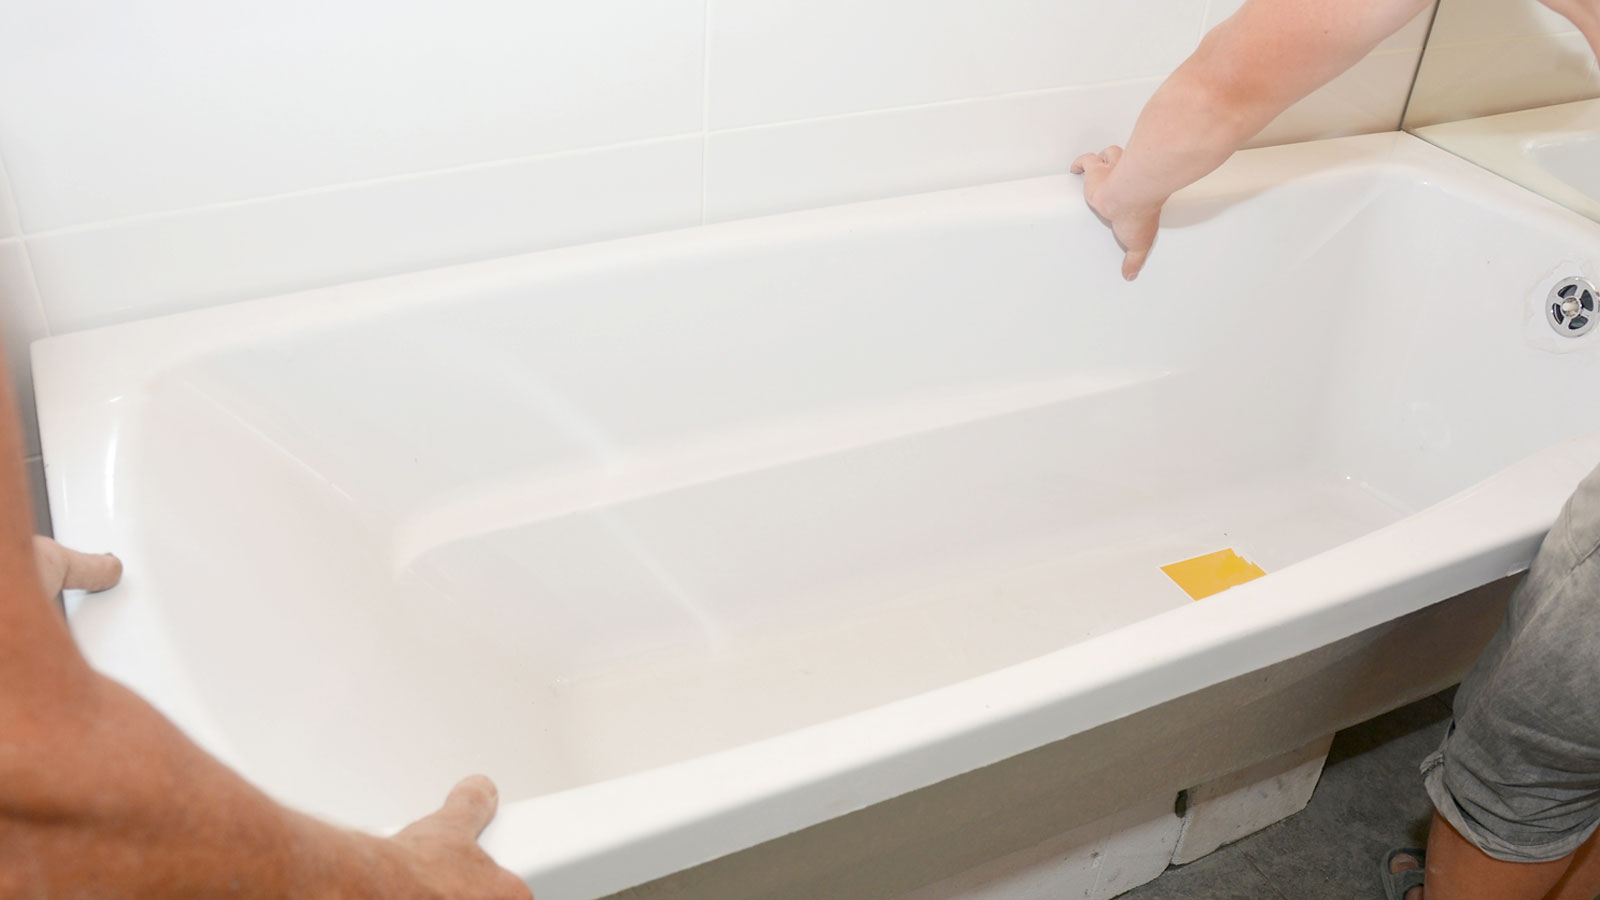
Knowing how to install a bathtub is a skill that most DIYers should be able to handle. Especially if it’s a straightforward replacement that doesn’t need any new pipework to work. You’ll need to secure the bath, reconnect the pipework and seal up the bath.
But, if you’re relocating the bath when renovating a bathroom things get a little more complicated. Pipework will need to be redirected and extended, that’s when it's time to call in plumber to do the hard draft before you install your new bathtub.
Here the pros offer up some smart advice on how to make sure your bathtub installation goes smoothly.
How to install a bathtub: Can I do it myself?
Yes you can, but it's not that straightforward as Thomas Oldham, Co-Founder of UK Construction Blog shares, “A skilled DIYer can handle bathtub installation, but you need to know some plumbing and building codes.”
David Cruz, plumbing expert at MyJobQuote says, "There are several important steps involved in fitting a bath so it’s really important to read all the instructions for the specific bath that you have bought.”
He adds, “Experience with previous plumbing projects will definitely help with a DIY installation and you may also need an extra pair of hands for maneuvering the bathtub.”
Of course, if you are not confident installing a bathtub it makes sense to hire a plumber.

Thomas has worked in the engineering and construction industry for over a decade. He has spent the past four years using his expertise to develop the UK Construction Blog.
Try these tools to help install a bathtub

A 50cm heavy duty spirit level that boasts two shock absorbing end caps to provide optimum protection against damage. Available in various sizes.

David has worked in the plumbing industry for over fifteen years. David has worked on countless domestic and commercial projects as a plumbing expert and gas-safe engineer. David also works closely with MyJobQuote to provide expert plumbing knowledge to homeowners, tradespeople and news outlets.
Steps to install a bathtub
1. Remove old tub
If you have an old bathtub in place you will need to remove it before adding the new. Oldham says, “Start by removing the old tub and inspecting the subfloor for damage. Make sure to check local building codes and understand any necessary permits.”
He adds, “When preparing, focus on relocating the drain and accessing water lines. Adding a moisture barrier can help prevent issues down the line.”
2. Position the bathtub
Assuming that all pipework is in the correct place, position the bathtub to line up with the water supply and waste pipe. Next, Cruz says, “You must ensure that the bath is level.”
He adds, “The feet are adjustable so place two levels on the bath, one along the side and one on the end before making adjustments. When the bath is completely level, tighten up the nuts on the feet.”
3. Connect pipework
With the bathtub securely in place it's time to connect the pipework. Cruz says, “Now connect the waste, overflow and taps to the bath.” But be careful, “Bath designs will vary so you should follow the specific instructions for the model you have.”
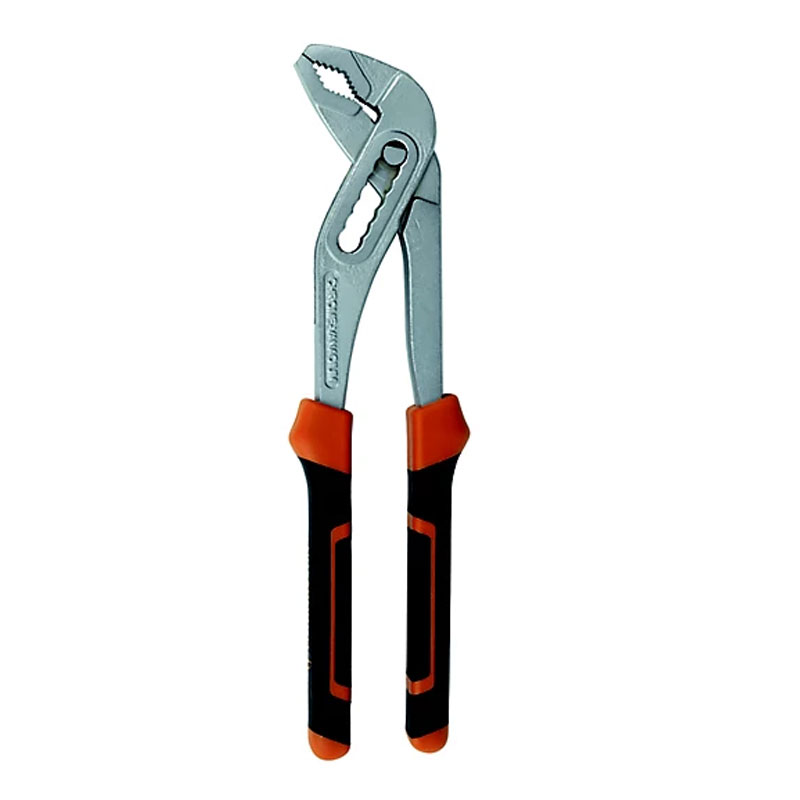
To finish Cruz adds, “Make sure all the fittings are secure so there are no leaks.” Cruz recommends, “A swan neck wrench is very useful for tightening nuts and bolts in confined spaces but if you don’t have one, an adjustable wrench works too.”
4. Secure bath to wall
With the bathtub in place it needs to be secured to the wall to stabilise it. Cruz says, ”Attaching wooden batons to the wall and fixing the bath to them with L shaped brackets is one approach.”
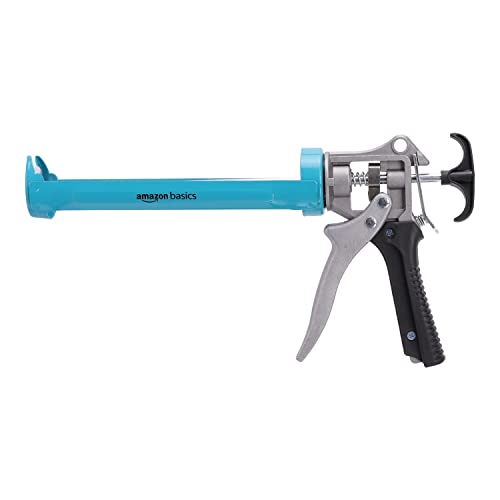
He adds, “Alternatively, you can use a strong adhesive and sealant such as CT1 (like this CT1 Unique Sealant Construction Builders Standard Multi All Purpose Silicone from Amazon) between the wall and the edge of the bath.
5. Seal the bath
Before you seal the bathtub fill with water to weigh it down. Don’t seal an empty bath. Cruz says, “Then apply the sealant.” Check our Sealing a bath guide for more insight.
Finally, add the bath panels to hide the pipework and finish the installation.
FAQs
Will renovating a bathtub increase the value of my home?
The simple answer is Yes it will. Shamila Iqbal, Director at Bathroom Mountain says, “Bathrooms are one of the key areas that potential buyers look at when considering a home, and a modern, updated bathroom can make a significant difference in the appeal of your property.” She adds, “On average, homeowners can expect to recoup around 60-70% of the cost of a bathroom remodel when selling their home.”
But you don’t need to go for a full remodel of your bathroom to increase value as Iqbal shares, “Even a smaller update like replacing a bath can make a noticeable difference, especially if the current bath is outdated or in poor condition.”

Shamila is a Director of Bathroom Mountain, she has expert knowledge of bathroom products and combines this with her design expertise to offer a practical insight into what works best for real homes.
How long does it take to install a bathtub?
This will depend on a number of factors as Iqbal explains, “The time it takes to install a bath can vary depending on the complexity of the installation and the type of bath.”
But as a general guideline Iqbal adds, “For a standard bath replacement (where plumbing is already in place and no major modifications are needed), it can take anywhere from 4 to 6 hours for a professional to install it. If installing a more complex type of bath like a freestanding bath, it could take a day or more.”
As you might expect if you’re relocating a bathtub to a different location in the bathroom (or another area) it will take a lot longer. Again the complexity and distance will determine how long.
Iqbal says, “On average, this kind of project can take anywhere from 3 to 5 days,” She adds, “It's also important to account for drying or curing times, particularly if you’re doing things like installing new floors or applying new grout.”
Do I need to waterproof under a bathtub?
This will depend on what type of bathtub you are installing and what type of flooring you currently have. Iqbal says, “In the UK, floor waterproofing under a bath is highly recommended, but whether it’s absolutely required depends on a few factors, including the type of flooring and bath installation.”
She adds, “However, for best practice, it’s generally advised to use a waterproof membrane to prevent water damage.”
Building regulations don’t specifically state you should have a waterproof membrane under a bath, but it does make sense. If you have bare floorboards under the bath, Iqbal says, “Timber floors should always be waterproofed properly, using a membrane or suitable water-resistant backer board.” Try this HardieBacker Backerboard from B&Q.
Do you tile before or after fitting a bathtub?
The common approach is to tile a wall after the bathtub is installed. Iqbal says, “In most cases, it’s recommended to fit the bath first and then tile around it.”
There’s several reasons for taking this approach as Iqbal points out, “It avoids damage to tiles,” She adds, “Baths can be heavy and awkward to fit, and you could accidentally chip or crack tiles that were already laid down.”
There are other reasons as Iqbal shares, “Installing the bath first lets you ensure a solid waterproof seal between the bath and the wall or floor.” She adds, “Fitting the bath first allows you to tile right up to the edge of the tub, creating a clean, seamless finish.”
If you already have tiles you can tile over tiles after the bath has been fitted. But be warned you can only do this once.
If you’re installing a new bathtub it’s the ideal time to think about other bathroom renovations. Check out our downstairs bathroom ideas, 15 bathroom floor tile ideas and 24 modern bathroom ideas for inspiration.
Get the Homebuilding & Renovating Newsletter
Bring your dream home to life with expert advice, how to guides and design inspiration. Sign up for our newsletter and get two free tickets to a Homebuilding & Renovating Show near you.
Steve Jenkins is a freelance content creator with over two decades of experience working in digital and print and was previously the DIY content editor for Homebuilding & Renovating.
He is a keen DIYer with over 20 years of experience in transforming and renovating the many homes he has lived in. He specialises in painting and decorating, but has a wide range of skills gleaned from working in the building trade for around 10 years and spending time at night school learning how to plaster and plumb.
He has fitted kitchens, tiled bathrooms and kitchens, laid many floors, built partition walls, plastered walls, plumbed in bathrooms, worked on loft conversions and much more. And when he's not sure how to tackle a DIY project he has a wide network of friends – including plumbers, gas engineers, tilers, carpenters, painters and decorators, electricians and builders – in the trade to call upon.


