How to hang patterned wallpaper to get a smart, seamless finish
Get expert tips and know-how on hanging patterned wallpaper to make sure your wallpaper edges match up
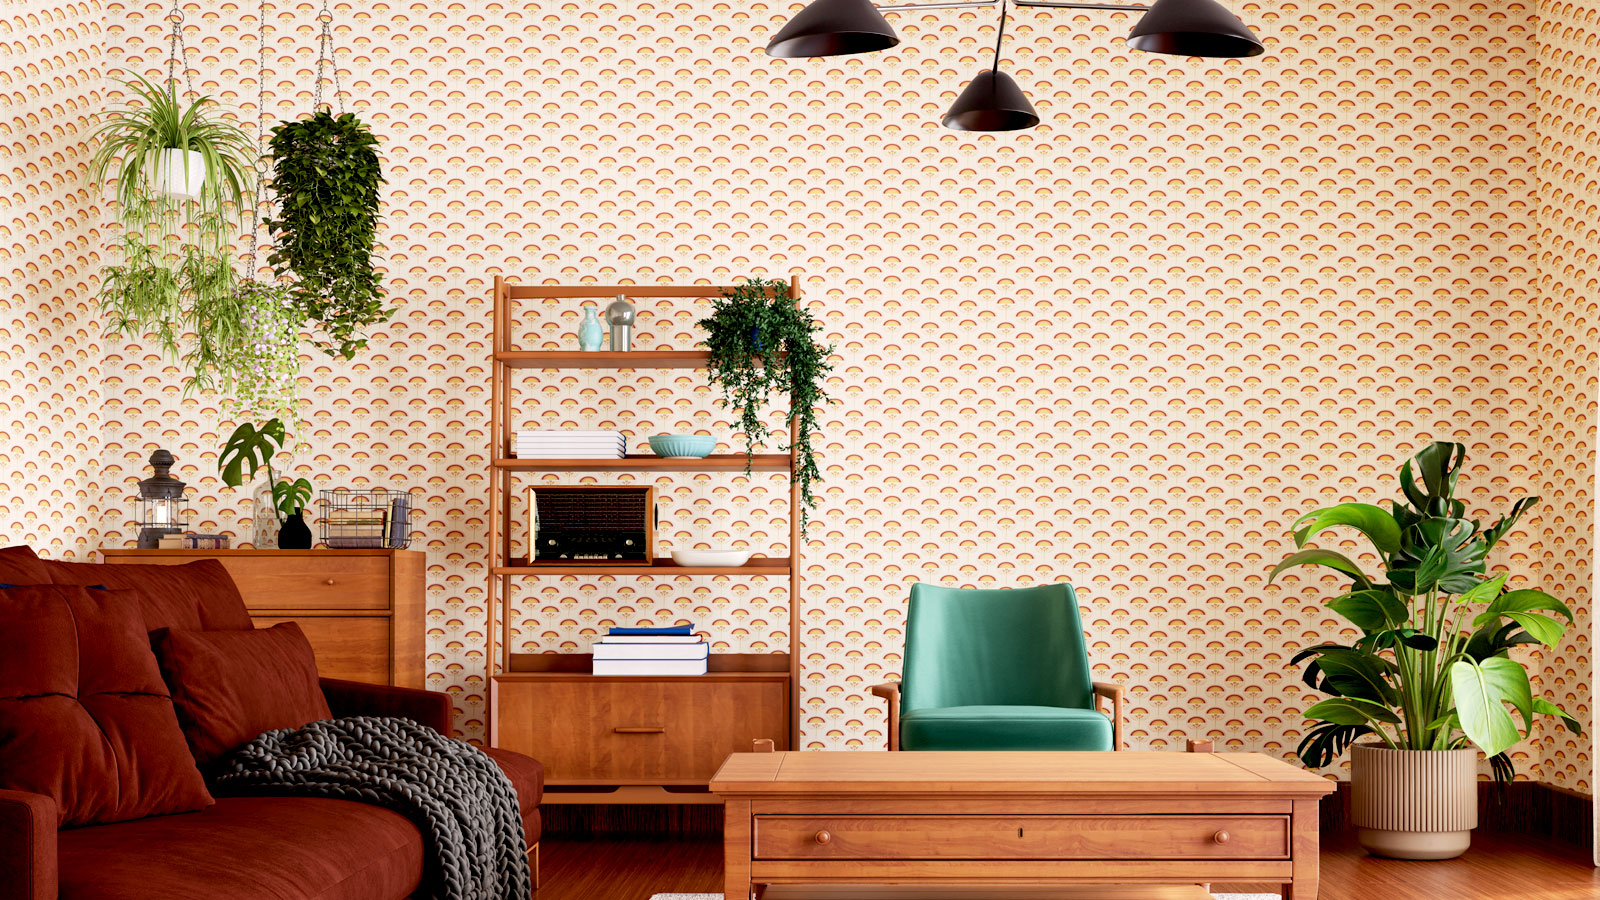
Knowing how to hang patterned wallpaper isn’t as difficult as you might think, but there are some subtle differences compared with non-patterned wallpaper. It depends very much on the pattern itself. A standard matching pattern is a much simpler paper hanging exercise than wallpaper with a staggered pattern.
You‘ll still need to know how to wallpaper, but how you hang a staggered pattern is the key. First, you’ll need more wallpaper to match the pattern. So don’t sell yourself short when buying wallpaper. Then it's all about preparation and patience. Embrace these, and you'll be well on your way to a professional-looking finish.

Eric Bramlett is the owner of Bramlett Real Estate. He has extensive experience in real estate development and brokerage management. They have won multiple industry awards and been featured in top media outlets such as Axios, Bloomberg and Forbes.
How to hang patterned wallpaper: Where do you start?
There’s plenty of debate on where to start hanging patterned wallpaper, but it largely depends on the pattern – is it big and bold or small and subtle? Eric Bramlett, Owner of Bramlett Real Estate says, “The goal is to align the pattern in a way that feels natural and seamless.”
To do this, Bramlett says, ”It’s best to start in a corner or along the most visible wall, where any potential mismatch in the pattern will be less noticeable.” But he adds, “If the wallpaper features a bold pattern, you might want to begin with a central area to create a more even, symmetrical look across the room.”
A point that Thomas Oldham, co-founder of UK Construction Blog reinforces, “Start from the centre of the wall, not from a corner. This ensures the pattern is balanced across the space and prevents a narrow, awkward-looking strip at one end.”
He adds, “Measure and mark the centre of the wall first. Then, measure the width of your wallpaper roll and work outward from the centre, both to the left and right. This way, you can calculate how many drops you need and make sure the finish is symmetrical.”
After deciding on your start point, removing wallpaper is the next step, if you still have wallpaper on the walls.

Thomas Oldham has spent the past four years using his expertise of working in the engineering and construction industry for over a decade to develop the UK Construction Blog - a leading online platform dedicated to empowering individuals and businesses in the construction industry.
Should I use a straight match or drop match?
How you hang patterned wallpaper will depend on the design. Simpler designs typically follow a straight match, making them easier to install. A drop match requires a bit more manoeuvring for proper pattern alignment.
Bramlett points out that a straight match involves less work: “A straight match is easier – it lines up evenly from left to right across all strips.” Oldham adds, “The top of every wallpaper panel will line up identically at the ceiling.”
A drop match is a little more complex to deal with, as Bramlett points out, “The pattern repeats in a staggered vertical sequence. It takes more planning, and usually, a bit more wallpaper to get it right.” He adds, “But the payoff can be big – it often creates a more dynamic look.”
Oldham offers a quick tip for a drop match: “For drop match designs, it’s a good idea to pre-cut panels from two rolls side by side to reduce waste and help with smoother alignment.”
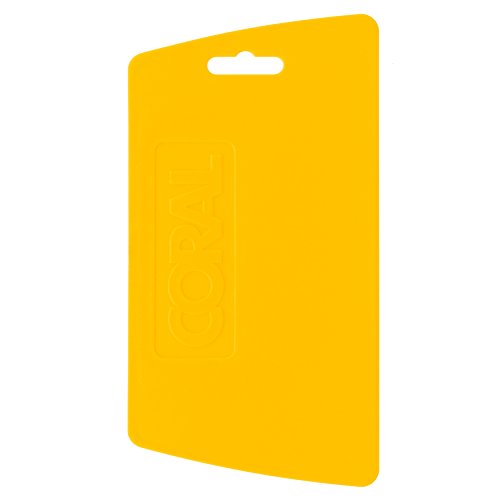
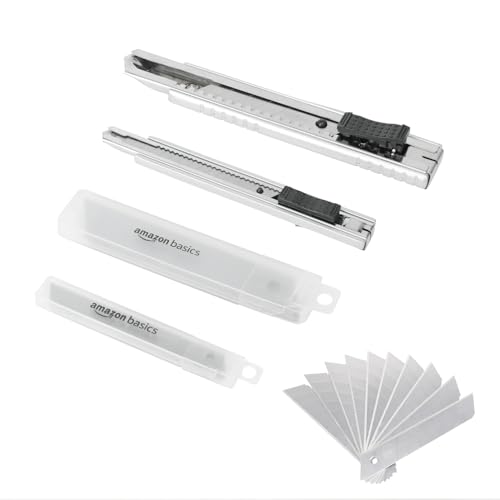
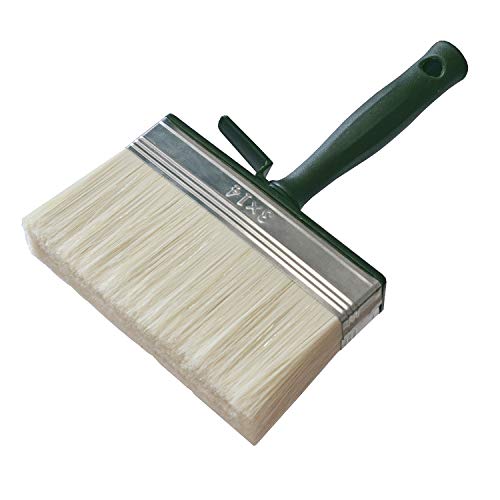
Try these tools when hanging patterned wallpaper
Steps to hang patterned wallpaper
Hanging patterned wallpaper follows closely in the path of standard wallpaper, but with a few subtle differences. Here we take a look at the steps you need to follow.
1. Mark start point
Before you start make sure that the walls are smooth and clean. Oldham suggests that you don’t wallpaper over wallpaper, especially if using a patterned wallpaper. To start he says, “Mark the centre of the wall. Use a spirit level to draw a vertical guideline for your first strip. Next, measure your wall space and check the wallpaper label for the correct type and pattern match details before cutting.”
2. Measure and cut
Measure up and leave around 30mm extra top and bottom. This will be more if drop matching. Oldham says, “For measuring and cutting, measure and pre-cut your strips, especially for drop match patterns, using decorator scissors.”
3. Paste, put up and trim
Next, apply your paste. Oldham says, “Make sure you cover the edges thoroughly to avoid any lifting later on. Then, line up your first strip carefully along the central guideline. For pattern matches, always double-check the alignment before pressing the strip down.” Bramlett suggests, “Lay the wallpaper out on the floor if you need to. It’s much easier to adjust on the ground than when you're halfway up a ladder.”
He adds, “Use a smoothing tool to press it down and remove bubbles in wallpaper.” The next step is to trim the top and bottom against the ceiling and skirting boards. Bramlett says, “Use a sharp blade for a clean finish.” To help get a clean cut, use a tool like this ProDec 12" Vinyl Smoother from Amazon to help guide the knife.
Oldham says, “When you reach the corners, cut a square chunk at the corner to act as a guide for how much needs to be removed along the top and side edges.”
Check out our 'How to dispose of wallpaper paste' guide to ensure you dispose of it responsibly after you've finished wallpapering.
4 DIY tips to ensure excellent alignment and finish
1. Plan for waste
Oldham says, “Drop match patterns often require more wallpaper, so it’s always a good idea to round up your order to avoid running out halfway through.” Typically, it's recommended to add 10 percent on top of what you need. For patterned wallpaper add an extra 20-30 percent to compensate for the pattern.
2. Measure twice (or more)
Measuring more than once means fewer errors. Oldham says, “Make sure to measure your space properly.” This will help ensure you calculate how many rolls you’ll need. And, don't forget about the pattern repeat. Use an online calculator like this wallpaper calculator from Wallpaper Direct.
3. Read the label
It may seem obvious, but Oldhan says, “Always read the wallpaper label for guidance on the type of paper, paste method, and pattern repeat.”
4. Say goodbye to bubbles
Ideally, you want to remove bubbles in wallpaper before the paste dries. However, Oldham offers an option if you miss them. “If you notice any bubbles after the wallpaper dries, simply cut the bubble open, apply paste underneath, and smooth it back down.”
When hanging patterned wallpaper, make sure you have the right wallpaper tools. If stuck for wallpaper suggestions, try our Bathroom wallpaper ideas and Wallpaper in a kitchen guides for extra inspiration.
Get the Homebuilding & Renovating Newsletter
Bring your dream home to life with expert advice, how to guides and design inspiration. Sign up for our newsletter and get two free tickets to a Homebuilding & Renovating Show near you.
Steve Jenkins is a freelance content creator with over two decades of experience working in digital and print and was previously the DIY content editor for Homebuilding & Renovating.
He is a keen DIYer with over 20 years of experience in transforming and renovating the many homes he has lived in. He specialises in painting and decorating, but has a wide range of skills gleaned from working in the building trade for around 10 years and spending time at night school learning how to plaster and plumb.
He has fitted kitchens, tiled bathrooms and kitchens, laid many floors, built partition walls, plastered walls, plumbed in bathrooms, worked on loft conversions and much more. And when he's not sure how to tackle a DIY project he has a wide network of friends – including plumbers, gas engineers, tilers, carpenters, painters and decorators, electricians and builders – in the trade to call upon.
