How to hang lining paper for a perfect wallpaper finish
Learn how to hang lining paper to prep poor walls ready for wallpaper and quickly cover dark colours to save on paint
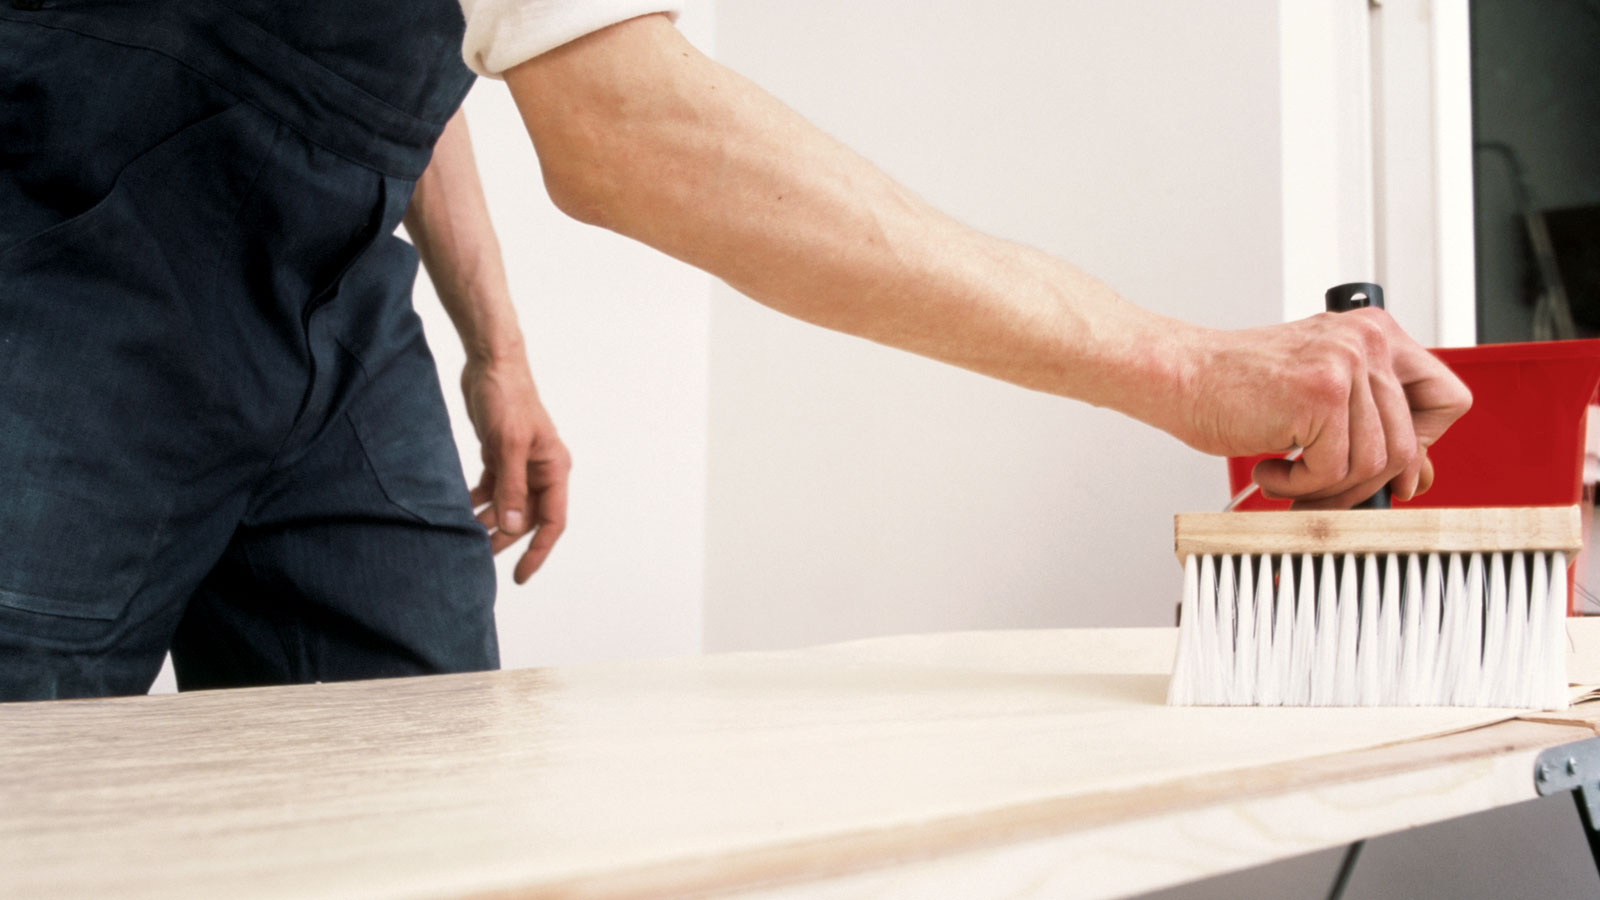
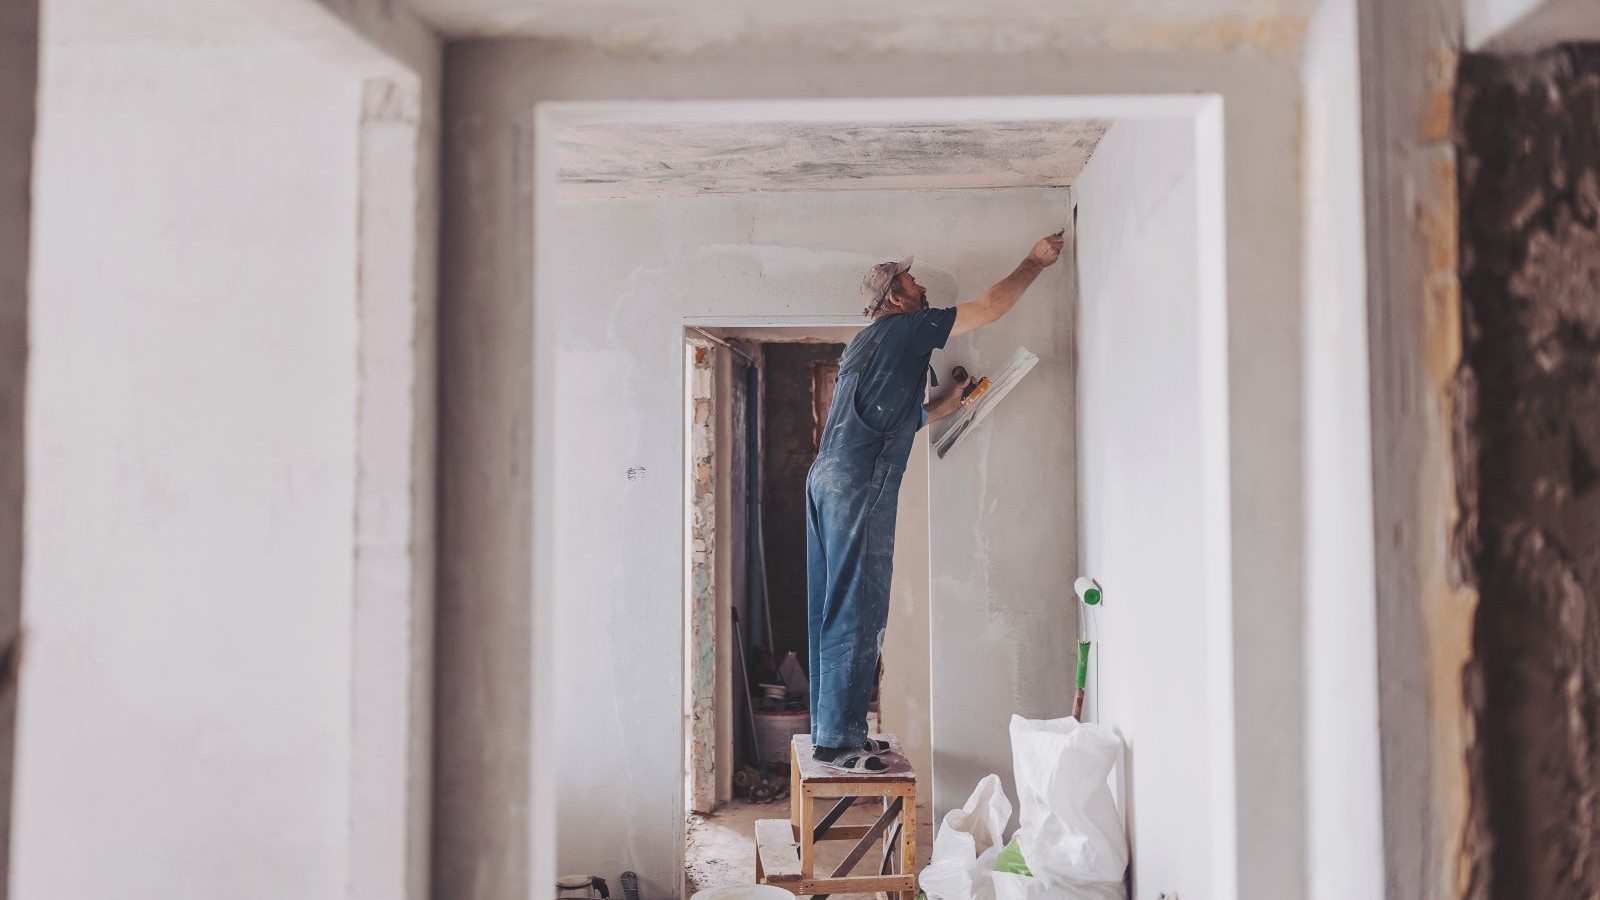
If you want to know why and how to hang lining paper, then you’re in the right place. If your walls are in poor condition, lining paper is the ideal option for hiding imperfections and providing a stable base for wallpaper. It’s also a great option for quickly covering up dark coloured walls ready for a fresh coat of paint.
If you already know how to wallpaper you’re going to have the basic skill set you need to hang lining paper. But, there are subtle differences that we reveal in this guide to ensure that you're ready for the next step.
The tools you’ll need to hang lining paper
- Dust sheets
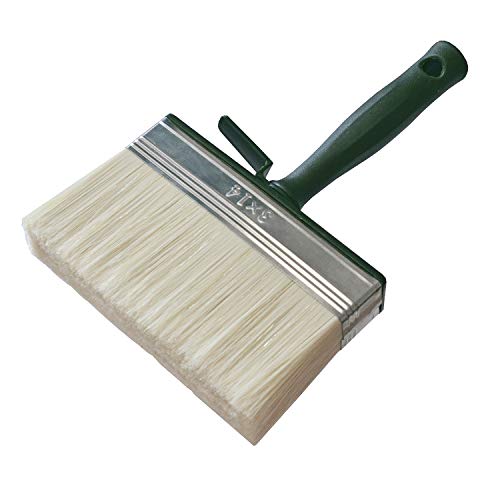
- Pasting brush or roller and tray
- Wallpaper brush
- Wallpaper paste
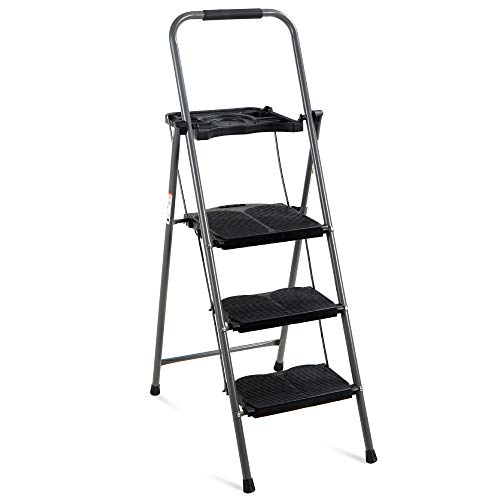
- Step ladder
- Tape measure
- Pencil
- Wallpaper scissors
- Spirit level
- Bucket
- Seam roller
Get the gear to help hang lining paper
Where to start hanging lining paper

Eric is a skilled interior designer and works closely with clients to design interiors that reflect their personal style and meet their specific needs. His projects range from residential homes to commercial properties.
If hanging lining paper for wallpaper, try to make life easier for yourself. Eric Bramlett, owner of Bramlett Real Estate says, "The best starting point is usually the easiest wall – one without windows or doors, something straightforward to give yourself confidence."
He adds, "Fill holes or cracks and sand down any rough spots because even minor imperfections can show through the lining paper later.
If you are hanging lining paper, like this 1200 grade lining paper from B&Q, horizontally you need to mark down around 10-20cm from the ceiling. Now measure each roll width – typically 53cm down the wall to see what size strip you have at the bottom. If you have a skinny strip, start further up the wall.
Now get a long spirit and a pencil and mark out along the length of the wall. This willl be your start point. Alternatively, get a laser level like the Huepar Self-Leveling Laser Level from Amazon and mark with a straight edge and a pencil.
If you are hanging lining paper vertically there are a couple of options on where to start. You can start in the middle of the wall and work outwards towards the corners. But, you will need to measure up to make sure that you are not left with any thin strips in the corner or around doors and windows.
One way to do this is to take the roll itself and place it on the wall and mark the outside edge. Now repeat until you get to the corner. If you have a skinny strip, adjust the start point until you get evenish strips in both corners.
Bring your dream home to life with expert advice, how to guides and design inspiration. Sign up for our newsletter and get two free tickets to a Homebuilding & Renovating Show near you.
Once you have worked this out you can start with the first full width drop to the left right corner rather than the middle.
How to hang lining paper
In principle hanging lining paper is similar to hanging wallpaper with a few subtle differences, which we will tell you here.
1. Prep the area
Before you start hanging lining paper you will need to prep the area you are working in. We are assuming that you have already prepped the walls. If not, see our section below on 'what's the best way to prepare a wall for lining paper?'.
If possible empty the room you will be working in so you have full access to the walls and room for your pasting table. Alternatively, move your furniture to one side and cover the furniture and floor with dust sheets.
2. Measure the lining paper
Get a spirit level and mark a horizontal line across the wall from corner to corner. Measure how far it is from corner to corner. Now get your lining paper and cut – add an extra 100-200mm to overlap and cut into the corner. Now cut enough full length strips to cover the wall. You should need around five strips.
3. Paste the lining paper
Make sure you have your wallpaper paste already mixed and ready to go. Lay a strip on your pasting table and apply generously (but not too much that it will drip off) and evenly with a pasting brush.
Once you have done the first part of the strip, fold over a 50 cm pasted section onto paper that has already been pasted and repeat until the whole strip is done. This creates a concertina effect that looks a bit like the top of a Viennetta ice cream.
Now repeat on the next strip of lining paper so you have two ready to go. Once you have put up the first strip, paste the third strip, then put up the second and then paste the fourth etc. This helps the paste soak into the paper and gives it time to expand and lessens the chances of the edges overlapping.
4. Hang the lining paper
Beginning on the left, position the pasted strip on the wall with a slight overlap in the corner and push it up to the marked line. Now, use a wallpaper hanging brush, such as the Hamilton Prestige Paperhanger Wallpaper Brush available on Amazon, to smooth it out.
Once in place, pull out one of the folds and repeat the process until the entire strip is affixed to the wall. Check to ensure it is properly aligned. If necessary, gently push it into place. Then, brush it flat against the wall, eliminating any air bubbles.
Next, use the back of your wallpaper scissors to push the ends into the corner, then carefully pull it away from the wall, cut, and brush it back into position. Repeat for the remaining strips.
Best way to prep a wall for lining paper
If you are wallpapering new plaster you will need to prep the wall in a different way to older walls. You will need to make sure that the plaster is completely dry and then ‘size’ the wall. Sizing is the process of sealing the wall with a diluted wallpaper paste or specialist wall like this Solvite Wall Sealer found on Amazon. We can promise you this will make it much easier to hang the lining paper
If you have older walls they are unlikely to be in as good condition as newly plastered walls. Typically you will need to repair cracks in plaster to get a more even surface and finish off with a sanding to get it smooth.
If a wall has been wallpapered before, they typically won’t need sizing, but you can still size if you want to cover the filled cracks. Alternatively, paste the wall before you paste the lining paper and hang it.
FAQs
Which way do you hang lining paper for painting?
Lining paper is a great choice if your walls are in good condition but are painted in a dark colour. For example, if you have dark brown walls and want to cover them with a white or light coloured paint you can forget about prepping (to a certain degree) the walls and you won’t have to apply specialist or extra coats of paint to ensure good coverage.
Lining paper is typically hung horizontally, as Bramlet points out, "Hanging horizontally is best because it prevents the wallpaper seams from matching up directly with lining paper seams, making the final look smoother."
But painting lining paper is different, as Bramlett continues: "If you're painting over it, going vertically is okay and sometimes simpler if you're doing it yourself." Check out our wallpaper hacks guide to help you get the best finish.
How long after hanging lining paper can you paint it?
You should leave newly hung lining paper for at least 24 hours before you think about painting it. Bramlett says, "Let it dry completely –usually around a full day – before you start painting".
Depending on the room's temperature, you may need to leave longer. If unsure, leave for at least 48 hours.
Ideally, try to introduce some gentle ambient heat into the area where the lining paper is to help it dry properly. This will also help the paint dry faster so you can use the room sooner.
How many drops does a roll of lining paper do?
The common roll size for lining paper is 10m x 53cm. This means in a typical size room with 2.4m high walls you can expect to get four drops on straight ceiling to floor drops. So you will need around three rolls per wall depending on how many fixtures – doors, windows – you have.
If you are hanging horizontally you will get two full lengths per roll on a typical 12ft wall. Again you will need at least three rolls for each wall.
But use a wallpaper calculator to make sure.
What grade of lining paper should I use?
Lining paper comes in a host of grades, from 800 – the thinnest – to 2000 – the thickest. Which one you use depends on the condition of the walls.
Bramlett says, "If your walls are uneven or damaged, pick a thicker grade because it helps hide these issues better. But if your walls are relatively good already, a thinner one is fine."
If your walls are smooth with a few hairline cracks, we recommend using the 800 or 1000 grade. If your walls are in poor to average condition, you need to do some prep before using heavier-grade lining paper such as 1700 or 2000. If unsure, go for the middle ground and use a 1400 grade.
Lining paper is the base for great bedroom and bathroom wallpaper ideas. Find out what the best lining paper grade is for any wallpaper project.
Steve Jenkins is a freelance content creator with over two decades of experience working in digital and print and was previously the DIY content editor for Homebuilding & Renovating.
He is a keen DIYer with over 20 years of experience in transforming and renovating the many homes he has lived in. He specialises in painting and decorating, but has a wide range of skills gleaned from working in the building trade for around 10 years and spending time at night school learning how to plaster and plumb.
He has fitted kitchens, tiled bathrooms and kitchens, laid many floors, built partition walls, plastered walls, plumbed in bathrooms, worked on loft conversions and much more. And when he's not sure how to tackle a DIY project he has a wide network of friends – including plumbers, gas engineers, tilers, carpenters, painters and decorators, electricians and builders – in the trade to call upon.
