How to fix squeaky stairs: 3 ways to stop your stair treads creaking
Knowing how to fix squeaky stairs means you can say goodbye to annoying creaks. We explain how to do it

Knowing how to fix squeaky stairs can be a straight-forward DIY task. The culprit is usually general wear and tear with the components starting to rub against each other after a lot of footfall.
Where your stairs were once solid as a rock, movement eventually loosens glue and the shims that kept the stairs in place. To give your old stairs a new lease of squeak-free life there are a few simple techniques that can resolve the issue.
That said, to solve the problem properly and permanently you will need to access what might be causing the squeak and if your stairs are carpeted, this will probably involve taking up the carpet unless you can fix the creak from underneath (this will depend on the cause of the creak). So it's worth thinking ahead about how you plan to finish off the stairs afterwards, whether that be relaying the carpet, adding new carpet or removing it entirely and opting for paint.
How to fix squeaky stairs: What's a riser and tread?
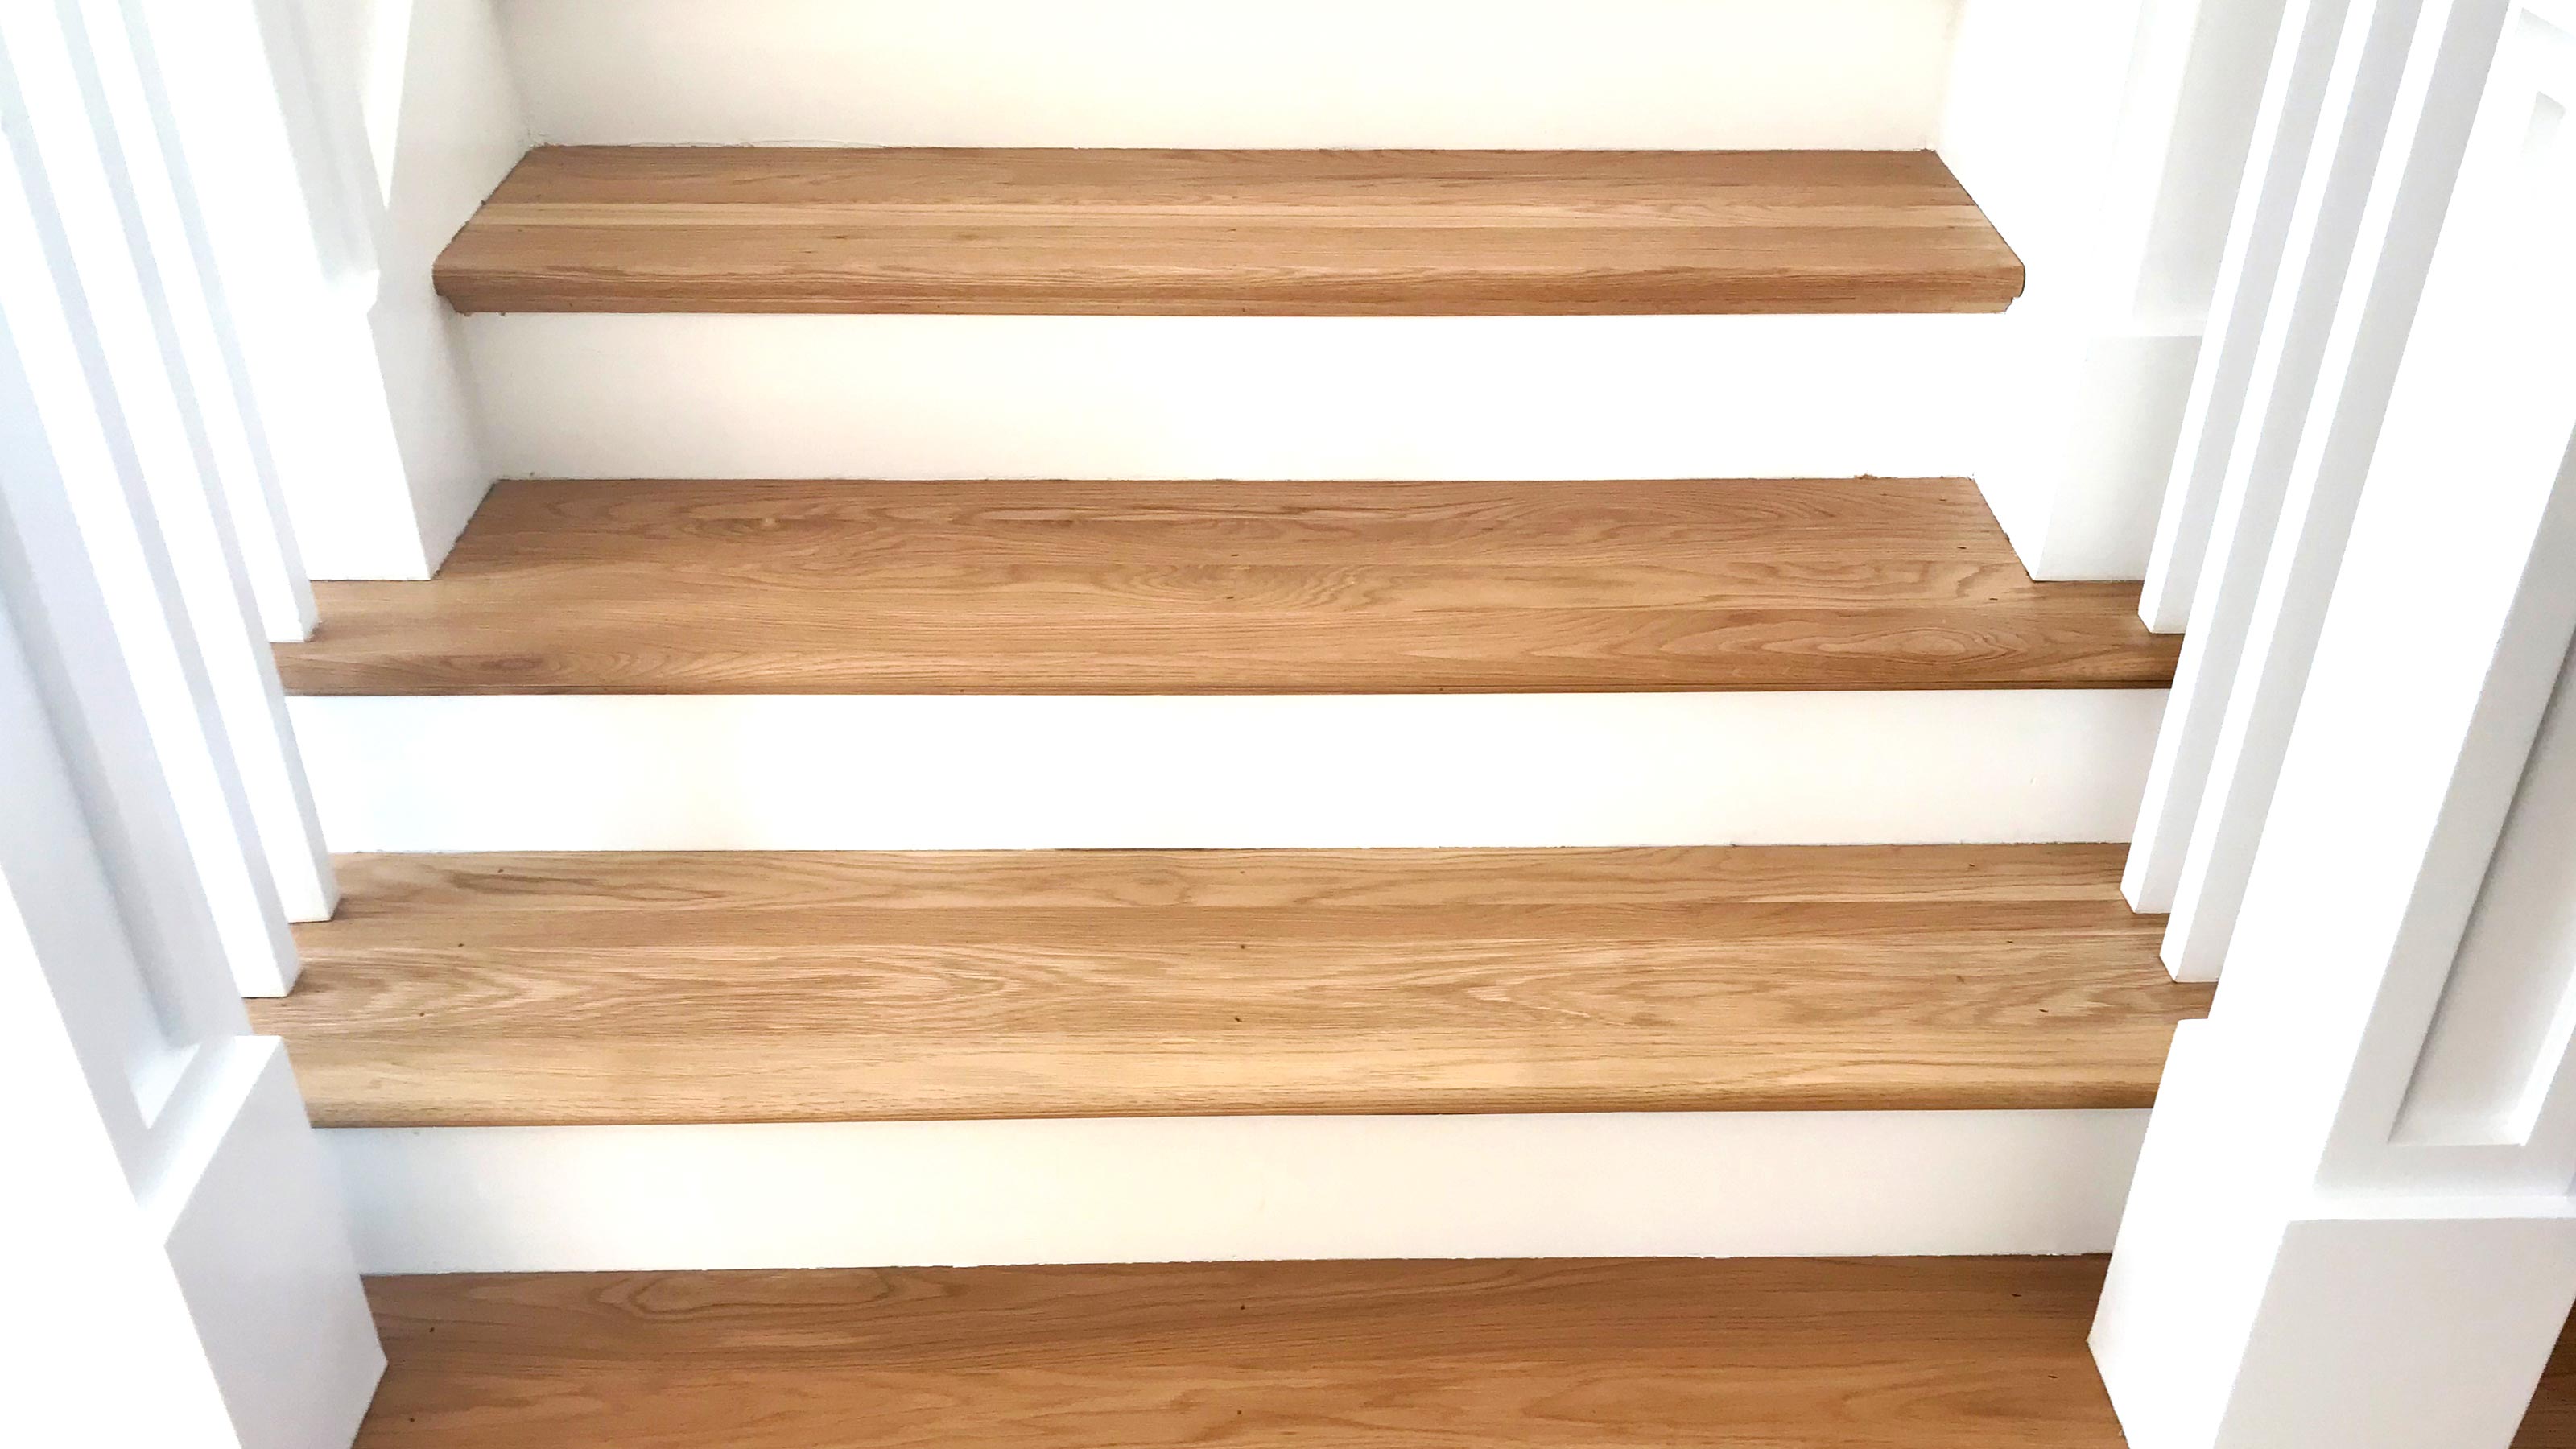
Stairs consist of a number of components but it's typically two parts – riser and tread – that need to be dealt with when trying to stop the squeak. So what’s what?
A stair riser is the vertical piece of wood that acts like a back board and is nailed into the back of a tread to provide support for the next tread above.
A stair tread meanwhile is the horizontal part of the step, the part that you step or tread on as you go up or down the stairs.
Armed with this information, take a look at the three options below to fix the creak in your stairs. It's worth reading all three before deciding which option is the best route for fixing your creak.
1. Add under stairs support to your creaky treads
Not every homeowner will have open access, but if you do this is a good place to start. The middle of a tread gets less support than the ends. It is only supported at the front by the accompanying riser.
To help stop the tread moving, extra support can be added in the form of evenly spaced blocks attached to the riser and underside of the tread.
For this you will need two wedge shaped or triangular blocks of wood that will preview the extra support. These will need to be placed around 20cm from each edge. Add a strong wood glue such as Gorilla Wood Glue from Amazon to the two faces that are to be placed on the riser and tread. Now add a screw horizontally into the riser and one vertically into the tread.
Be careful with screw length. Measure up to get a rough idea what size screw you will need. If the screws are too long they will protrude through the outside of the riser and/or tread.
Now leave to dry and do not use the steps until the glue has dried completely.
2. Add screws to treads and risers
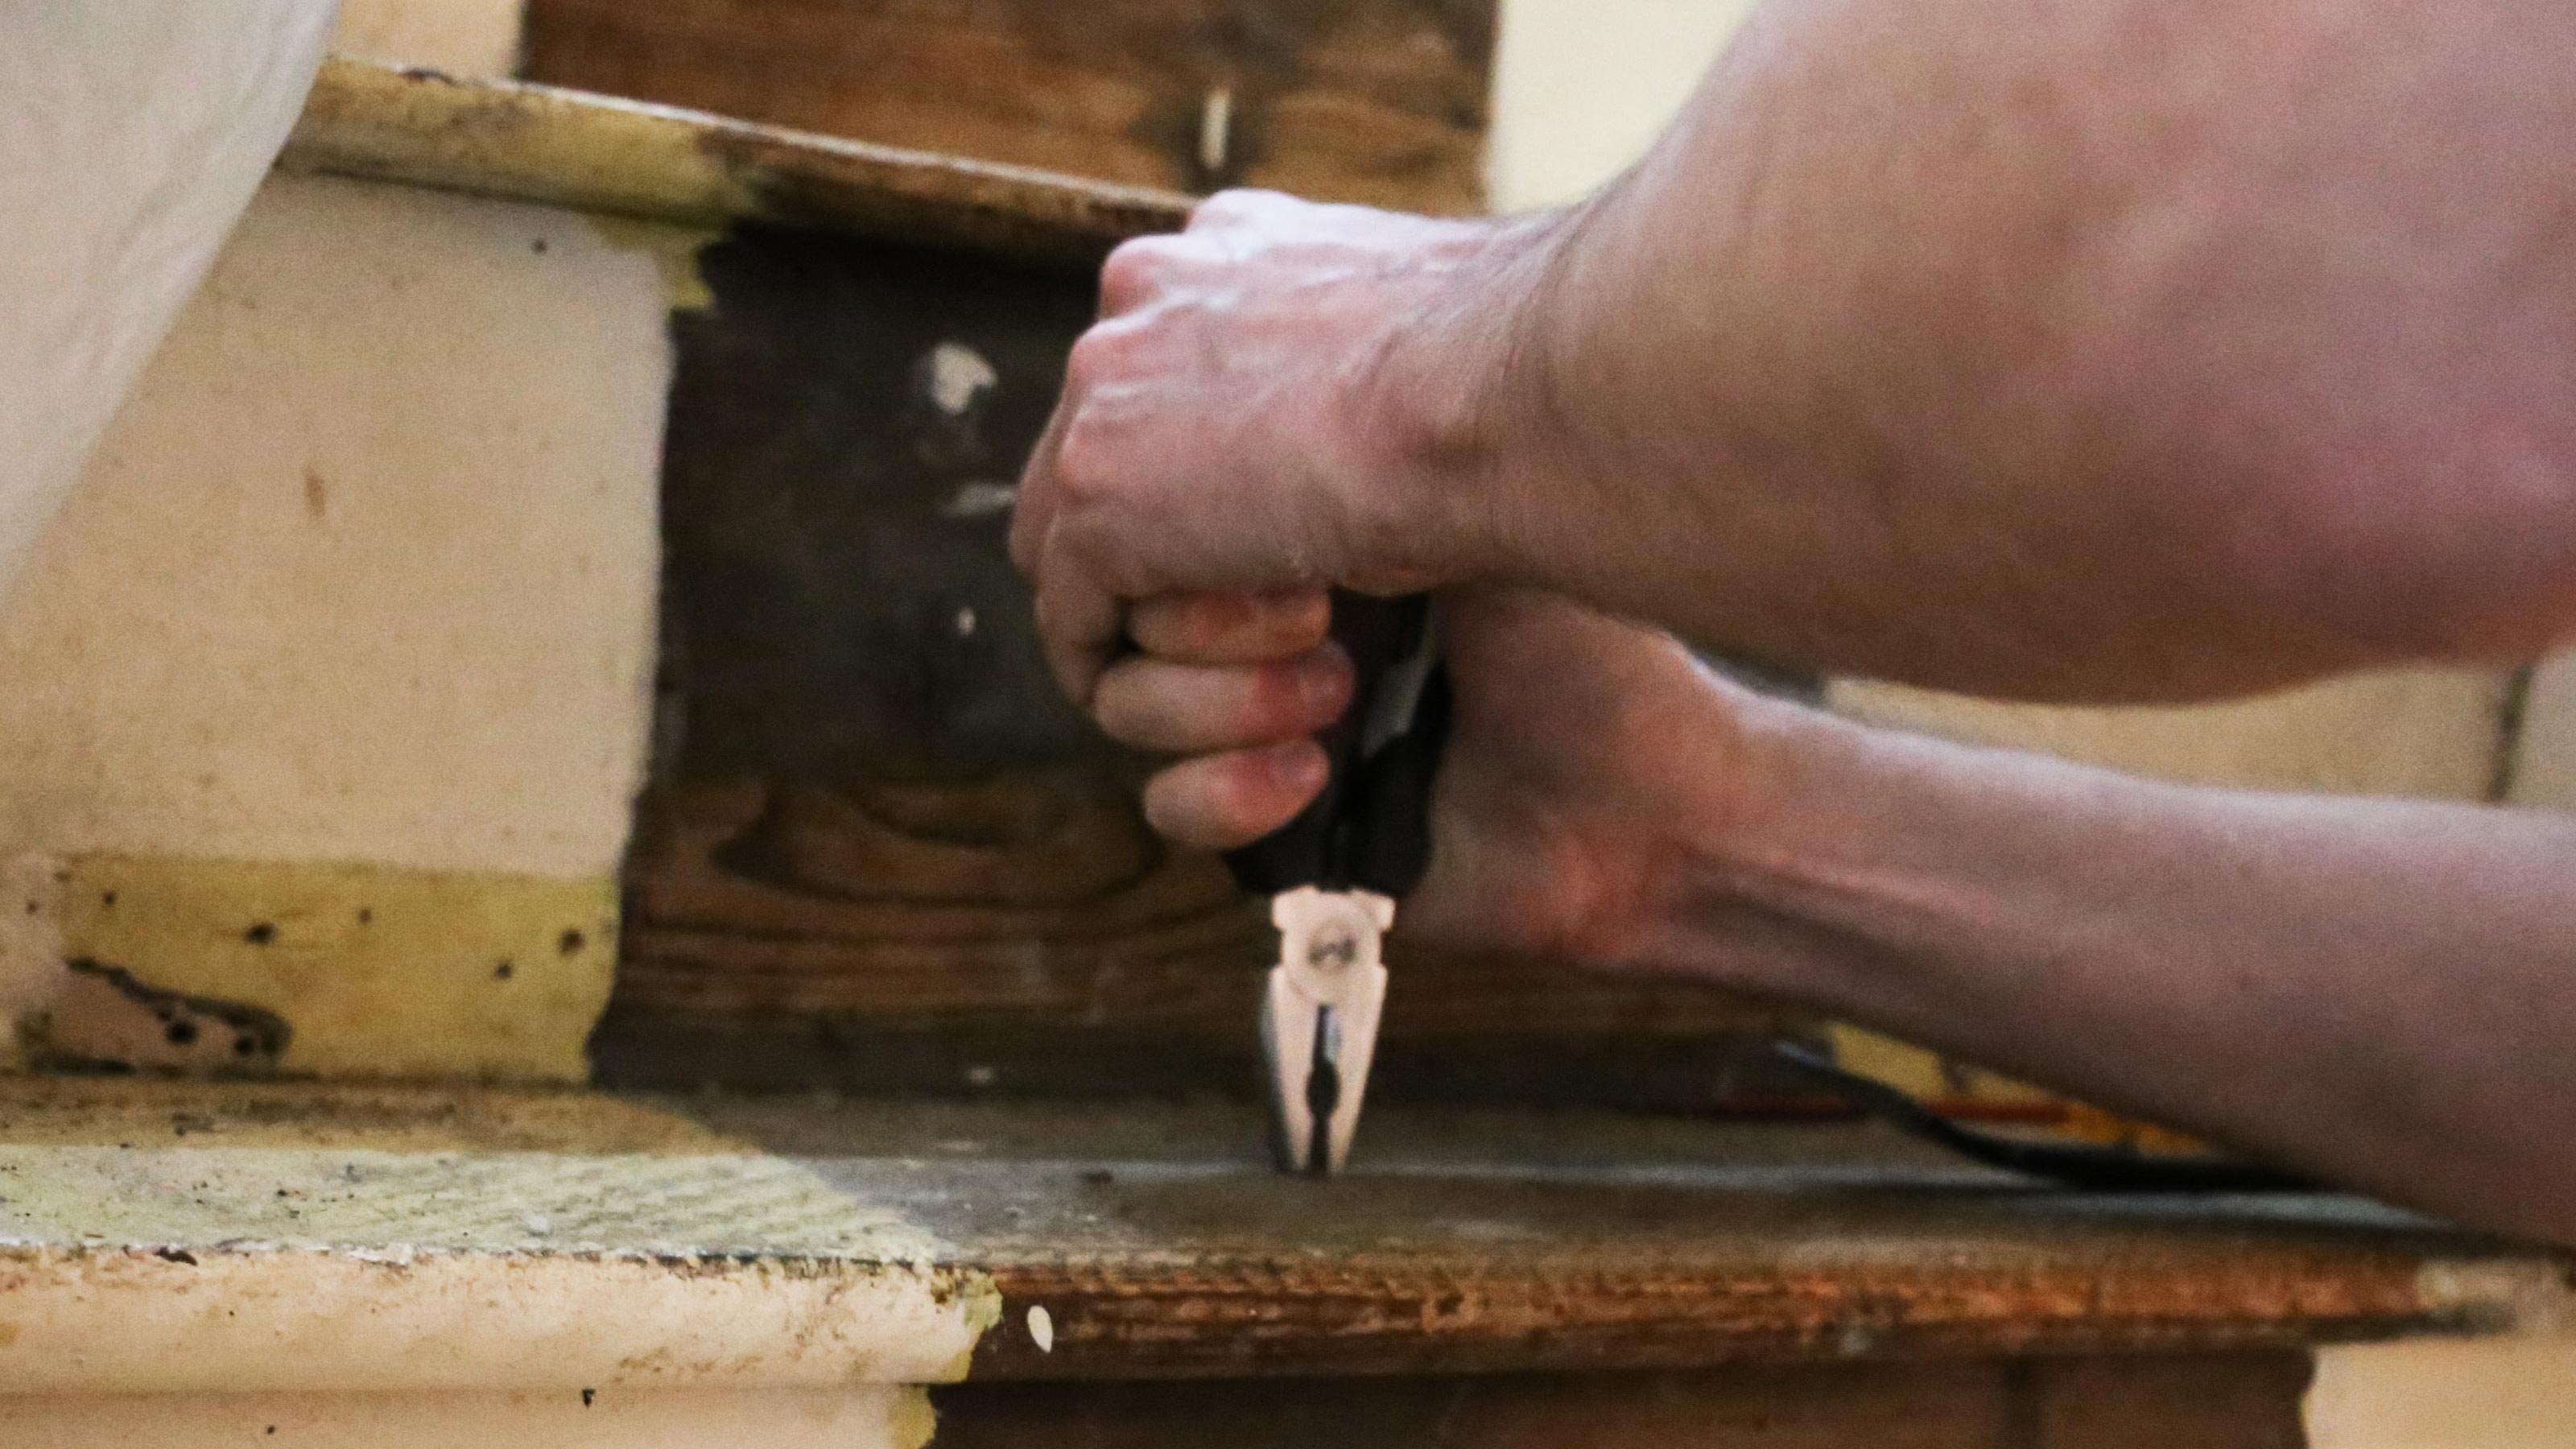
If you have access to the underside of your stairs you will notice that the bottom of the riser is nailed into the back of the tread. You can add extra nails to add more support. If you do not have access, you can screw the tread into the riser from the top.
For this you will need 30-40mm wood screws. Measure how far back the riser is from the front of the tread and add 5-10mm and mark. Now drill a pilot hole and countersink the pilot hole far enough to accommodate the screw head. Now screw in the screw so it's flush with, or below, the tread surface. The best cordless drills are a good choice for this as you can work at the top and bottom of the stairs without being restricted by cable length.
Use three or four screws placed evenly across the length of the tread. Start around 20 cm in from both sides and then work out the spacing.
3. Just use wood glue to stop squeaky stairs
This is the simplest solution and one that can be used as the first option to try or it can be combined with any of the other methods mentioned above.
For this you will need a decent wood glue, a container and a 1 or 2-inch paintbrush. Pour the glue into a container and add a little water to make the glue a little thinner. This helps the glue get further into the gaps on the stairs.
Now get the paintbrush and generously apply the glue to the area where the treads and risers meet. Make sure to work the glue in as best as you can. You can make this part of the process when renovating a staircase ready for painting, varnishing or even carpet.

Can I fix squeaky stairs without removing carpet?
Yes you can, but it's not recommended. You can simply add screws through the carpet, but this will leave obvious marks on your carpet.
There are kits such as the O'Berry Squeak No More Kit found at Amazon that use specialist drill bits and screws. The screws pull together the riser and tread like a normal screw, but then you snap the top of the screw off so it cannot be seen.
We have not used these personally, but they look like poor value for money and we would recommend removing carpet to do the job properly.
Get the Homebuilding & Renovating Newsletter
Bring your dream home to life with expert advice, how to guides and design inspiration. Sign up for our newsletter and get two free tickets to a Homebuilding & Renovating Show near you.
Steve Jenkins is a freelance content creator with over two decades of experience working in digital and print and was previously the DIY content editor for Homebuilding & Renovating.
He is a keen DIYer with over 20 years of experience in transforming and renovating the many homes he has lived in. He specialises in painting and decorating, but has a wide range of skills gleaned from working in the building trade for around 10 years and spending time at night school learning how to plaster and plumb.
He has fitted kitchens, tiled bathrooms and kitchens, laid many floors, built partition walls, plastered walls, plumbed in bathrooms, worked on loft conversions and much more. And when he's not sure how to tackle a DIY project he has a wide network of friends – including plumbers, gas engineers, tilers, carpenters, painters and decorators, electricians and builders – in the trade to call upon.

