How to fix peeling paint on wood and walls
Learn how to repair peeling paint and you can quickly refresh your woodwork and walls to bring them back to life

Cracked and peeling paint is an eyesore so knowing how to fix peeling paint is one step to a fresh new finish. But before you jump in and start scraping away you need to know why your wood or walls are peeling.
Too many layers of old paint? Moisture behind the paint? Greasy and dirty surfaces? When painting wood or a wall you want to avoid the issues that caused the peeling in the first place to get a smart long lasting finish.
Here we look at the reasons that can cause peeling, how to deal with them, and how to get rid of the old paint ready for a refresh.
How to fix peeling paint
There’s a whole host of different reasons for peeling paint, from the wrong type of paint used, to applying it to a poorly-prepared surface.
First we look at how to identify potential causes of peeling paint, so you can remedy it before we go into exactly how to fix the problem.
Identifying the cause of peeling paint
1. Greasy dirty surfaces Painting over dirty/greasy patches means the paint won’t adhere as well as other areas and will start to peel. Wash down with sugar soap if needed to get a clean surface to paint on.
2. Not primed or sealed Painting a surface that hasn’t been primed or sealed can lead to a patchy finish, with areas of a surface more prone to peeling than others. New untreated surfaces will suck up the paint, meaning you will need more paint to finish adding to the expense and the chances of peeling paint.
3. Poorly primed A good quality primer evenly applied across a surface will work well. A poor quality primer applied unevenly or too thin will negate its purpose and can lead to poor adhesion in different areas.
4. Too many layers Continuing to add more and more layers of paint will increase the chances of poor adhesion. If you don’t know how well a surface was prepared previously, think about stripping back to bare wood or wall.
5. Cheap paint The make up of cheap paint typically means that it doesn’t adhere to a surface as well as a quality paint. This means there is more chance of it peeling, flaking or lifting off the surface.
6. Not allowing to dry fully Not allowing a coat of paint to dry properly before adding another will trap moisture between the layers. This means the top coat won’t adhere as well to the layer below. It is always worth knowing how long paint takes to dry. Check the manufacturer's recommendation and stick to it.
7. Moisture/damp The classic cause of peeling paint is moisture behind the paint. Make sure that the surface you are going to paint is dry and doesn’t have any underlying issues that need sorting.
How repair peeling paint: Step-by-step
Before you start there are a few essential tools that you’ll need. Make sure you have a paint scraper, sandpaper, a wire brush and dust sheets if you want to keep the area clean.
1. Get rid of the old paint
The first step is to remove as much of the peeling paint as possible. For walls use a wallpaper scraper set like this COTTAM Premium Wooden Handle Scale Tang Scraper Collection from Amazon. If needed use a wire brush to help get rid of loose paint that the scraper is struggling with.
These scrapers can be used on wood as well, but if you have decorative trim such as architrave and skirting boards you will need the help of a shave hook like this Stanley Professional Comb Shave Hook from Amazon. Its shape helps to get rid of paint on curved and hard to reach areas. For intricate trim try wire wool to get a smooth finish.
2. Fill and sand
With as much of the paint removed by scraper, you need to blend in the old paint with the wall or woodwork. Start by filling in the larger gaps and cracks with a suitable all purpose filler or patching plaster for walls and a wood filler for trim and leave to dry.
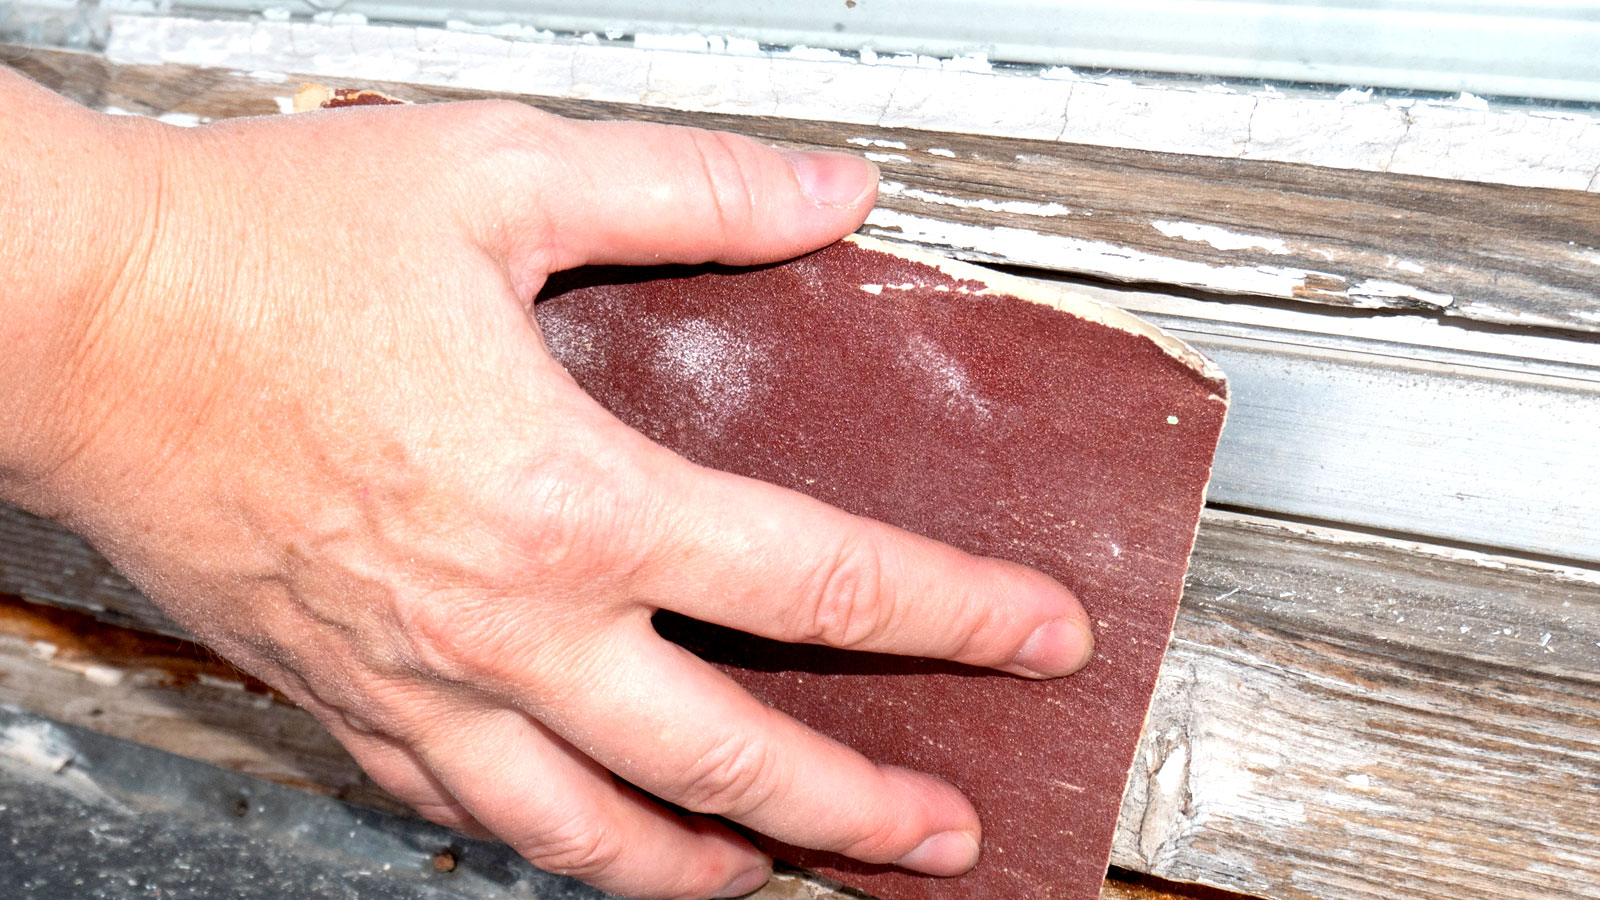
For walls – and larger flat areas of wood like panel doors – use a fine sandpaper – 240 grit is good – and a hand sander or an electric sander like this VonHaus Detail Sander from Amazon and blend the remaining paint with the wall/wood until you get a smooth surface.
For more decorative or intricate trim, you will need to sand by hand. For hard to reach areas fold the sandpaper in half, put over the end of the scraper and use the edge to get into the narrow spots. For other hard-to-reach areas get out the wire wool.
3. Clean and prime
Before adding any paint make sure that the area is as dust-free as possible. Get a stiff hand brush and brush down the surface and vacuum up any dust or debris. Next wipe down the surface with a damp cloth to get rid of any dust.
Now get a decent primer appropriate for the surface you are painting. Zinsser B-I-N Primer & Sealer from Amazon is a great choice for plaster walls, while Dulux Trade Quick Dry Wood Primer Undercoat is a good choice for wood.
For walls, seal the patched areas, but if you have a lot of them, consider doing the whole wall. For wood doors and trim prime the whole area. Once dry add your choice of top coat.
FAQs
Does primer stop paint peeling?
Yes is the simple answer, but it's not a guarantee. The area that has peeling paint will need to be dealt with accordingly before adding a primer. If there is any damp this will need to be dealt with before you paint otherwise the issue will continue. All loose paint will need to be removed to help create an effective surface for paint.
Adding a coat of primer on a damp-free, properly prepped wall will help create a strong base for additional coats of paint to adhere to and great reduce the chances of paint peeling.
How do I know if there is moisture in a wall/wood?
Peeling paint is one of the classic signs of moisture or dampness in a wall or wood. Other tell tale signs of moisture/damp are a musty smell, a subtle but visible difference in colours in walls and visible issues such as black spots.
If you are unsure there is moisture in a wall or wood you can use a moisture meter like this Dryzone Moisture Meter Detector from Amazon. A reading below 20% – ideally 12-15% – is an acceptable level of moisture. If above 20% you will need to investigate further.
What happens if you paint straight onto plaster?
If you are painting onto previously painted or wallpapered walls the plaster will have been sealed with either a coat of paint or wallpaper paste. This means there is no need to add a new coat of sealer. Prepping the wall and adding a primer or similar will be enough.
However, if you are painting new plaster you will need to add what is known as a mist coat. This will help seal the plaster and make sure that your top coats will adhere properly to the plaster. Make sure the plaster is completely dry before adding any paint. If you trap moisture behind the paint it will eventually peel and flake.
As with any paint project you will need to ask yourself How much paint do I need? and How to clean gloss paint brushes to ensure you buy enough paint and keep your brushed in good condition for your next DIY job.
Get the Homebuilding & Renovating Newsletter
Bring your dream home to life with expert advice, how to guides and design inspiration. Sign up for our newsletter and get two free tickets to a Homebuilding & Renovating Show near you.
Steve Jenkins is a freelance content creator with over two decades of experience working in digital and print and was previously the DIY content editor for Homebuilding & Renovating.
He is a keen DIYer with over 20 years of experience in transforming and renovating the many homes he has lived in. He specialises in painting and decorating, but has a wide range of skills gleaned from working in the building trade for around 10 years and spending time at night school learning how to plaster and plumb.
He has fitted kitchens, tiled bathrooms and kitchens, laid many floors, built partition walls, plastered walls, plumbed in bathrooms, worked on loft conversions and much more. And when he's not sure how to tackle a DIY project he has a wide network of friends – including plumbers, gas engineers, tilers, carpenters, painters and decorators, electricians and builders – in the trade to call upon.

